
Planting dill seeds is an exciting endeavor for any gardening enthusiast. Dill (Anethum graveolens) is a versatile herb known for its delicate foliage and distinct flavor, making it a popular choice for culinary dishes and herbal remedies. In this comprehensive guide, we will walk you through the process of planting dill seeds step-by-step, ensuring that you can enjoy a bountiful harvest of fresh dill right in your own backyard.
Dill seeds are the starting point for growing this aromatic herb. Whether you’re a seasoned gardener or a complete novice, learning how to plant dill seeds is easy and rewarding. By following these simple instructions, you’ll soon be enjoying the vibrant green leaves and aromatic seeds of your own homegrown dill plants.
Understanding Dill
A. Background information on dill (Anethum graveolens)
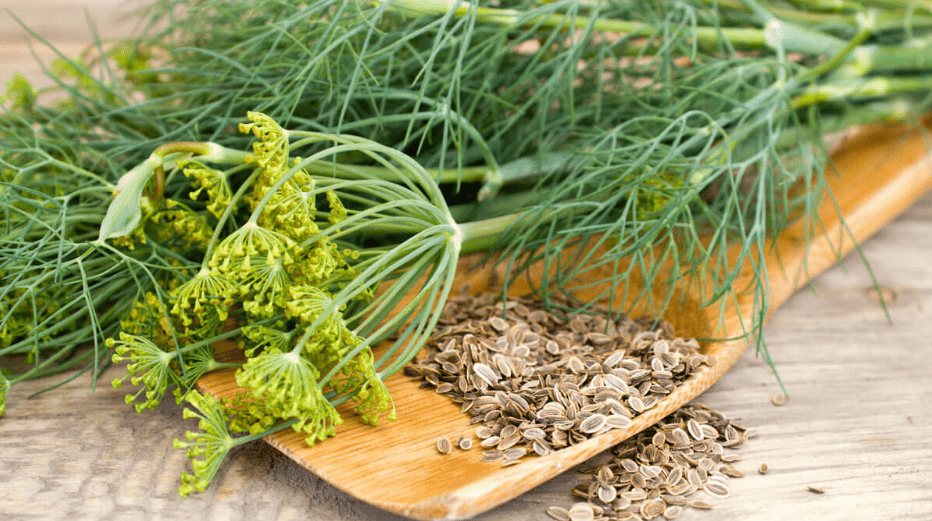
Dill, also known as Anethum graveolens, is a popular herb known for its feathery leaves and aromatic seeds. It is commonly used in culinary dishes to add a fresh, slightly tangy flavor. Dill is a versatile herb that can be used in a variety of dishes, including pickles, salads, soups, and fish dishes. It is also known for its medicinal properties and is used in traditional medicine to aid digestion and alleviate gastrointestinal issues. Dill is an annual herb that thrives in well-drained, fertile soil and prefers full sun. It is an easy herb to grow and can be a great addition to any garden.
B. Varieties of dill: common types and their characteristics
There are several varieties of dill, but the two most common types are Bouquet and Fernleaf. Bouquet dill is the traditional variety, known for its large, flavorful leaves and seed heads. It grows to a height of about 3 feet and is popular for both its culinary and ornamental value. Fernleaf dill, on the other hand, is a dwarf variety that only grows to about 18 inches tall. It has delicate, lacy foliage and is well-suited for container gardening. Both types of dill have a similar flavor and can be used interchangeably in recipes. When choosing a variety of dill to plant, consider the space you have available and whether you prefer a larger or smaller plant. Both types are easy to grow and will provide you with plenty of fresh, aromatic dill leaves and seeds.
C. Culinary uses and health benefits of dill
Dill is a versatile herb that is commonly used in cooking and provides many health benefits. It has a fresh and tangy flavor that pairs well with a variety of dishes, including fish, salads, soups, and sauces. Dill is also a popular ingredient in pickling recipes, adding a unique and aromatic flavor to pickled vegetables like cucumbers. In addition to its culinary uses, dill is also known for its health benefits. It contains antioxidants and can help reduce inflammation in the body. Dill is also rich in vitamins and minerals, including vitamin C, vitamin A, and iron. Adding dill to your meals can not only enhance the flavor but also provide nutritional benefits for your overall health.
Preparing for Planting
A. Choosing the right location for dill
Choosing the right location for dill is crucial for the success of the plant. Dill thrives in full sunlight, so it’s important to find a spot in your garden that receives at least 6-8 hours of direct sunlight each day. Additionally, dill prefers well-drained soil with a pH level of 5.5 to 6.5. It’s important to ensure that the soil is rich in organic matter and has good drainage to prevent waterlogged roots. When selecting a location for planting dill, be mindful of its potential to grow quite tall, reaching heights of 2-4 feet, so it’s best to place it at the back of your garden bed or in an area where it won’t shade smaller plants. By choosing the right location for planting dill, you can ensure that it has the best conditions to thrive and provide a successful harvest.
B. Climate considerations for planting dill
When planting dill, it’s important to consider the climate of your region. Dill thrives in moderate to warm climates and is sensitive to cold temperatures. It’s best to plant dill in the spring after the last frost has passed. If you live in a cooler climate, you can start dill seeds indoors and then transplant them outside once the weather warms up. Dill also does well in dry, hot climates, so it’s important to provide adequate water and protection from intense sun exposure. By taking climate considerations into account when planting dill, you can ensure that your plants have the best chance of success.
Selecting Dill Seeds
A. Overview of dill seed varieties
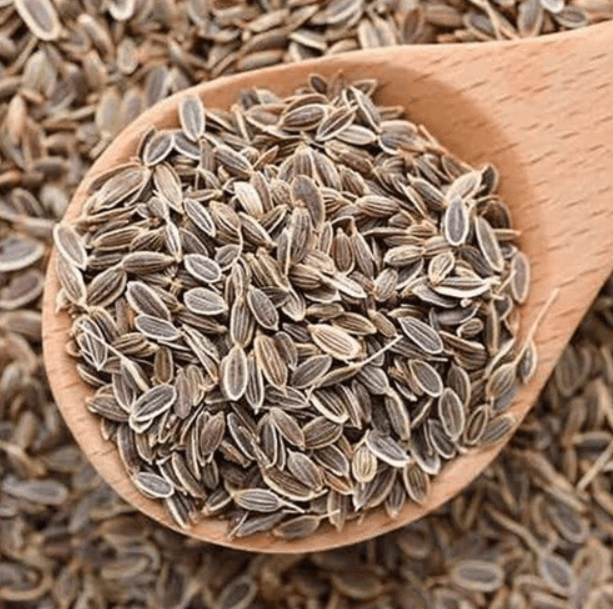
There are several different varieties of dill seeds available, each with its own unique flavor and appearance. Some popular varieties include Bouquet, Fernleaf, and Mammoth. Bouquet dill is known for its strong flavor and is a favorite for pickling. Fernleaf dill is a compact variety that is great for container gardening and has a more delicate flavor. Mammoth dill is known for its large, lush foliage and is a great choice for both culinary and ornamental use. When selecting dill seeds, consider the flavor and appearance you prefer, as well as the space you have available for planting.
B. Tips for selecting the best seeds for planting
When selecting dill seeds for planting, it’s important to consider the variety that best suits your needs. Bouquet dill is known for its strong flavor and is a popular choice for pickling, while Fernleaf dill is a compact variety that is great for container gardening. Mammoth dill is known for its large foliage and is a great choice for both culinary and ornamental use. Consider the flavor and appearance you prefer, as well as the space you have available for planting. Look for high-quality seeds from a reputable supplier and choose seeds that are plump and free from mold or damage. It’s also a good idea to check the expiration date on the seed packet to ensure the seeds are fresh and viable for planting. By selecting the best dill seeds for your needs, you can set yourself up for a successful and bountiful harvest.
Planting Dill Seeds
A. Best time to plant dill seeds
The best time to plant dill seeds is in the spring, after the last frost has passed. Dill thrives in full sunlight and well-drained soil, so make sure to choose a sunny spot in your garden or use a container with good drainage. You can start by preparing the soil by clearing away any debris and loosening the soil to a depth of about 12 inches. Plant the dill seeds about 1/4 inch deep and 18 inches apart. Water the seeds gently and keep the soil moist but not waterlogged. As the dill grows, you can thin out the plants to ensure they have enough space to flourish. It’s important to keep an eye on the dill plants and water them regularly, especially during dry periods. With proper care, you can expect to harvest your dill in about 8-10 weeks. Happy planting!
B. Step-by-step guide to planting dill seeds:
- Seed soaking (optional): Before planting your dill seeds, you can choose to soak them in water for 24 hours to help speed up the germination process. However, this step is optional and not necessary for successful dill growth.
- Best time to plant: Dill seeds should be planted in well-drained soil during the spring or early summer when the soil temperature is around 60-70°F.
- Soil requirements: Dill plants prefer soil that is rich in organic matter and well-drained. Make sure to choose a location with full sun for optimal growth.
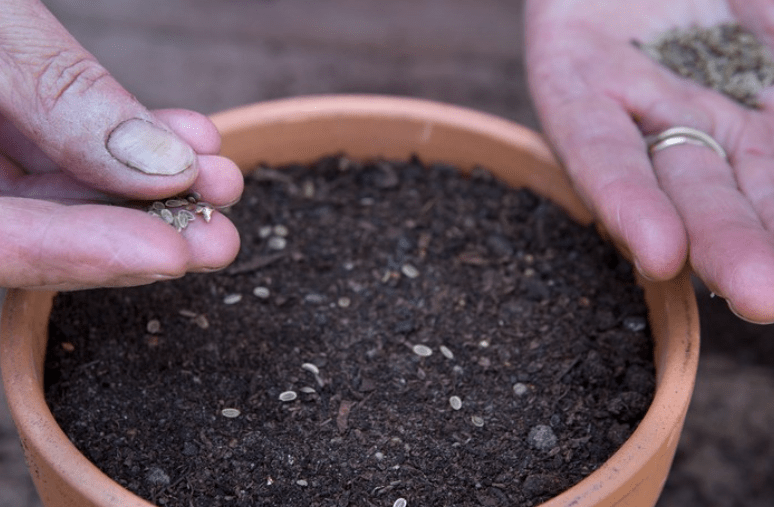
- Planting depth and spacing: Plant the dill seeds ¼ inch deep and space them 12-18 inches apart to allow enough room for the mature plants to grow.
- Watering and care: Water the seeds gently and keep the soil moist but not waterlogged. As the dill grows, you can thin out the plants to ensure they have enough space to flourish. It’s important to keep an eye on the dill plants and water them regularly, especially during dry periods.
- Harvesting: With proper care, you can expect to harvest your dill in about 8-10 weeks. Once the plant has reached a height of 12-18 inches, you can start harvesting the leaves and seeds for culinary use. Happy planting!
Caring for Dill Plants
A. Watering requirements for dill
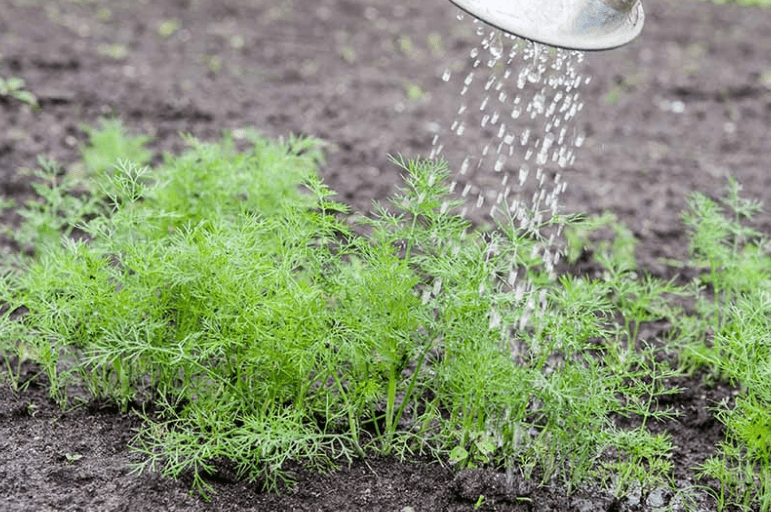
Dill plants require regular watering, especially during dry periods. It’s important to keep the soil moist but not waterlogged, as overwatering can lead to root rot. When watering, be sure to do so gently to avoid damaging the delicate plants. As the dill grows, you can thin out the plants to ensure they have enough space to flourish. Keep an eye on the dill plants and water them regularly, especially during dry periods, to ensure they grow healthy and strong. With proper care and attention to watering, you can expect to harvest your dill in about 8-10 weeks and enjoy it in your culinary creations. Happy planting!
B. Fertilizing dill plants
Fertilizing is important to ensure they have the nutrients they need to grow healthy and strong. When planting dill seeds, it’s beneficial to add organic matter or compost to the soil to provide nutrients for the plants. After the dill plants have grown to about 4-6 inches tall, you can apply a balanced fertilizer to the soil to help support their growth. Be sure to follow the instructions on the fertilizer package and water the plants after applying the fertilizer to help it absorb into the soil. It’s important to keep the soil moist but not waterlogged, as overwatering can lead to root rot. When watering, be sure to do so gently to avoid damaging the delicate plants. As the dill grows, you can thin out the plants to ensure they have enough space to flourish. Keep an eye on the dill plants and water them regularly, especially during dry periods, to ensure they grow healthy and strong. With proper care and attention to watering, you can expect to harvest your dill in about 8-10 weeks and enjoy it in your culinary creations. Happy planting!
Harvesting Dill
A.How to harvest dill leaves, seeds, and stems
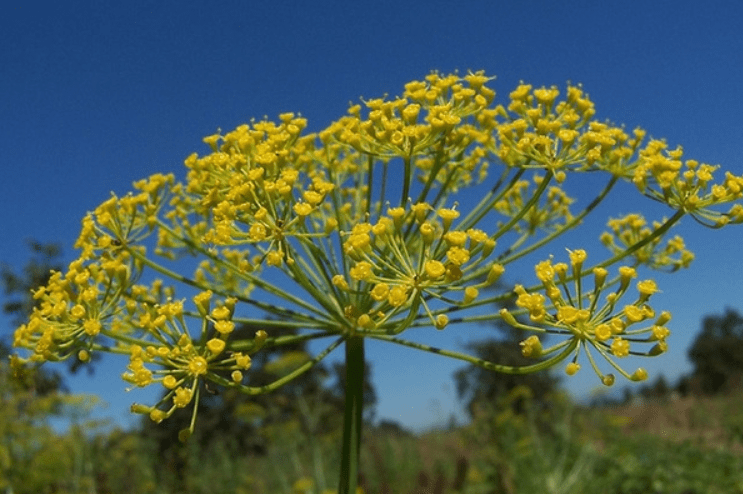
When it comes to harvesting dill, you can tell it’s ready when the plants are about 18 inches tall and have a full, bushy appearance. Another sign of readiness is the formation of small yellow flowers. When harvesting dill, you can snip off the leaves and stems using sharp scissors or garden shears, leaving about 2-3 inches of growth at the base of the plant to encourage further growth. You can use the fresh dill immediately in your cooking or dry it for later use by hanging it upside down in a warm, well-ventilated area. As for the seeds, you can harvest them once they turn a light brown color and use them for seasoning or replant them for future crops. Harvesting dill at the right time will ensure that you have a bountiful supply of this flavorful herb for all your culinary needs.
Utilizing Fresh Dill
A. Culinary uses of fresh dill
Fresh dill is a versatile herb that can be used in a variety of culinary dishes. It has a unique flavor that pairs well with fish, potatoes, yogurt, and salads. You can use fresh dill to flavor soups, sauces, and marinades. It can also be used as a garnish or mixed into dips and spreads. The bright, fresh taste of dill adds a refreshing twist to many dishes and can be a great addition to your kitchen herb garden.
B. Storing fresh dill: tips for preserving flavor and freshness
After harvesting dill from your garden, it’s important to store it properly to maintain its flavor and freshness. One method is to store fresh dill in the refrigerator. After washing and drying the dill, wrap it in a slightly damp paper towel and place it in a plastic bag. Store the bag in the vegetable crisper drawer of the refrigerator. Another option is to freeze the dill. To do this, chop the dill into small pieces and place them in an ice cube tray. Fill the tray with water and freeze it. Once frozen, transfer the dill cubes to a resealable plastic bag and store them in the freezer. This will allow you to use the dill as needed without it going bad. By using these methods, you can ensure that your fresh dill remains flavorful and fresh for longer periods of time.
In conclusion, planting dill seeds is a simple and rewarding process that can be enjoyed by beginners and experienced gardeners alike. By following the step-by-step guide provided in this post, you can ensure that your dill seeds have the best chance of thriving and producing a successful harvest. With the right timing, soil preparation, and care, you can enjoy the fresh, aromatic flavor of homegrown dill in your culinary creations. Happy planting!