
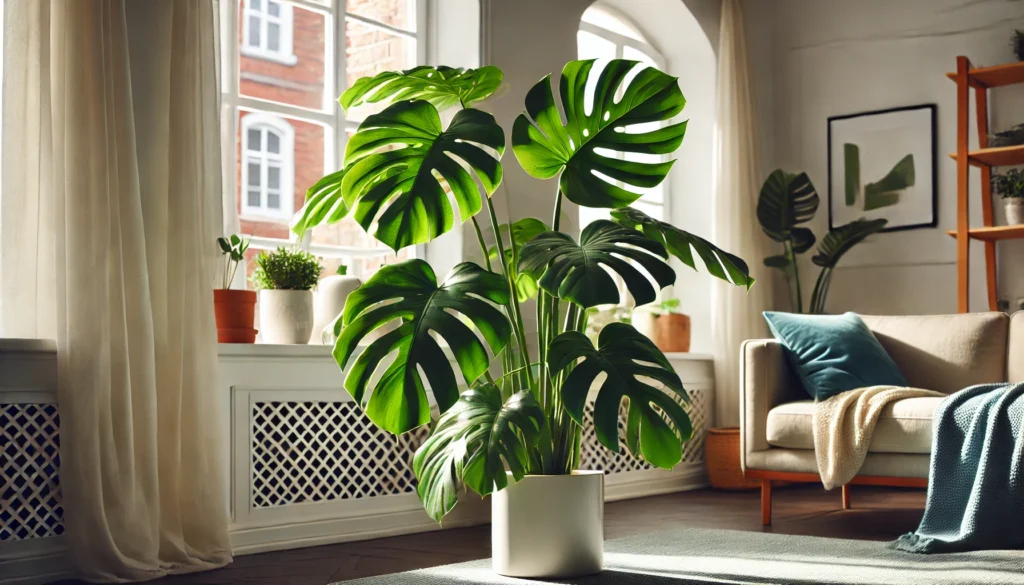
If you’ve ever admired the striking, glossy leaves of a Monstera Deliciosa and wondered how to grow your own, propagating Monstera Deliciosa from cuttings is an easy and rewarding way to do it. This popular houseplant, with its unique fenestrated leaves, can thrive with a little care and patience. Whether you’re a seasoned plant parent or just starting out, this step-by-step guide will walk you through the process of cutting and rooting your Monstera, ensuring lush growth and healthy, vibrant plants. Let’s dive into the simple techniques that will help you propagate your Monstera with confidence!
Why Propagate Monstera Deliciosa from Cuttings?
Propagating Monstera Deliciosa from cuttings is one of the most rewarding and accessible ways to expand your collection of this iconic tropical plant. Here’s why you should consider it:
Cost-Effective: Buying a new Monstera plant can be expensive, especially if you’re after a larger or variegated one. Propagating from cuttings allows you to multiply your plants without spending extra money.
Fast Growth: Monstera cuttings root quickly, and with the right care, you can see new growth in just a few weeks. This makes it an ideal plant for those looking for rapid results.
Healthy Plants: Starting from cuttings lets you control the growth process from the beginning, ensuring the plant is free from pests or diseases that might come with a store-bought plant.
Customization: Propagating allows you to experiment with different growth patterns. Whether you want more bushy plants or long vines, cutting propagation gives you flexibility in shaping your Monstera garden.
Share the Love: Once you’ve successfully propagated, you can share cuttings with friends or family, spreading the joy of Monstera ownership!
By propagating Monstera Deliciosa from cuttings, you not only save money but also gain the satisfaction of growing a plant from scratch, watching it thrive right before your eyes.
What You’ll Need for Successful Monstera Propagation
Successfully propagating your Monstera plant requires just a few essential tools and materials. Here’s what you’ll need to ensure your propagation process is smooth and efficient:
1. Healthy Monstera Cuttings
- Start with a healthy Monstera cutting that includes at least one node (the small bump on the stem where leaves and roots grow). Make sure the cutting is free from diseases or pests.
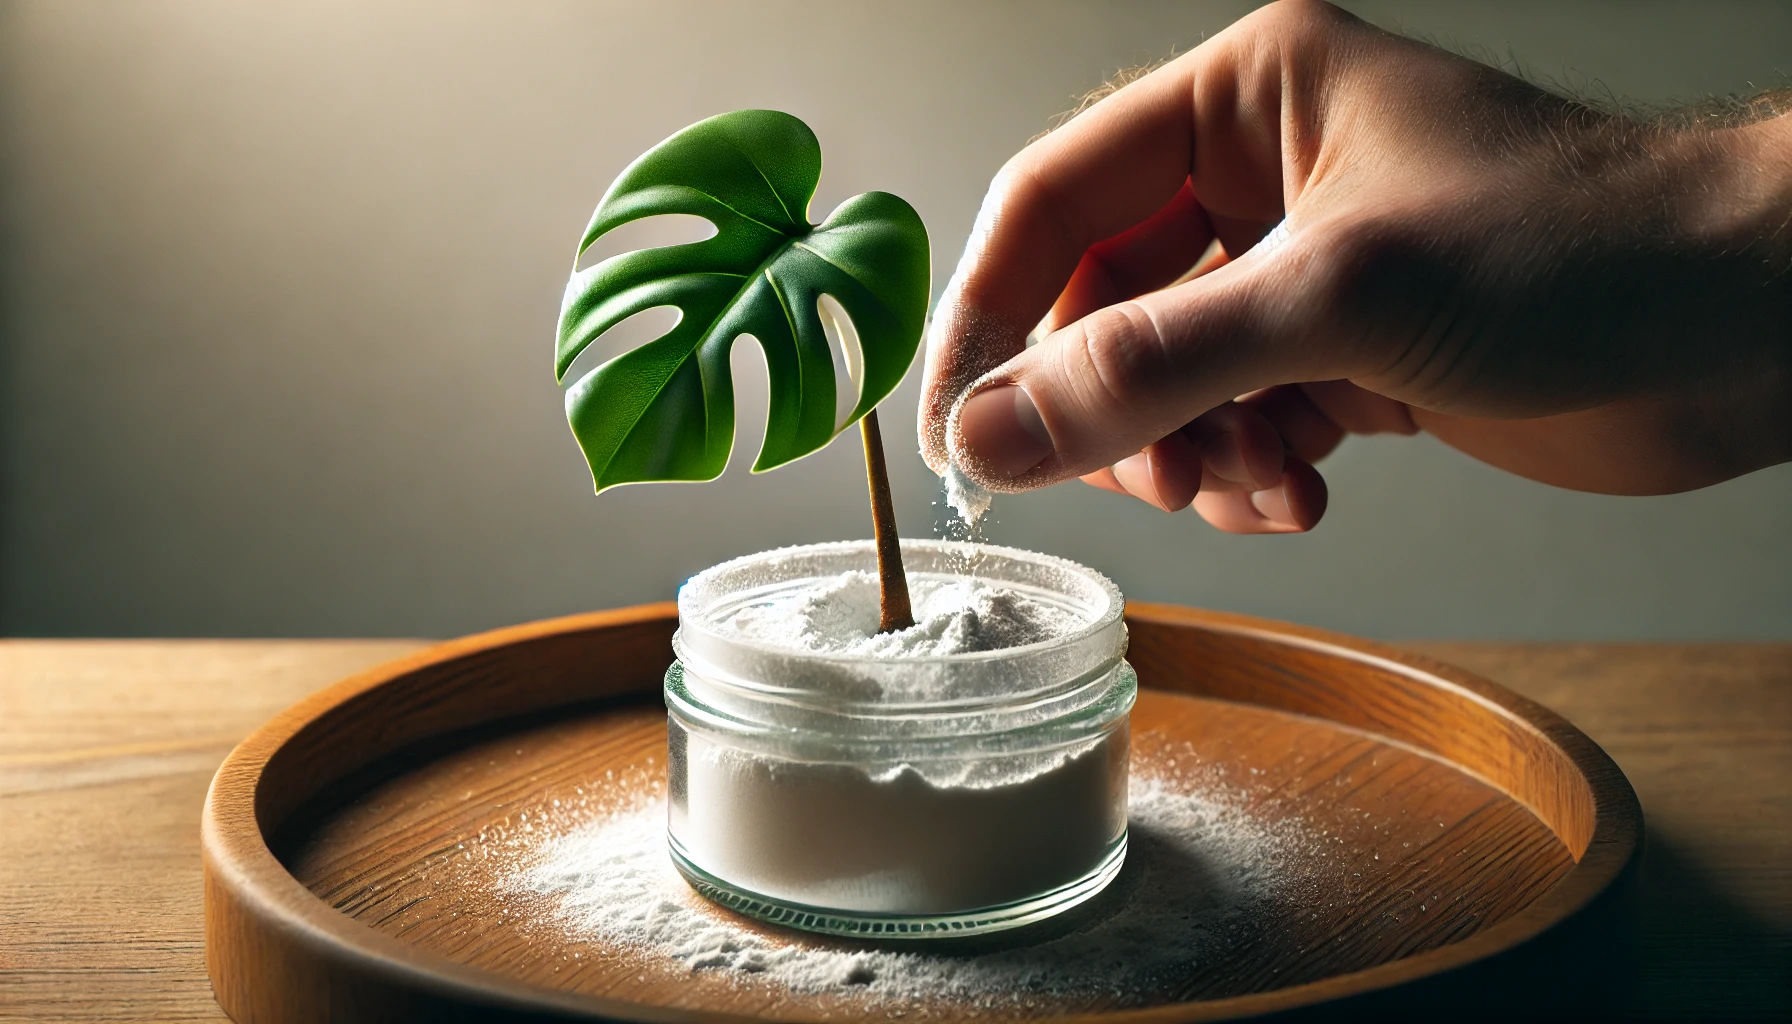
2. Sterile Soil for Rooting Cuttings
- Using sterile soil for rooting cuttings is crucial. It helps prevent contamination and ensures a healthy environment for root growth. Opt for well-draining soil, like a mix of potting soil and perlite, to avoid waterlogging and root rot.
3. Sharp Pruning Shears or Scissors
- A sharp, clean cutting tool is essential to make a clean cut that minimizes damage to the plant. Always sanitize your shears before use to prevent infection.
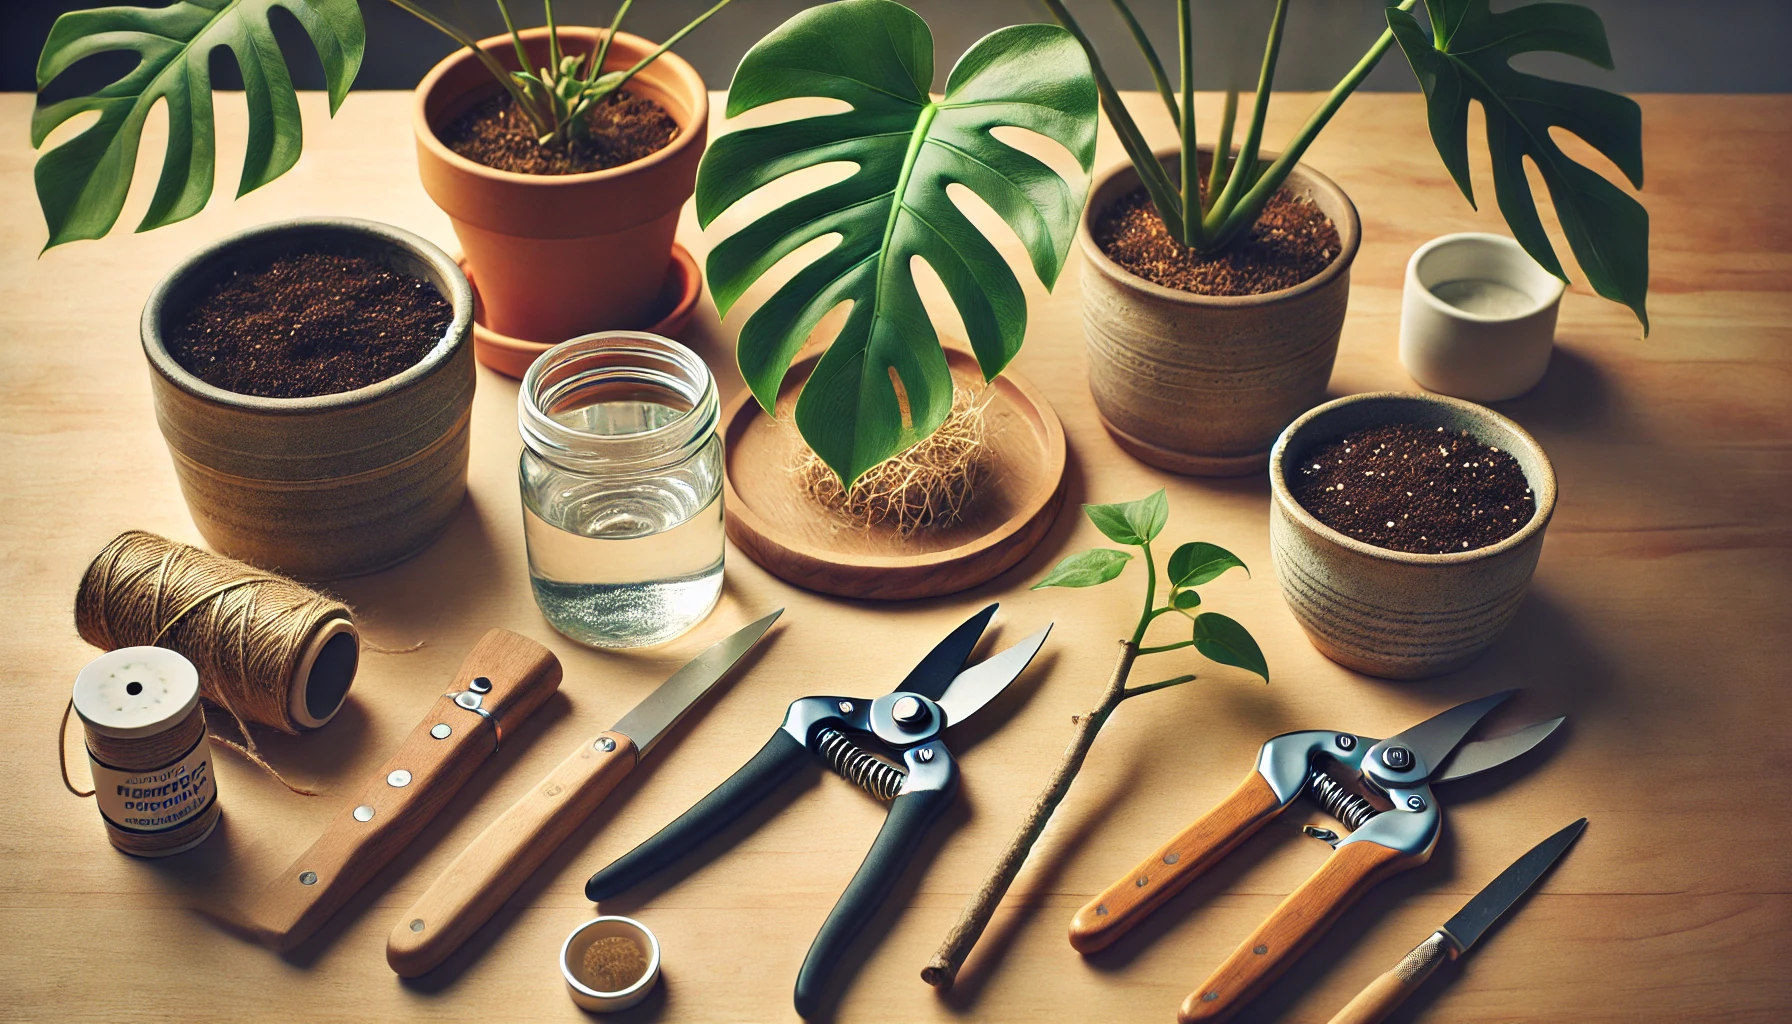
4. Glass Jar or Container
- If you’re propagating in water, a glass jar or vase works best. It allows you to monitor root development and provides enough space for the cutting to grow. If propagating in soil, small pots will do.
5. Humidity Dome or Plastic Wrap (Optional)
- While not mandatory, using a humidity dome or plastic wrap over your container can help maintain moisture, promoting faster rooting. Ensure there’s enough airflow to avoid mold growth.
6. Rooting Hormone (Optional)
- Although not necessary, applying rooting hormone to the cutting can speed up the root development process. Simply dip the cut end in the hormone powder before placing it in soil.
7. Bright, Indirect Light
- Monstera cuttings thrive in bright, indirect light. Avoid direct sunlight, which can cause the cutting to dry out. A sunny windowsill with filtered light is ideal.
With these simple tools and materials, you’ll be well on your way to propagating your Monstera plant successfully. The key is to provide the right environment for the cutting to thrive, promoting healthy root growth and strong new plants.
Step-by-Step Guide to Propagating Monstera Deliciosa from Cuttings
Propagating Monstera Deliciosa from cuttings is a simple and rewarding process. Follow these steps to grow your own lush Monstera plant from a cutting.
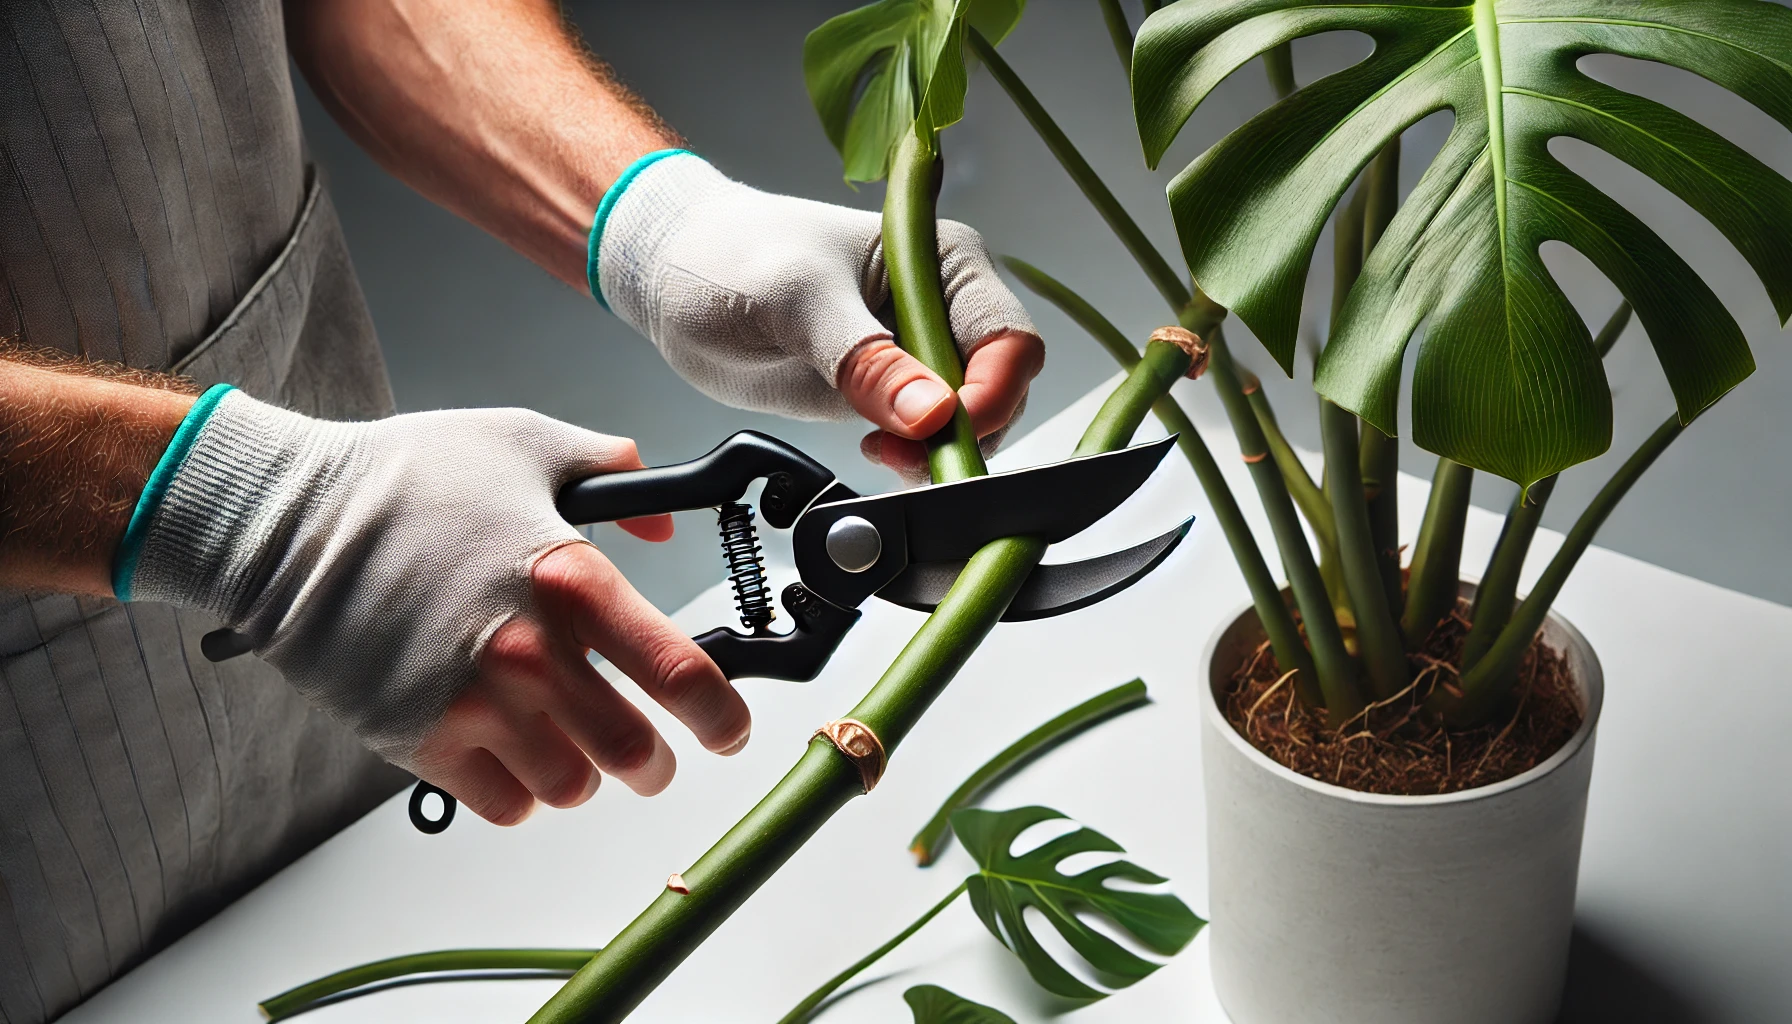
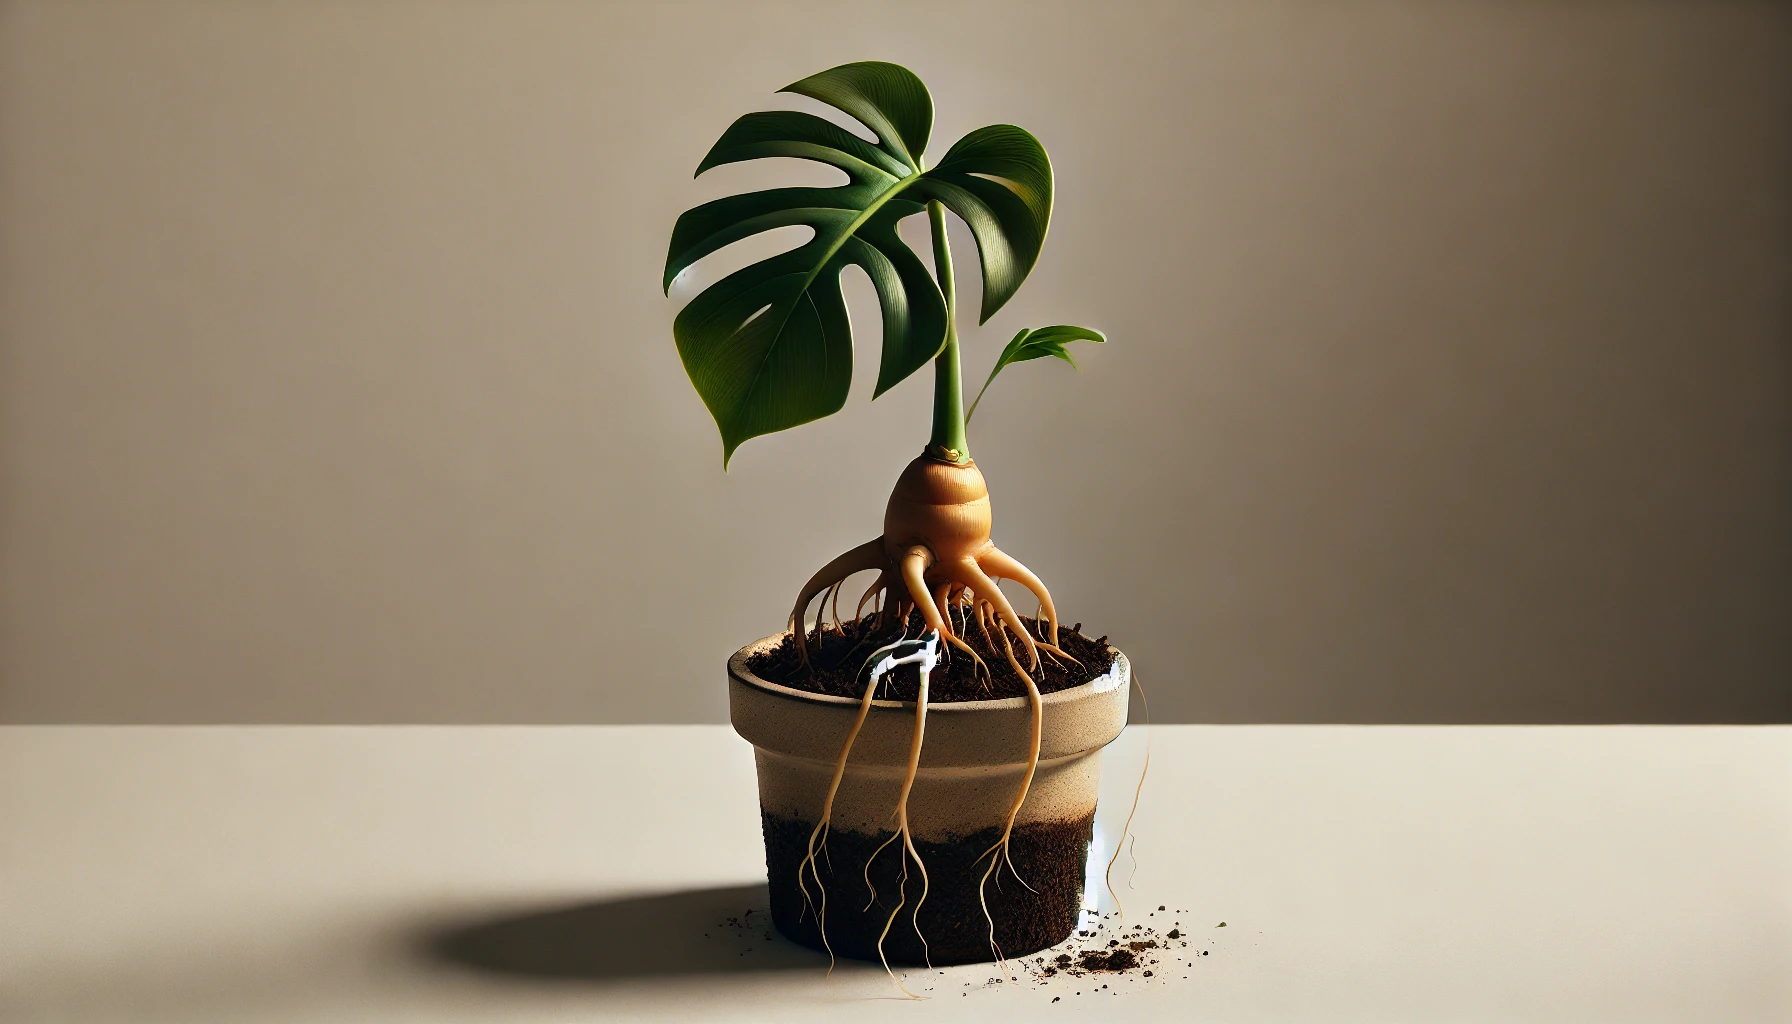
Step 1: Choose the Right Cutting
Select a healthy Monstera stem with at least one leaf and a node (the small bump where roots will grow). A cutting with two or three nodes is ideal for better root development. Make sure the stem is free of disease or damage.
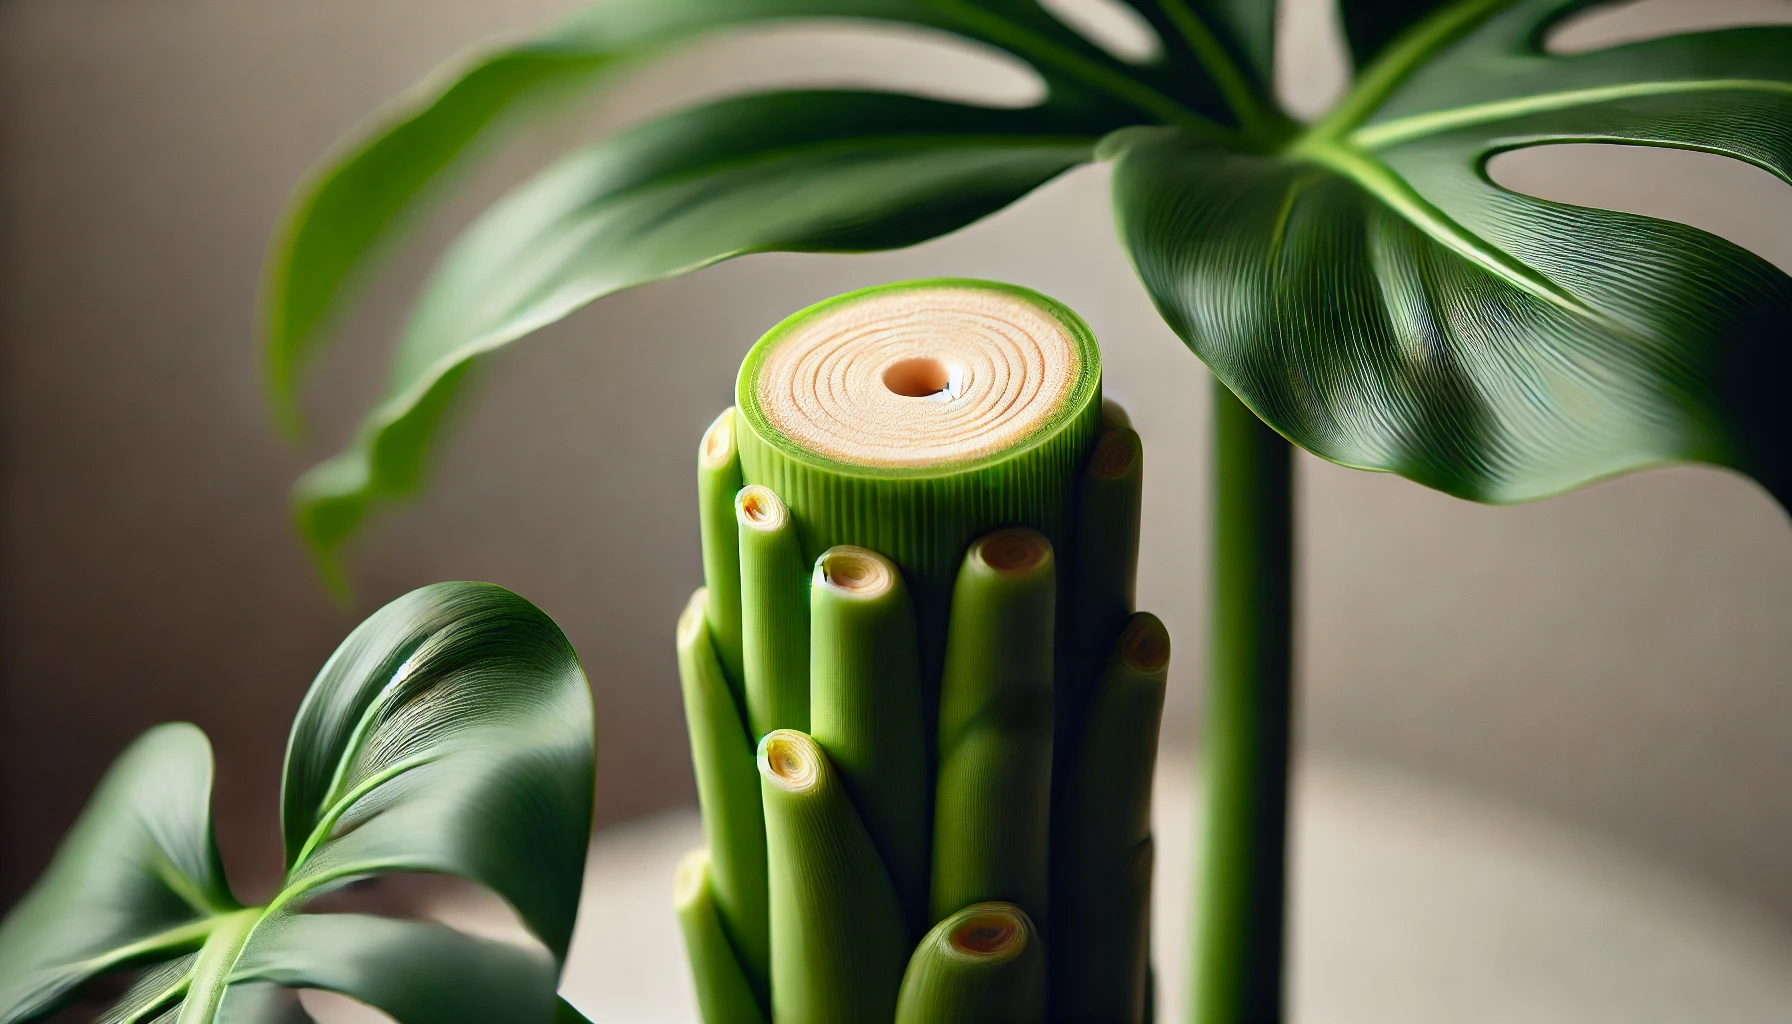
Step 2: Prepare the Cutting
Using sharp, clean scissors or pruning shears, cut the stem just below the node. Remove any leaves or stems from the lower part of the cutting to expose the node. This is where the roots will grow.
Step 3: Rooting Hormone (Optional)
While not essential, applying rooting hormone to the cut end can help stimulate faster root growth. Dip the bottom of the cutting into the hormone, tapping off any excess.
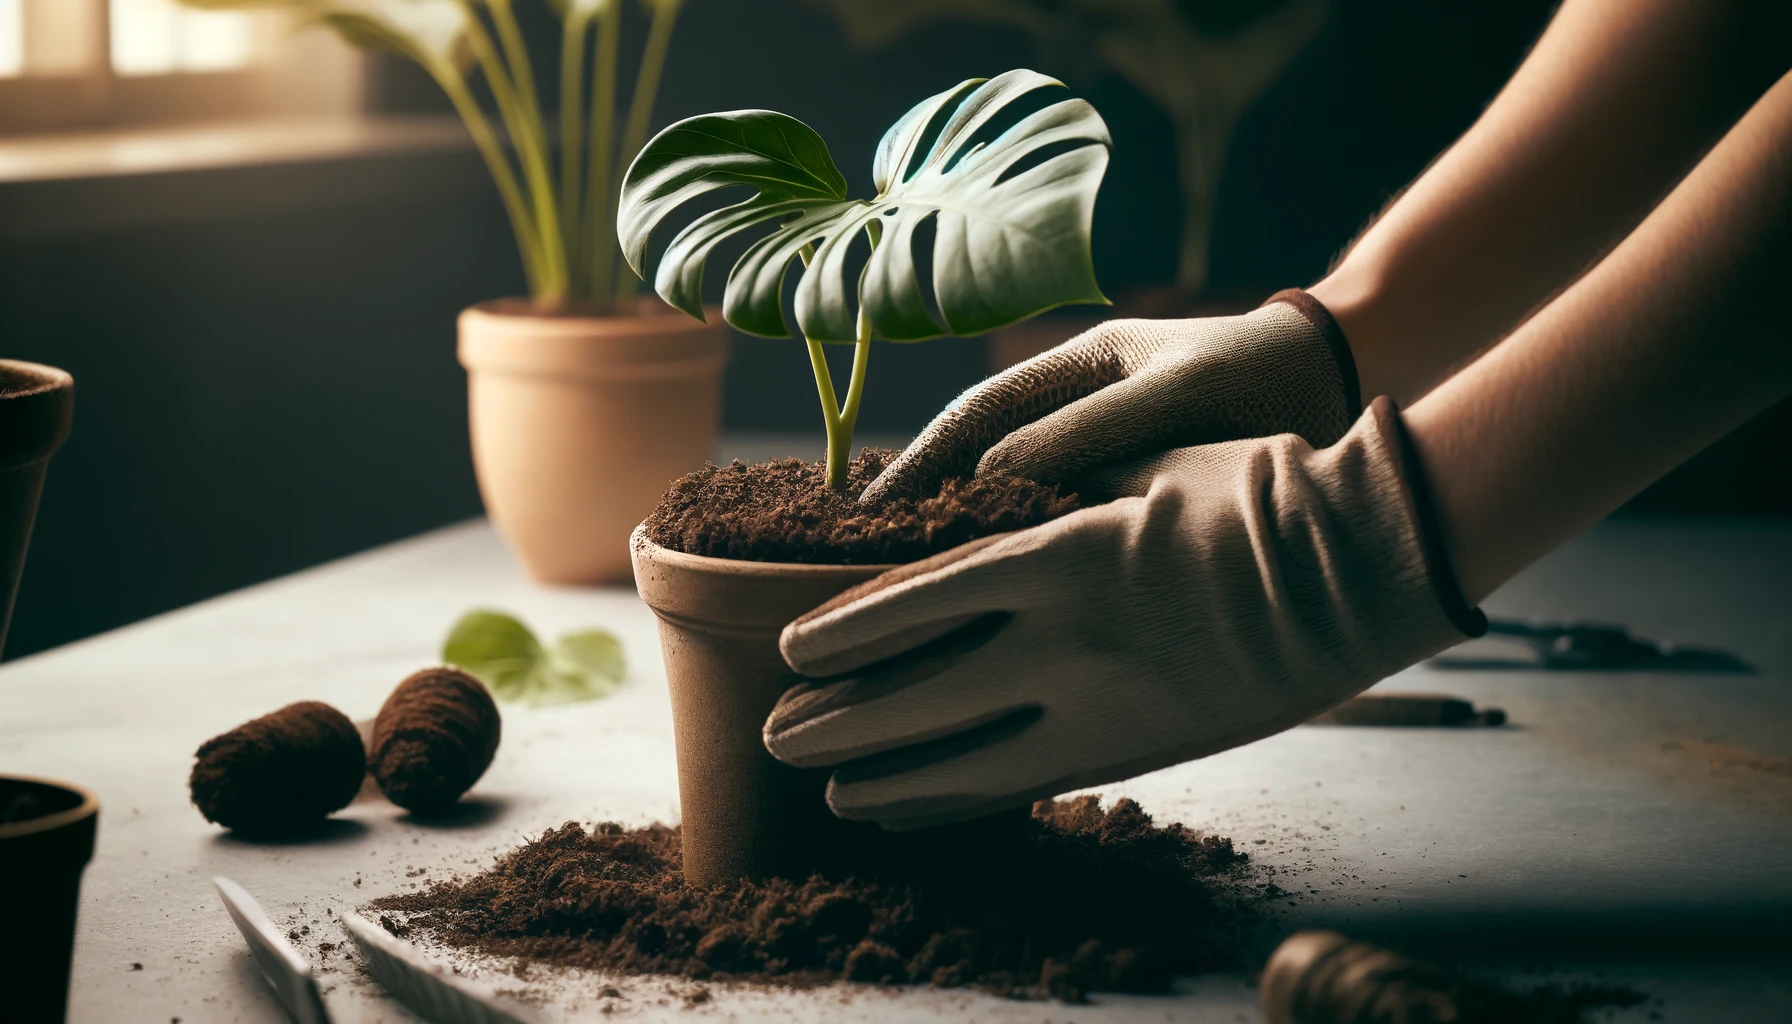
Step 4: Plant in Sterile Soil for Rooting Cuttings
Fill a small pot with sterile soil for rooting cuttings. A well-draining mix, such as perlite or cactus soil, works best. Insert the cutting into the soil, ensuring that the node is buried just below the surface. Gently press the soil around the cutting to secure it in place.
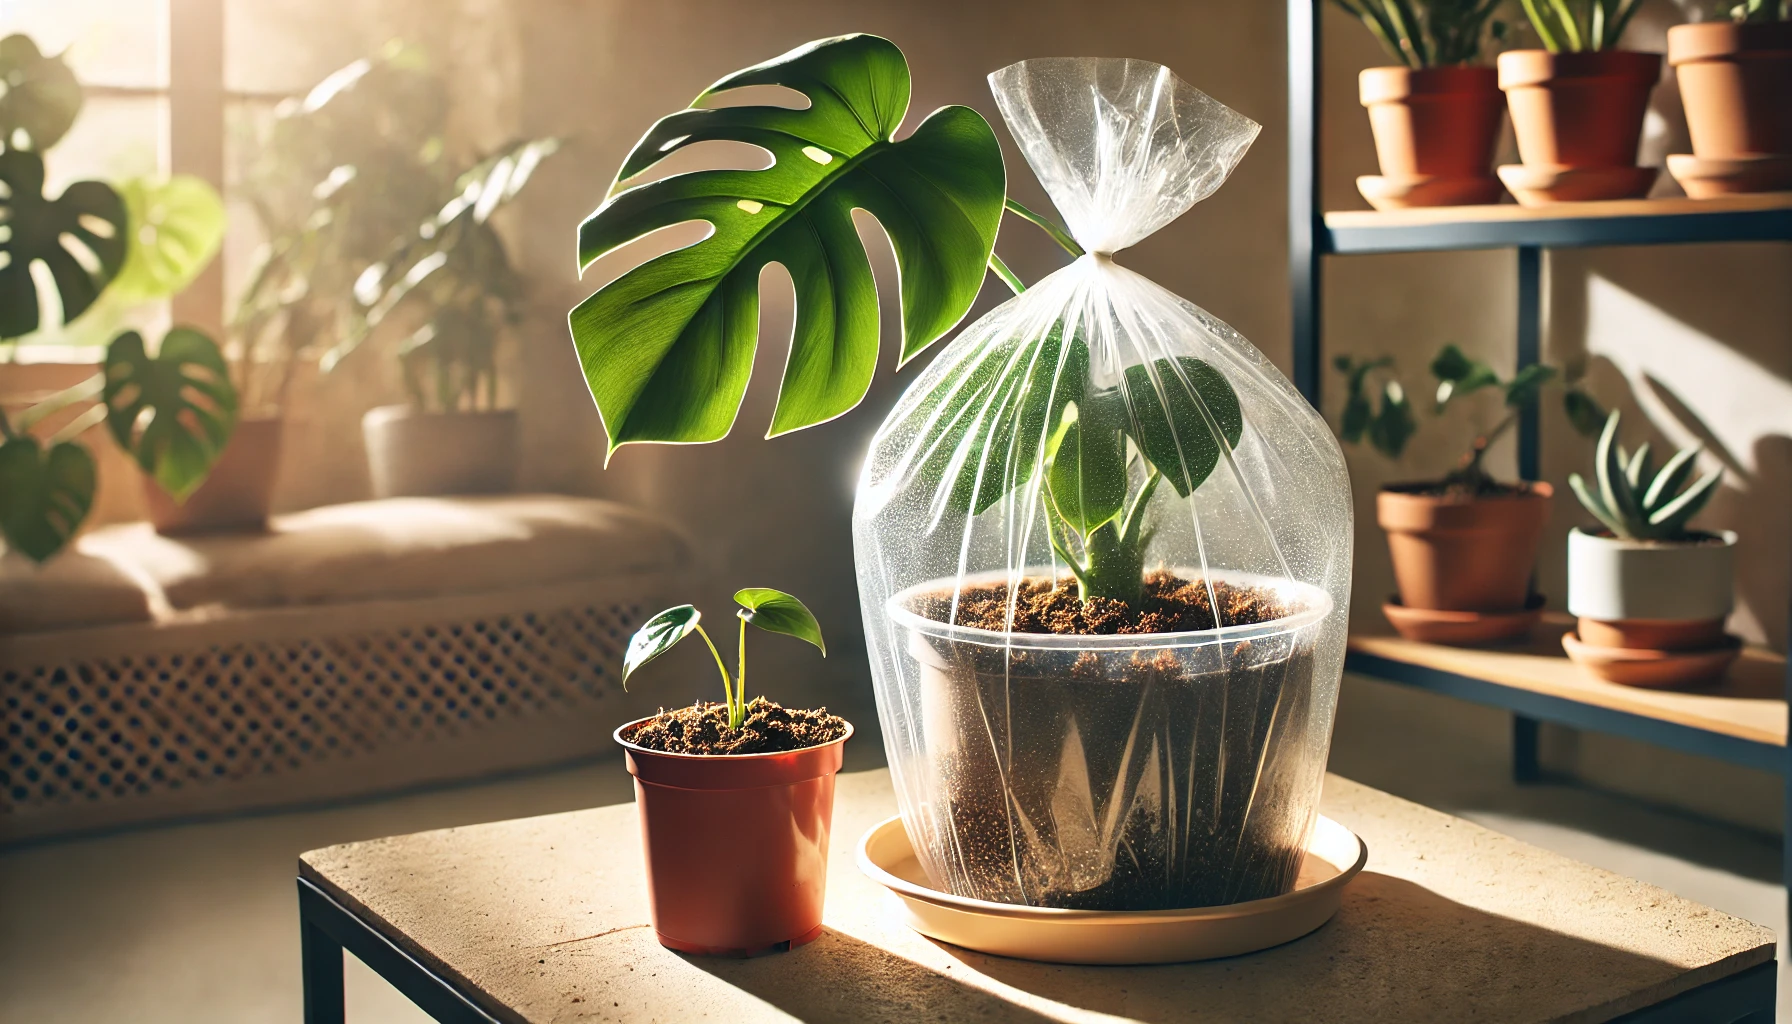
Step 5: Create the Right Environment
Place the cutting in a warm, bright spot with indirect sunlight. Avoid direct sun as it can burn the cutting. For optimal humidity, cover the pot with a plastic bag or place it in a mini greenhouse to help retain moisture.
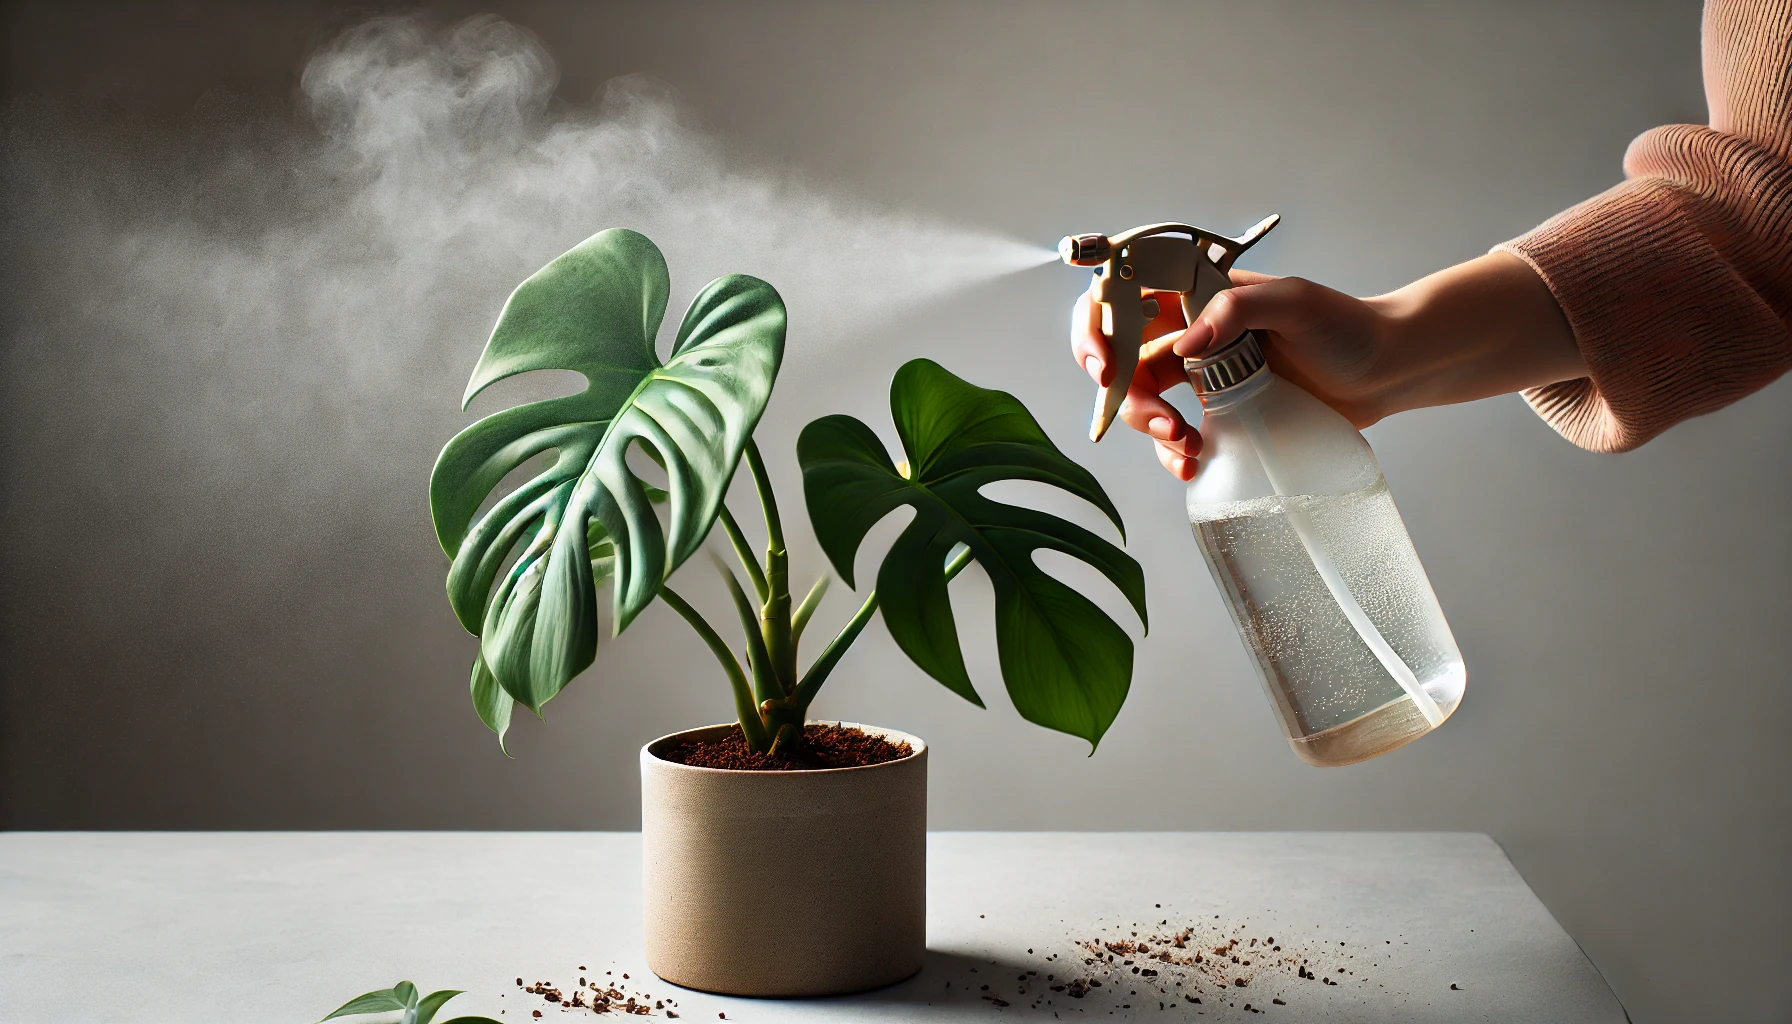
Step 6: Watering and Care
Keep the soil consistently moist but not soggy. Use a spray bottle to mist the cutting if needed. Check the cutting every few days for signs of root growth. After 2-4 weeks, you should see roots forming.
Step 7: Transplant When Ready
Once the roots are a few inches long and the cutting appears healthy, it’s time to transplant it into a larger pot. Gently remove the cutting from the soil, and place it in a pot with regular potting mix. Water it well and continue providing bright, indirect light for optimal growth.
By following these steps, you’ll have a new Monstera Deliciosa ready to thrive in no time! With patience and care, your cutting will grow into a full, vibrant plant.
Troubleshooting Common Propagation Problems
Even with the best intentions, things don’t always go as planned when propagating vining plants. Here are some common issues and expert tips for resolving them:
1. Slow or No Rooting
If your cuttings are taking longer to root—or not rooting at all—check these factors:
- Temperature: Rooting cuttings need warmth, ideally between 65°F and 75°F (18°C to 24°C). If it’s too cold, roots won’t develop as quickly.
- Humidity: Cuttings need high humidity to root. Consider covering your containers with plastic bags or using humidity domes to retain moisture.
- Sterile Soil: Always use sterile soil for rooting cuttings to prevent disease and encourage healthy root growth.
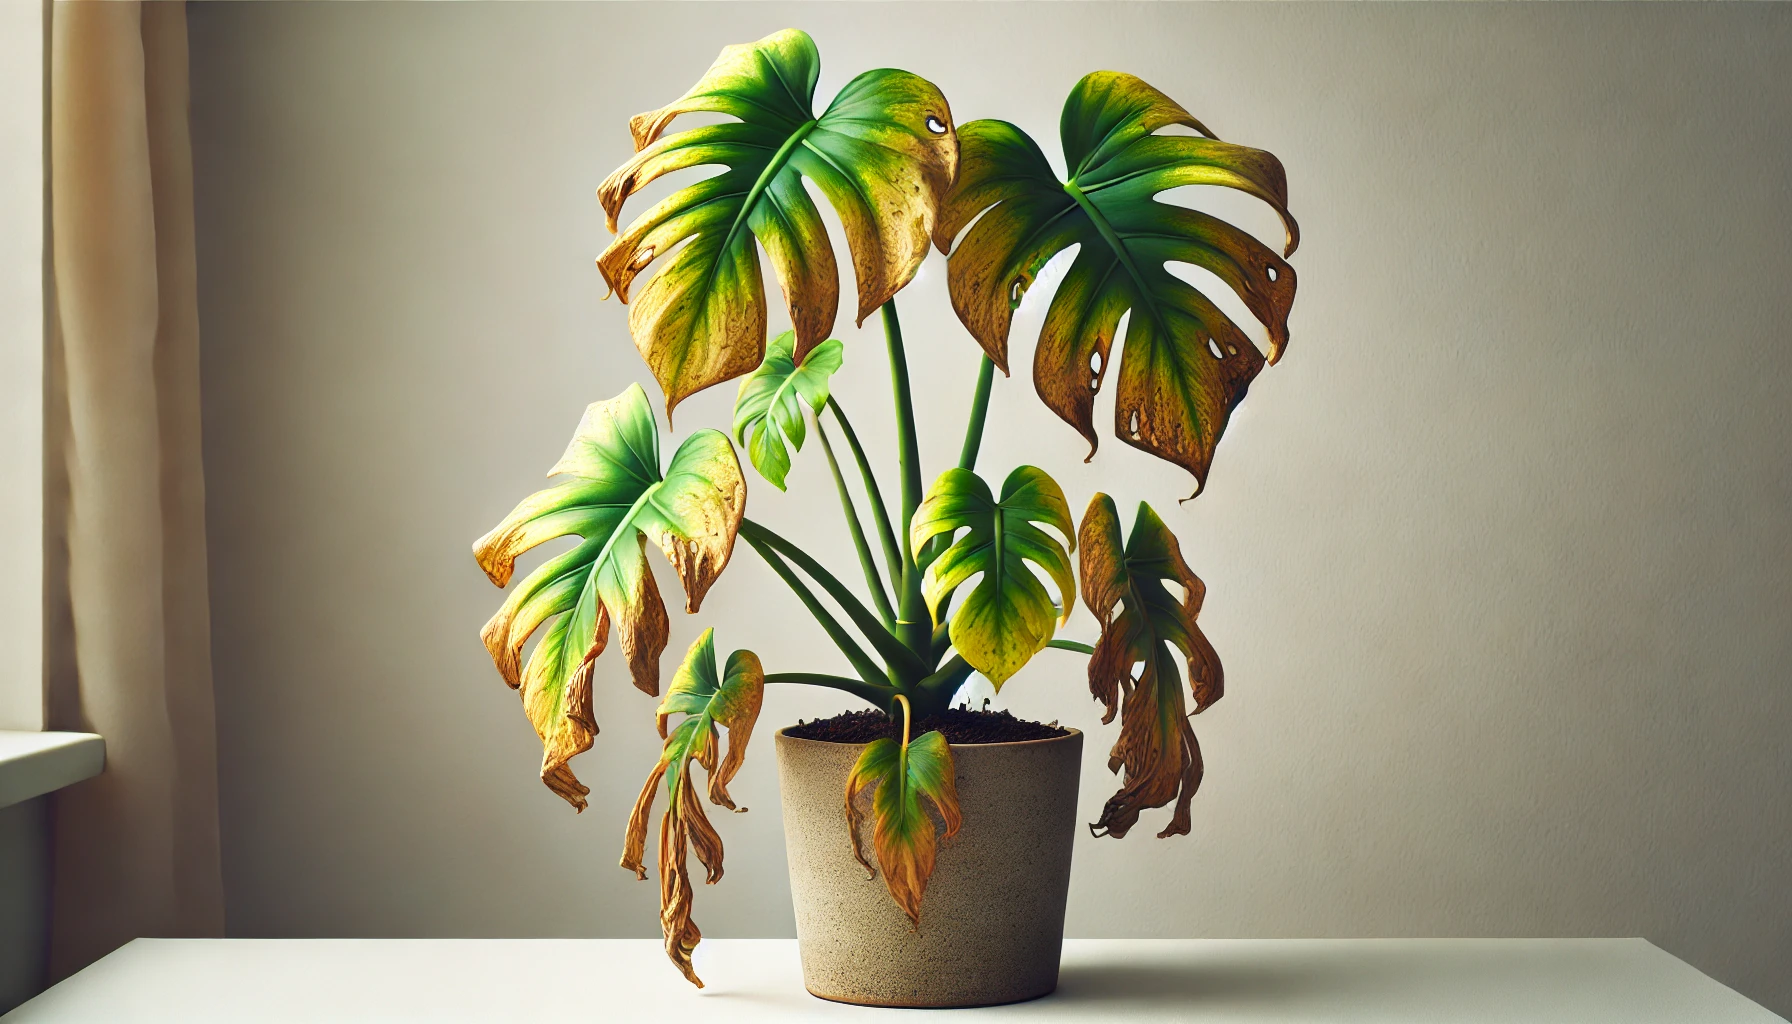
2. Yellowing or Wilting Leaves
Wilting or yellowing leaves can indicate stress:
- Overwatering: Ensure your soil is well-draining and avoid soggy conditions. Only water when the top inch of soil is dry.
- Underwatering: If the soil feels dry, the cutting might need a little more moisture. Mist the leaves or gently water.
- Light Stress: Too much direct sunlight can scorch the cutting, leading to yellowing. Provide indirect light to help prevent this.
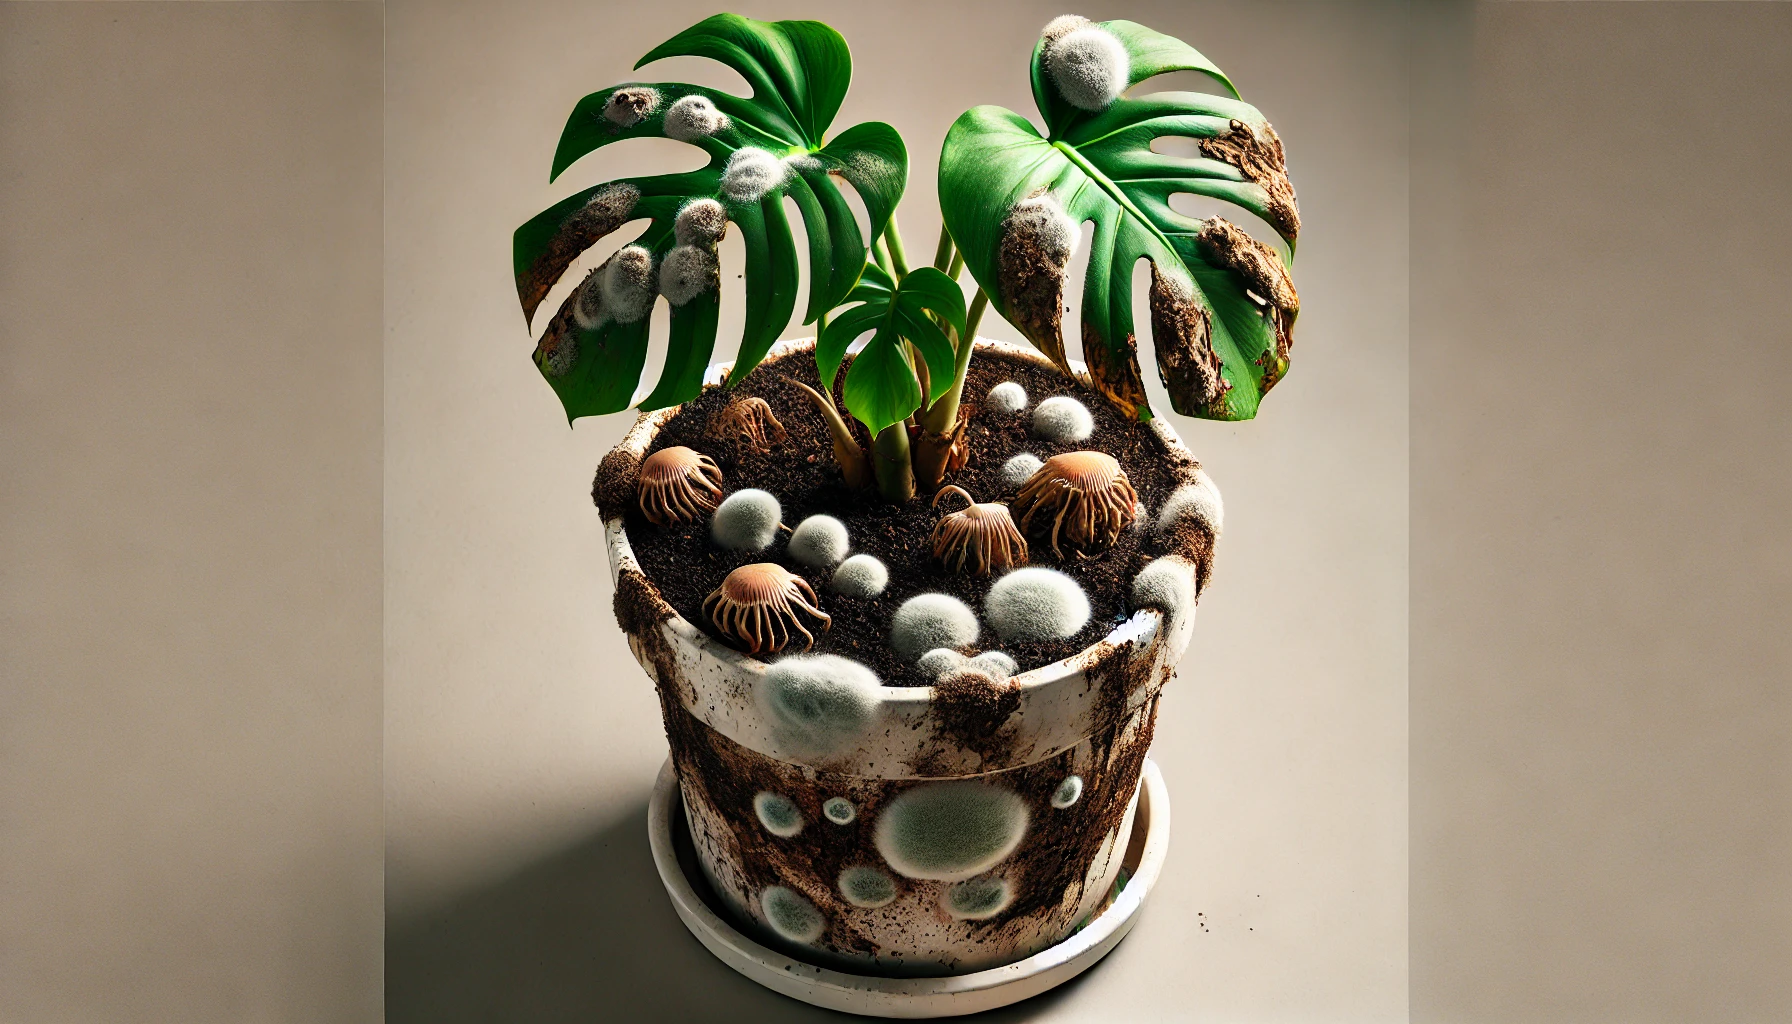
3. Mold or Fungal Growth
Fungal growth on your cuttings can be caused by excess moisture or poor air circulation:
- Air Circulation: Open plastic covers occasionally to allow air flow and prevent mold. Better ventilation can stop fungi from forming.
- Remove Infected Cuttings: If you notice mold or rot, remove the affected cutting immediately to prevent spreading to healthy plants.
- Sterile Conditions: Always use sterile soil for rooting cuttings and clean your tools before each use to avoid contamination.
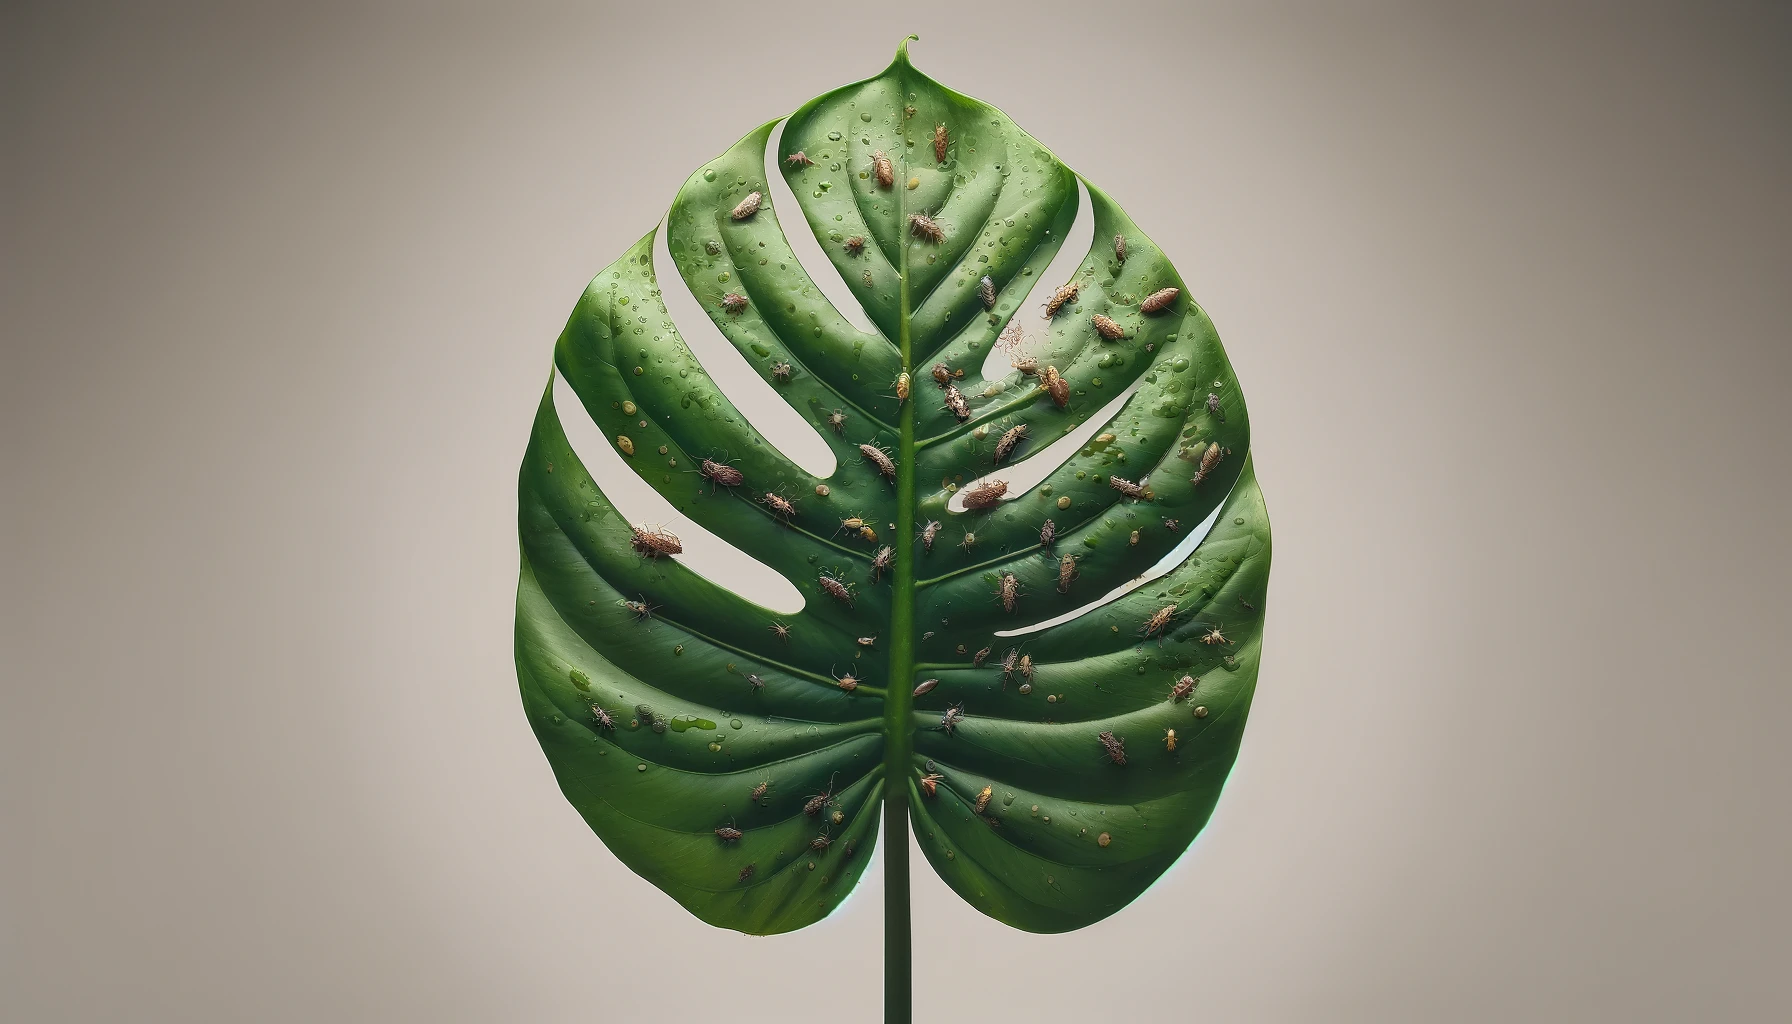
4. Pests
While propagating indoors, pests like aphids and mealybugs can be a nuisance:
- Check for Pests Regularly: Inspect your cuttings often for small insects hiding under leaves.
- Natural Remedies: If pests are found, treat the affected areas with a mild insecticidal soap or neem oil to get rid of them without harming the plant.
By addressing these common problems early, you can ensure a higher success rate when propagating your vining plants. Keep the conditions optimal, be patient, and soon you’ll have a thriving new plant collection.
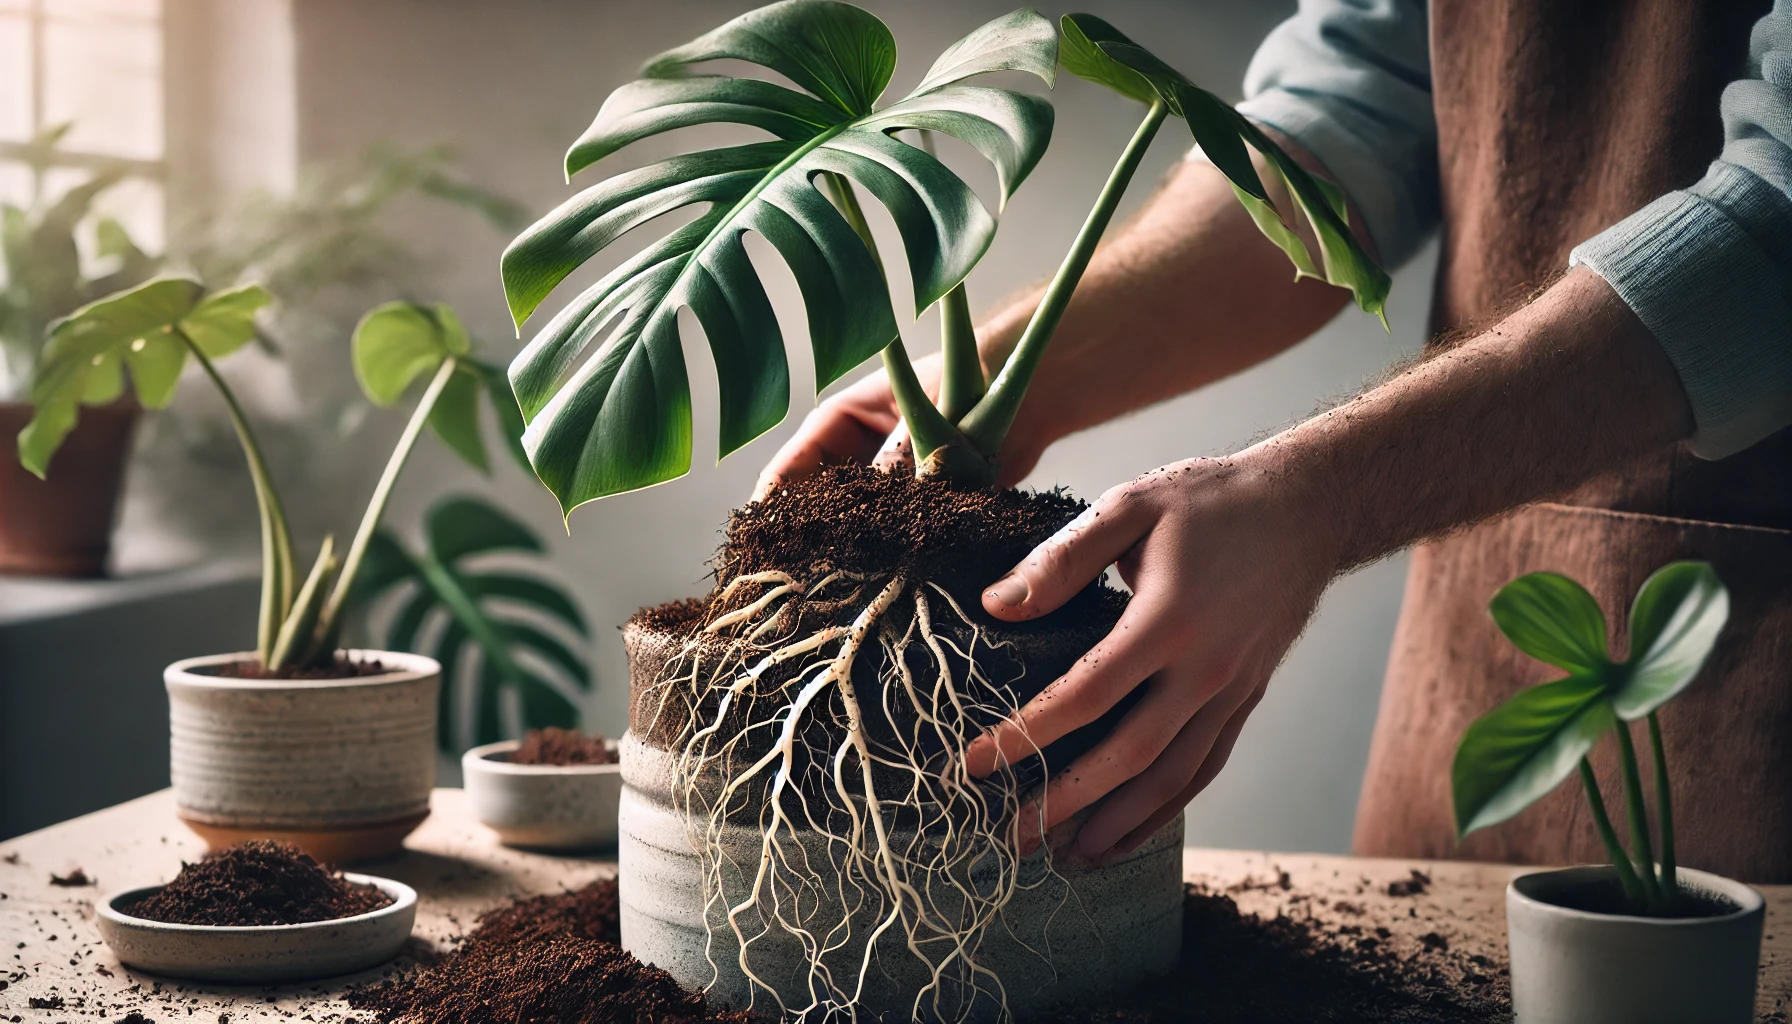
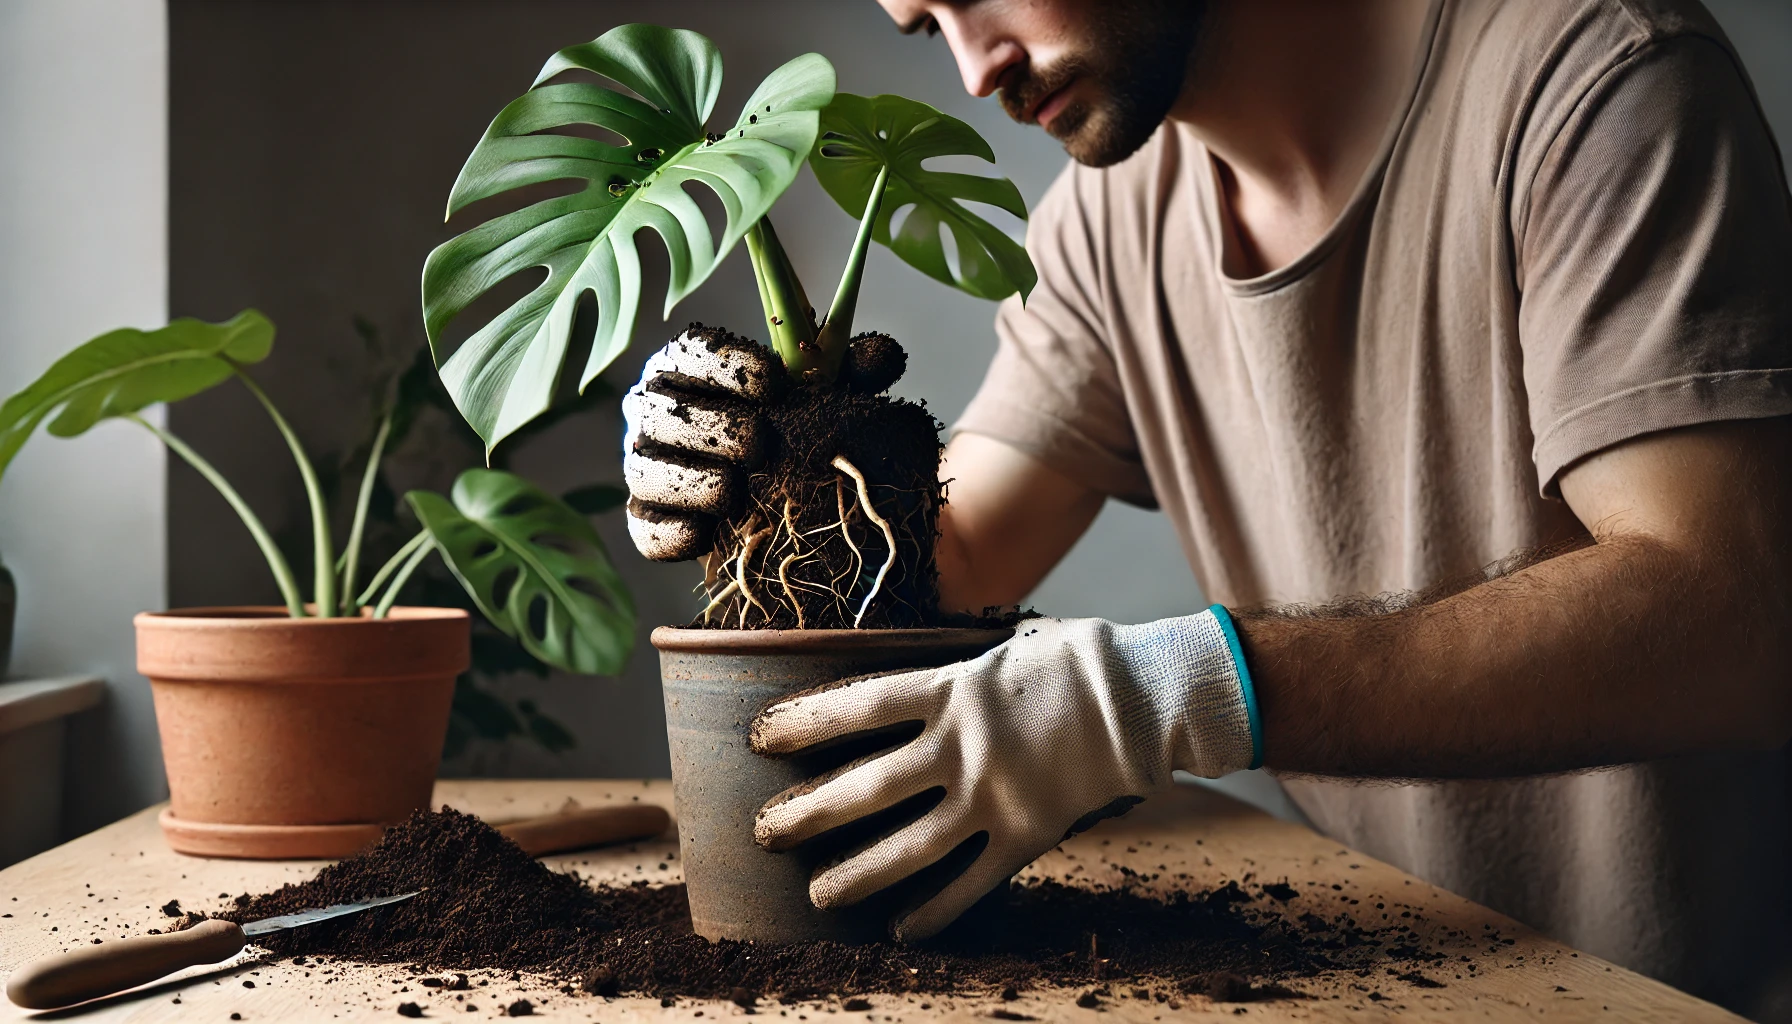
Transplanting Your Rooted Cutting into Soil
Once your vining plant cutting has developed a strong root system, it’s time to transplant it into soil. This crucial step ensures that your new plant has the space and nutrients to thrive. Here’s how to do it properly:
Choose the Right Pot
Select a pot with drainage holes to prevent water from accumulating, which can lead to root rot. The pot should be slightly larger than the root ball to give the plant room to grow but not so large that the soil retains too much moisture.
Prepare the Soil
Use a well-draining potting mix that suits your plant type. A mix designed for indoor plants works well for most vining plants. If you’re unsure, opt for a standard, light potting soil. Ensure it’s moist but not soggy before planting your cutting.
Gently Remove the Cutting
Carefully take your rooted cutting out of the water or propagation medium. Avoid damaging the delicate roots. If necessary, gently rinse off any excess medium around the roots.
Place the Cutting in the Pot
Create a small hole in the center of the prepared soil. Place the cutting in the hole, ensuring the roots are fully covered but the stem remains above the soil level. Firm the soil around the cutting to eliminate air pockets.
Water Thoroughly
Water the cutting immediately after transplanting to help settle the soil around the roots. Make sure the water drains properly through the bottom of the pot.
Provide Proper Light and Temperature
Place the potted cutting in a location with bright, indirect sunlight. Avoid direct sunlight at first, as the plant may be stressed. Ensure the room temperature is warm but not too hot, as this promotes root development.
Monitor and Care
For the first few weeks, keep the soil slightly moist but not wet. Watch for signs of new growth as a positive indication that the plant is adjusting well to its new environment. Be patient, as it may take time for the cutting to acclimate to its new pot.

Propagating Monstera Deliciosa from cuttings is a simple and rewarding process that allows you to grow a thriving collection of these beautiful plants. By following the steps outlined in this guide, from selecting the right cutting to transplanting your rooted Monstera into soil, you’ll be well on your way to expanding your plant family. Remember to be patient and consistent with care, as root growth takes time. With the right conditions, your cuttings will thrive and soon transform into stunning new plants. Whether you’re a beginner or an experienced plant lover, propagating Monstera Deliciosa from cuttings is an enjoyable way to bring more greenery into your home. Happy planting, and don’t forget to share your success stories with fellow plant enthusiasts!