
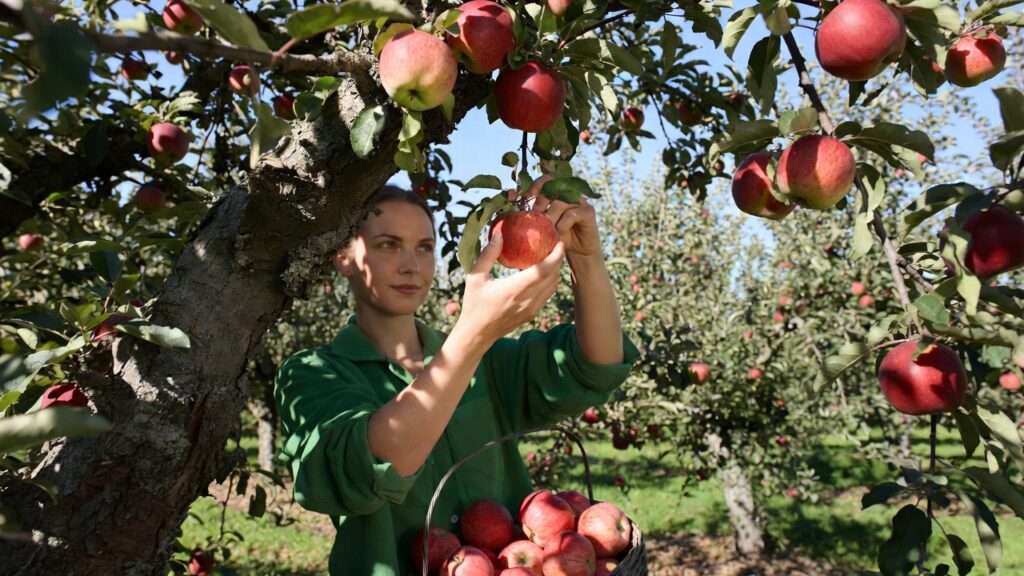
Have you ever plucked what looked like the perfect ripe apple 🍏 from your backyard tree, only to find it bruised within hours… or worse, noticed fewer blossoms and fruit the following spring because you accidentally broke off precious fruit spurs? 😩 If you’re a home gardener, backyard orchard enthusiast, or simply someone who loves tending fruit trees, these frustrating issues are all too common. The good news? Most of this damage is completely preventable with the proper technique for picking apples — a gentle, expert-recommended method that protects both your harvest and your tree’s long-term health.
In this comprehensive guide, we’ll walk you through everything you need to know to harvest apples like a pro. Drawing from trusted university extension services (like Penn State, Oregon State, and Washington State University), we’ll cover ripeness timing, the exact hand positioning and motion to avoid bruising, common pitfalls that harm fruit spurs, essential tools, post-harvest care, and variety-specific advice. By the end, you’ll enjoy bruise-free, stem-intact apples that store longer, taste better, and help your tree produce abundantly year after year. Let’s turn your apple-picking experience from stressful to satisfying! 🌟
Why the Proper Picking Technique Matters for Your Apples and Tree 🌱
Apples may look tough, but they’re surprisingly delicate. The skin and flesh can bruise easily from fingertip pressure, drops, or even minor impacts — a problem known as compression or impact bruising. Once bruised, the damaged cells release enzymes that speed up spoilage, shortening shelf life from weeks to days.
Even more critical for home growers: improper picking harms the tree itself. Yanking or pulling downward often tears the fruit spur — those short, stubby branches where apples form. Fruit spurs are perennial; they can produce fruit for 8–10 years or more if left intact. Breaking them reduces next season’s crop and can stress the tree, inviting disease or poor growth.
The benefits of mastering the proper technique are huge:
- Better fruit quality — Stem stays attached (crucial for storage as it prevents moisture loss and entry points for rot).
- Healthier trees — Preserved spurs mean consistent yields without needing heavy pruning to recover.
- Longer storage — Properly harvested apples keep crisp in cool conditions for months.
- Sustainable enjoyment — Fewer wasted fruits and happier, more productive trees.
Whether you’re managing a few dwarf trees in a small yard or dreaming of a mini home orchard, using the right method solves real problems like “Why do my apples bruise so fast?” or “Why isn’t my tree producing as much anymore?” Let’s dive in. 🍏
When to Pick: Determining True Ripeness (Don’t Guess!) ⏰🍏
Timing is everything in apple harvesting. Pick too early, and you’ll get tart, starchy, small fruit that doesn’t store well. Pick too late, and apples become soft, mealy, or drop prematurely, bruising on the ground.
Apples ripen from the outside in and top down, so not every fruit on a tree matures simultaneously. Use these reliable indicators (backed by extension experts):
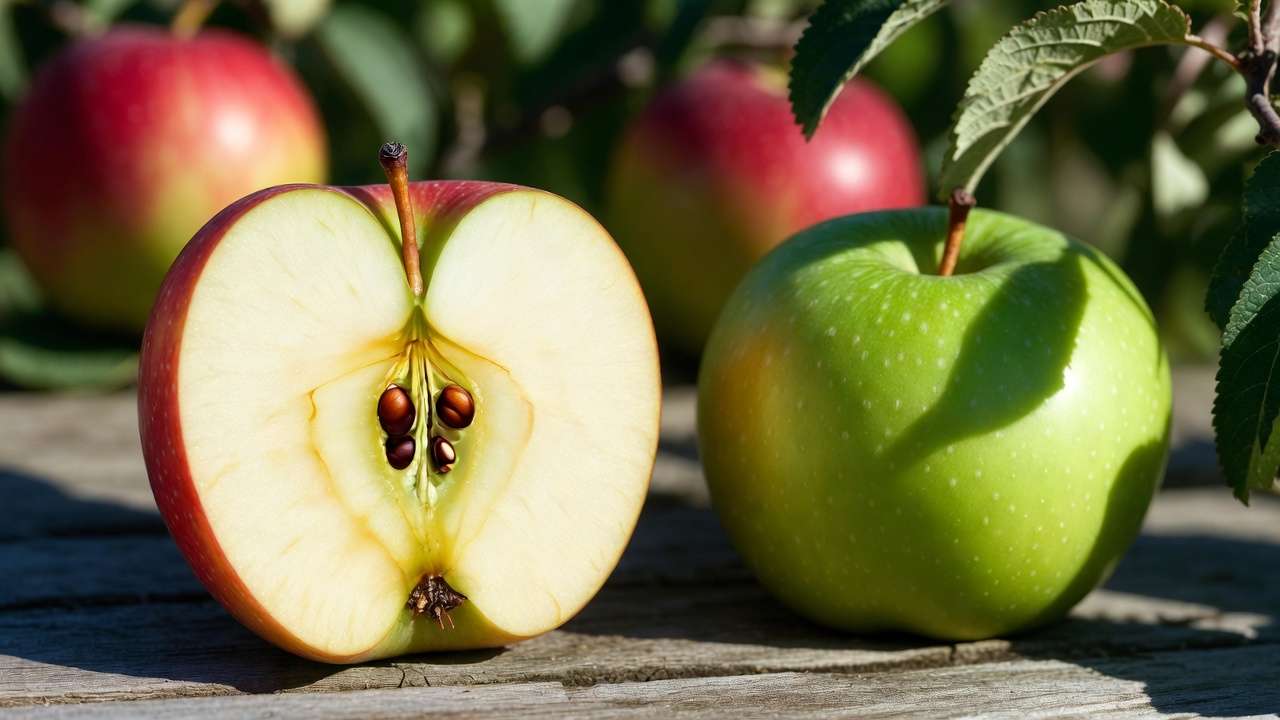
- Ground color change — Ignore the red blush (that’s variety-specific). Look at the background color (the “ground” facing away from the sun or inside the canopy). For red varieties, shift from green to yellowish-green or creamy. For yellow varieties like Golden Delicious, go from green to golden yellow.
- Seed color — Cut a sample apple open. Seeds turn from white/light green to brown when mature. (Note: Seeds can brown early in some varieties, so combine with other signs.)
- Firmness and flavor test — The apple should feel firm but yield slightly. Taste one: sugars should dominate over starch (no “woody” aftertaste).
- Ease of separation — A ripe apple detaches with minimal effort using the proper technique (more on this below). If it resists strongly, wait a few days.
- Natural drop — A few clean-falling apples signal the start of harvest window.
Spot picking is key for home orchards: Harvest in 2–3 passes over 1–2 weeks as fruit ripens unevenly. Start with the outer, sunnier apples, then move inward and lower.
Variety timing examples (general Northern Hemisphere guidelines; adjust for your climate):
- Early-season (late July–early September): Gala, McIntosh, Honeycrisp — softer, bruise more easily.
- Mid-season (September): Jonathan, Cortland, Empire.
- Late-season (October+): Granny Smith, Fuji, Braeburn — firmer, better storers.
Track your local bloom date — most varieties need a set number of days post-bloom (e.g., ~135–155 days). Check your region’s extension resources for precise charts! 📅
Step-by-Step: The Proper Technique for Picking Apples (Core Method) ✋🌟
The gold-standard method, often called “roll picking” or “lift-twist,” comes straight from extension guides (Penn State, OSU, WSU). It minimizes pressure on the fruit and protects spurs.
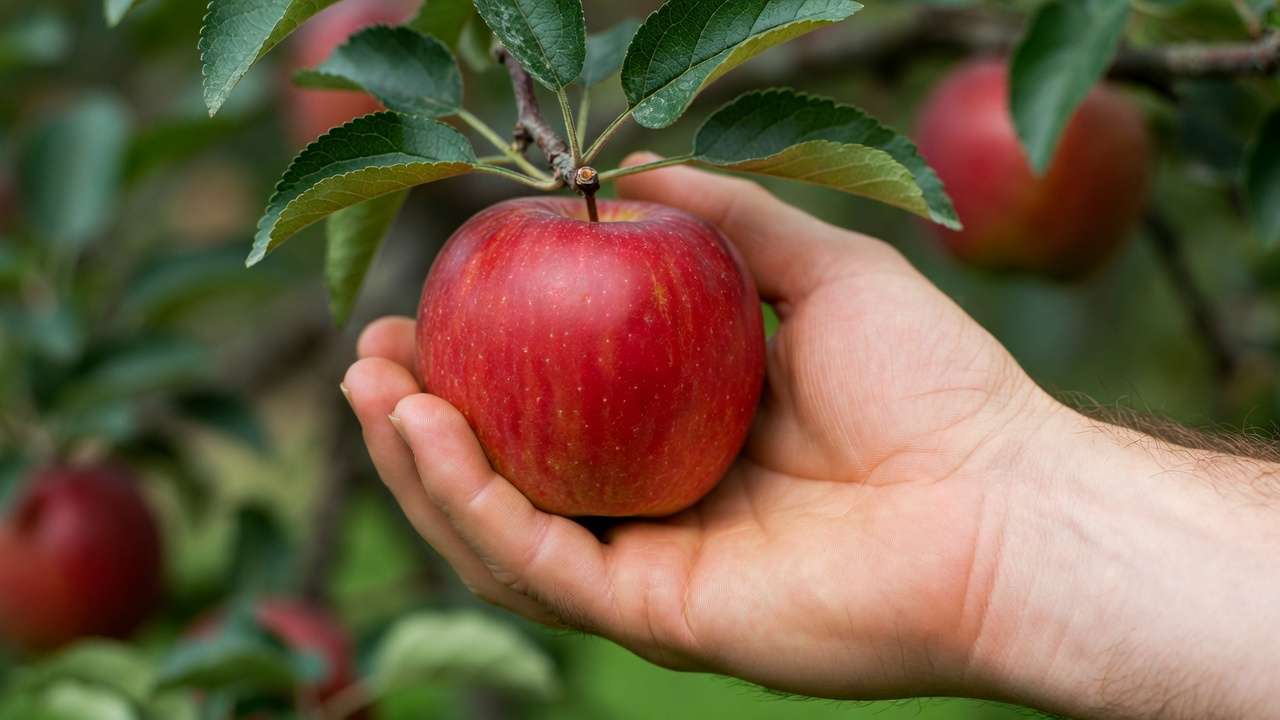
Step 1: Cup, Don’t Squeeze Use the open palm of your hand to gently cradle the apple from below — like holding an egg 🥚. Avoid gripping with fingertips, which creates pinpoint pressure and immediate bruises. Your thumb can rest near the stem for light guidance.
Step 2: Lift Gently Upward Raise the apple toward the branch direction (up and slightly outward, almost horizontal). This aligns with the natural attachment angle and reduces stress on the spur.
Step 3: Twist Smoothly Apply a gentle rolling or twisting motion (usually backward/upward). The ripe apple should snap off cleanly with the stem intact. No hard yanking!
Visual tip: Imagine turning the apple “up to the sky” rather than twisting sideways. If it doesn’t release easily, it’s not fully ripe — set it back gently.
Pro variations:
- For short-stemmed varieties: Emphasize the upward lift.
- Use both hands for speed and care — pick one, transfer if needed, then place gently.
Practice on a few test apples. Once you feel that satisfying “snap,” you’ll never go back to pulling! (Image suggestion: Close-up of palm-cupped apple being lifted and twisted.) 📸
Common Mistakes to Avoid (And How to Fix Them) ❌
Even experienced gardeners slip up sometimes. Here are the most frequent errors that lead to bruised fruit, damaged trees, or disappointing harvests — plus expert fixes from university extension services like Penn State, Oregon State, and others.
- Pulling or yanking downward — This is the #1 culprit for broken fruit spurs and torn stems. Downward force stresses the attachment point, often snapping off the spur (where next year’s buds form) or pulling the stem out of the apple, creating an open wound prone to rot. Fix: Always lift upward first, then twist gently as described in the core method. If it resists, leave it — it’s not ripe yet!
- Pinching or squeezing with fingertips — Finger pressure creates small compression bruises that turn brown quickly and accelerate spoilage. Fix: Use your whole palm to cradle like an egg 🥚. Keep fingernails short to avoid accidental punctures.
- Shaking branches or tree limbs — This causes multiple apples to drop, bruising on impact with the ground or each other. It also risks branch damage. Fix: Pick one by one selectively. Never shake — patience pays off with better quality.
- Picking wet or cold fruit — Morning dew or chilly temperatures make skin more susceptible to bruising from even light handling. Fix: Wait for a sunny, dry afternoon when fruit has warmed slightly. If you must pick early, handle extra gently.
- Overreaching or improper ladder use — Stretching too far can lead to falls, dropped apples, or accidental branch breaks. Fix: Use a stable, three-legged orchard ladder (not household step ladders). Position it securely and move it often instead of reaching.
- Dropping or throwing into containers → Instant impact bruises. Fix: Place apples gently, backs of hands first for cushioning.
Avoiding these mistakes preserves your tree’s productivity and gives you apples that last longer in storage. One bad habit can reduce future yields for years — but good habits build a thriving home orchard! 🌱
Tools and Gear for Safe, Bruise-Free Harvesting 🧰
The right equipment makes the proper technique easier and safer, especially for taller trees or larger harvests.
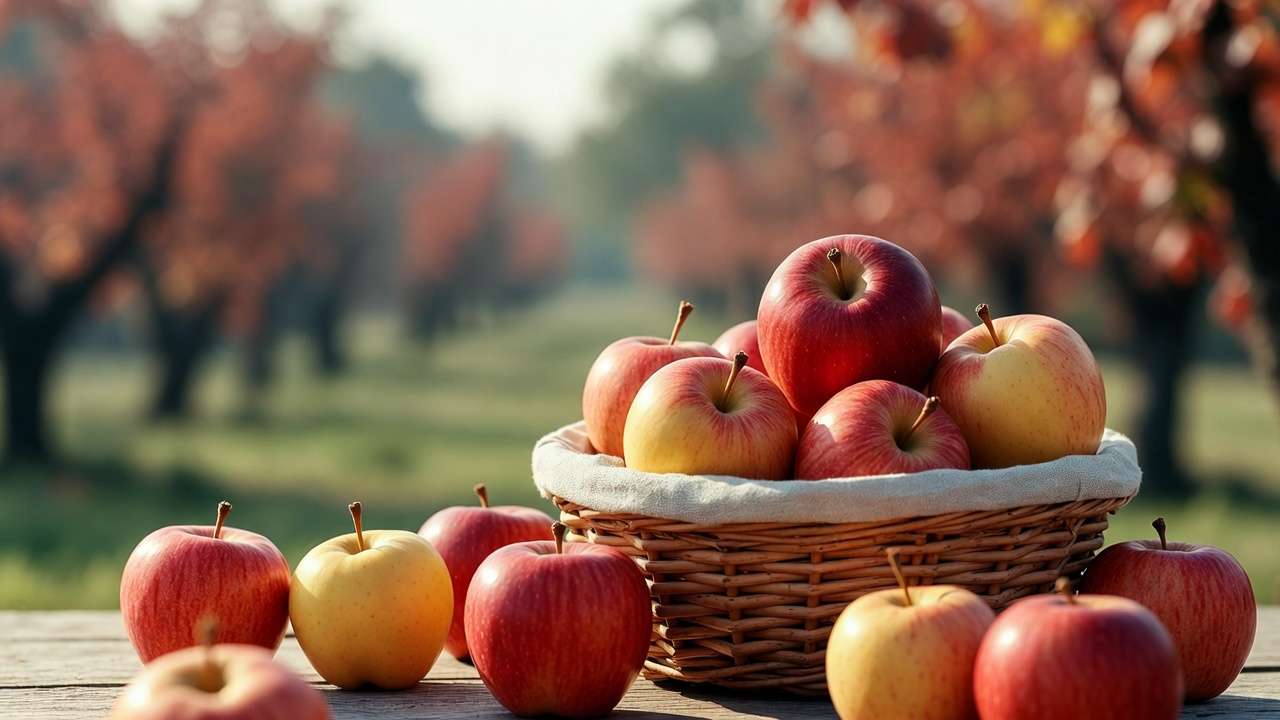
- Picking containers — Use padded baskets, shallow crates, or soft-sided harvest bags. Hard-sided buckets with foam lining (or even a towel inside) prevent stacking pressure. Avoid deep buckets where apples crush each other.
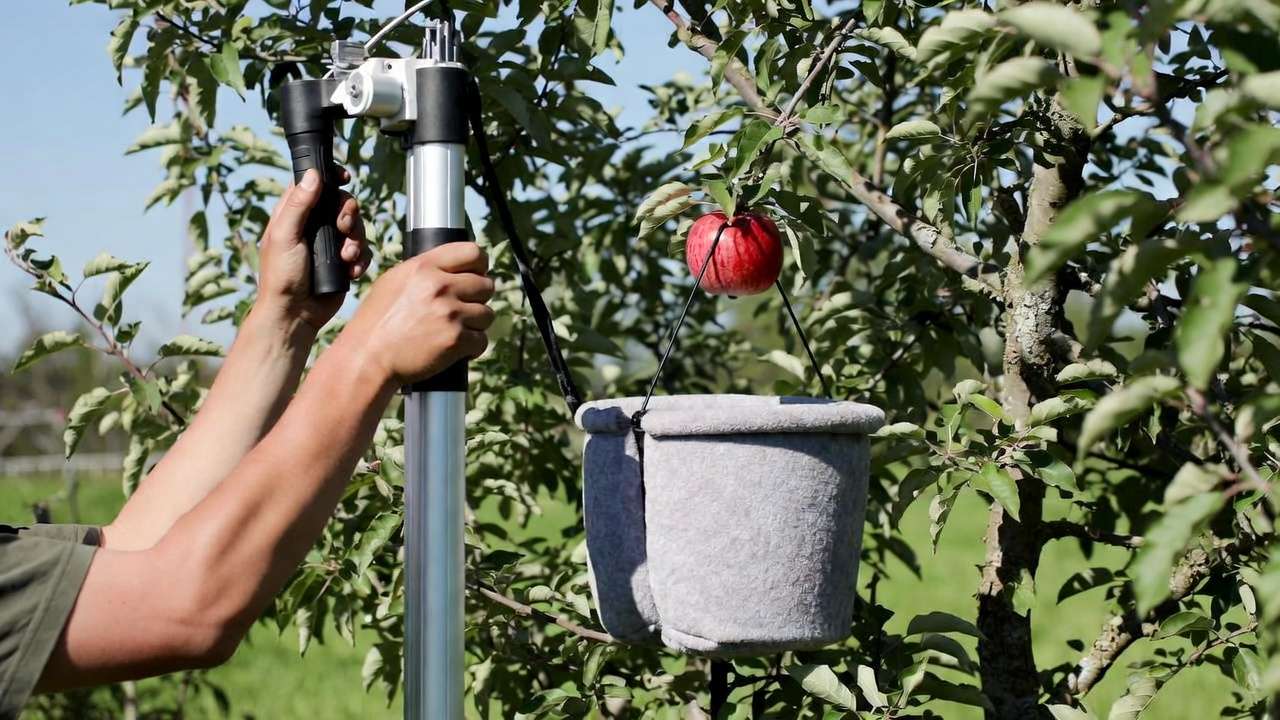
- Fruit picker pole — For high branches, choose a telescoping pole with a cushioned basket or claw end (widely available for home gardeners). These let you reach 10–15 feet without ladders.
- Ladders — Opt for sturdy orchard ladders with wide bases and non-slip feet. Never lean against the trunk — position away and use three points of contact.
- Gloves (optional) — Soft gardening gloves add extra gentleness and protect hands from thorns or rough bark.
- Harvesting apron or shoulder bag — Hands-free options keep both hands picking while reducing drops.
Pro tip: Keep tools clean to avoid spreading disease. For small yards, a simple padded basket and pole picker cover most needs — no fancy commercial gear required! 📸 (Image suggestion: Side-by-side of good vs. bad containers and a pole picker in action.)
After Picking: Handling, Storing, and Preserving Your Harvest 🏠🍎
Proper technique doesn’t end at the tree — post-harvest care maximizes your reward.
- Immediate handling — Place (don’t drop) apples stem-up in your container. Sort out any bruised or damaged ones for immediate use (pies, sauce, cider).
- Cooling — Move harvested apples to a cool spot (ideally 32–40°F / 0–4°C) within hours. This slows respiration and extends crispness.
- Storage tips — Store in a humid environment (like a basement, garage, or fridge crisper drawer — not sealed plastic bags). Wrap individually in newspaper or use perforated bags to prevent ethylene buildup. Check weekly and remove any softening fruit.
- Shelf life by variety — Firmer types like Granny Smith or Fuji last 3–6 months properly stored; softer ones like Gala or McIntosh 1–2 months.
- Bonus uses — Turn slightly bruised apples into applesauce, baked goods, or juice — nothing goes to waste!
With stem-intact, bruise-free apples, you’ll savor that fresh-picked flavor far longer. 🍏
Variety-Specific Picking Tips (Tailor to Your Trees) 🌳
Not all apples behave the same — softer or thinner-skinned varieties bruise more easily, while late-season ones are tougher but still need spur protection.
- Early-season varieties (e.g., Gala, McIntosh, Honeycrisp) — Softer flesh means extra-gentle palm cradling and minimal twisting force. Bruise risk is high, so pick in cool weather and handle like fine china.
- Mid-season (e.g., Jonathan, Cortland, Empire) — Balanced firmness; standard lift-twist works well, but watch for spur sensitivity.
- Late-season (e.g., Granny Smith, Fuji, Braeburn) — Firmer, better storers. They tolerate slight extra handling but still require upward lift to avoid spur damage.
- Dwarf vs. standard trees — Dwarf trees have lower spurs — easier reach but more vulnerable to breakage from over-pulling. Use poles for upper branches on standards.
Always combine ripeness checks (ground color, seeds, taste) with the proper method. Your local climate and rootstock can shift timing slightly — consult regional extension charts for precision.
Expert Insights and FAQs (Build Authority & Engagement) ❓
From trusted sources like Penn State Extension (“roll picking” with palm grasp and backward roll) and Oregon State (“gentle upward twist to avoid spur break”):
- Insight: Picking wet fruit increases bruising risk by up to 50% in some studies — always wait for dry conditions.
- Insight: Leaving stems on is crucial — it seals the fruit naturally and extends storage by weeks.
FAQs:
- What if the apple doesn’t come off easily? It’s not ripe! Set it back gently and check again in a few days.
- Can kids use this technique safely? 👨👩👧 Yes — teach palm cradling and gentle twist. It’s a great family activity!
- How do I pick from tall trees without damage? Use a padded pole picker to avoid ladders where possible.
- Does this work for pears too? Very similar! Upward lift and twist — pears are even more bruise-prone.
- Why leave the stem on? It prevents dehydration and rot entry, keeping apples crisp longer.
Conclusion: Harvest Like a Pro and Enjoy Your Tree for Years 🍏❤️
You’ve now mastered the proper technique for picking apples: cup in palm, lift upward, gentle twist — protecting fruit from bruises and trees from spur damage. By timing ripeness accurately, avoiding common mistakes, using smart tools, and handling post-harvest with care, you’ll enjoy higher-quality harvests, healthier trees, and the deep satisfaction of sustainable home growing.
This season, put these steps into practice and watch your orchard thrive. Share your results or questions in the comments — happy harvesting! 🌟


