
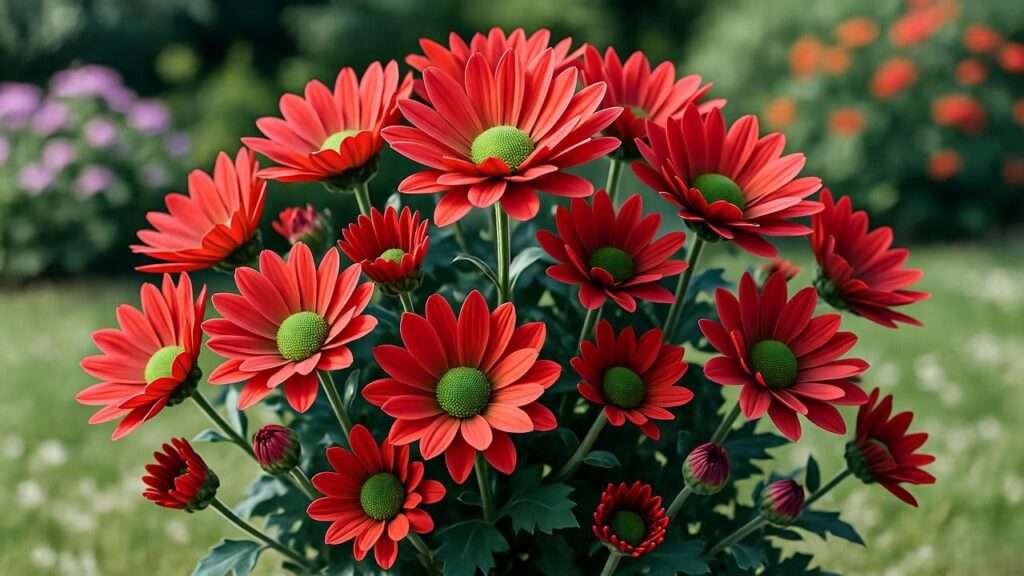
You bought the perfect mum. Its blooms were a stunning, fiery red—a vibrant centerpiece for your fall decor. But then, it happened: the stems went limp, the leaves browned, and the entire plant collapsed into the dreaded droop. Sound familiar? You’re not alone. The Red Mum Plant (Chrysanthemum), often called the Autumn Queen, is a spectacular but notoriously challenging star of the garden. Many casual care guides miss the subtle, crucial details that separate a mum that lasts two weeks from one that thrives for an entire season and returns year after year.
Here’s the blunt truth: If your gorgeous Red Mum Plant is wilting, it’s rarely just about a single missed watering. It’s a signal that the delicate balance of its environment has been broken. To turn a quickly fading fall accent into a robust, long-lasting beauty, you must master three critical elements: precise watering, optimal light, and strategic pruning. This guide goes beyond basic instructions, providing the expert secrets to ensuring your red mums not only survive but maintain that vibrant, deeply pigmented color and bushiness for years to come.
🪴 Decoding the Red Mum Plant (Chrysanthemum): What Makes It Unique?
To care for your mum like an expert, you need to understand it at a biological level. The term “mum” is broad, but the requirements for maintaining a highly saturated, deep red hue are specific.
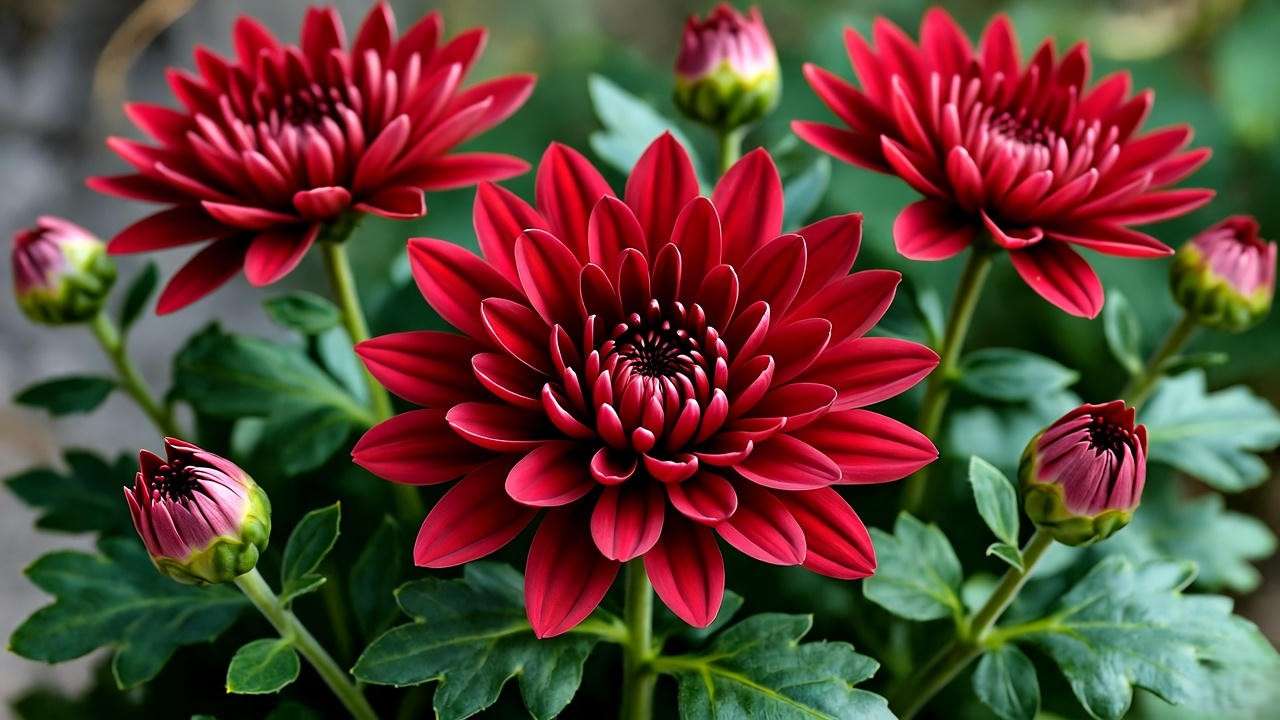
H3: Red Mums vs. Other Varieties: Focusing on Color Intensity
While most chrysanthemums share the same basic care needs, the vibrant red color requires more careful management of environmental factors than white or yellow varieties. The intensity of the red mum plant’s pigment, specifically anthocyanin, is directly influenced by light exposure and nutrient availability. Insufficient light or the wrong fertilizer ratio will cause the red to mute, turning it a dull brick or bronze color (LSI keywords: maintaining red chrysanthemum color, anthocyanin production). This is a common failure point for gardeners who treat all mums equally.
H3: Deciphering the Droop: The #1 Sign of Distress
The “droop” is the most common crisis for mum owners, and immediate, accurate diagnosis is vital. There are two primary types of collapse, each requiring the opposite treatment:
- The Dehydration Droop: The plant looks wilted, often with dry, crunchy lower leaves. The soil is visibly dry and pulls away from the pot edges. The stems are soft and pliable.
- The Fix: This is an easy fix if caught early. Give the plant a deep, restorative soak.
- The Overwatering Slump (Root Rot): The plant also looks wilted, but the soil is soggy or feels heavy and damp. The stems might look yellowed near the base, and there may be a musty smell. The roots are suffocating and can no longer draw up water, ironically leading to a look of dehydration.
- The Fix: Immediately stop watering. Move the plant to a brighter, airier spot. If it’s severe, repotting into fresh, dry soil is the only chance for survival.
Expert Insight Box: The importance of rapid diagnosis—a drooping mum can recover if caught within 48 hours. If you suspect dehydration, a deep watering should show visible stem firmness within a few hours. If it doesn’t, you’re likely dealing with root rot.
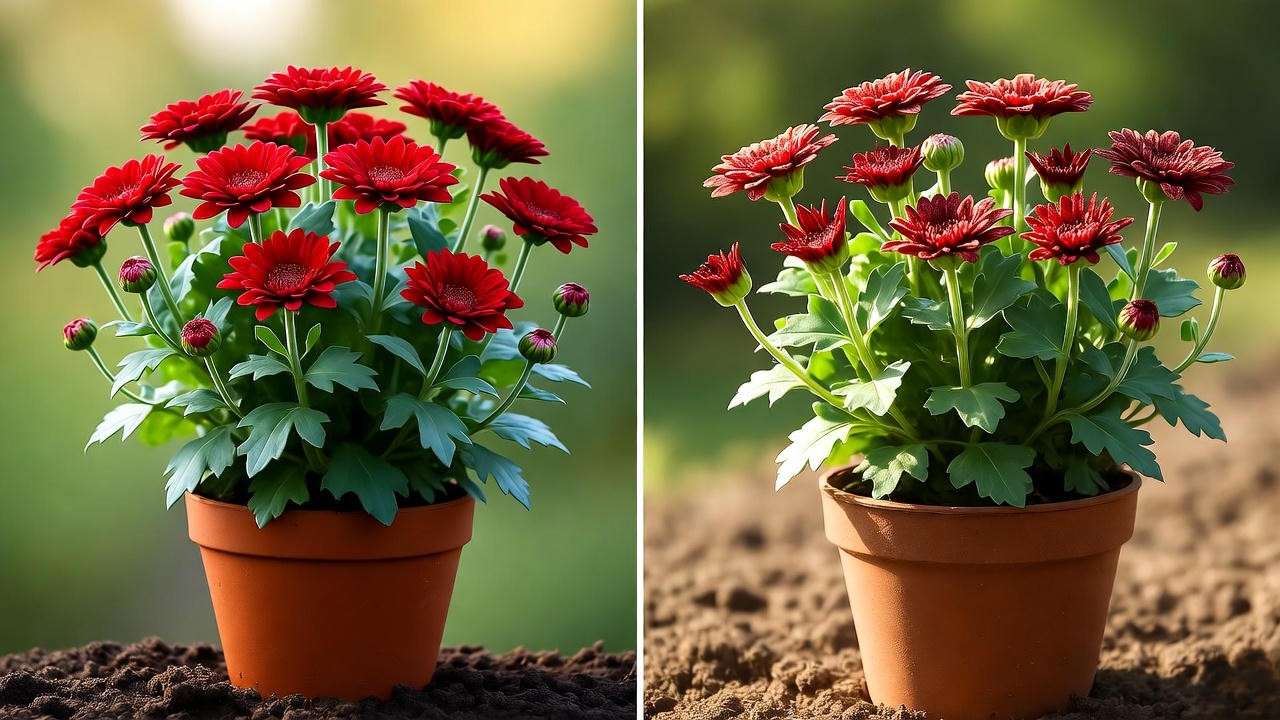
H3: When and Where to Buy: Choosing a Healthy Starter Plant
Your mum’s success starts before you even get it home. Avoid purchasing plants that are already in distress.
- Bud Count: Look for a plant with numerous tight, small buds rather than one that is already fully open. This guarantees a longer, fresh bloom period in your care.
- Foliage: Leaves should be a deep green (or reddish-green, depending on the cultivar), firm, and free of yellowing or spots.
- Root Inspection: Gently lift the plant from its container. Avoid “gift mums” where the roots are circling the pot tightly (root-bound). Healthy roots should be visible but not completely filling the container.
- Location: Always purchase from a reputable nursery or garden center, as big box stores often overwater their mums, setting them up for an immediate “slump” at home.
☀️ Creating the Perfect Home: Light, Soil, and Temperature
The best defense against wilting and droop is a strong, healthy root system, which can only be achieved by providing the ideal environment.
H3: The Golden Rule of Light: Full Sun, But Not Scorching
This is where many new mum growers fail. Red Mum Plants are sun-worshippers. They need a minimum of 6 to 8 hours of direct, unfiltered sunlight per day to develop strong stems, produce abundant blooms, and maintain that deep, rich red color (LSI keyword: red mum plant sun requirements).
- Afternoon Shade: If you live in a region with extremely intense summer heat (e.g., USDA zones 9+), providing a touch of late afternoon shade can prevent leaf scorch and dehydration droop. However, never place the plant in full shade; this will lead to weak, leggy growth and pale, sparse flowers.
- Indoor Light: If growing a potted mum indoors, a south-facing window is mandatory, but even then, it may struggle. Consider supplementing with a full-spectrum grow light to guarantee the necessary light intensity.
H3: Soil Science: Crafting the Ideal Well-Drained Mix
If there is one non-negotiable factor in mum care, it is drainage. The fibrous, shallow root system of the chrysanthemum is extremely susceptible to root rot in waterlogged soil.
- The Critical Need: The soil must be moist, not soggy. This is achieved with a well-aerated, quick-draining mix.
- Ideal Mix: For containers, use a high-quality potting mix blended with perlite or coarse sand (at least a 4:1 ratio of mix to amendment) to improve drainage.
- In-Ground: Amend heavy clay soil with plenty of compost, peat moss, or gypsum to break up the compaction. The ideal soil pH is slightly acidic to neutral (6.0 to 7.0). Adding compost naturally helps buffer the pH and improve aeration.
H3: Temperature Tolerance: Preparing for Seasonal Shifts
Mums are tough, but they thrive within a specific temperature range, which is key for flower bud setting.
- Optimal Budding: Mums set buds best when daytime temperatures are in the low 70s °F and nighttime temperatures drop into the 50s °F. This is why they are the perfect autumn flower.
- Early Frost: While they tolerate light frost, a sudden, hard freeze can damage open blooms. If a severe frost is forecast, cover in-ground plants with a sheet or move container mums into a garage or porch.
- Hardiness Zones: Determine if your specific red mum plant cultivar is a perennial or an annual in your USDA Hardiness Zone (a crucial factor for long-term care).
💧 The Watering & Feeding Masterclass: Preventing Root Rot and Droop
Watering and feeding are not just about survival; they are about thriving. Master these techniques to keep your plant firm, upright, and brilliantly colored.
H3: How to Water the Red Mum Plant Correctly: The Finger Test Method
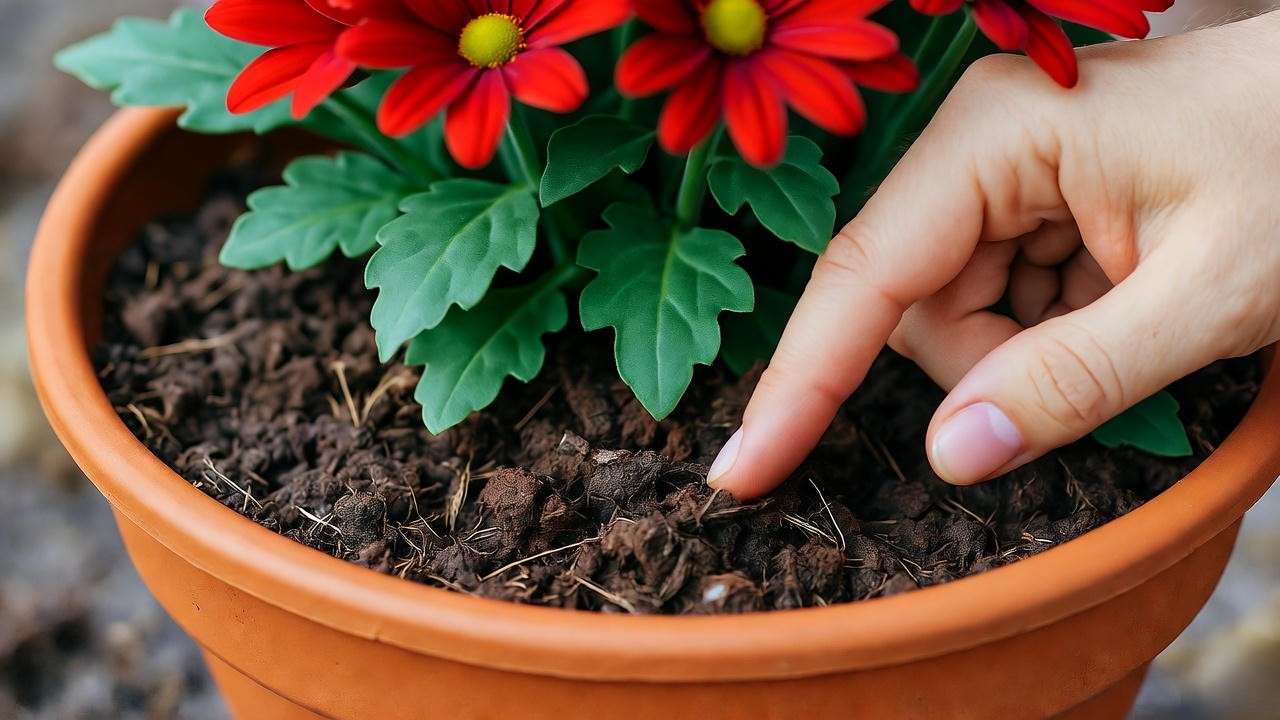
Forget rigid schedules. Watering must be dictated by the state of the soil, not the calendar.
- The Finger Test: Stick your index finger 1 to 2 inches deep into the soil.
- If you feel moisture: Wait another day or two.
- If the soil feels dry (the perfect cue for watering): Proceed.
- Soak, Don’t Sprinkle: When you water, do it thoroughly. For container mums, water until you see water freely flowing from the drainage holes. This ensures that the entire root ball is saturated, preventing dry pockets that can stress the plant.
- Avoid Overhead Watering: Water the base of the plant only. Wet foliage encourages fungal diseases like Powdery Mildew, especially as nights get longer and cooler.
Actionable Tip: The proper way to water a container mum: If your pot is dry and the water runs right through without soaking in, submerge the pot up to the rim in a bucket of water for 20-30 minutes until the air bubbles stop rising. This re-wets the entire root ball and is a lifesaver for dehydrated plants.
H3: Seasonal Adjustments: Watering Needs in Summer vs. Fall
The mum’s water needs fluctuate dramatically as it moves from its vegetative (growth) phase to its blooming phase.
- Peak Summer (Growth Phase): The plant is rapidly growing its stems and foliage. Water requirements are highest. You may need to water daily in extreme heat, especially for container plants.
- Blooming Phase (Fall): Once the buds open, water demand decreases slightly. The goal is to keep the soil consistently moist but never saturated. Overwatering during this phase can shorten bloom time and promote rot.
- Dormancy (Winter): Once the plant dies back after the first hard frost, reduce watering drastically. The roots only need enough moisture to keep them from completely drying out.
H3: Fertilizer Strategy: What to Feed and When to Stop
A proper feeding schedule is essential for the bushiness and the intensity of the red color.
- Spring/Early Summer (Growth): Use a balanced, water-soluble fertilizer with a high nitrogen component (e.g., 20-20-20 or 24-8-16). This promotes vigorous, healthy stem and leaf development—the foundation for strong blooms.
- Mid-Summer (Budding): Approximately 4–6 weeks before you expect blooms (usually around early to mid-August), switch to a high-potassium (K) fertilizer, often called a “Bloom Booster” (e.g., 15-30-15). Potassium supports bloom production and stem strength.
- Critical Warning: The exact date to stop feeding the Red Mum Plant is late summer (around September 1st in most zones). Continuing to fertilize past this point will encourage weak, new growth that won’t have time to harden before winter, compromising the plant’s ability to survive dormancy.
✂️ Pruning & Pinching: Secrets to a Bushy, Bloom-Loaded Plant
This is the secret weapon of the expert mum gardener. Pinching is a skill that directly translates to stem strength and bloom volume, preventing that unsightly, sparse look.
H3: The Pinching Technique: Maximizing Bloom Density
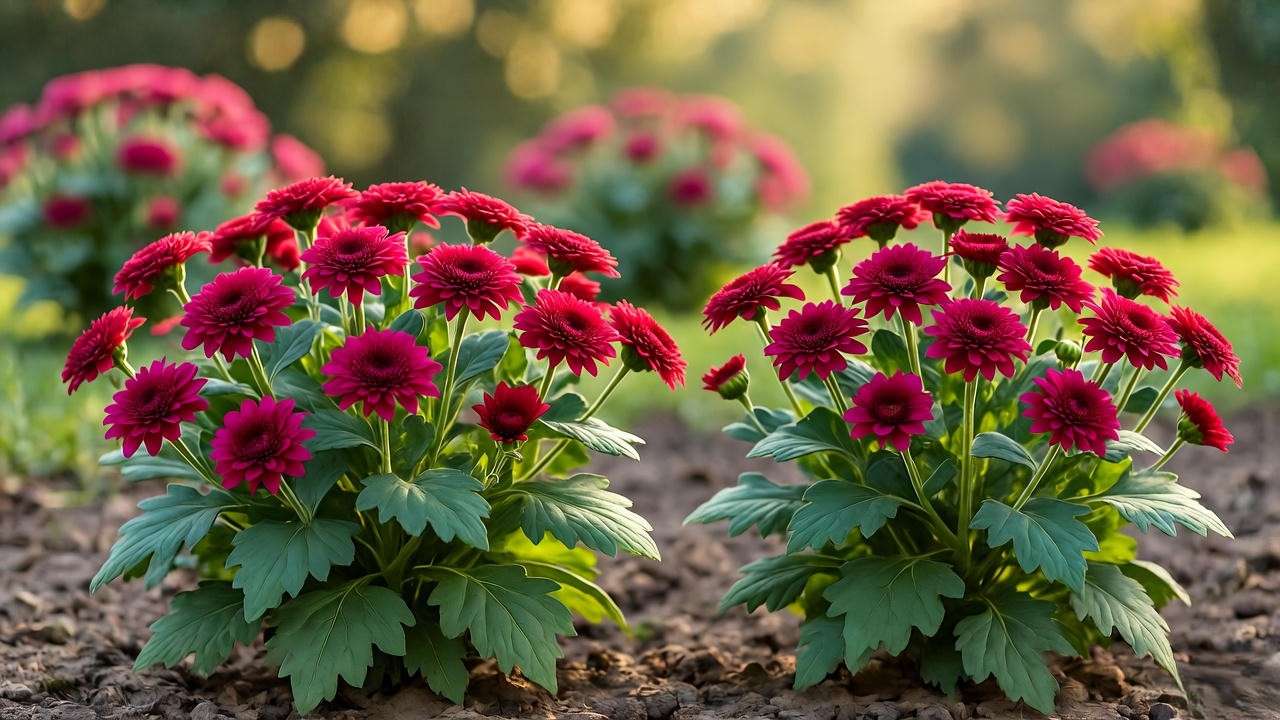
Pinching is the process of removing the very tip of the stem. This forces the plant to send energy sideways, creating lateral branches. More branches mean more potential flowers, leading to a perfectly rounded, tight bloom habit.
- When to Start: Begin pinching when the new growth is 6 to 8 inches tall, typically in early spring after the last frost.
- How to Pinch: Use your thumb and forefinger (or sharp snips) to remove only the top half-inch of the stem, right above a set of leaves.
- Repetition: Repeat this process on every new shoot every 2 to 4 weeks.
The Hard Stop Date: The absolute final day for pinching is around July 4th (or mid-July at the latest) in most U.S. zones. Pinching after this date will remove the buds that are forming for fall, causing your plant to bloom too late or not at all. Stick to this deadline religiously!
H3: Deadheading 101: Extending the Flowering Season
Deadheading—the removal of spent flowers—is crucial for encouraging the red mum plant to put energy into developing new buds rather than setting seed.
- The Benefit: Regular deadheading can extend your mum’s bloom period by several weeks.
- Where to Cut: Snip the entire spent flower head and a small portion of the stem down to the next healthy set of leaves or the next emerging bud. Avoid cutting into the main branch.
H3: Post-Bloom Cutback: Preparing for Dormancy
Once the blooms are completely spent and the foliage has been hit by a hard frost, the plant is ready for its winter nap.
- When to Cut: Wait until after the first hard, killing frost.
- How Much to Leave: Cut the entire plant back, leaving only 4 to 6 inches of stem above the ground. These stubs serve as both a marker and a protective cap for the crown of the plant.
❄️ Overwintering Your Red Mum Plant: Guaranteeing Next Year’s Blooms
The true mark of a successful gardener is the ability to bring their favorite plants back year after year. This section details how to keep your red mum plant truly perennial.
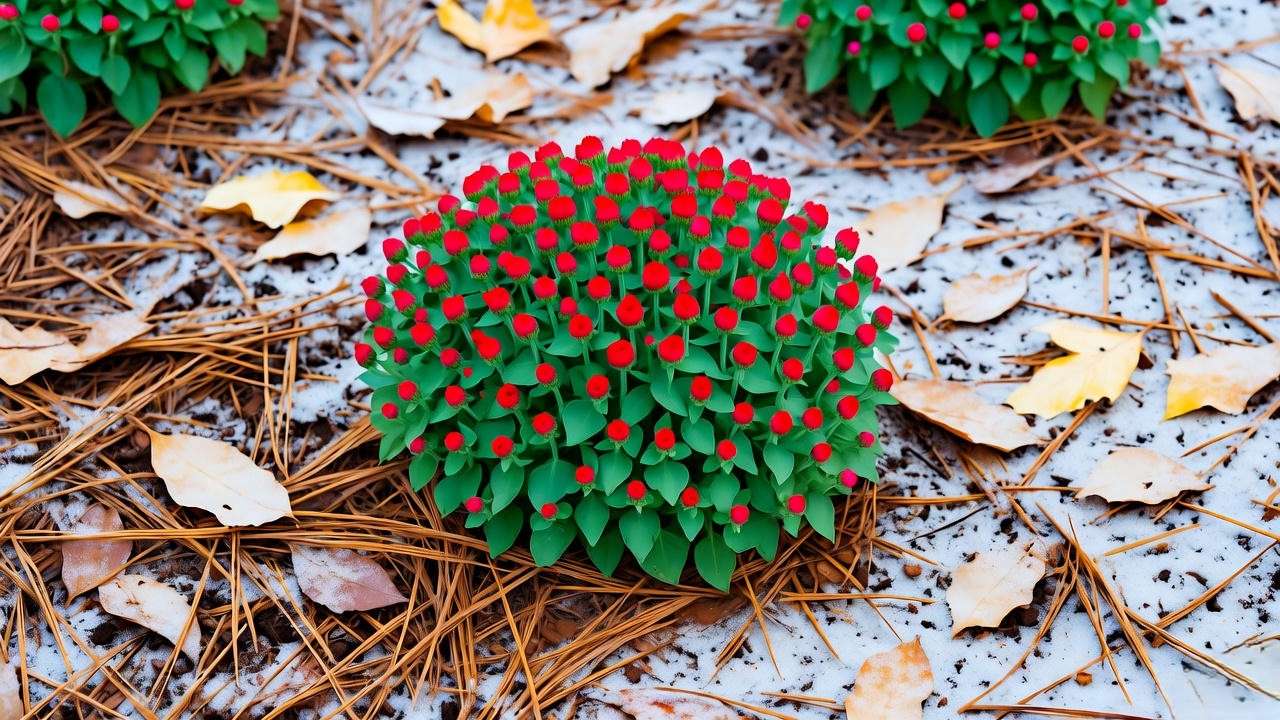
H3: In-Ground Protection: Mulching for Cold Climates
If you live within the plant’s recommended Hardiness Zone, overwintering in the garden is simple but must be done correctly.
- Wait for the Frost: Complete the cutback (leaving 4-6 inch stubs).
- Choose the Right Mulch: Apply a thick layer (6 to 8 inches) of loose, airy mulch like straw, pine needles, or shredded leaves. Avoid heavy, wet mulch or bark chips, which can trap moisture against the crown and encourage rot.
- The Critical Gap: Do NOT apply mulch until the ground has frozen solid. Applying it too early can trap residual heat and moisture, encouraging the plant to put out vulnerable, weak growth that will be killed by the next hard freeze.
H3: Container Mums: The Garage or Basement Strategy
If you live in a zone where the ground freezes completely (or if your mum is a non-hardy florist variety), you must store the pot indoors.
- Preparation: Cut the stems back to 4–6 inches. Ensure the soil is only slightly damp—never wet.
- Storage Location: The ideal spot is an unheated garage, shed, or cool basement where temperatures stay just above freezing (35°F to 50°F).
- Dormancy Watering: Water the pot minimally, perhaps once a month, just enough to prevent the soil from turning rock-hard and the roots from desiccating. The goal is to keep the plant dormant.
Expert Insight: Why you should never overwinter the mum in the dark if possible. While dormant, the plant benefits from a little low-level light. Complete darkness can stress the plant and make the transition back to spring more difficult.
H3: Reviving a Dormant Mum in Spring
The reawakening process is as critical as the tuck-in.
- The Unveiling: Once all danger of heavy frost has passed, gradually remove the winter mulch. If the mum was stored, move it back outdoors to a sheltered spot for a week or two to harden off before placing it in full sun.
- The Vital Repot: If your red mum plant is three years old or more, it’s time to divide it. Carefully dig up the clump and use a sharp knife to divide the outer, vigorous growth from the older, woody center. Replant the healthy sections immediately in fresh soil. This practice rejuvenates the plant for maximum bloom production.
🐞 Troubleshooting Common Problems & Pests
Understanding plant stress signals is the difference between a minor setback and plant death.
H3: Why Are My Mum Leaves Yellowing? (The Nutrient/Water Checklist)
Yellowing leaves are usually a sign of an imbalance. Use this checklist for diagnosis:
- Bottom Leaves Yellowing (and falling off): Overwatering and poor drainage are the primary culprits. Let the soil dry out immediately.
- New Leaves Yellowing (with green veins): This is often Iron Deficiency (Chlorosis), which is more common in alkaline or compacted soil. Treat with an iron supplement or soil acidifier.
- Overall Pale Yellowing/Stunting: Lack of Nitrogen (a sign you need to resume feeding in the spring).
H3: Identifying and Eliminating Common Mum Pests
Mums can attract sap-sucking insects that cause stress and, eventually, wilting.
| Pest | Symptom | Safe, Natural Treatment |
| Aphids | Clusters of tiny green/black insects on new buds/stems. Sticky residue (honeydew). | Blast off with a strong jet of water. Follow up with Insecticidal Soap. |
| Spider Mites | Fine webbing on the underside of leaves. Tiny speckles on leaves. | Horticultural Oil or Neem Oil applied every 7 days. They thrive in dry, dusty conditions; increase humidity. |
| Thrips | Silvery streaks and distortion on petals and buds. | Systemic insecticides (only if necessary) or regular applications of Neem Oil. |
H3: Fungal Threats: Powdery Mildew Prevention and Treatment
Powdery Mildew looks like a dusty white coating on leaves and is common in the cool, moist conditions of autumn.
- Prevention: Air circulation is key. Don’t plant mums too closely together. Avoid overhead watering.
- Treatment: A mixture of baking soda and horticultural oil (1 tsp baking soda, 1 tsp oil, 1 quart water) sprayed on the leaves is a good first-line defense. Remove heavily infected leaves immediately.
✨ Quick Reference FAQ: Your Red Mum Plant Questions Answered
This section targets common search queries and works to capture Google’s “People Also Ask” snippets.
H3: Are Red Mums Perennials or Annuals?
It depends on the cultivar and your climate. Garden mums (Dendranthema grandiflora) are typically hardy perennials in USDA Zones 5-9. Florist mums (the large, symmetrical gift plants) are often less hardy and are usually treated as annuals or overwintered indoors outside of Zone 9. Always check the tag!
H3: Can I Grow My Red Mum Plant Indoors?
Yes, you can, but only for the duration of the bloom. Mums require significant light to re-bloom and often become leggy and weak indoors. Treat them like a flowering bouquet—enjoy the flowers, then transition them outdoors for perennial overwintering or compost them.
H3: How Long Do Red Mum Blooms Last?
With proper, consistent care (correct watering and deadheading), blooms on a single red mum plant can last for 4 to 8 weeks. The duration largely depends on preventing the environmental stress that leads to the “droop.”
H3: Is the Red Mum Plant Toxic to Pets?
Yes, all parts of the chrysanthemum plant are considered mildly toxic to dogs, cats, and horses. Ingestion can cause vomiting, diarrhea, lack of coordination, and drooling. Keep pets away from the foliage and blooms.
Conclusion: No More Droop!
You now possess the complete toolkit for cultivating a spectacular Red Mum Plant—one that remains vibrant and firm long after your neighbor’s mums have faded. The journey from wilting worry to gardening wizardry lies not in finding a magic cure, but in mastering the balance: consistent, deep watering, full sunlight, and the commitment to strategic summer pinching.
Implement these expert secrets—especially the finger-test watering method and the July 4th pinching deadline—and you’ll not only solve the droop problem but guarantee your garden is filled with the true, long-lasting splendor of the Autumn Queen, year after year.


