
Imagine stepping into your yard on a windy day only to hear a sudden crack—then watch a heavy, dead branch crash onto your car, fence, or worse, near your family. 😱 Dead or diseased limbs aren’t just unsightly; they’re silent hazards waiting to cause serious injury, property damage, or even spread harmful pathogens throughout your tree. Safely removing dead or diseased limbs is one of the most important steps you can take to protect your trees, your home, and everyone around them.
As an experienced tree care enthusiast and advocate for proper arboricultural practices (drawing from standards set by the International Society of Arboriculture — ISA), I’ve seen firsthand how correct pruning techniques save trees from decline while preventing accidents. In this comprehensive guide, you’ll learn everything needed to safely remove dead or diseased limbs — from spotting problem branches early to mastering the famous three-cut method, choosing the right tools, avoiding deadly mistakes, and knowing exactly when to call in certified professionals. Whether you’re a homeowner tending fruit trees in your backyard or caring for mature shade trees, this skyscraper-level resource goes beyond basic tips to deliver expert-level, actionable advice that promotes tree health, enhances safety, and boosts your confidence.
By the end, you’ll have the knowledge to perform routine maintenance like a pro — and recognize when the job requires expert help. Let’s dive in and keep your trees thriving! 🌳
Why Remove Dead or Diseased Limbs? The Benefits & Risks 🌳
Removing problematic limbs isn’t optional — it’s essential for both tree vitality and yard safety.
Benefits to Tree Health & Longevity Dead or diseased branches drain resources. The tree expends energy trying to support non-functional tissue instead of fueling new growth, roots, or defense against pests. Prompt removal stops this drain, redirects energy to healthy parts, and prevents decay from spreading inward. According to ISA guidelines, removing the “4 Ds” (dead, diseased, damaged, dying) promotes better structure, improves airflow (reducing fungal risks), and encourages compartmentalization — the tree’s natural way of sealing off wounds.
Safety & Property Protection Dead limbs, often called “widowmakers,” become brittle and heavy. Storms, wind, or even their own weight can send them falling unexpectedly. Diseased branches may weaken suddenly due to internal rot. Regular removal reduces liability risks — think falling branches damaging cars, roofs, or power lines — and lowers the chance of personal injury.
Aesthetic & Environmental Wins A cleaned canopy looks tidier, allows more sunlight to reach your garden beds or lawn, and improves air circulation. Healthier trees support local wildlife better and contribute more to carbon sequestration and shade. Bonus: well-maintained trees can increase property value! 💚
How to Identify Dead, Dying, or Diseased Limbs 🔍
Spotting issues early makes removal easier and safer. Here’s how to tell:
Signs of Dead Branches
- No leaves, buds, or new growth during the growing season.
- Brittle, dry twigs that snap easily.
- Scratch test: Gently scrape the bark with your thumbnail or a knife — live tissue shows green/moist underneath; dead shows brown and dry.
- No flexibility — branches feel rigid even when thin.
Signs of Diseased or Dying Branches
- Discolored, wilted, or spotted leaves that drop prematurely.
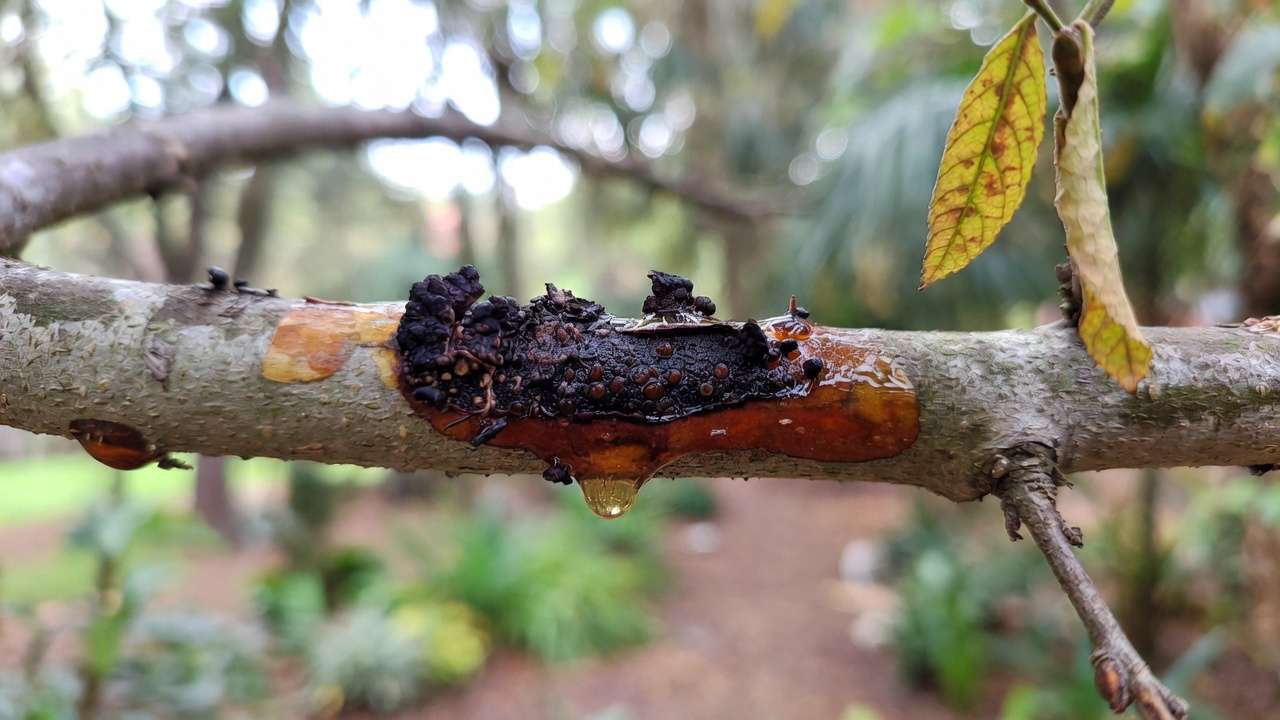
- Cankers (sunken, discolored areas on bark), oozing sap, or fungal fruiting bodies (mushrooms or conks) 🍄.
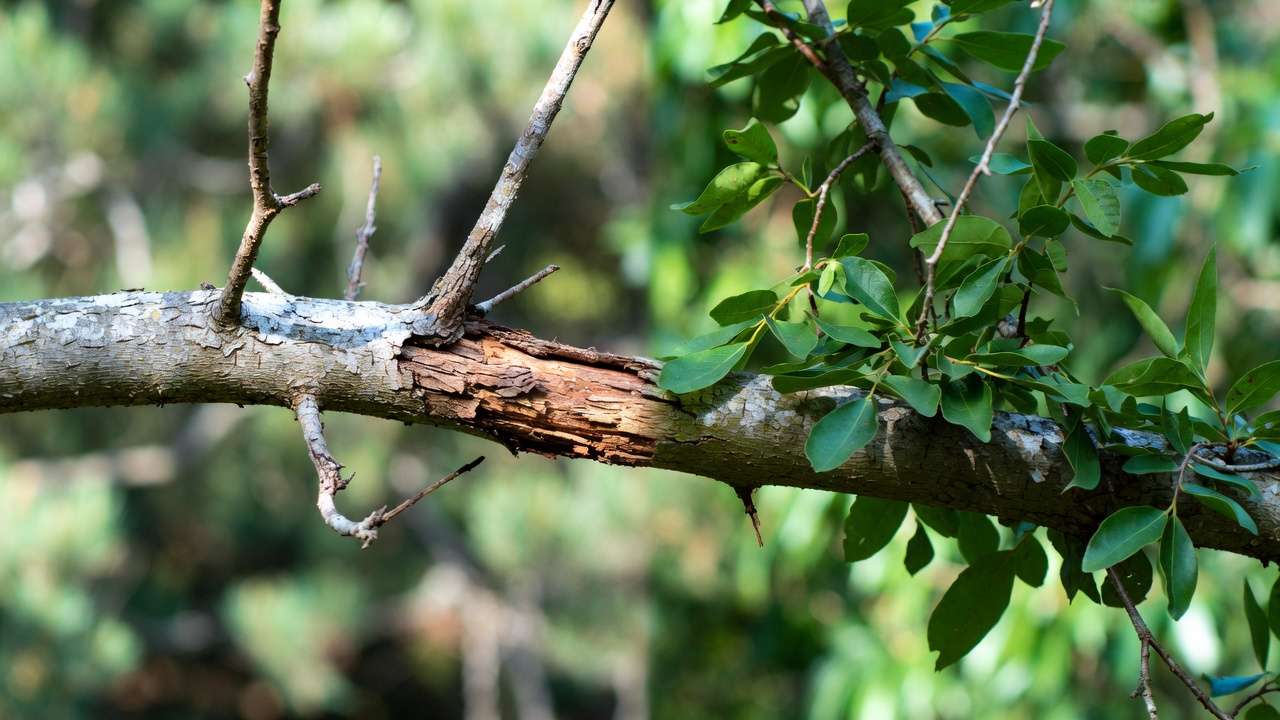
- Dieback: tips die first, progressing inward.
- Unusual cracks, peeling bark, or insect bore holes.
Common Culprits by Tree Type (Examples)
- Fruit trees: Fire blight (blackened, shepherd’s crook tips).
- Oaks: Oak wilt (veinal necrosis in leaves).
- Maples: Verticillium wilt (one-sided wilting).
- Evergreens: Needle cast or tip blight.
Quick Field Tests You Can Do Today Bend small branches — live ones are flexible; dead snap. Check during dormant season for clearer views without leaves. Pro tip: When in doubt, photograph and consult an ISA-certified arborist before cutting. Better safe than sorry! 📸
When Is the Best Time to Remove Dead or Diseased Limbs? ⏰
The golden rule: Remove the 4 Ds any time you notice them — especially if they’re hazardous. Prompt action prevents spread of decay or sudden failure.
Ideal Seasons for Minimal Stress
- Late winter/early spring (dormant season): Trees heal fastest with rapid callus formation. Fewer pests/diseases active.
- Avoid pruning live tissue during active growth (spring flush) or fall (when trees prepare for dormancy).
- For oaks/beeches/elms: Avoid April–October in areas prone to oak wilt or similar vascular diseases.
Emergency vs. Routine Removal Hanging, broken, or storm-damaged limbs? Act immediately! Clear drop zones and use proper technique to avoid accidents.
Essential Tools & Safety Gear You Need 🛠️🪖
Never skip this — improper tools or no PPE turns a simple job dangerous.
Must-Have Tools
- Hand pruners (bypass for clean cuts on small branches <1″).
- Loppers for medium branches (1–2″).
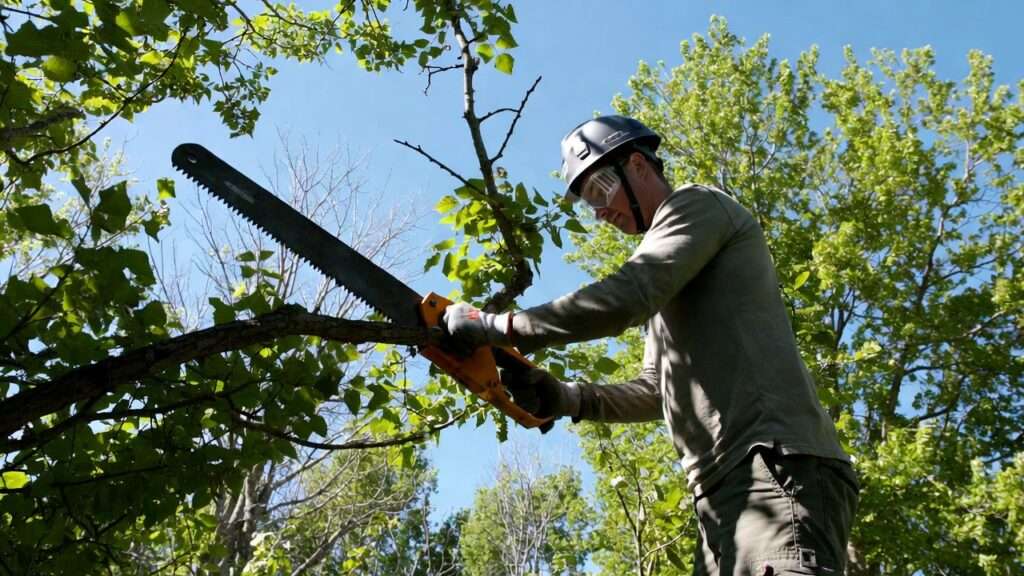
- Pruning saw or folding saw for larger limbs.
- Pole pruner/saw for reach without ladders.
- Chainsaw (only if trained/experienced — for branches >3–4″). Keep sharp!
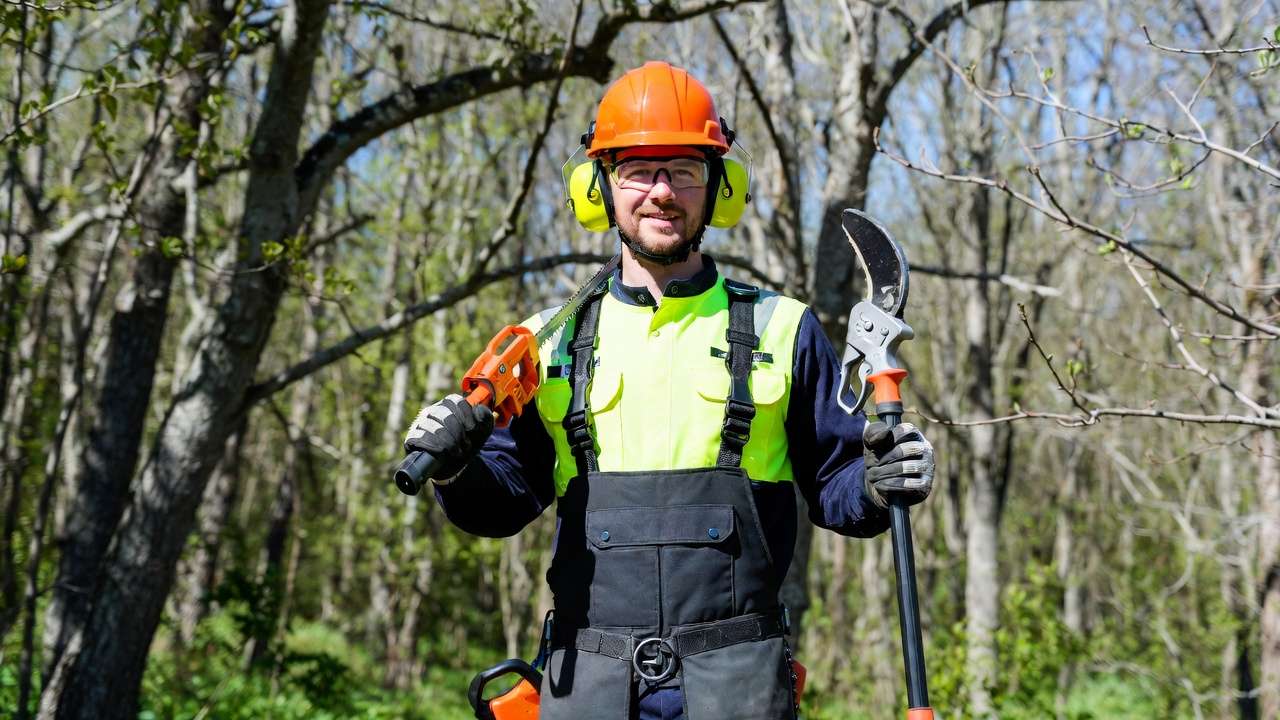
Personal Protective Equipment (PPE)
- Safety glasses/goggles (must!).
- Hard hat (falling debris protection).
- Gloves (leather or cut-resistant).
- Ear protection (for chainsaws).
- Steel-toed boots.
- Chainsaw chaps/pants if using power tools ⚠️.
Ladder & Equipment Safety Tips Use tripod/orchard ladders — never lean against the tree. Position on firm ground. Never over-reach; move the ladder instead. Clear the area below of people/pets.
Step-by-Step Guide: Safely Removing Dead or Diseased Limbs (Core Section) 🚀
This is the heart of the article. Follow these steps carefully to protect both yourself and the tree.
Preparation Checklist Before You Start
- Walk around the tree and identify all target branches.
- Plan the order of removal (start from the top and work downward to avoid knocking lower branches).
- Clear the drop zone — move vehicles, people, pets, and fragile plants.
- Check weather: avoid windy or wet conditions.
- Have a helper nearby if working at height.
- Sharpen all cutting tools — dull blades tear bark and invite disease.
The Three-Cut Method: Prevent Bark Tearing (Most Important Technique!) The three-cut method is the gold standard recommended by the International Society of Arboriculture (ISA) and professional arborists worldwide. It prevents the heavy branch from ripping bark downward, which can create large wounds that decay and weaken the tree.
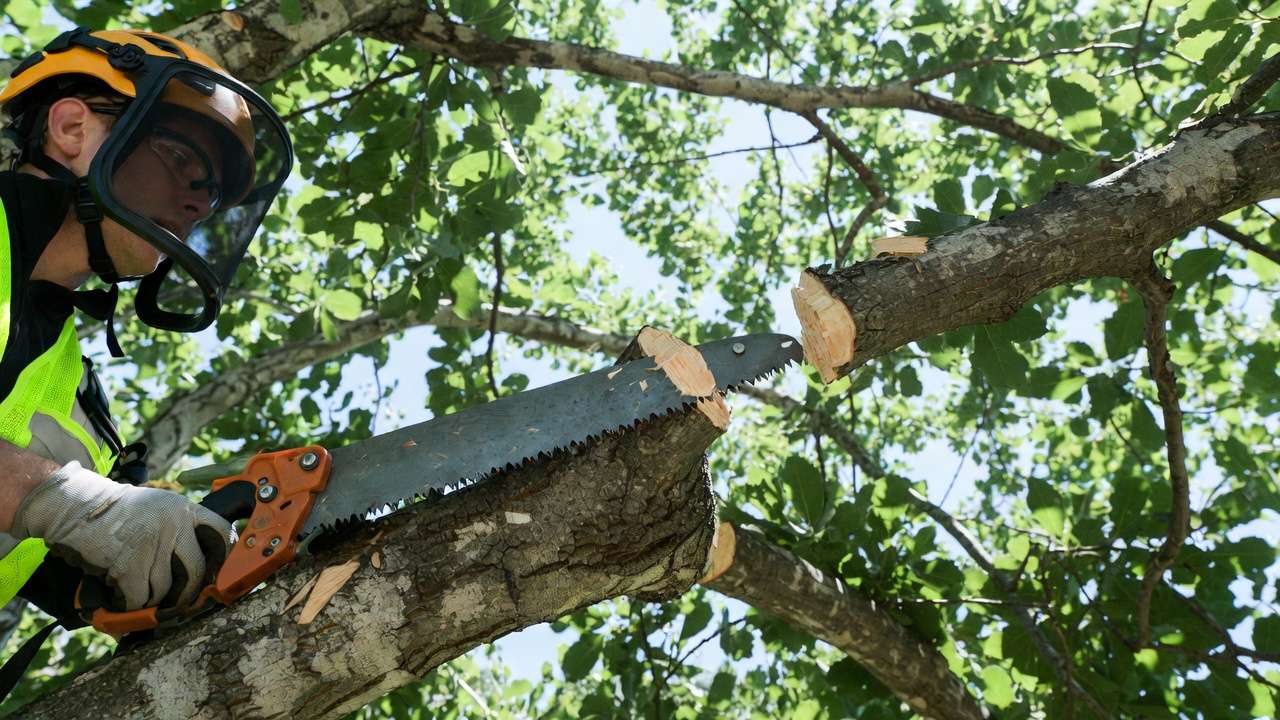
Step 1: First Cut (Undercut) Make a shallow cut underneath the branch, about 6–12 inches out from the trunk or main limb. Cut upward about 1/3 of the way through the branch. This cut stops the bark from tearing when the branch falls.
Step 2: Second Cut (Top Cut) Move 2–4 inches farther out from the first cut. Cut downward completely through the branch. The branch will fall cleanly, leaving a short stub.
Step 3: Final Cut (Collar Cut) Locate the branch collar — the slightly swollen area where the branch meets the trunk (it often has a ridge of bark). Make a clean cut just outside the collar, angled slightly away from the trunk. Do not cut into the collar or leave a long stub — both cause decay.
Why it works The first two cuts relieve weight safely, while the final cut is made in the healthiest tissue, allowing the tree to compartmentalize (seal off) the wound quickly.
How to Handle Different Branch Sizes
- Small branches (< 1 inch diameter): Use sharp bypass hand pruners. Make one clean cut just outside the branch collar.
- Medium branches (1–3 inches): Use loppers or a hand pruning saw. Apply the three-cut method.
- Large branches (> 3–4 inches): Use a pole pruner/saw for reach, or — if very large — call a professional with proper rigging equipment. Never use a chainsaw from a ladder!
Special Considerations for Diseased Branches
- Sterilize tools between every cut on diseased branches to prevent spreading pathogens. Wipe blades with 70% isopropyl alcohol or a 10% bleach solution.
- Bag and dispose of diseased material in trash — do not compost or leave it near healthy trees.
- Wear gloves and avoid touching your face during the process.
Common Mistakes to Avoid (With Real Examples) ❌
Even experienced gardeners make these errors. Here are the top ones — and how to avoid them:
- Flush cuts — Cutting too close to the trunk removes the protective branch collar. → Always cut just outside the collar.
- Stub cuts — Leaving long stubs invites rot and insects. → Make the final cut at the proper angle.
- Topping — Cutting large branches back to stubs. → This causes weak, fast-growing shoots and structural failure.
- Lion-tailing — Removing too many inner branches, leaving tufts at branch ends. → This stresses the tree and makes it top-heavy.
- Over-pruning — Removing more than 25% of live canopy in one season. → Spread major pruning over several years.
- Pruning during active growth or fall (for certain species). → Stick to dormant season unless removing the 4 Ds.
- Using dull tools — Causes tearing and jagged cuts. → Keep blades sharp!
- No PPE — Many injuries come from falling debris or slips. → Always wear safety glasses, gloves, and a hard hat.
Real example: A homeowner once topped a mature maple to “reduce height,” resulting in dozens of weak water sprouts and eventual trunk splitting during a storm. Proper selective pruning would have prevented this.
Aftercare: Helping Your Tree Recover Post-Removal 🌱
Proper aftercare speeds healing and reduces stress.
Wound Care Myths vs. Facts Myth: Paint or seal pruning wounds. Fact: Modern research shows trees heal best naturally. Wound dressings can trap moisture and encourage decay. Only use tree paint on oaks in oak-wilt areas during high-risk seasons (consult local extension service).
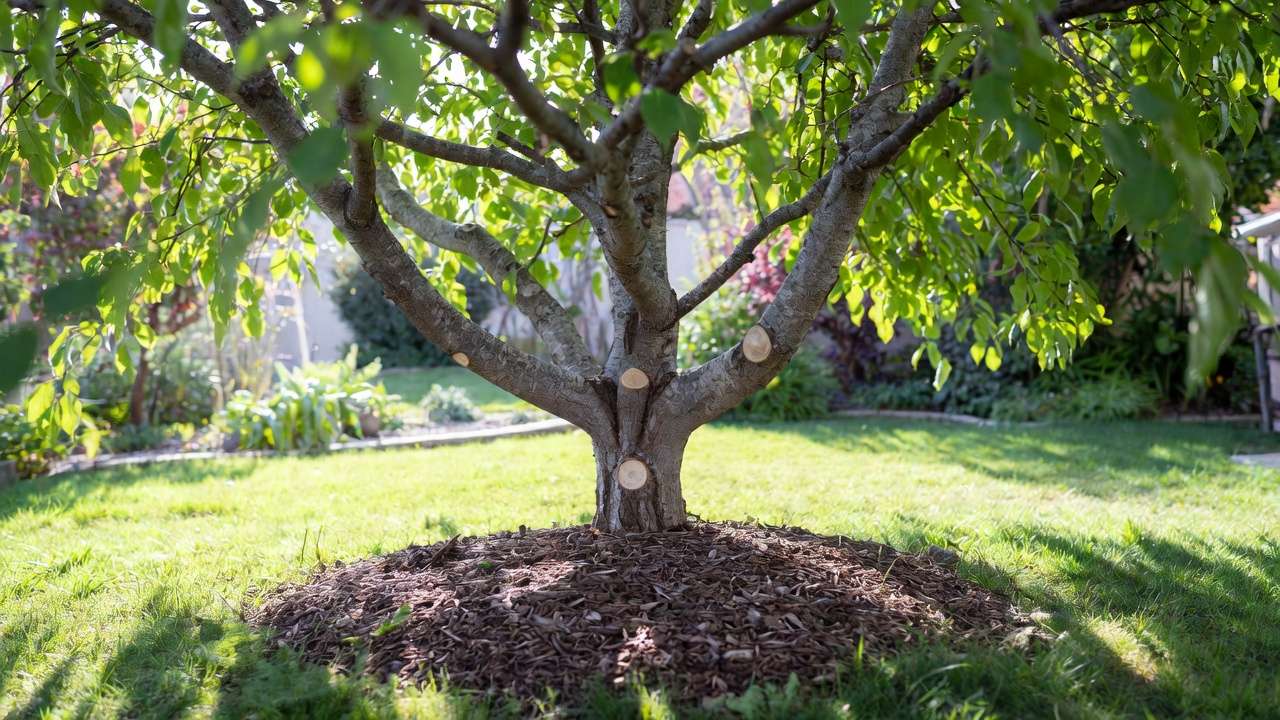
Watering & Mulching
- Water deeply (1–2 inches per week) during the first growing season after major pruning.
- Apply 2–4 inches of organic mulch (wood chips or bark) in a wide ring around the base — keep it away from the trunk to prevent rot.
Fertilizing Only fertilize if a soil test shows deficiency. Over-fertilizing stresses trees.
Monitoring Check the tree every few weeks for signs of stress (wilting, dieback, oozing) or new pest activity.
When to Call a Professional Arborist 👷♂️
Some jobs are too dangerous or complex for DIY.
Red Flags
- Branches > 4–6 inches in diameter
- Work near power lines
- Branches over roofs, structures, or busy areas
- Suspected serious disease (e.g., oak wilt, Dutch elm disease)
- Tree height requires climbing or heavy rigging
- You feel unsure about safety or technique
Benefits of Hiring ISA-Certified Experts
- Proper diagnosis and treatment
- Safe equipment and insurance
- Knowledge of local diseases and regulations
- Long-term tree health planning
FAQs: Your Top Questions Answered ❓
Can I remove dead branches in summer? Yes — the 4 Ds (dead, diseased, damaged, dying) can be removed any time. Just avoid pruning healthy live tissue during active growth.
Will cutting dead limbs hurt my tree? No — removing dead or diseased limbs helps the tree by stopping energy drain and preventing decay spread.
How much can I safely prune at once? Never remove more than 25% of the live canopy in one season. For young trees, keep it under 15–20%.
What if the branch is near power lines? Never attempt it yourself. Contact your utility company — they usually handle it for free.
Do diseased branches spread to other trees? Yes — many diseases (fire blight, oak wilt, Dutch elm) spread via tools, wind, or beetles. Always sterilize tools and dispose of infected material properly.
Should I hire a pro for small dead branches? Not necessary if you follow safety guidelines and use proper technique. But if the tree is tall or near structures, consider professional help.
Conclusion: Take Action for Healthier, Safer Trees Today! 🌟
Safely removing dead or diseased limbs is one of the best things you can do for your trees and your yard. By following the three-cut method, using the right tools, and knowing when to call in experts, you’ll protect your trees from decline, reduce safety hazards, and enjoy a more beautiful landscape.
Start today: take a walk around your yard, inspect your trees, and tackle any obvious dead or hanging branches using the techniques in this guide. Your trees — and your peace of mind — will thank you! 🌳
Have you successfully pruned a tricky branch? Share your experience in the comments below — we’d love to hear from you! 💚


