
Imagine this: It’s a crisp fall morning, you step outside to admire your lush green lawn and thriving trees, only to discover a soggy, frozen mess come spring—burst pipes, cracked sprinkler heads, and thousands of dollars in repairs staring back at you. 😱 This nightmare scenario happens every year to homeowners who procrastinate on scheduling irrigation system blowouts. As a certified horticulturist and irrigation specialist with over 15 years of experience helping homeowners across various climates maintain healthy landscapes, I’ve seen firsthand how proper winterization timing saves lawns, protects trees from stress, and prevents costly damage. In this in-depth guide, we’ll cover everything you need to know to get it right—starting with why scheduling irrigation system blowouts early is non-negotiable for plant health.
Scheduling irrigation system blowouts involves booking a professional (or safely performing a DIY version) to use compressed air to clear all water from your sprinkler lines before freezing temperatures arrive. This prevents water from expanding and cracking PVC or poly pipes, valves, and heads—damage that can ruin your irrigation setup and lead to uneven watering next season, stressing grass, shrubs, and trees. 🌳 By acting proactively, you safeguard your entire outdoor investment and ensure your plants emerge strong in spring.
What Exactly Is an Irrigation System Blowout? (And Why Your Plants Need It) 🔧🍂
An irrigation system blowout is the gold-standard method for winterizing sprinklers in freeze-prone areas. It uses a high-powered air compressor to force out residual water from pipes, preventing ice formation that could cause bursts.
The Science Behind the Blowout Process
Water expands by about 9% when it freezes, creating immense pressure inside closed pipes—enough to split even sturdy PVC. The blowout method pushes air through each zone at controlled pressure (typically 40–80 PSI for PVC systems), expelling water from the lowest points to sprinkler heads. Unlike simpler gravity drain methods (which rely on manual valves and often leave water behind), blowouts ensure thorough removal, especially in complex systems with slopes or backflow preventers.
Other options include automatic drain valves or siphon drains, but blowouts remain the most reliable for comprehensive protection in colder climates.
Common Risks of Skipping or Delaying Blowouts
- Burst pipes and valves: Leading to leaks, low pressure, or total system failure come spring.
- Damaged sprinkler heads: Pop-up heads crack, nozzles clog with debris from breaks.
- Plant health impact: Uneven watering stresses turfgrass (leading to brown patches), weakens tree roots during dry winters, and invites pests/diseases in compromised landscapes. Proper seasonal prep keeps your lawn and trees resilient year-round.
Who Needs to Schedule a Blowout? (Climate Zones Quick Guide)
If you live in USDA Hardiness Zones 3–7 (most of the northern U.S., Midwest, Northeast, and parts of the Rockies), where temperatures regularly drop below 28°F (hard freeze), a blowout is essential. Milder zones (8+) may skip it if freezes are rare, but even occasional cold snaps warrant caution.
The Best Time to Start Scheduling Irrigation System Blowouts – Don’t Wait! ⏰📅
Timing is everything. The goal? Complete the blowout 2–4 weeks before your area’s average first hard freeze (when temps hit 28°F or lower for several hours).
Ideal Window: Late Summer to Early Fall (Regional Breakdown) 🗺️
- Northern/colder climates (Zones 3–5, e.g., Minnesota, Colorado mountains): Mid-September to mid-October. High elevations often see freezes as early as late August.
- Temperate zones (Zones 5–6, e.g., Midwest, Northeast): Late September to early November. Many pros recommend finishing by late October.
- Mountain/high-altitude areas: As early as late August/early September due to unpredictable weather.
- Milder transition zones (Zone 7): October to early November, but monitor forecasts closely.
Factors influencing your window include soil temperature drop (pipes freeze when soil nears 32°F) and consistent nighttime lows below 40°F.
How to Find Your Local First Freeze Date (Tools & Resources)
Use trusted sources for precision:
- The Old Farmer’s Almanac Frost Dates Calculator — Enter your ZIP code for average first fall frost (32°F) and hard freeze dates.
- NOAA’s U.S. Climate Normals (1991–2020 data) — Search for “first freeze” maps or local station data.
- Local cooperative extension services or National Weather Service for hyper-local forecasts.
Aim to schedule your blowout at least 2–4 weeks before the median first hard freeze date—better safe than sorry!
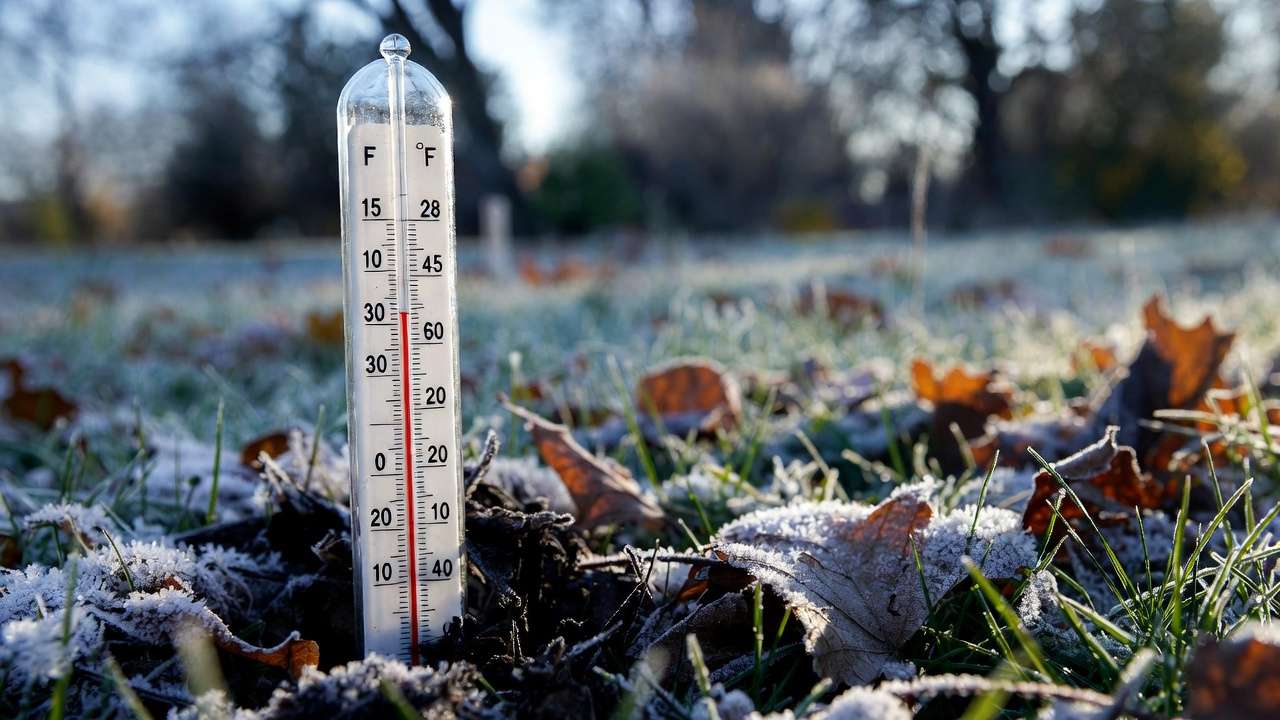
Signs It’s Time to Book NOW 🌡️
- Nighttime temps consistently dip below 40°F.
- Lawn growth slows dramatically (grass stops needing frequent mowing).
- Weather apps forecast cold fronts or overnight lows near freezing.
- Your trees show fall color changes and dormancy signs.
Why Early Scheduling Beats the Rush (Pro Tips from the Field) ✨📞
The “Blowout Season” Rush Phenomenon
Come mid-October, irrigation pros are swamped—wait times stretch to weeks, and last-minute slots vanish. In many regions, October/November bookings lead to rushed service or higher emergency fees.
Cost Savings & Added Value When You Schedule Early
- Off-peak discounts: Booking in August/September often saves 10–20%.
- Bundled services: Combine with fall inspections (leaky valves, head adjustments) for comprehensive care.
- Typical costs: Professional blowouts range from $75–$250 (average $100–$200), depending on zones and location—far cheaper than $2,000+ pipe repairs!
What Happens If You Wait Too Long? Real Consequences
An early unexpected freeze can crack lines overnight. I’ve seen clients face $1,500–$5,000 in spring fixes—plus stressed lawns needing reseeding and tree recovery time.
Step-by-Step: How to Schedule Your Irrigation Blowout Like a Pro 🛠️📋
Scheduling doesn’t have to be stressful. Follow this proven process that I’ve refined over hundreds of client consultations.
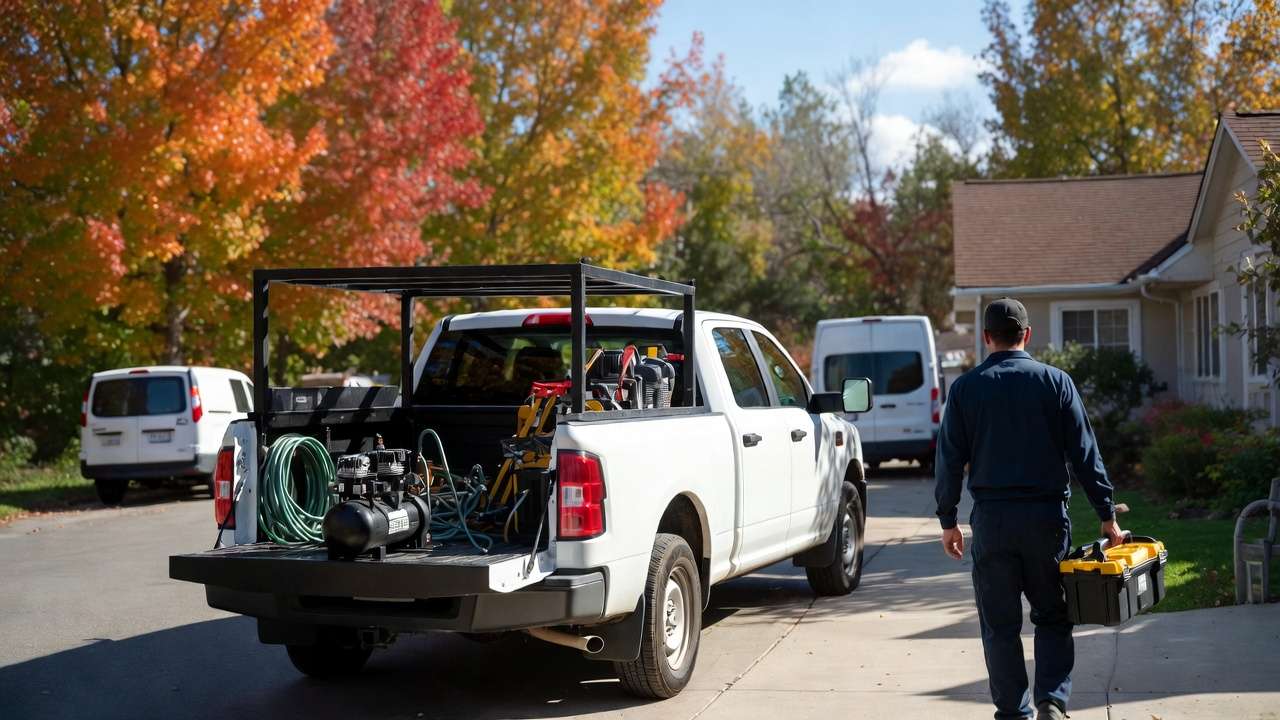
Finding Reliable Service Providers
- Start local — Search for “irrigation winterization near me” or “sprinkler blowout service [your city]”. Look for companies with 4.5+ star Google reviews and at least 50+ reviews.
- Ask the right questions:
- What compressor size do you use? (Minimum 10–20 CFM at 80–100 PSI for thorough blowouts.)
- Are you fully insured and bonded?
- How many years of experience do your technicians have?
- Do you check backflow preventers and valves during the service?
- Verify credentials — Membership in the Irrigation Association (IA) or state contractor licensing is a strong sign of professionalism.
- Get multiple quotes — Compare at least 2–3 providers. Beware of suspiciously low prices—they often skimp on air volume or time per zone.
What to Expect During the Appointment
A standard residential blowout takes 30–90 minutes, depending on system size (6–12 zones typical).
Typical steps:
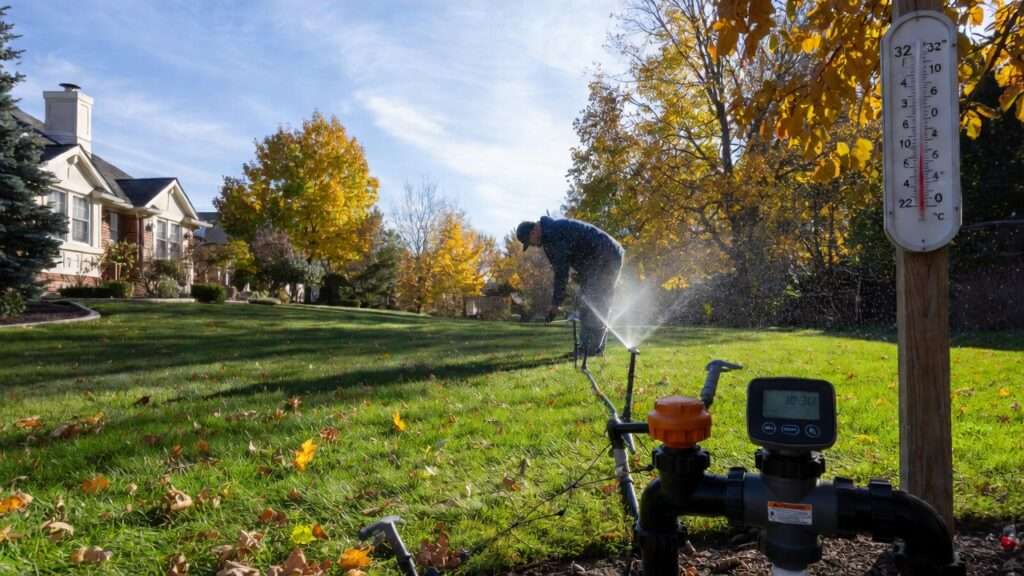
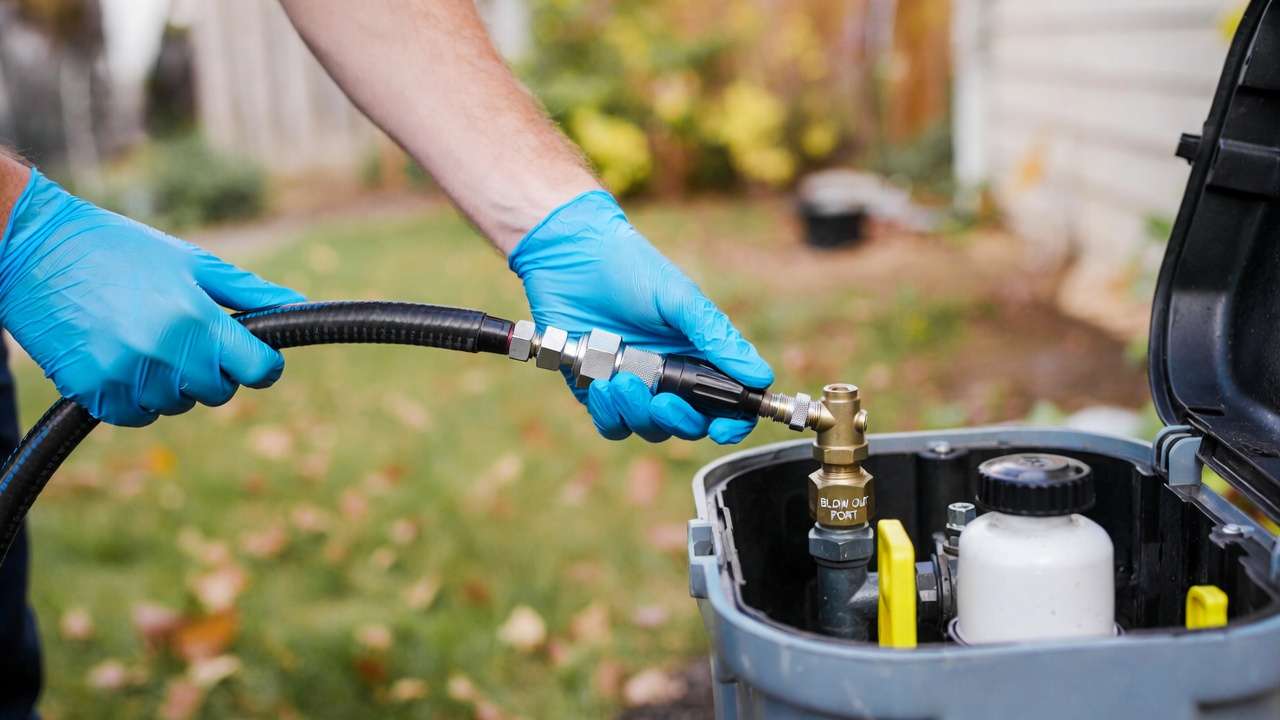
- Technician shuts off the main water supply to the irrigation system.
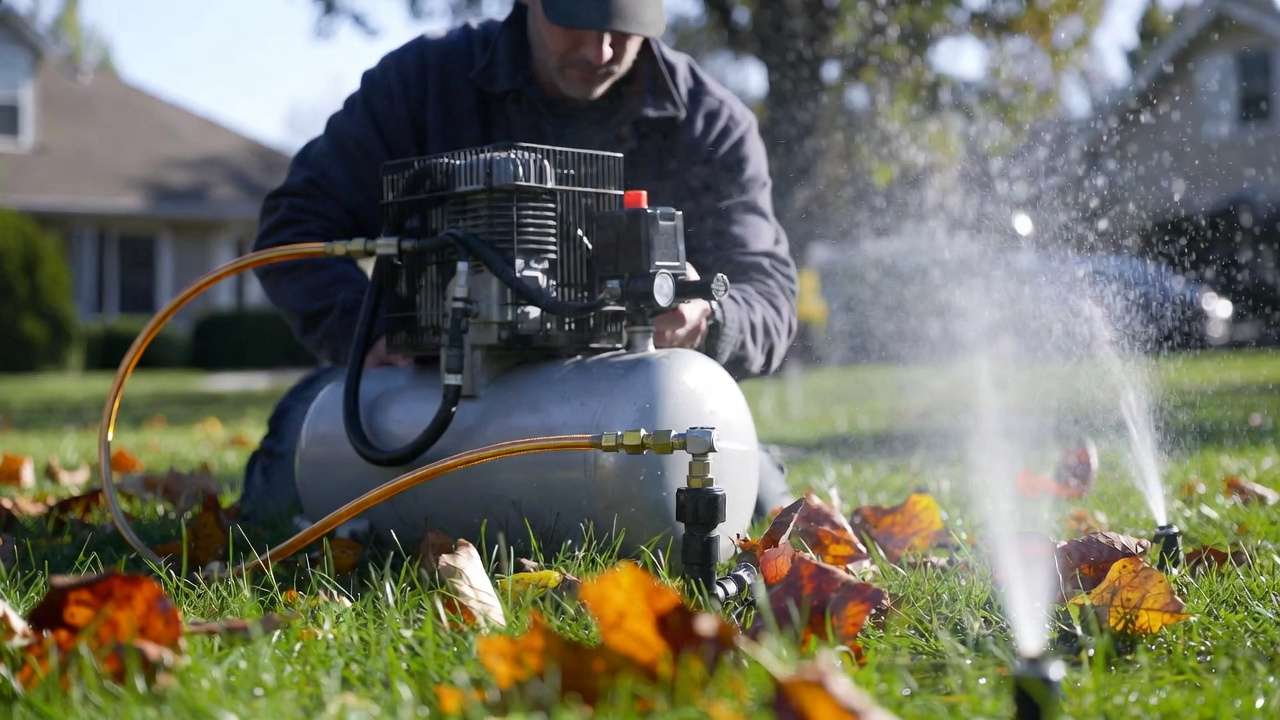
- Attaches the compressor to the blow-out port (usually near the backflow preventer or main line).
- Opens each zone valve one at a time via the controller.
- Blows air through until only mist (no solid water stream) comes from heads.
- Checks for leaks, unusual noises, or weak zones that may need repairs.
- Reprograms the controller to “off” or “rain” mode for winter.
- Provides a quick verbal report and any recommendations.
Many companies take before/after photos—ask for them!
DIY vs. Professional Blowout – Which Is Right for You?
Here’s a quick comparison:
| Aspect | Professional Blowout | DIY Blowout |
|---|---|---|
| Safety | Very high – pros know pressure limits | Risky if over-pressurized (can burst pipes) |
| Equipment Needed | None – they bring industrial compressor | 10+ CFM compressor ($300–$800 to buy or rent) + fittings |
| Thoroughness | Excellent – zone-by-zone, checks valves | Good if experienced, but easy to miss water pockets |
| Warranty Risk | Usually none | May void manufacturer warranty if damage occurs |
| Cost | $100–$250 one-time | Free after equipment purchase (but time + risk) |
| Best For | Most homeowners, complex systems | Experienced DIYers with simple systems |
Expert tip: If your system has more than 8 zones, backflow preventers, or drip lines, hire a pro. The small cost far outweighs the headache of a burst line in February.
(Image suggestion: Step-by-step infographic showing compressor hookup → zone blowing → mist-only output)
Here’s a visual example of what a proper blowout setup looks like:
(Placeholder for: Professional irrigation technician attaching compressor to blow-out port)
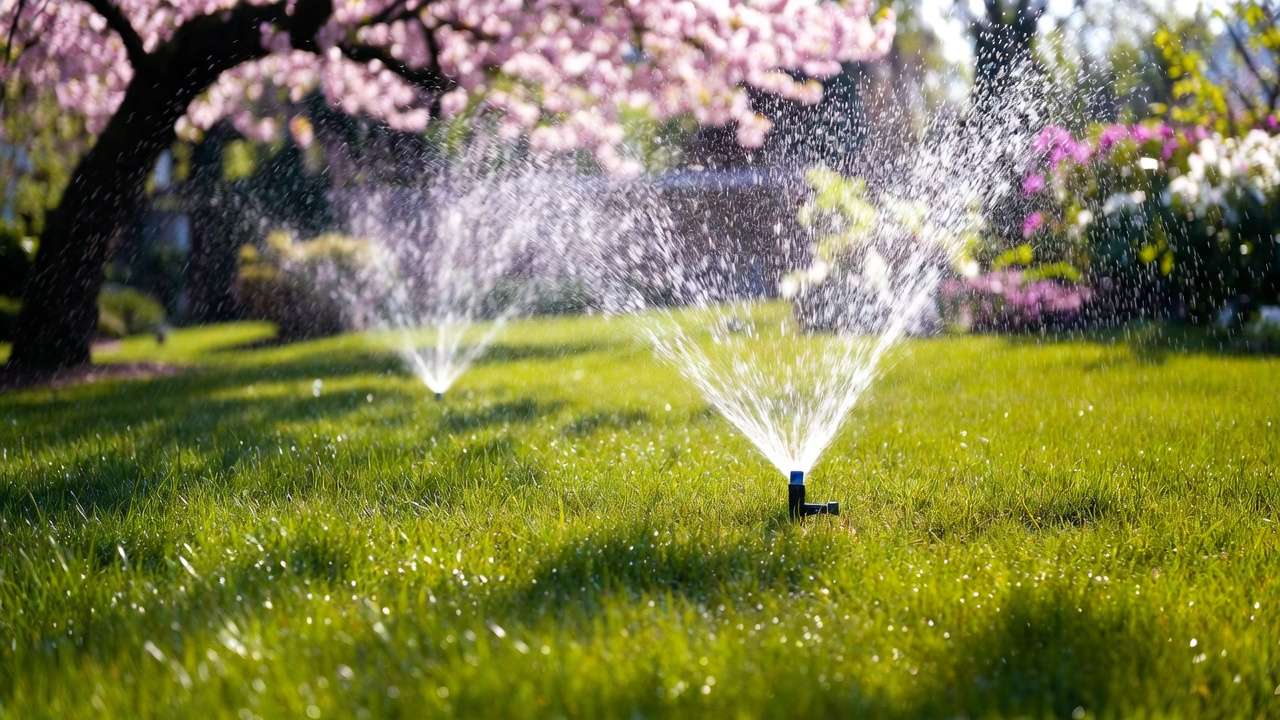
And here’s what you should see at each head when it’s done correctly:
(Placeholder for: Sprinkler head emitting only fine mist during blowout – no liquid stream)
Preparing Your System Before the Blowout (Maximize Protection) 📋🍂
Don’t just book and forget—prep work ensures the best results.
Fall Maintenance Checklist Before Scheduling
- Run one final watering cycle (if still warm enough) to flush lines.
- Locate and tag your main shut-off valve and blow-out port.
- Turn off automatic watering on your controller.
- Inspect visible heads, valves, and backflow preventers for leaks or damage.
- Clear debris from around valve boxes and heads.
Protecting Above-Ground Components
- Drain and remove garden hoses.
- Insulate any exposed above-ground piping with foam sleeves.
- Use insulated covers on backflow preventers (mandatory in many areas).
- Disconnect drip tubing if it’s above ground.
Integrating with Overall Fall Plant Care
Proper blowout timing pairs perfectly with other fall tasks:
- Apply winter mulch around trees and shrubs after blowout (helps insulate roots).
- Aerate and overseed lawn if needed (do this before blowout so water isn’t sitting in lines).
- Fertilize cool-season grasses in early fall—healthy turf handles winter stress better.
These combined steps create a truly resilient landscape.
After the Blowout – Spring Startup & Long-Term Tips 🔄🌷
What to Do When Temps Warm Up
- Wait for consistent 50°F+ nights before restarting.
- Slowly turn on main water valve (open ¼ turn, wait 10 min, then full).
- Run each zone manually for 2–3 minutes—check for leaks, misaligned heads, weak coverage.
- Adjust sprinkler heads as needed (settling soil often changes patterns).
- Reset controller to normal schedule.
Preventing Future Winter Damage
- Schedule blowouts annually—mark your calendar 4–6 weeks before your average first freeze date.
- Consider smart controllers (Rain Bird, Hunter, Rachio) with freeze sensors.
- Upgrade old poly pipe to Schedule 40 PVC in problem zones.
- Install low-point drains if your system has chronic low spots.
Expert Insight: Common Mistakes Homeowners Make
- Waiting until the first freeze warning—too late!
- Assuming “it never freezes hard here” — one polar vortex can change everything.
- DIY blowouts with underpowered compressors (under 10 CFM = incomplete water removal).
- Forgetting to winterize the backflow preventer—most common burst point.
Frequently Asked Questions (FAQs) ❓
When is too late to schedule an irrigation blowout? If temperatures have already dropped below 32°F for several hours, it may be too late—pipes could already have frozen. Call immediately for an emergency inspection. Otherwise, book as soon as you see consistent 40°F nights.
How much does a professional blowout cost? $75–$250, with most residential jobs falling in the $100–$200 range. Larger properties or systems with many zones cost more.
Can I blow out my system myself safely? Yes—if you have the right equipment, know your pipe material, and stay below 50 PSI for poly pipe / 80 PSI for PVC. Otherwise, hire a pro to avoid costly mistakes.
What if my area rarely freezes – do I still need one? If you’ve had even one hard freeze in the past 5–10 years, yes. The cost of prevention is tiny compared to repair bills.
How does blowout timing affect tree and plant health? Proper winterization prevents spring drought stress from broken lines → healthy root systems → stronger trees and vibrant lawns all season long.
Conclusion: Take Action Today to Safeguard Your Lawn This Winter 🌟❄️
The single most important step you can take right now? Check your local first hard freeze date (use the Old Farmer’s Almanac or NOAA tool) and start scheduling irrigation system blowouts 4–6 weeks before that date. Early action means better pricing, priority service, and peace of mind knowing your lawn, trees, and irrigation investment are protected.
Don’t let procrastination turn your beautiful landscape into a costly repair project. Book today, prep your system, and look forward to a lush, trouble-free spring.
Your plants will thank you. 🌿💚


