
Are you tired of watching your potted tomatoes wilt, your balcony herbs yellow, or your container fruit trees struggle despite regular watering and feeding? 😩 If you’ve ever dumped bag after bag of expensive store-bought potting mix into your containers only to deal with poor drainage, compaction, or mysteriously unhappy plants, you’re not alone. Many gardeners face this frustration every season.
The good news? You can take full control by making your own step-by-step mixing guide for container garden soil right at home. A custom homemade potting mix is often superior—lighter, better-draining, nutrient-rich, and far more affordable (saving 50-70% compared to premium bagged options). Plus, it’s customizable for specific plants, reduces plastic waste from packaging, and gives your roots the ideal environment they crave in limited space. 🌿
In this comprehensive guide, I’ll walk you through why DIY beats store-bought, the science behind perfect container soil, a foolproof universal recipe, detailed step-by-step instructions, tailored variations for veggies, succulents, and more, plus pro tips from years of hands-on container gardening experience. By the end, you’ll have thriving plants with strong roots, vibrant growth, and bigger harvests—no more guesswork! Let’s dig in. 🚀
Why Homemade Potting Mix Beats Store-Bought 🌟
Store-bought potting mixes seem convenient, but they often fall short for serious container gardeners. Many are heavy on peat moss (which can become hydrophobic when dry and hard to re-wet), include fillers that compact over time, or vary wildly in quality from batch to batch. In humid climates or during hot summers, they may hold too much water, leading to root rot, or dry out too fast in windy spots.
Homemade mixes let you control every element:
- Superior structure — Balanced aeration prevents compaction in pots where roots can’t spread freely.
- Custom nutrition — Add high-quality compost or worm castings for slow-release organics without synthetic overload.
- Eco-friendly — Skip peat (harvested from fragile bogs) by using sustainable coco coir, and reduce packaging waste.
- Cost savings — Bulk ingredients like perlite or compost stretch further, especially for large pots or multiple containers.
Scientifically, container plants depend 100% on the mix you provide—no natural soil ecosystem to fall back on. The ideal mix balances water retention (to avoid constant watering), aeration/drainage (for oxygen to roots), and nutrient availability (without lockout from poor pH). Get this right, and your plants explode with growth! Studies from extension services like Penn State and UF/IFAS confirm soilless or lightly soil-amended mixes outperform heavy garden dirt in pots.
When to buy vs. DIY? Grab bagged for quick one-off projects, but DIY for ongoing container gardens, seed starting, or when you want peak performance.
Understanding the Core Components of Great Container Soil 🧪
A top-tier potting mix isn’t “dirt”—it’s a soilless or semi-soilless blend engineered for containers. Here’s what each part does:
Water Retention & Structure (H3)
- Coco coir (preferred over peat moss in 2025+ for sustainability): Holds 8-10x its weight in water, re-wets easily, pH-neutral (5.8-6.8), and breaks down slowly (2-3 years). Pros: Eco-friendly (coconut byproduct), excellent aeration. Cons: Low inherent nutrients—needs compost boost.
- Sphagnum peat moss — Traditional choice for moisture but acidic (pH 3.5-4.5), hard to re-wet once dry, and environmentally controversial due to bog harvesting.
Aeration & Drainage (H3)
- Perlite — Volcanic glass pops for lightweight drainage and air pockets; prevents sogginess. Use coarse for best results.
- Vermiculite — Holds more water than perlite; great for moisture-loving plants but can compact if overused.
- Pumice or coarse sand — Adds weight for stability in tall pots and superb drainage (ideal for succulents).
Nutrient Supply & Organic Matter (H3)
- Compost (well-finished, sifted) — Provides slow-release nutrients, microbes, and structure. Worm castings are gold for gentle feeding.
- Aged manure — Nutrient-rich but use sparingly to avoid burning roots.
Optional Additives (H3)
- Dolomitic lime — Raises pH if using peat; adds calcium/magnesium.
- Slow-release organic fertilizer (e.g., pelleted) — Feeds for months.
- Mycorrhizae — Beneficial fungi for better nutrient uptake.
Here’s a quick comparison table:
| Ingredient | Benefit | Best For | Approx. Cost (bulk) |
|---|---|---|---|
| Coco Coir | Moisture + aeration, sustainable | Most plants | Low |
| Peat Moss | High water hold, acidic | Acid-lovers | Medium |
| Perlite | Drainage + lightness | All mixes | Low |
| Vermiculite | Water + nutrient hold | Seed starting | Medium |
| Compost | Nutrients + microbes | Veggies/herbs | Varies (homemade free!) |
Our Recommended Universal Base Recipe for Most Container Plants 🌿
For reliable results across flowers, herbs, veggies, and small shrubs, try this proven 5:3:2 ratio (adjustable by volume—use buckets or cups):
- 5 parts coco coir (or peat moss if preferred)
- 3 parts high-quality compost or worm castings
- 2 parts perlite (or 1:1 perlite/vermiculite mix)
Why it works: Coco coir provides fluffy moisture retention, compost delivers steady organics, and perlite ensures no waterlogging—perfect lightweight texture that won’t compact in pots. This makes about enough for several 10-15 gallon containers. Add 1-2 tbsp dolomitic lime per gallon if using peat for pH balance (aim 6.0-7.0).
Step-by-Step Mixing Guide: How to Make Your Potting Mix 🛠️
Follow these steps for consistent, professional-quality results every time.
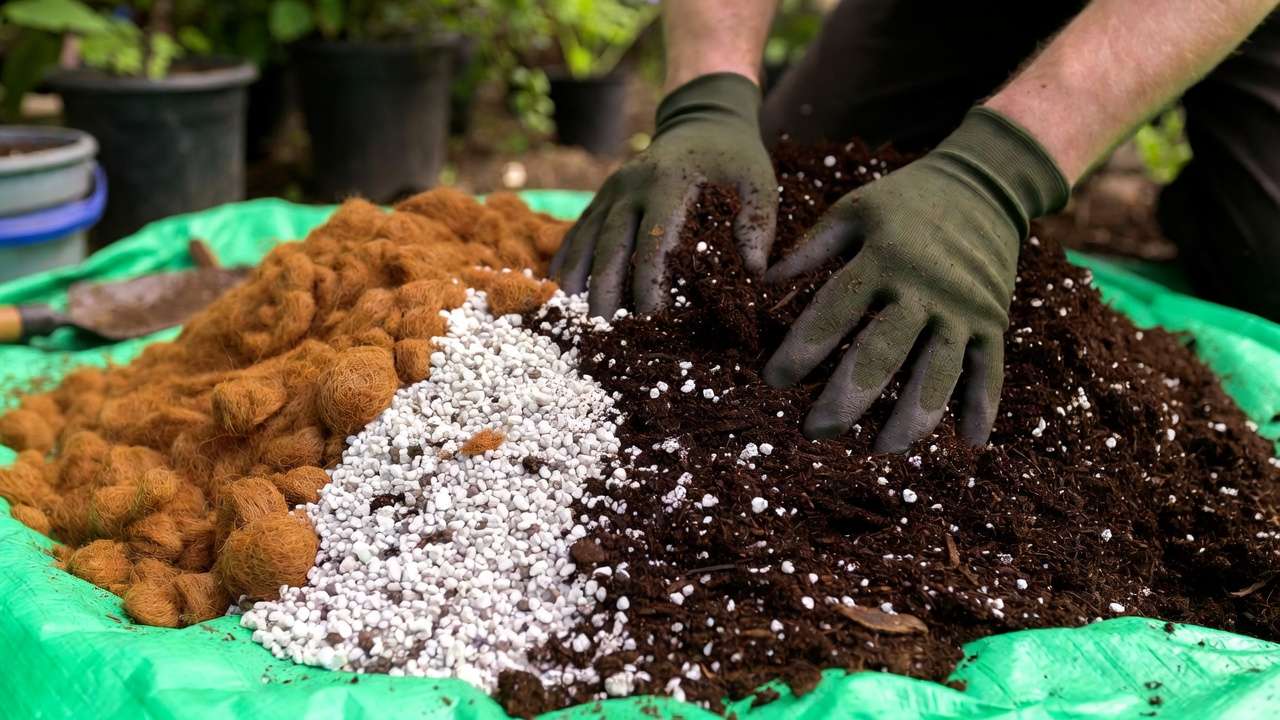
Step 1: Gather Tools & Materials (H3) You’ll need: Gloves, dust mask (for dry perlite), large tarp or wheelbarrow, measuring container, watering can/hose. Source bulk coco coir bricks, perlite bags, and fresh compost from garden centers or online. Safety first—wear a mask when breaking coir bricks to avoid dust! 🧤
Step 2: Prepare & Rehydrate Base Materials (H3) Break coco coir brick in a large tub with warm water; let expand (takes 20-30 min). Fluff peat moss if using. Moisten slightly—aim for damp sponge consistency. This prevents dry pockets later.
Step 3: Measure & Combine Dry Ingredients (H3) On a tarp, layer coir first, then perlite/vermiculite, mix gently. Add compost last to avoid clumping. Use 5:2:3 ratio for even distribution—turn with shovel or hands until uniform (no streaks).
Step 4: Incorporate Nutrients & Amendments (H3) Mix in worm castings (10-20% extra for veggies), slow-release organic fertilizer, and lime if needed. Test pH with a cheap kit—adjust with lime (up) or sulfur (down). Pro tip: Add mycorrhizae powder now for root magic.
Step 5: Mix Thoroughly & Test Consistency (H3) Blend 5-10 minutes. Squeeze test: Should form a loose ball that crumbles easily—no mud, no dust. Ribbon test: Shouldn’t form long ribbons (too clay-like). Adjust with more perlite if soggy.
Step 6: Store or Use Immediately (H3) Use fresh for best results, or store in sealed bins in shade to prevent mold. Moisten lightly before planting.
Customized Recipes for Specific Plants 🌿
The universal 5:3:2 base is fantastic for most containers, but tweaking it unlocks even better results. Here are proven variations based on plant needs—I’ve used these in my own balcony setup (herbs, veggies, and a dwarf citrus tree) with excellent outcomes.
Succulents & Cacti (H3) These desert dwellers hate wet feet—aim for fast drainage to mimic sandy soils. Recipe: 2 parts coco coir (or peat), 3 parts coarse perlite/pumice, 2 parts coarse sand or grit, 1 part small gravel or orchid bark. Why it works: Minimal water retention prevents rot; extra grit adds weight for stability in shallow pots. Top with a ½-inch layer of decorative pebbles for aesthetics and evaporation control.
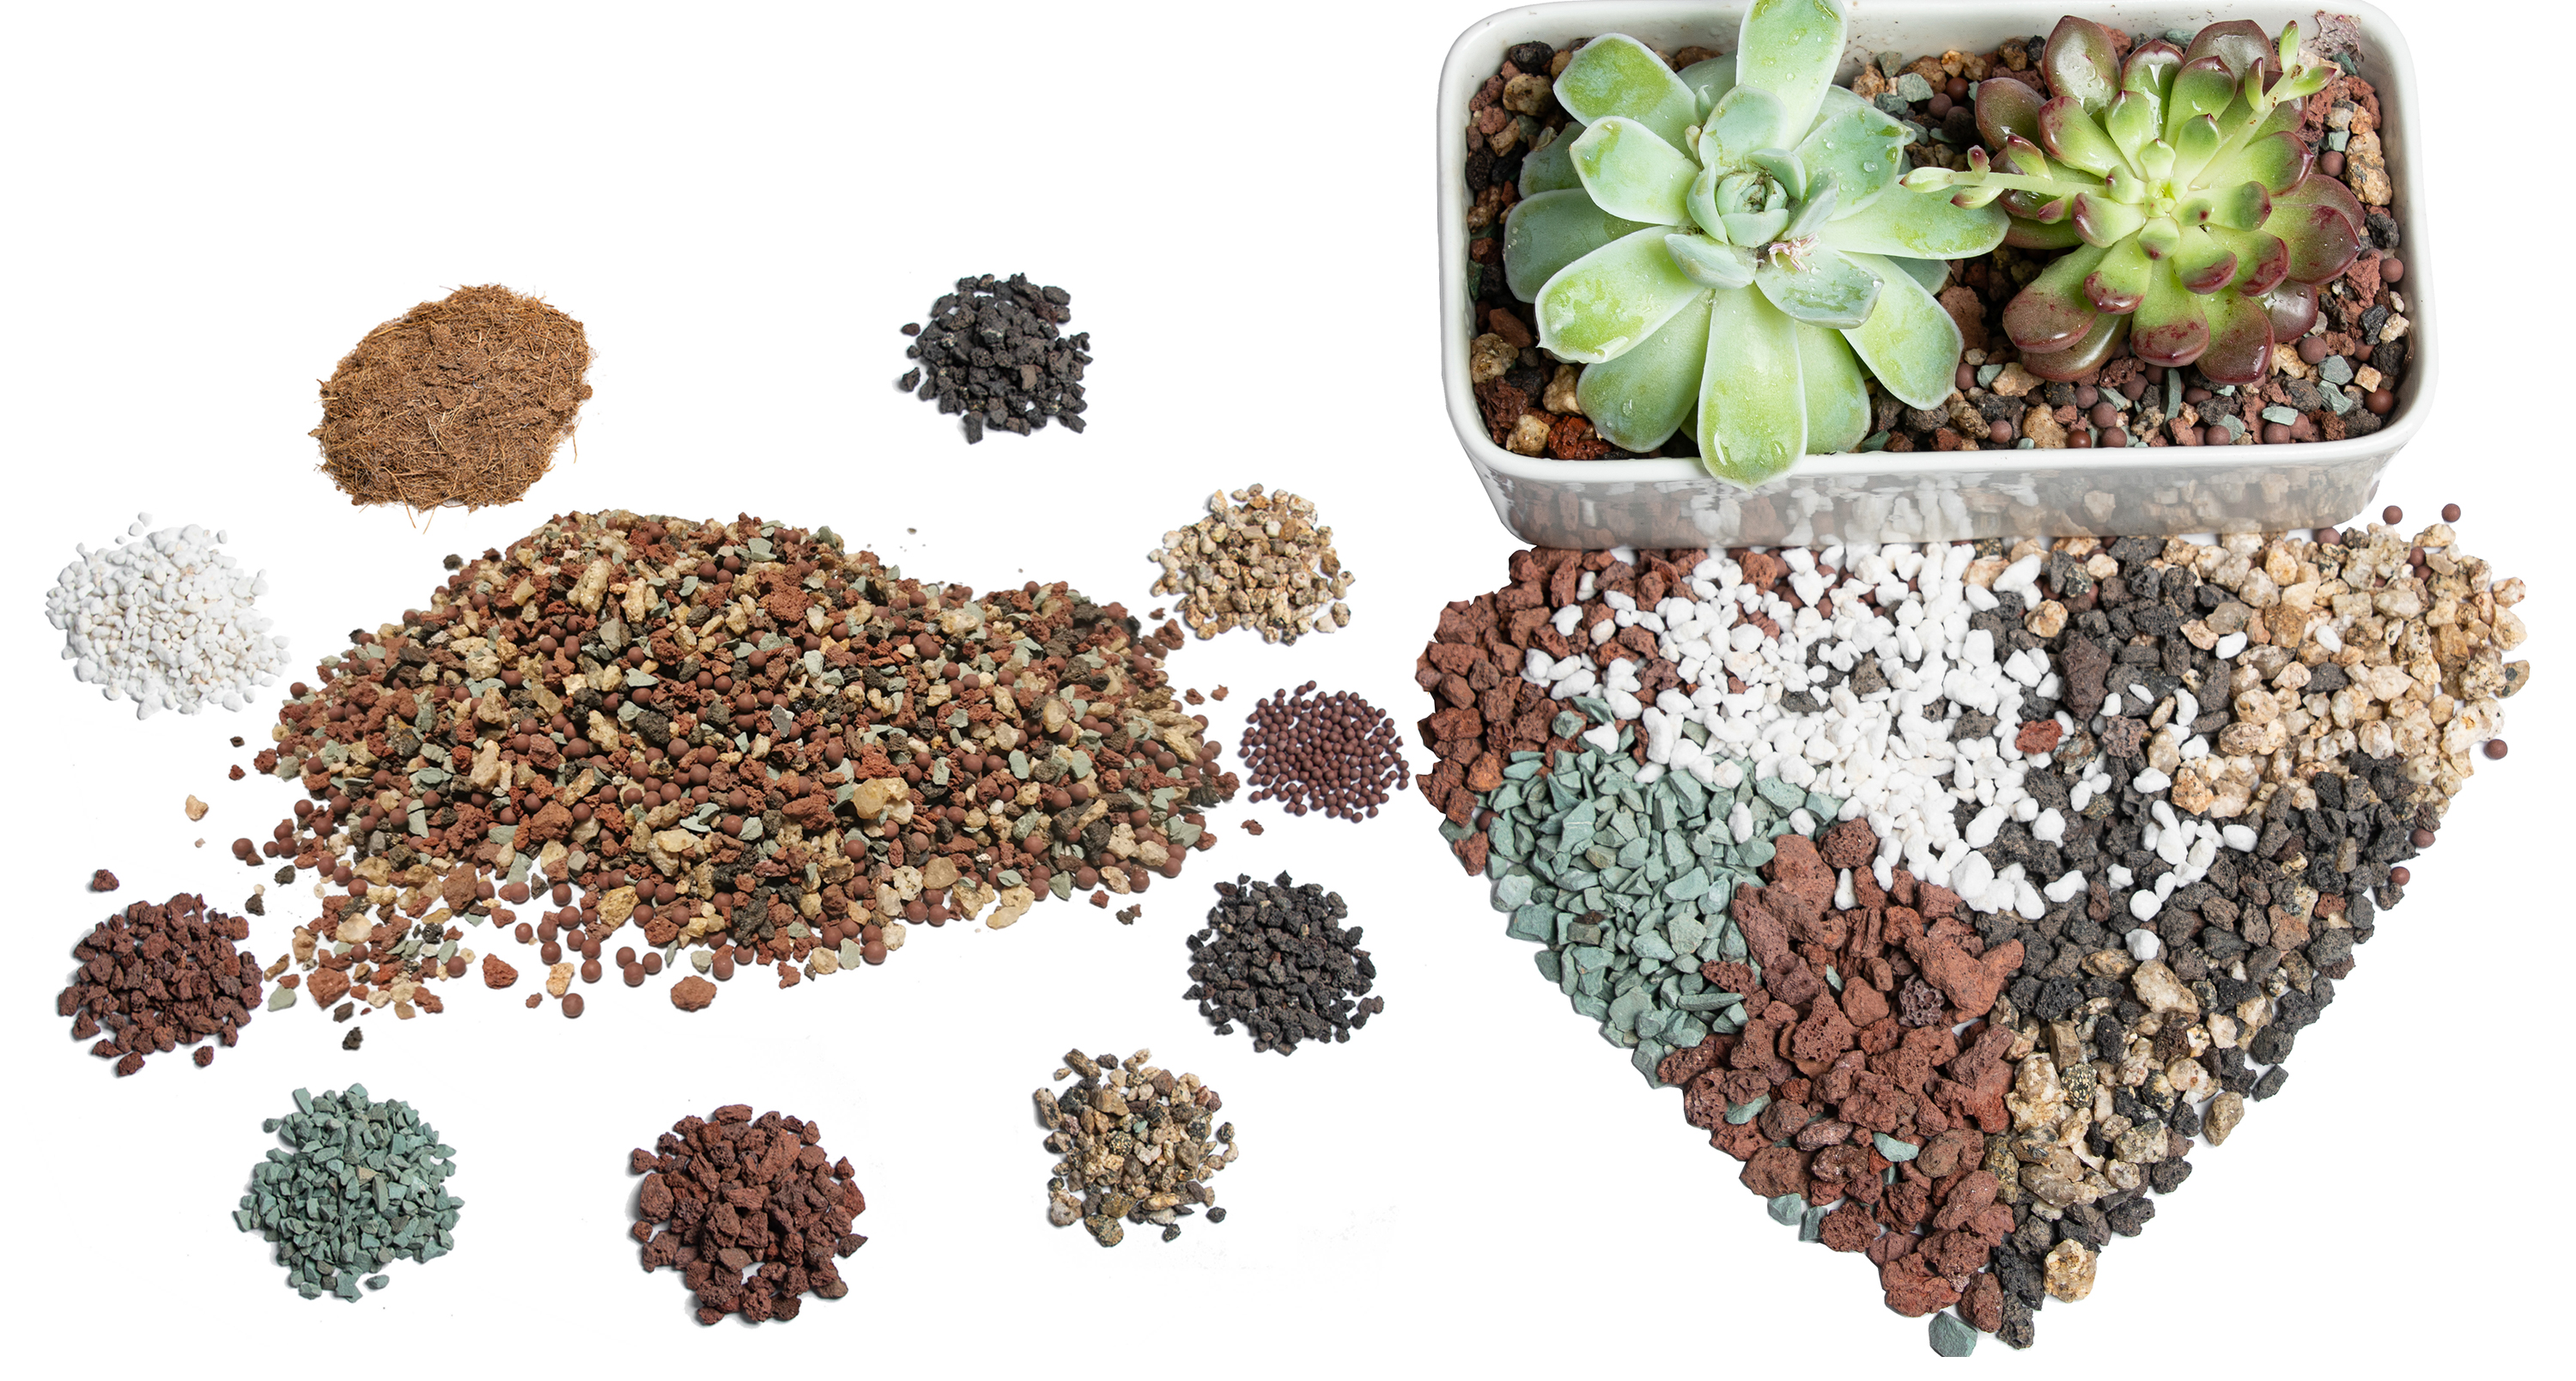
(These show gritty mixes and thriving succulents in action!)
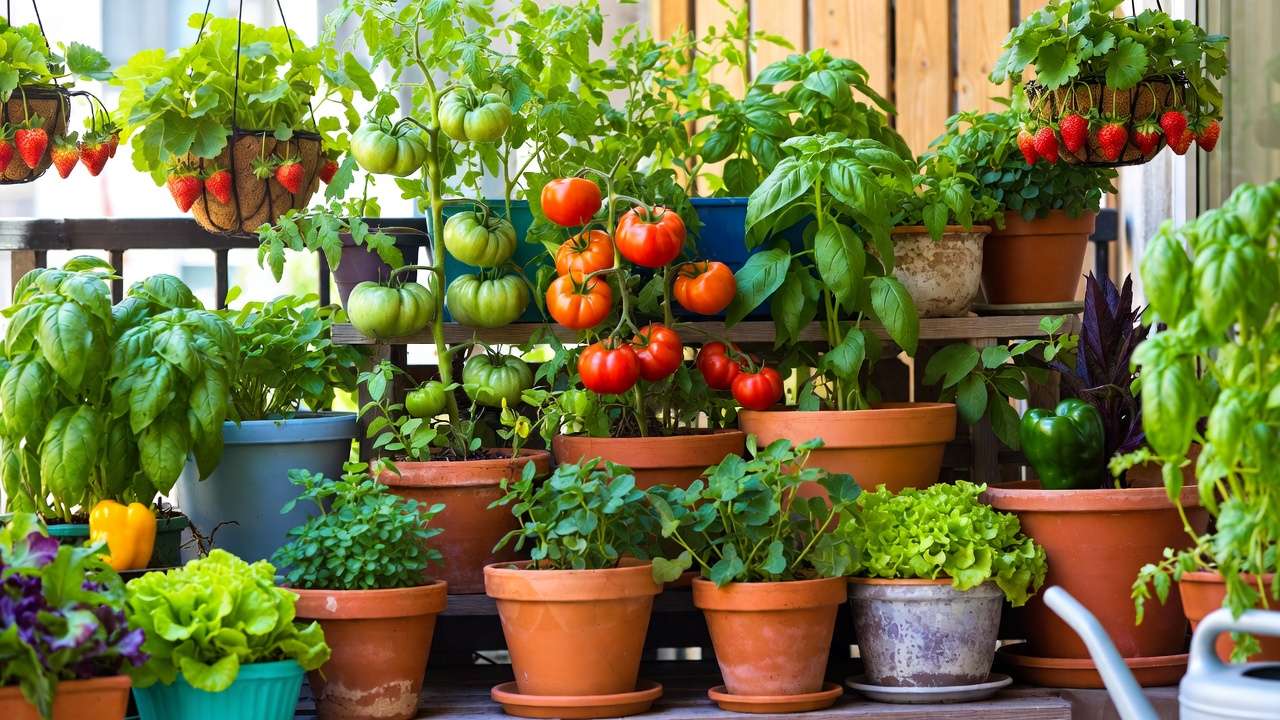
Vegetables & Herbs (H3) Fruiting veggies (tomatoes, peppers) and heavy feeders love nutrient density. Recipe: 4 parts coco coir, 4 parts mature compost/worm castings blend, 2 parts perlite/vermiculite. Add 1–2 tbsp slow-release organic fertilizer (like fish bone meal or kelp) per gallon. Why it works: Extra organics fuel steady growth and bigger yields; vermiculite helps retain moisture during hot spells without sogginess. Perfect for 5–15 gallon pots.
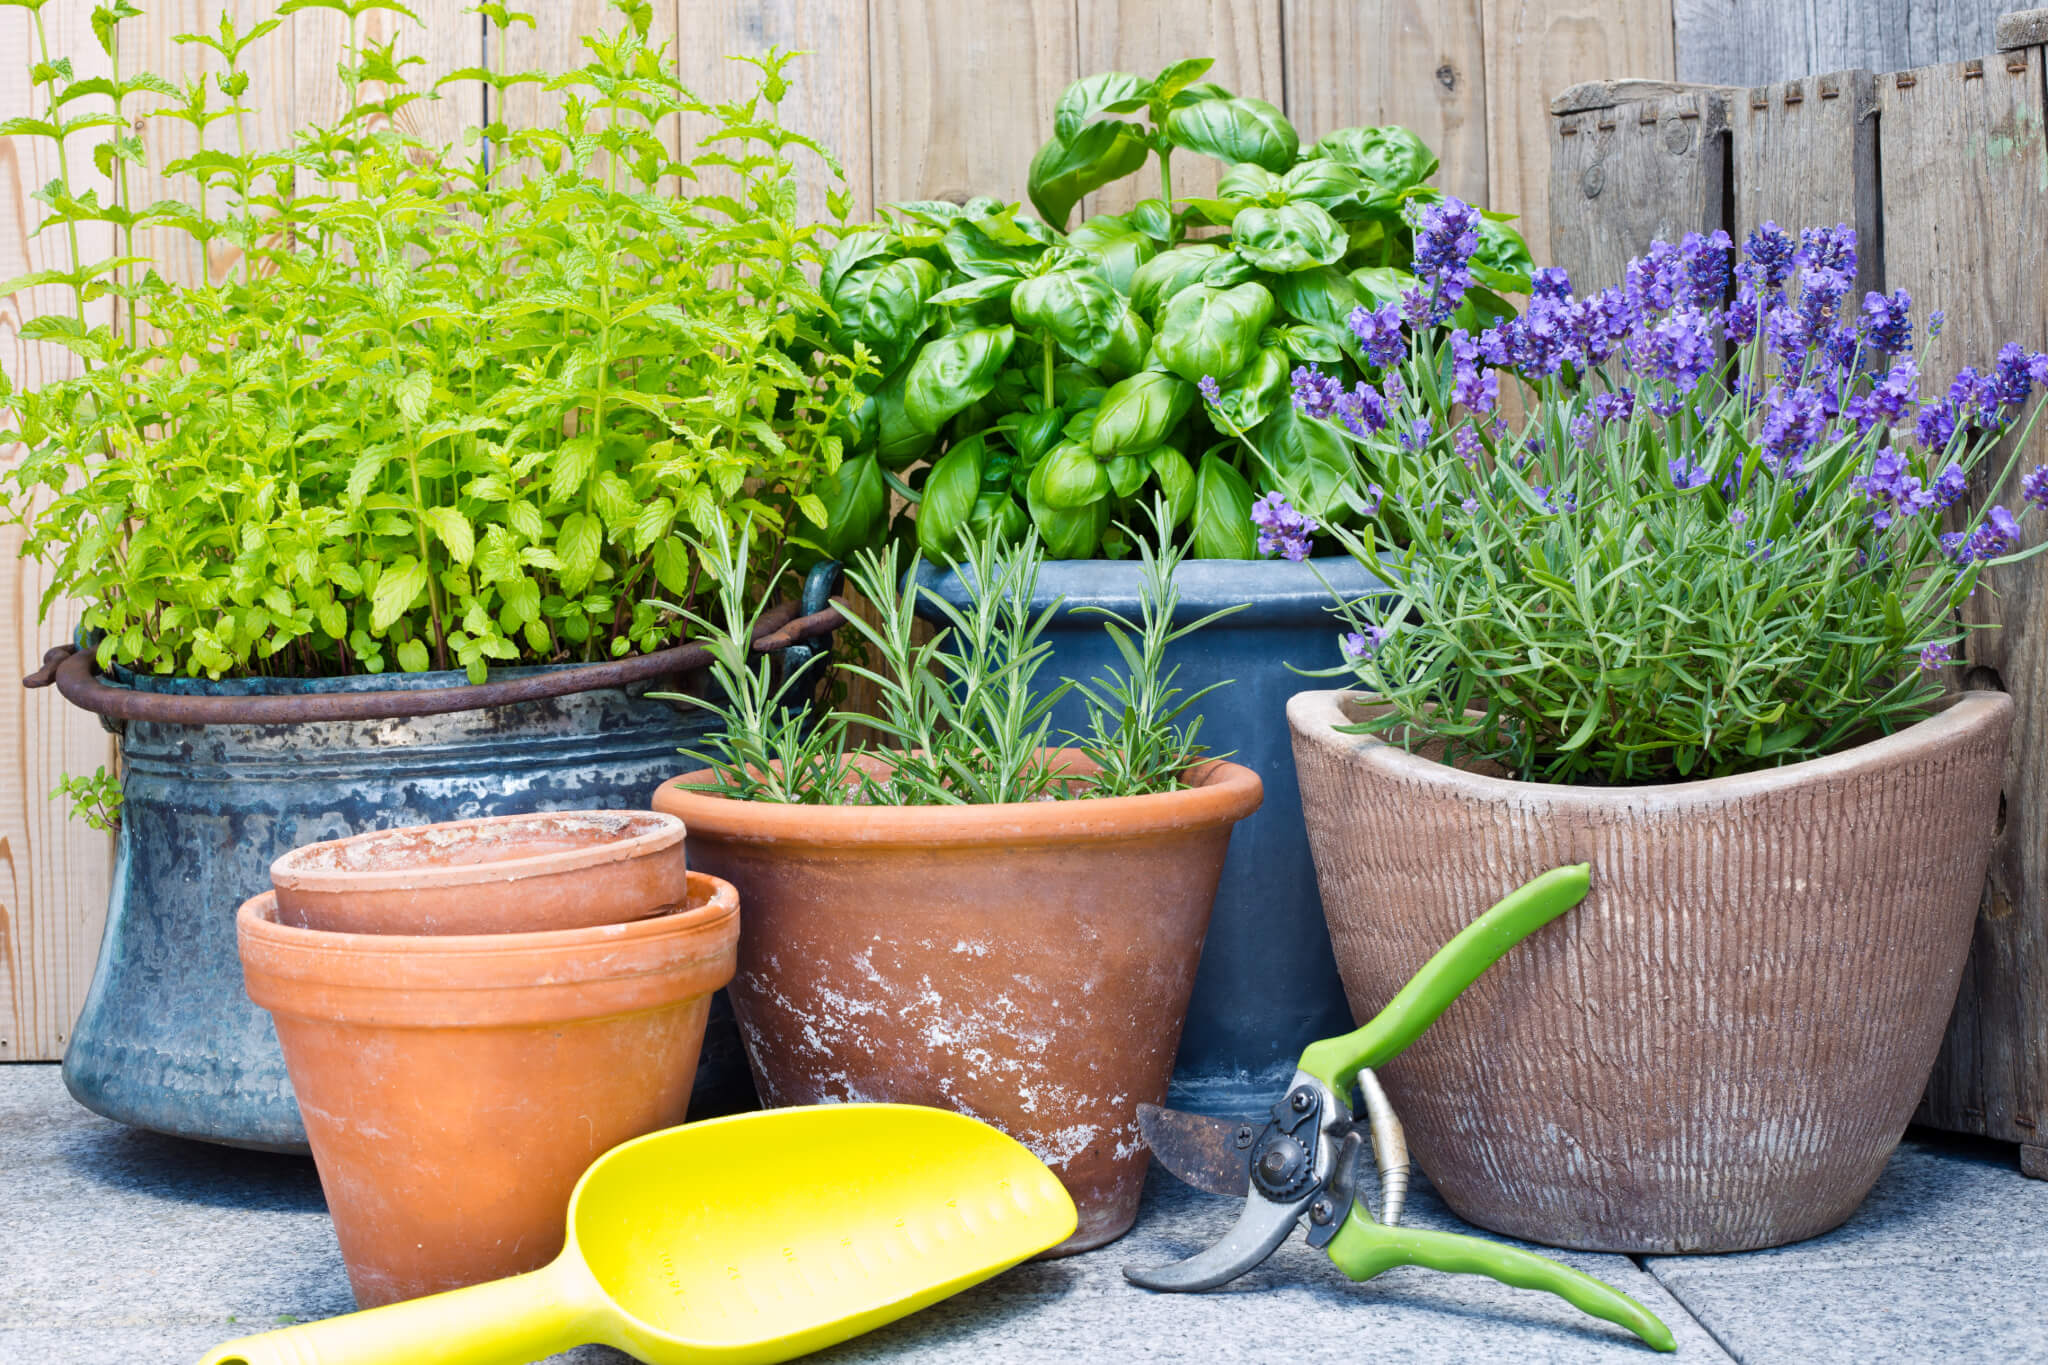
(Beautiful veggie and herb container setups—notice the lush growth!)
Acid-Loving Plants (e.g., Blueberries, Azaleas) (H3) They thrive at pH 4.5–5.5. Recipe: 6 parts peat moss (or acidic coco coir blend), 2 parts perlite, 2 parts pine bark fines or composted leaf mold, plus elemental sulfur (follow package for pH adjustment). Why it works: Peat keeps acidity; bark improves drainage. Test pH after mixing—adjust gradually.
Fruit Trees/Shrubs in Pots (H3) Dwarf citrus, figs, or small apples need stability and long-term nutrition. Recipe: 4 parts coco coir, 3 parts compost, 2 parts perlite, 1 part aged bark or pumice for weight. Why it works: Heavier texture prevents tipping; bark adds longevity as it decomposes slowly.
Seed Starting Mix (H3) For delicate seedlings—keep it fine and sterile. Recipe: 3 parts coco coir, 1 part vermiculite, 1 part perlite. Skip compost to reduce damping-off risk. Why it works: Super light and airy for tiny roots; excellent moisture control.
Common Mistakes to Avoid (And How to Fix Them) 🚫
Even experienced gardeners slip up—here are the top pitfalls I’ve seen (and fixed!):
- Using straight garden soil — Compacts fast, brings weeds/pests/pathogens. Fix: Always use soilless base + amendments.
- Skipping drainage ingredients — Leads to root rot. Fix: Never go below 20–30% perlite/pumice.
- Over-fertilizing fresh mix — Burns roots. Fix: Wait 4–6 weeks before heavy feeding; use half-strength initially.
- Ignoring pH — Locks out nutrients (yellow leaves). Fix: Test with a $10 kit; amend as needed.
- Mixing dry — Creates uneven pockets. Fix: Always pre-moisten and fluff thoroughly.
- Not sterilizing reused mix — Risk of fungal issues. Fix: Solarize in black bags or bake at 180°F for 30 min (optional for small batches).
Maintenance Tips: Reusing & Refreshing Your Mix ♻️
Your homemade mix lasts 1–2 seasons with care:
- Top-dress annually — Add 1–2 inches fresh compost in spring.
- Refresh old mix — Sift out roots, add 30–50% new coco coir/perlite/compost, re-test pH.
- Sterilize if needed — For disease-prone plants, microwave small batches (damp, 5–10 min) or solarize outdoors.
- Long-term feeding — Supplement with liquid seaweed/fish emulsion every 2–4 weeks during growth.
Expert Insights & Pro Tips from Years of Container Gardening 🌟
After mixing hundreds of batches on balconies and patios:
- In humid/tropical areas (like many parts of Bangladesh), bump perlite to 30–40% to combat excess moisture.
- Mulch tops with bark or straw—cuts watering by 20–30% and suppresses weeds.
- Batch in fall for spring planting—let it “age” for microbial magic.
- Experiment! Track what works for your microclimate—my dwarf lemon loves a touch extra vermiculite.
Frequently Asked Questions (FAQs) ❓
Is coco coir better than peat moss? Yes for most—it’s renewable, re-wets easier, and pH-neutral. Peat suits acid-lovers but harms wetlands.
How much mix for a 5-gallon pot? About 0.7 cubic feet—roughly 1–1.5 batches of our 5:3:2 recipe (scale up as needed).
Can I use leaf mold or homemade compost? Absolutely—ensure it’s well-decomposed (no smell, crumbly). Sift to remove chunks.
Does this mix need fertilizer right away? Not usually—compost provides enough for 4–8 weeks. Start light feeding after.
What if my mix is too heavy/wet? Add more perlite/pumice; aerate by forking through.
Is it safe for edibles? Yes—use organic, pesticide-free ingredients; avoid fresh manure.
How long does homemade mix last? 1–2 seasons actively; refresh nutrients/structure yearly.
Can kids help mix? Great family activity—just supervise dust and wear gloves! 🌱
Conclusion 💚
Creating your own step-by-step mixing guide for container garden soil transforms frustrating pots into thriving mini-oases. You’ll save money, grow healthier plants with stronger roots and better yields, and enjoy the satisfaction of true self-sufficiency. Whether you’re squeezing veggies onto a tiny balcony or nurturing a potted tree, the right mix is the foundation—literally!
Start small with our universal recipe, experiment with variations, and watch your container garden flourish. Your plants (and wallet) will thank you. Happy mixing—may your pots overflow with green joy! 🌿✨


