

As your seedlings start to grow, you might notice that they’re quickly outgrowing their small containers. This is the perfect time for transplanting seedlings into bigger pots to give them the space they need to continue developing strong roots and thrive. Properly transplanting your seedlings not only prevents stunted growth but also promotes healthy, vigorous plants ready to flourish. In this guide, we’ll walk you through the essential steps of transplanting seedlings, ensuring you provide the best possible environment for their continued growth. Let’s dive in and set your seedlings up for success! 🌿
⏰ When to Transplant Seedlings 🌱
Transplanting seedlings at the right time is crucial for their growth and development. To ensure your young plants thrive, here are key factors to consider:
🌟 Size and Strength 🌟
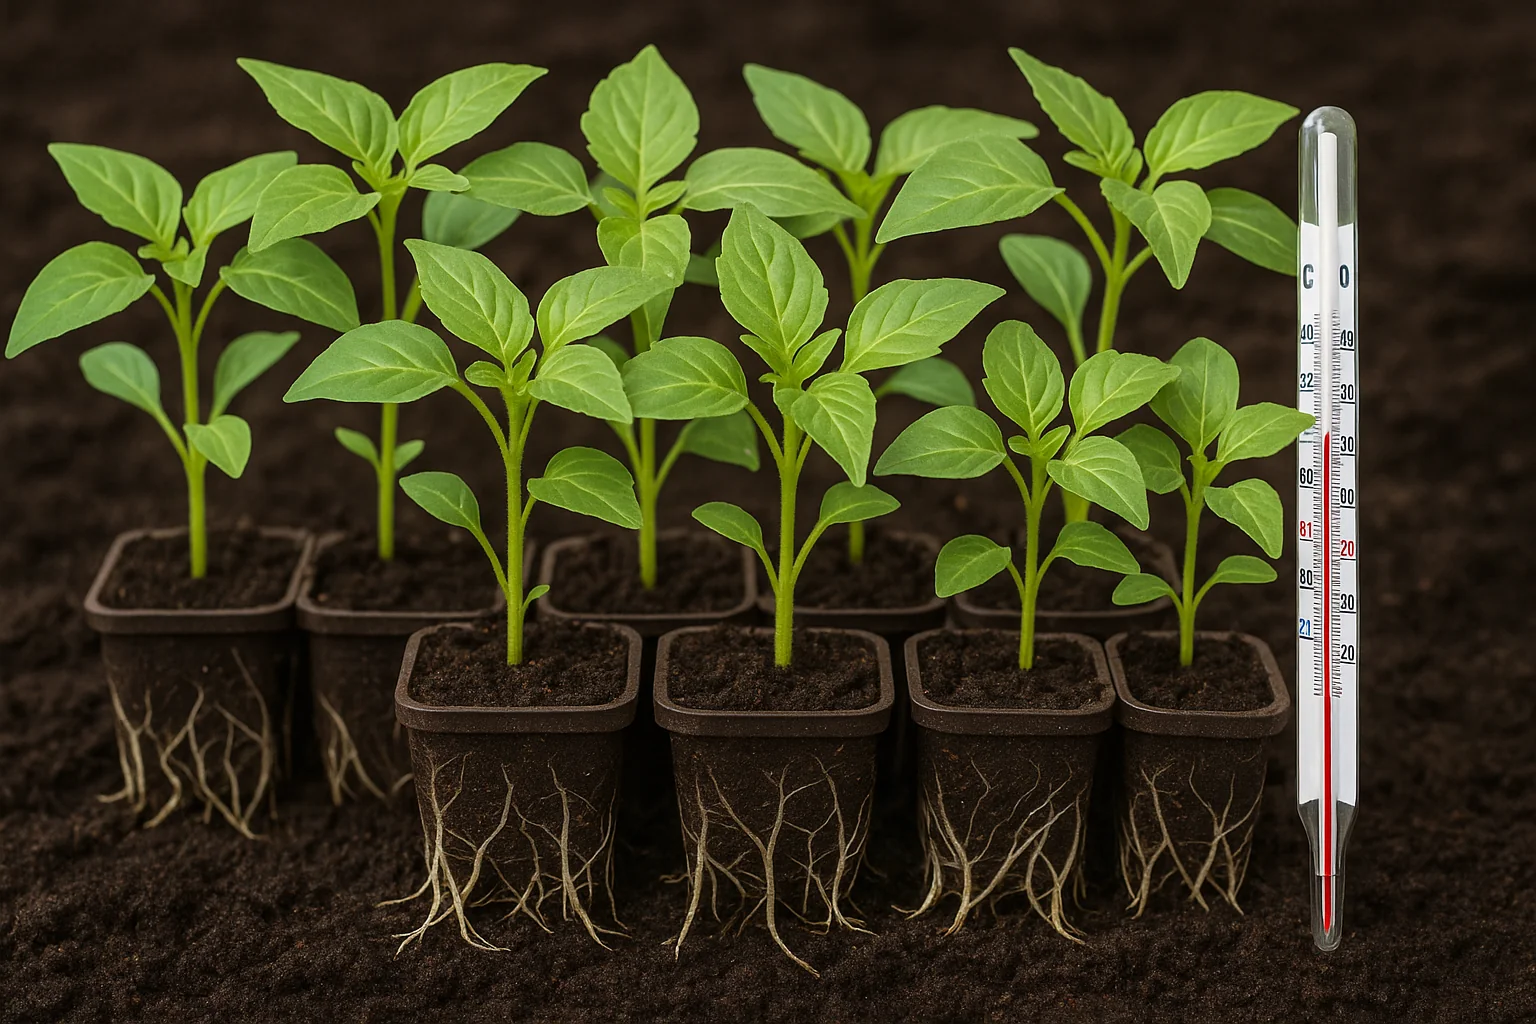
Seedlings are ready for transplanting when they have developed at least two to three sets of true leaves. These leaves are the first real leaves that appear after the seed leaves. The plants should be sturdy enough to handle a move without wilting. 🌿
🌦️ Weather Conditions 🌦️
Transplant seedlings after the danger of frost has passed, typically when daytime temperatures are consistently above 50°F (10°C). Cold weather can shock delicate plants, stunting their growth or even killing them. 🌨️
🌱 Root Development 🌱
Gently check the root system. If roots are visibly growing out of the bottom of the pot or appear crowded, it’s a sign that your seedlings are ready for a larger space. 🪴
🌡️ Soil Temperature 🌡️
Ideal soil temperature for transplanting is between 60°F and 75°F (15°C to 24°C). If the soil is too cold, seedlings may not establish well, while too hot a soil can cause stress. 🌞
🌞 Acclimation (Hardening Off) 🌞
Before transplanting, harden off your seedlings by gradually exposing them to outdoor conditions for 7-10 days. Start with a few hours of sunlight and gradually increase exposure to avoid transplant shock. 🌳
Transplanting seedlings at the right time promotes healthier growth, stronger root systems, and higher survival rates. Pay attention to these key indicators to give your plants the best start. 🌿
🌸 Choosing the Right Pot 🪴
Choosing the right pot is crucial for the health and growth of your plant. Here’s how to make the best choice:
📏 Size Matters 📏
Select a pot that is 1-2 inches larger in diameter than your plant’s root ball. A pot that’s too large can lead to waterlogged soil, while a pot that’s too small restricts root growth. Aim for a balance that allows the plant to grow comfortably without being overwhelmed by excess space. 🌿
💧 Drainage is Key 💧
Ensure the pot has drainage holes at the bottom. This allows excess water to escape, preventing root rot and ensuring your plant’s roots don’t sit in water for too long. If you find a pot you like without drainage holes, you can always drill some yourself. 🔨
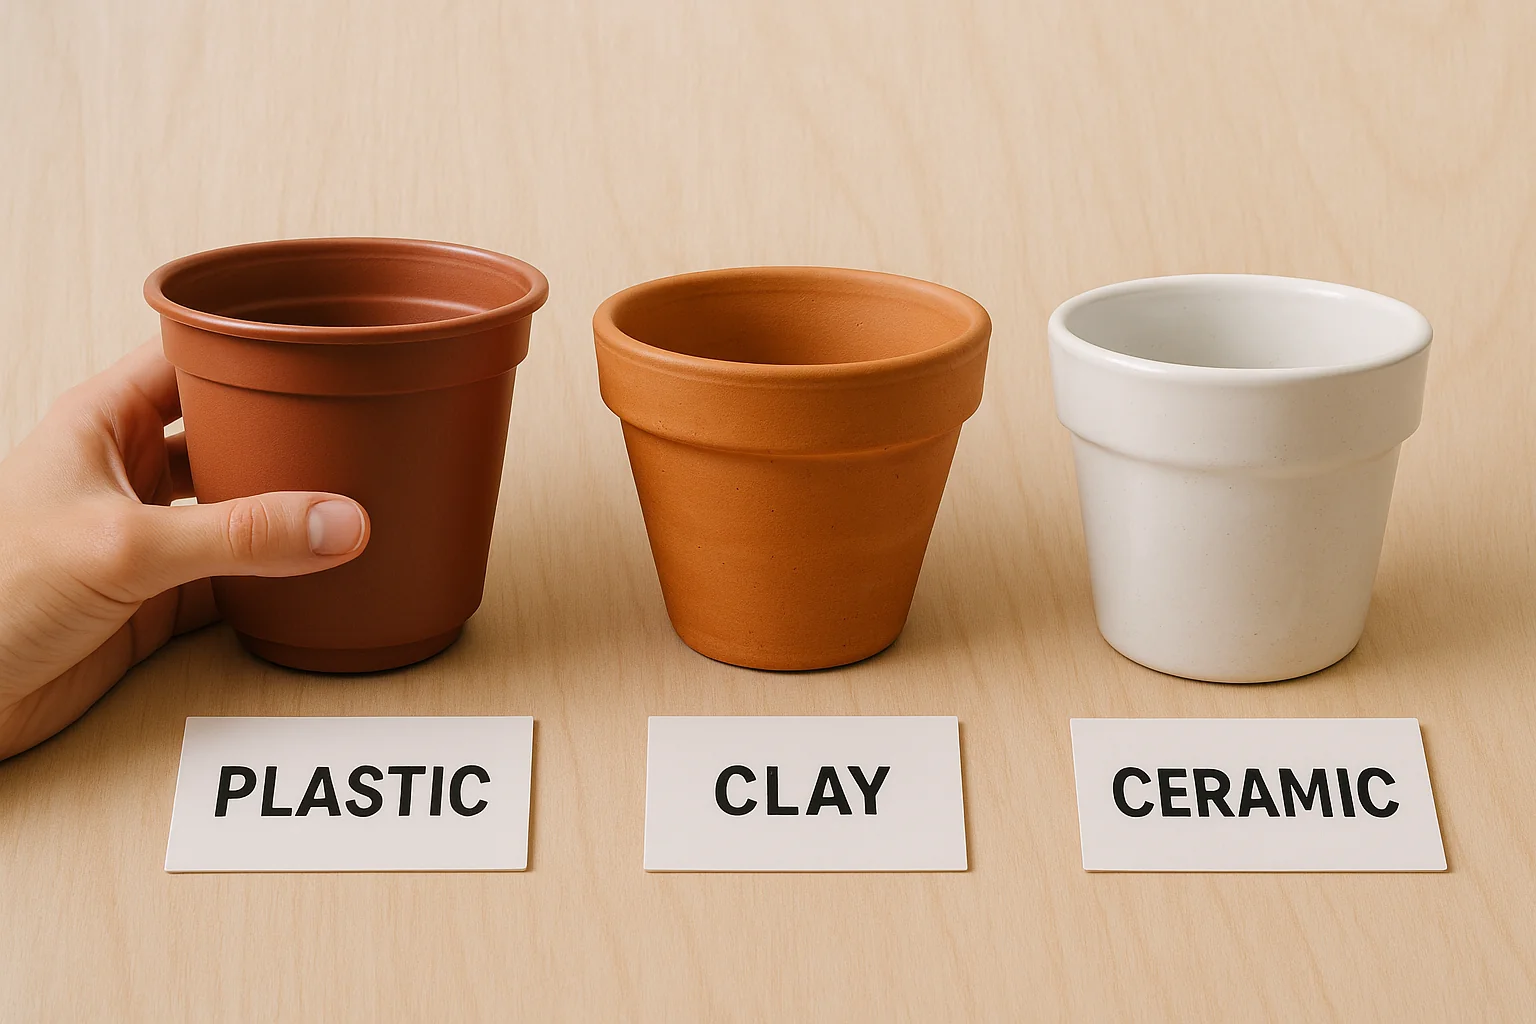
🌸 Material Choices 🌸
- 🌿 Plastic Pots 🌿: Lightweight, affordable, and retain moisture well, making them ideal for plants that prefer consistently moist soil. 🌱
- 🏺 Clay Pots 🏺: These pots are porous, which means they dry out faster, making them perfect for plants that need well-draining soil, like succulents. 🌵
- 🍶 Ceramic Pots 🍶: Aesthetic and sturdy, ceramic pots often come with a glaze that helps retain moisture, but be cautious of their weight, especially for larger plants. ⚖️
🔲 Pot Shape 🔲
A deeper pot is generally better for plants with deep roots, while a wider, shallower pot works well for plants that spread horizontally. Consider your plant’s root structure when choosing the pot shape. 🌾
🚚 Consider Mobility 🚚
If your plant will need to be moved often, choose a lightweight pot or one with wheels. Larger, heavier pots are best for plants that will stay in one place. 🏠
By keeping these factors in mind, you’ll set your plant up for long-term success. Remember, the right pot ensures better root health, drainage, and ultimately a thriving plant. 🌿
🌱 Preparing Your Seedlings for Transplanting 🌱
Transplanting your seedlings is a crucial step in ensuring they thrive in their new environment. Proper preparation will give them the best start in their new home. Here’s how to approach the process effectively:
1. 🌞 Harden Off Your Seedlings 🌞
Before transplanting, gradually acclimate your seedlings to outdoor conditions. This process, known as “hardening off,” helps prevent transplant shock. Start by placing your seedlings outside in a shaded area for a few hours each day, gradually increasing their exposure to sunlight and wind over 7–10 days.
2. 💧 Check Soil Moisture 💧
Ensure that your seedlings are well-watered before transplanting. Dry seedlings are more susceptible to stress during the move. Water them thoroughly the night before or a few hours before transplanting.
3. 🌍 Prepare the Transplanting Site 🌍
Choose a spot in your garden with the right sunlight and soil conditions for the plant. Make sure the soil is loose and well-draining. Add compost or organic matter to improve soil quality and provide your seedlings with the nutrients they need.
4. 🕓 Transplant During Cooler Times 🕓
To reduce stress on your seedlings, avoid transplanting during the hottest part of the day. Early morning or late afternoon is the best time when temperatures are lower, giving the seedlings time to adjust before the heat sets in.
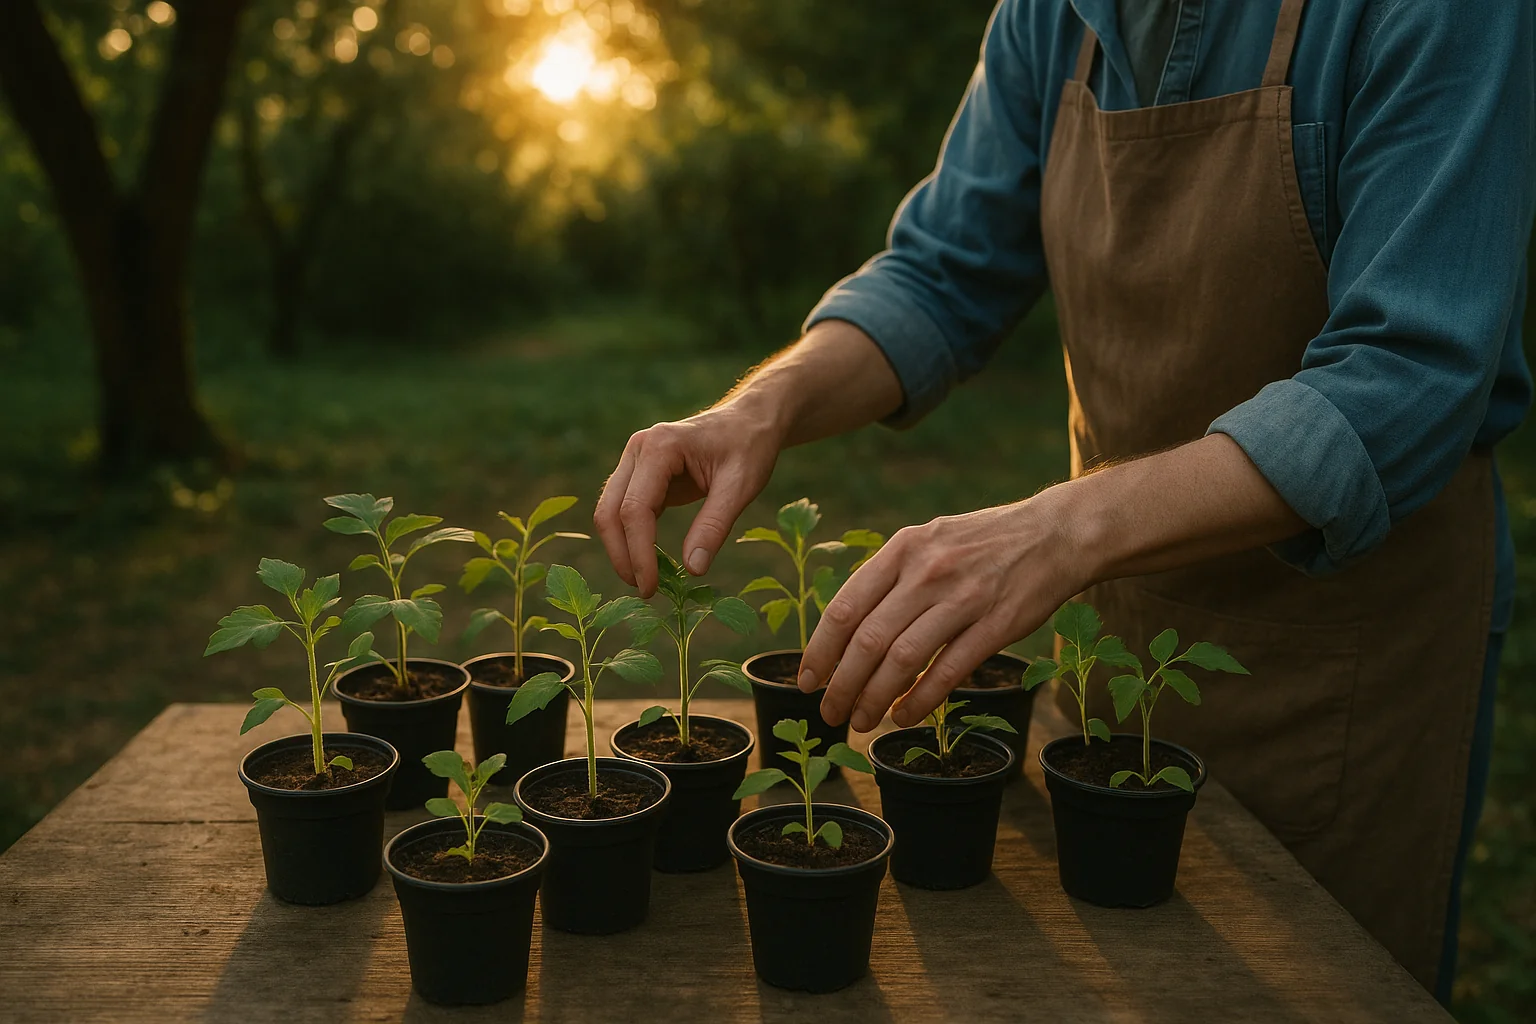
5. 🤲 Handle Seedlings Gently 🤲
When it’s time to move your seedlings, handle them carefully by the leaves or root ball, not the stem. Avoid disturbing the roots too much, as this can cause damage and slow down their establishment in the new location.
🌿 Step-by-Step Guide to Transplanting Seedlings 🌿
Transplanting seedlings is a critical step in ensuring healthy plant growth. Here’s a simple, step-by-step guide to help you successfully transplant your seedlings and give them the best start in their new home:
1. ⏰ Choose the Right Time ⏰
Transplant your seedlings when they are large enough to handle but not too mature. Typically, this is when they have two to four true leaves. Choose a cloudy day or transplant in the evening to reduce transplant shock.
2. 🌱 Prepare the New Site 🌱
Before moving your seedlings, prepare the new planting site. Make sure the soil is well-drained and rich in nutrients. Loosen the soil using a garden fork or trowel, and add compost if necessary.
3. 💧 Water the Seedlings 💧
Water your seedlings thoroughly a few hours before transplanting. This helps reduce stress and makes it easier to remove the seedlings from their containers.
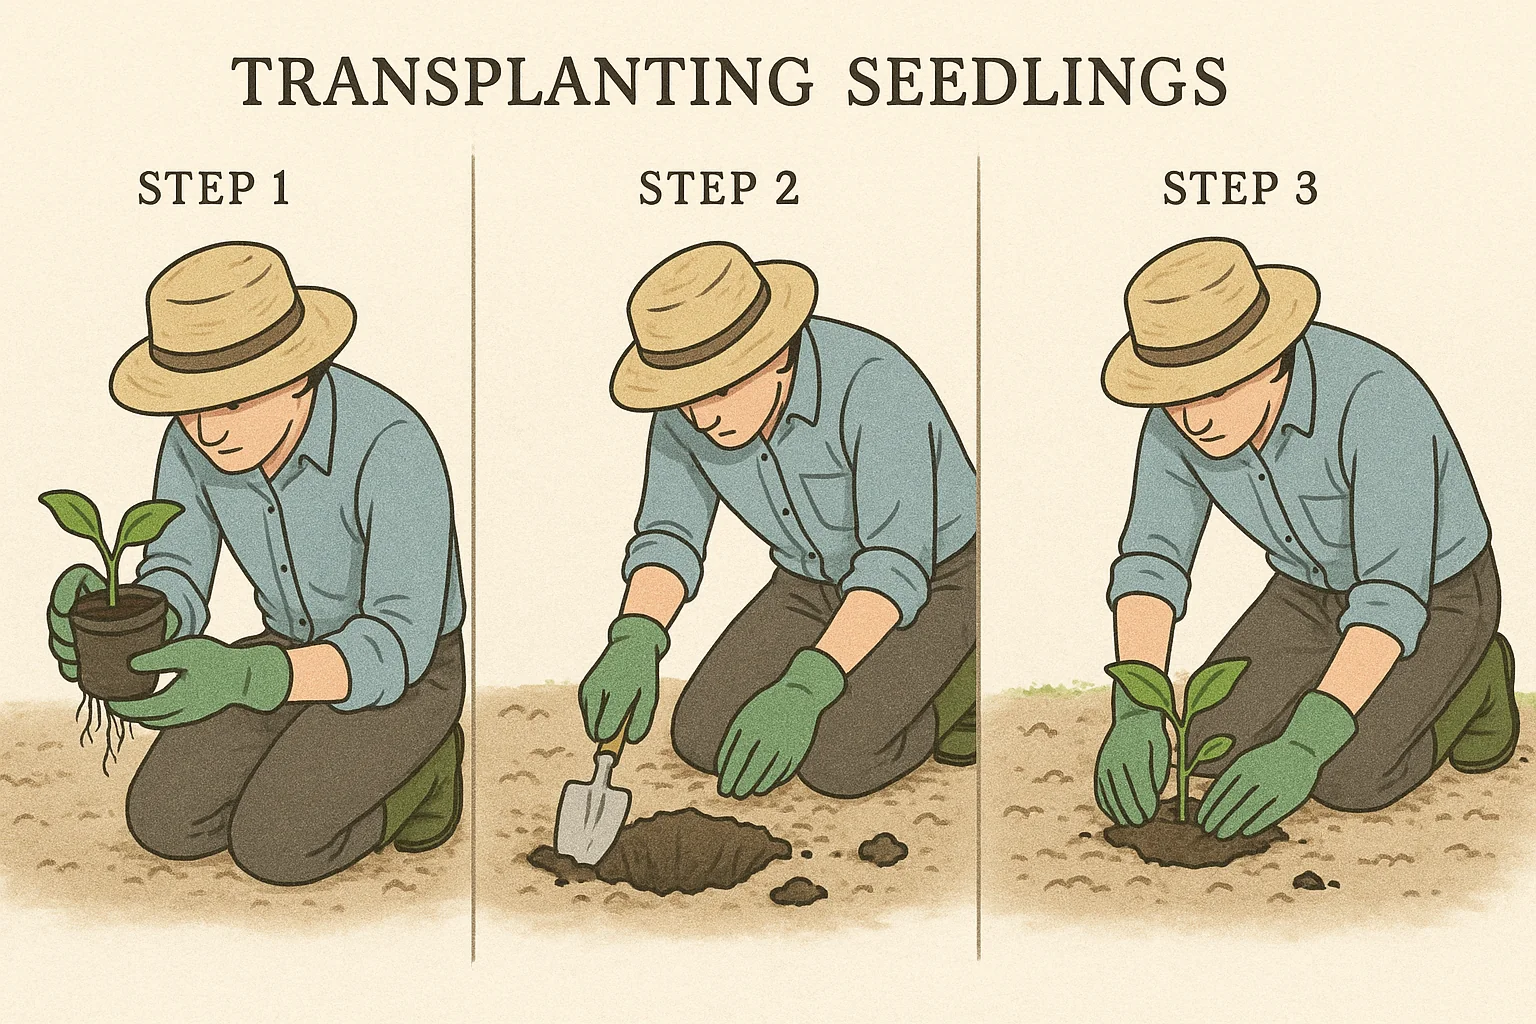
4. 🕳️ Dig a Hole 🕳️
Dig a hole that is slightly larger than the root ball of your seedling. The hole should be deep enough to accommodate the seedling without bending or crowding the roots.
5. 🌿 Remove the Seedling from Its Pot 🌿
Gently hold the seedling by its leaves or stem, not the roots. Tap the sides of the pot to loosen the soil, and carefully remove the seedling. Be cautious not to damage the delicate roots.
6. 🌱 Place the Seedling in the Hole 🌱
Place the seedling in the hole at the same depth it was in its pot. Ensure the root ball is level with the surrounding soil to avoid water pooling around the stem.
7. 🌍 Backfill and Firm the Soil 🌍
Backfill the hole with soil, gently pressing down to eliminate air pockets. Avoid compacting the soil too much, as it can hinder root growth.
8. 💧 Water Immediately 💧
After transplanting, water the seedling thoroughly to settle the soil around the roots. Keep the soil moist, but not soggy, for the first few weeks while the plant establishes itself.
9. 👀 Monitor and Care 👀
Keep an eye on your seedlings for signs of stress. Provide shade or a temporary barrier if necessary to protect them from harsh sun. Regularly water and monitor for pests.
By following these steps, you can ensure a successful transplant and healthy growth for your seedlings, setting them up for long-term success in your garden. 🌻
🌸 Post-Transplant Care 🌸
After transplanting your plant, proper care is essential for ensuring a smooth transition and healthy growth. Here are the key steps to take:

💧 Watering 💧
Immediately after transplanting, water your plant thoroughly to help settle the soil around the roots. Keep the soil consistently moist but not soggy for the first few weeks. This helps reduce transplant shock and encourages root establishment.
🌞 Sunlight 🌞
Place the plant in a location with indirect sunlight for the first few days. Gradually introduce it to full sunlight, allowing it to adjust slowly and avoid sunburn.
🌾 Mulching 🌾
Apply a light layer of mulch around the base of the plant. This helps retain moisture, regulate soil temperature, and reduce the growth of weeds.
🌱 Fertilizing 🌱
Hold off on fertilizing immediately after transplanting. Wait about 2-3 weeks to give the plant time to establish roots before adding any fertilizer. When you do fertilize, use a balanced, slow-release fertilizer.
✂️ Pruning ✂️
Remove any damaged or wilted leaves, but avoid heavy pruning right after transplanting. Let the plant focus its energy on root growth before encouraging new top growth.
👀 Monitoring 👀
Keep an eye out for signs of transplant shock, such as wilting or yellowing leaves. If these symptoms appear, maintain consistent watering and adjust the plant’s exposure to sunlight gradually.
By following these post-transplant care tips, you can give your plant the best chance to recover and thrive in its new environment. 🌱
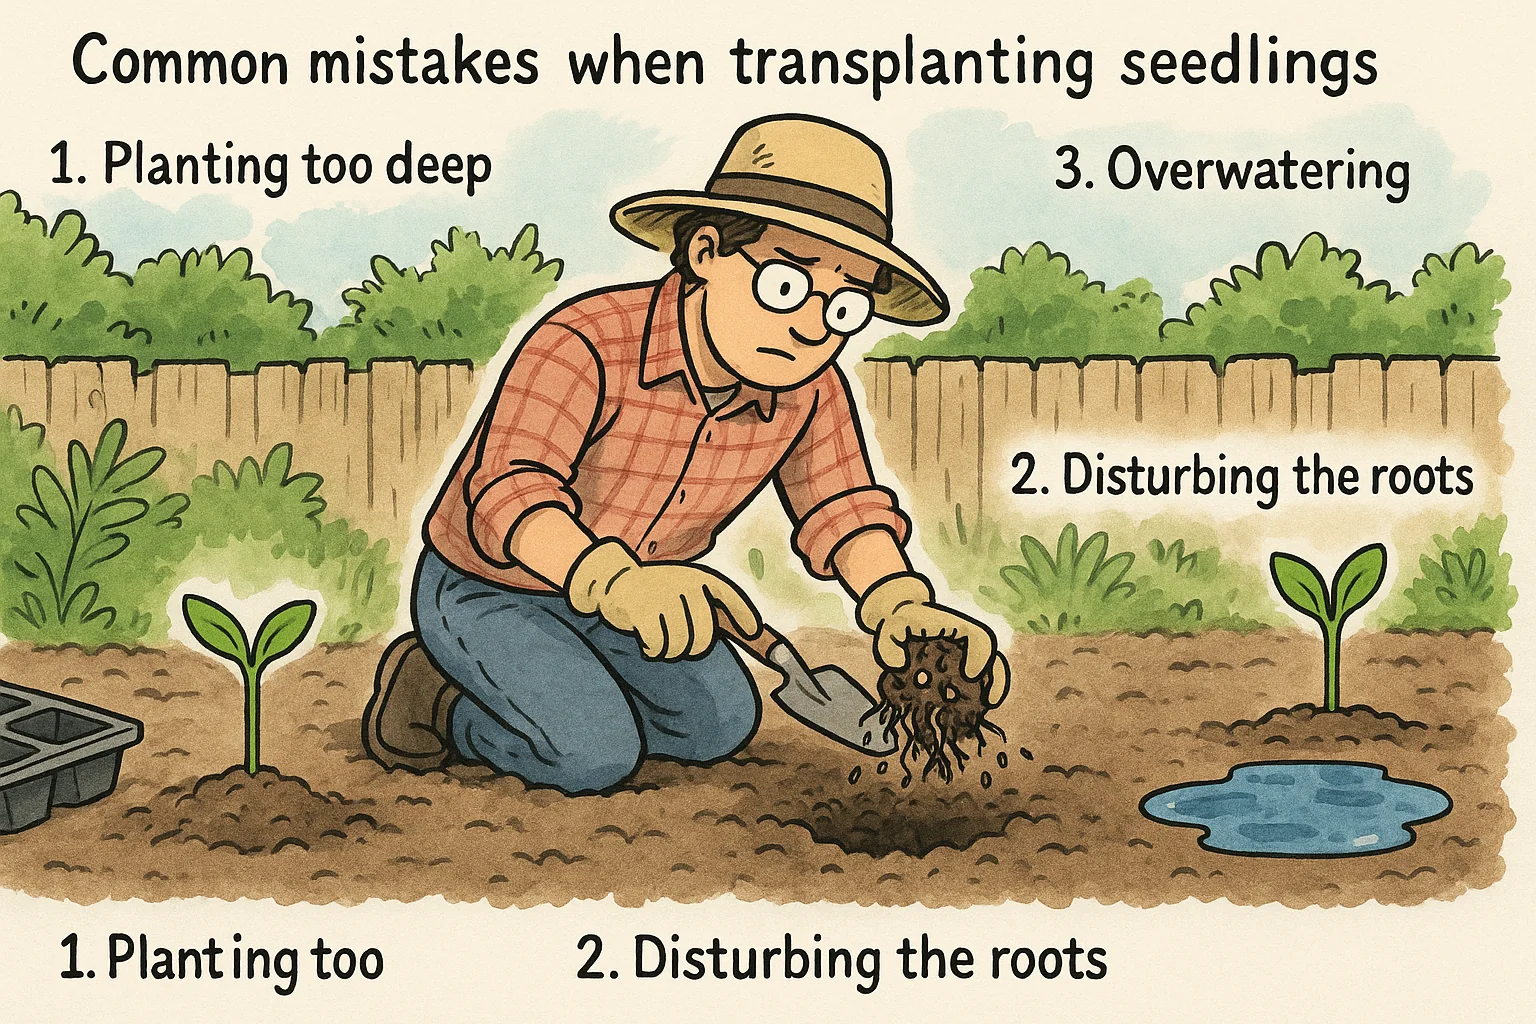
🌱 Common Mistakes to Avoid When Transplanting Seedlings 🌱
Transplanting seedlings can be tricky if not done correctly. Here are some common mistakes to avoid to ensure your seedlings thrive:
⏰ Transplanting Too Early or Too Late ⏰
Transplanting seedlings at the wrong time can shock them. Avoid moving them too early when the outdoor conditions are still harsh, or too late when they’ve become root-bound and stressed in their original containers. Wait until the weather is suitable and your seedlings are ready for the change. 🌿
🌞 Neglecting Hardening Off 🌞
Before transplanting seedlings directly into the garden, they need to be acclimated to the outside environment. Skipping this step can lead to transplant shock. Gradually expose your seedlings to outdoor conditions for about a week to help them adapt. 🌳
🌱 Planting Too Deep or Too Shallow 🌱
Planting seedlings too deep can suffocate them, while planting them too shallow can expose their roots to damage. Make sure the seedling’s root ball is level with the surrounding soil surface to ensure optimal growth. 🌍
🌾 Not Preparing the Soil Properly 🌾
Healthy seedlings need nutrient-rich, well-draining soil. If your soil isn’t prepared properly, your plants may struggle to establish strong roots. Before transplanting, amend the soil with organic matter like compost to improve its structure and fertility. 🪴
🌿 Disturbing the Roots Too Much 🌿
Handling the roots too roughly during transplanting can cause irreversible damage. Always be gentle when removing seedlings from their pots and avoid pulling or tearing the roots. If the roots are tightly wound, carefully loosen them before planting. 🤲
💧 Overwatering After Transplanting 💧
It’s easy to overwater newly transplanted seedlings out of concern, but too much water can drown the roots. Water the seedlings lightly, ensuring the soil is moist but not soggy. Proper drainage is key to preventing root rot. 🌊
By avoiding these common transplanting mistakes, you’ll give your seedlings the best chance for a successful transition and healthy growth. 🌿
🌸 Final Thought 🌸
Transplanting seedlings into bigger pots is a crucial step in ensuring healthy, thriving plants. By following the right techniques, such as timing the transplanting process correctly, selecting the right pot size, and handling your seedlings with care, you can give them the best possible start in life. 🌱
Taking the time to transplant seedlings properly may seem like a small task, but it makes all the difference in their long-term health and growth. With a little attention and patience, your seedlings will flourish in their new pots, setting the foundation for a vibrant, productive plant. 🌻
Happy transplanting, and enjoy watching your seedlings grow into beautiful, healthy plants! 🌷