
When propagating plants, one of the most frustrating issues gardeners face is cutting rot. Troubleshooting cutting rot is crucial for ensuring successful plant propagation and healthy root development. If you’ve noticed your cuttings wilting, turning mushy, or showing signs of discoloration, you’re likely dealing with this common issue. Understanding the causes of cutting rot and learning how to address them can save your plants and improve your overall propagation success. In this article, we’ll explore the main reasons behind cutting rot and provide practical solutions to help you get your cuttings back on track.
What is Cutting Rot?
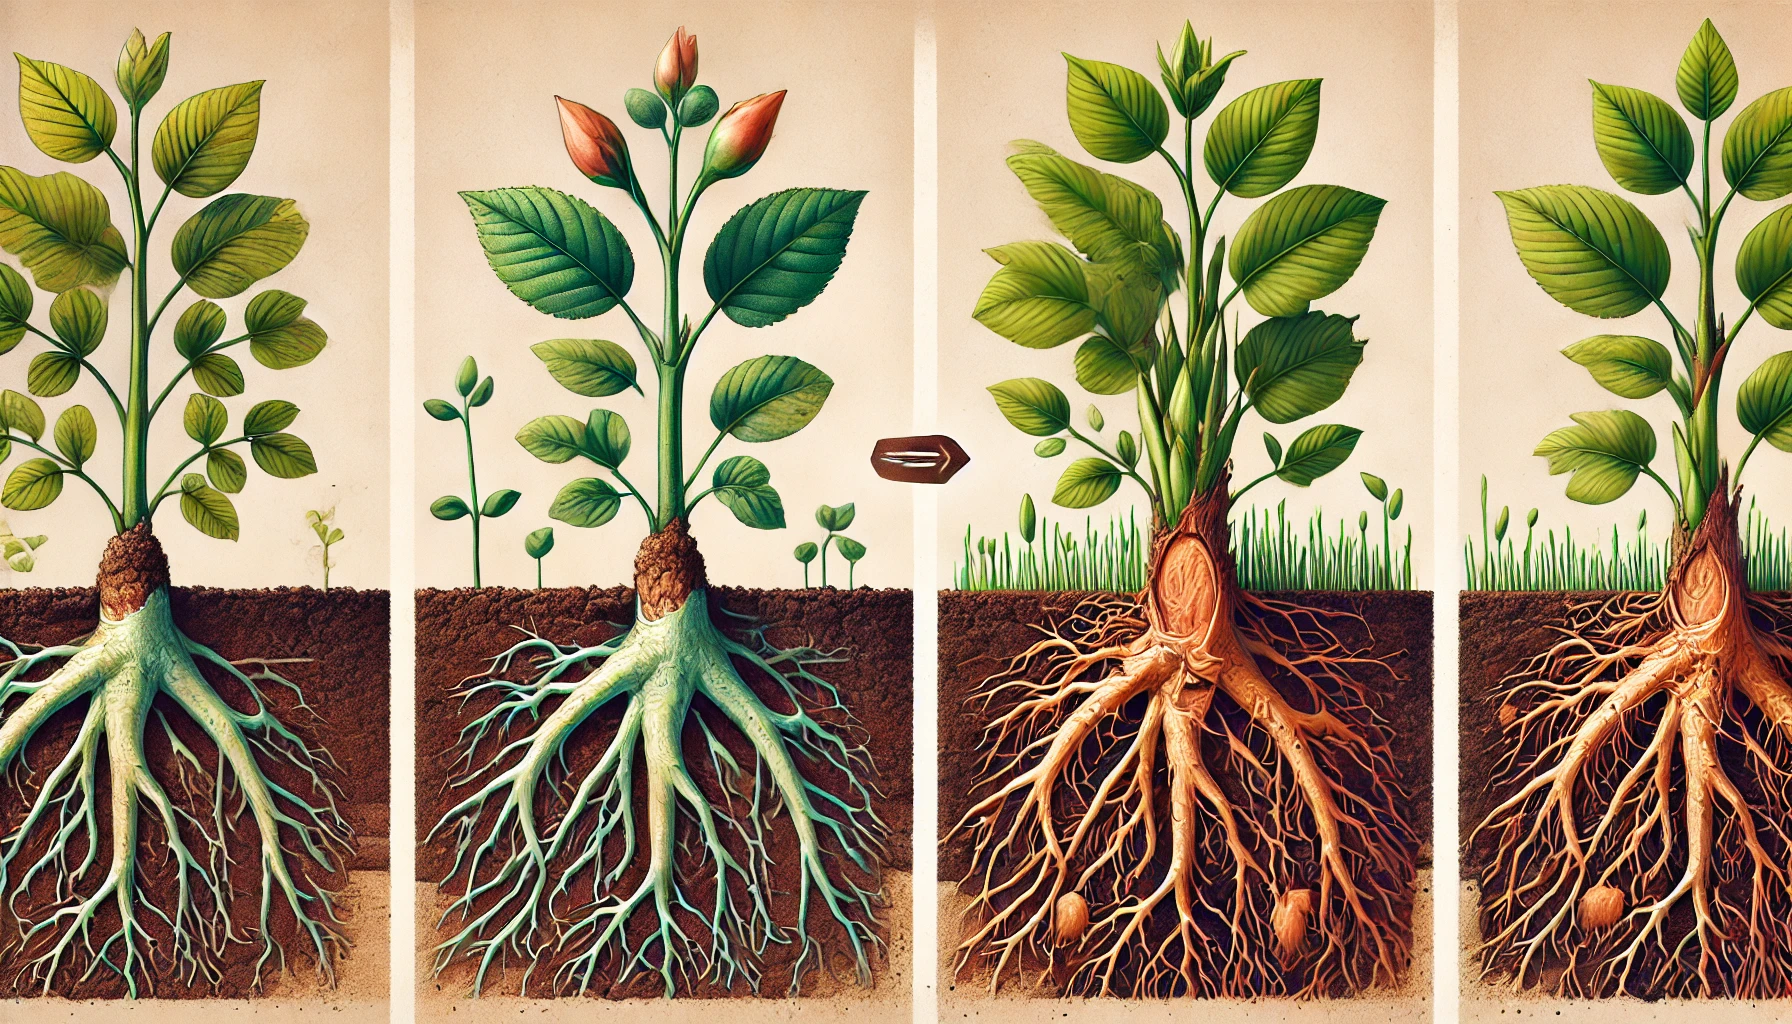
Cutting rot is a common problem that occurs when plant cuttings, typically used for propagation, develop rot due to overwatering, poor drainage, or infection. It typically affects the stem or root section of the cutting, leading to a mushy, discolored area, which often turns black or brown. If left untreated, cutting rot can spread and kill the plant cutting entirely.
The main cause of cutting rot is excessive moisture, which creates the ideal environment for bacteria or fungi to thrive. These pathogens break down the cutting’s tissues, causing it to decay. Inadequate air circulation or a contaminated growing medium can also contribute to this issue.
To prevent cutting rot, it’s crucial to provide well-draining soil, avoid overwatering, and ensure proper ventilation around the cutting. Regularly check your cuttings for signs of rot, and remove any affected portions to stop the spread.
Causes of Cutting Rot
Cutting rot is a common problem for gardeners, and understanding its causes is crucial for prevention and treatment. Here are the main factors contributing to cutting rot:
Overwatering
Excessive moisture is one of the leading causes of cutting rot. When cuttings are exposed to too much water, the soil becomes soggy, suffocating the roots and leading to rot. Always ensure the soil is well-draining and avoid watering too frequently.
Poor Drainage
If the container or soil does not allow proper water drainage, it creates a breeding ground for bacteria and fungi. These pathogens thrive in waterlogged conditions, causing the cutting to rot. Use containers with drainage holes and a well-draining potting mix to avoid this issue.
High Humidity
While cuttings need moisture, excessive humidity can also cause problems. High humidity can make the cutting too moist, fostering mold and fungal growth. Maintaining a balanced environment is essential, using humidity trays or vents to control moisture levels.
Contaminated Tools
Using unclean tools can introduce harmful bacteria or fungi to the cutting, which can lead to rot. Always sterilize your pruning shears or knives before taking cuttings to prevent infections.
Inadequate Air Circulation
Poor airflow around the cuttings can trap moisture, leading to rot. Ensure your cuttings are in a well-ventilated area to promote airflow, which will help prevent fungal growth and encourage healthy rooting.
Infection from Diseased Plants
Taking cuttings from an infected plant can transfer pathogens to the new cuttings. Always inspect the parent plant for signs of disease before propagating.
By addressing these common causes, you can reduce the risk of cutting rot and ensure a healthy start for your plants.
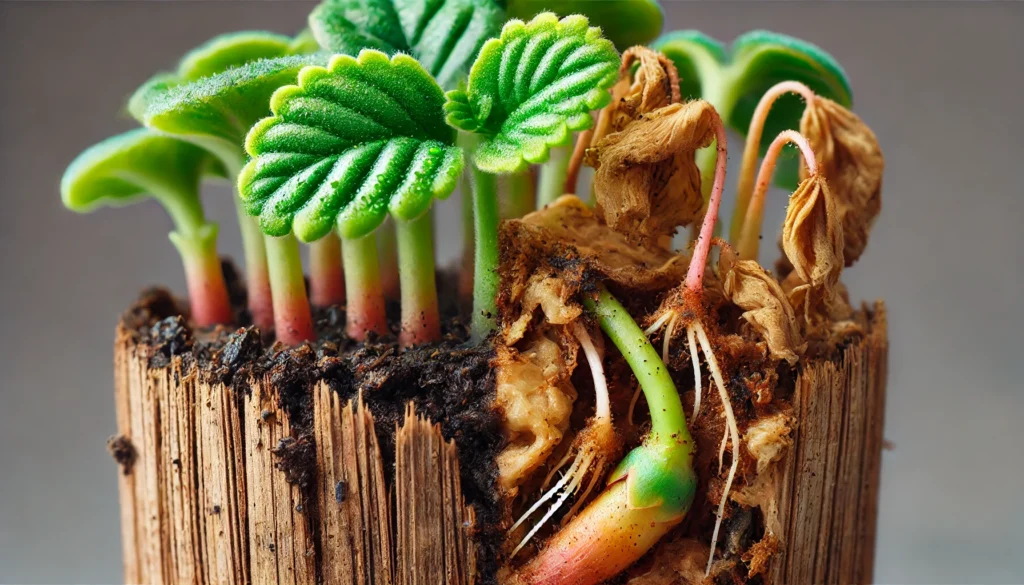
Early Signs of Cutting Rot
Cutting rot can sneak up on your plants, but spotting the early signs can save your garden from irreversible damage. Here’s what to look out for:
Discoloration: One of the first signs of cutting rot is a change in color. Look for browning, yellowing, or blackening at the base of the cutting or along the stem. If you notice any dark spots, it’s a red flag.
Softness or Mushiness: Healthy plant cuttings should feel firm. If you gently press the cutting and it feels soft or mushy, it may be rotting from the inside out. The stem can lose its structural integrity when infected by rot.
Foul Odor: A strong, unpleasant smell, often compared to rotten or decaying matter, is a clear sign of cutting rot. This odor is produced by the bacterial or fungal infection attacking the cutting.
Wilting or Drooping: If the cutting suddenly wilts or begins to droop, even when properly watered, it could indicate internal damage caused by rot. The roots or stem may not be able to transport nutrients effectively due to the infection.
Blackened Tips or Edges: Look for black or brown tips and edges on the leaves. This can often be a sign that rot is progressing and the cutting is struggling to heal.
What to Do:
- Remove Affected Parts: Cut away any rotting portions to prevent further spread.
- Ensure Proper Drainage: Rot thrives in overly wet conditions, so ensure your cuttings are in well-drained soil or medium.
- Keep Air Circulation: Poor airflow encourages rot, so ensure the cutting has proper ventilation.
Early detection is key to saving your cuttings. Regularly monitor your plants and take swift action if you notice any of these signs.
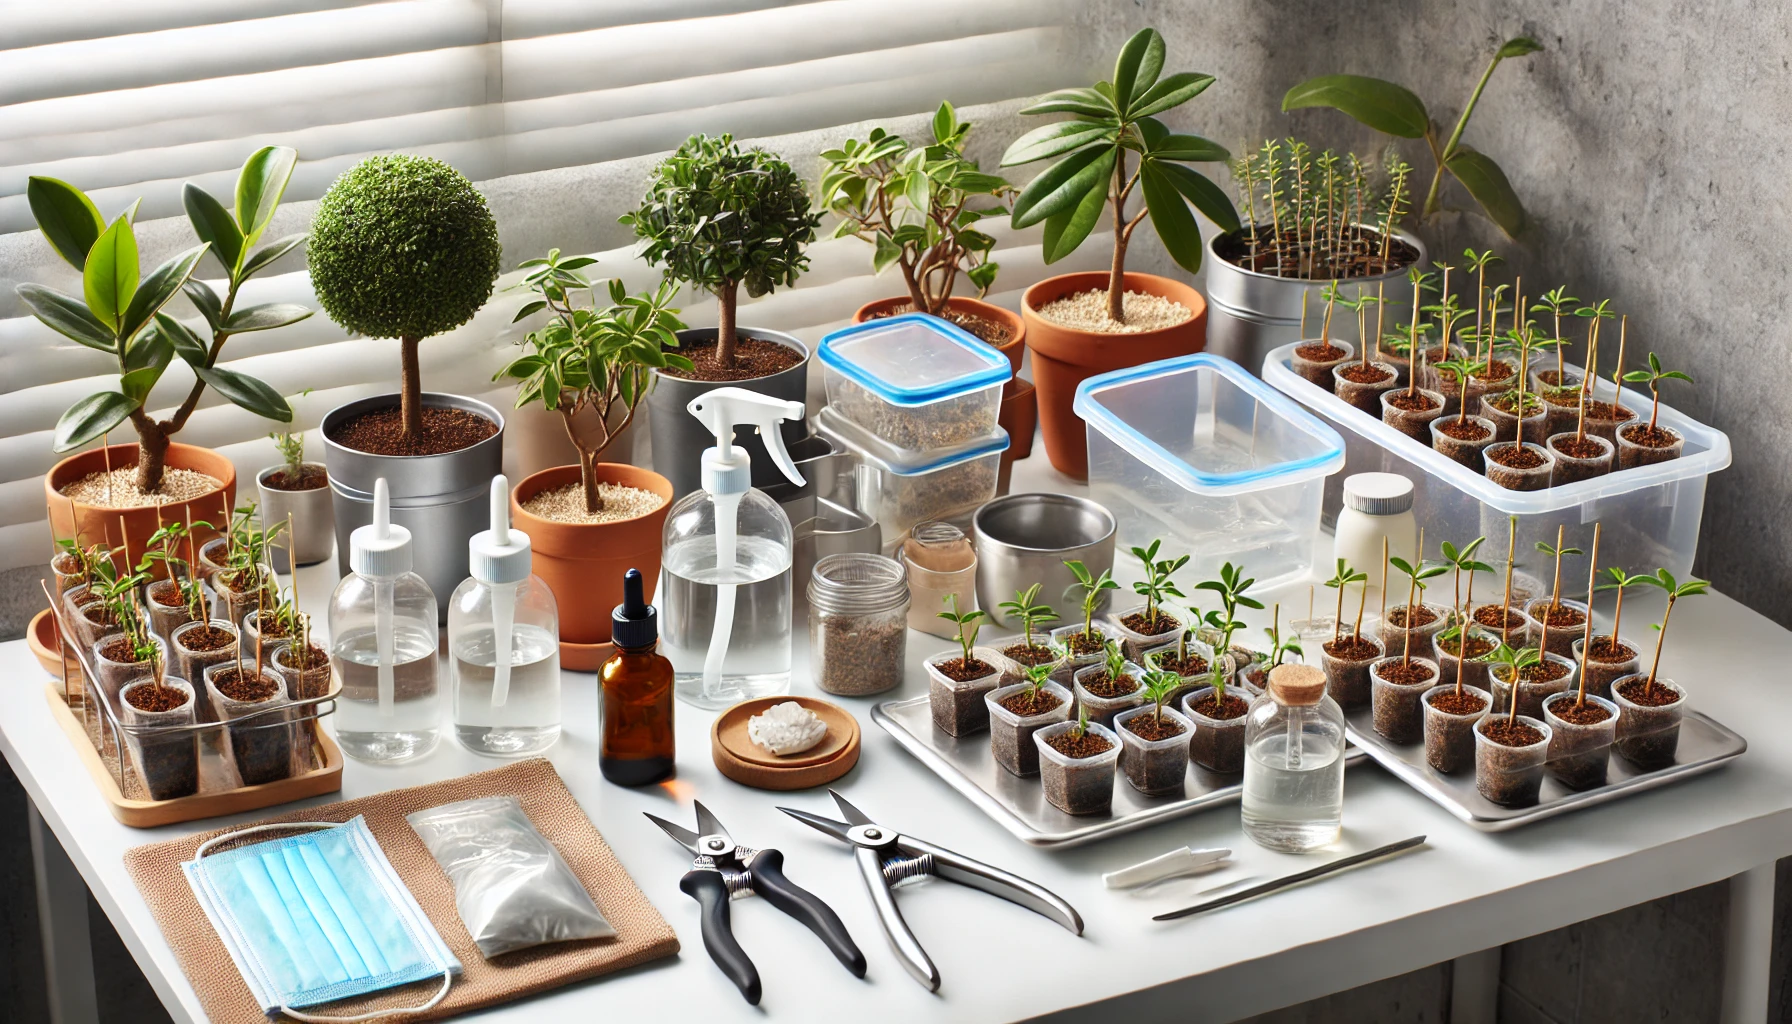
How to Prevent Cutting Rot
Cutting rot is a common issue for gardeners, especially when propagating plants through cuttings. This condition occurs when the cutting’s base becomes infected with bacteria or fungi, leading to decay. Here are some practical tips to help prevent cutting rot and ensure successful propagation:
1. Use Clean Tools
Always sterilize your pruning shears or scissors before taking cuttings. Bacteria and fungi can spread easily through unclean tools, increasing the risk of rot. Wipe your tools with rubbing alcohol or disinfect with a bleach solution.
2. Choose Healthy, Disease-Free Cuttings
Select strong, healthy stems free from any signs of disease or pests. Cuttings from weak or damaged plants are more susceptible to rot. Aim for young, firm growth as they root better.
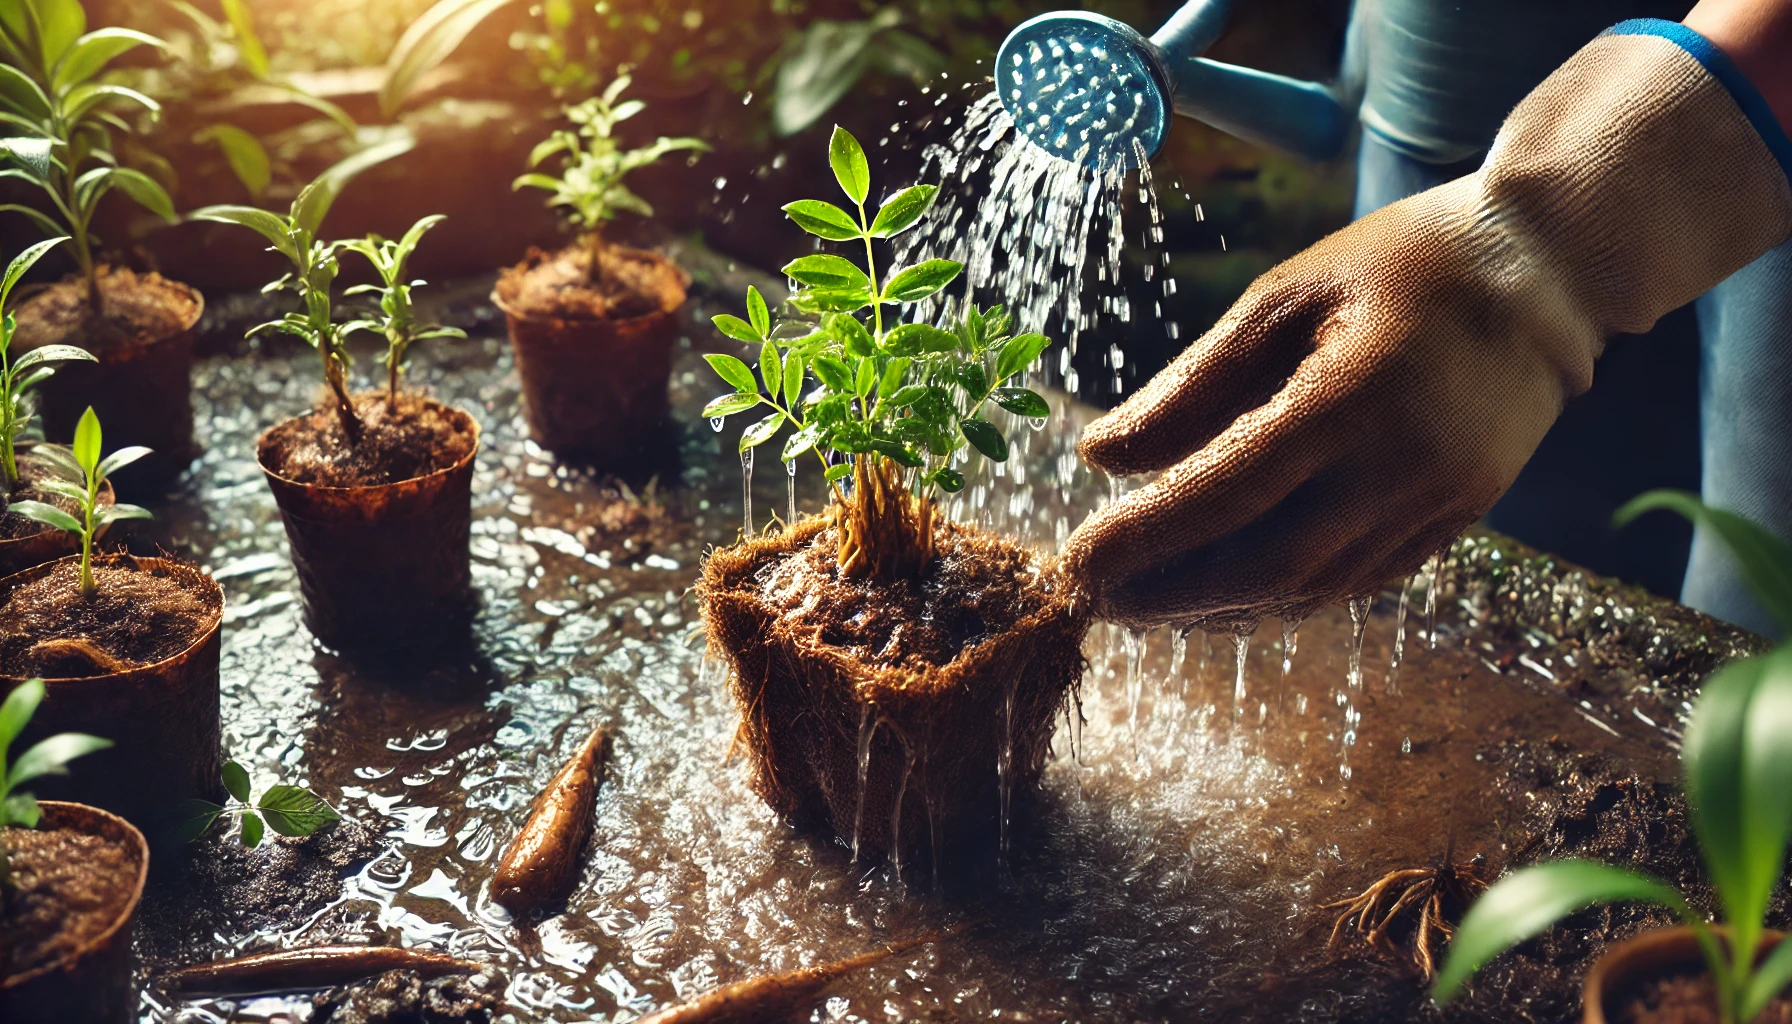
3. Avoid Overwatering
Excess moisture is one of the leading causes of cutting rot. When propagating in water, ensure that the cuttings are not submerged too deep. For soil-based propagation, use a well-draining mix and water only when the surface feels dry.
4. Ensure Proper Drainage
Good drainage is essential to prevent water from accumulating around the cutting’s base. If you’re rooting in soil, use pots with drainage holes. For water propagation, change the water regularly to keep it fresh and clean.
5. Use Rooting Hormone
Applying rooting hormone to the cut end can help prevent infections and promote faster rooting. It creates a protective barrier that keeps bacteria at bay while stimulating root growth.
6. Provide Adequate Air Circulation
Place your cuttings in a well-ventilated area. Stagnant air can increase humidity levels, which fosters rot. Ensure the environment is not too humid and that the cuttings are not crowded together.
7. Keep the Cuttings in the Right Environment
Place your cuttings in a warm, bright spot with indirect sunlight. Too much direct sunlight can dehydrate cuttings, while low light can hinder rooting. A consistent, moderate temperature is ideal.
By following these preventive measures, you can avoid cutting rot and improve your chances of successful propagation.
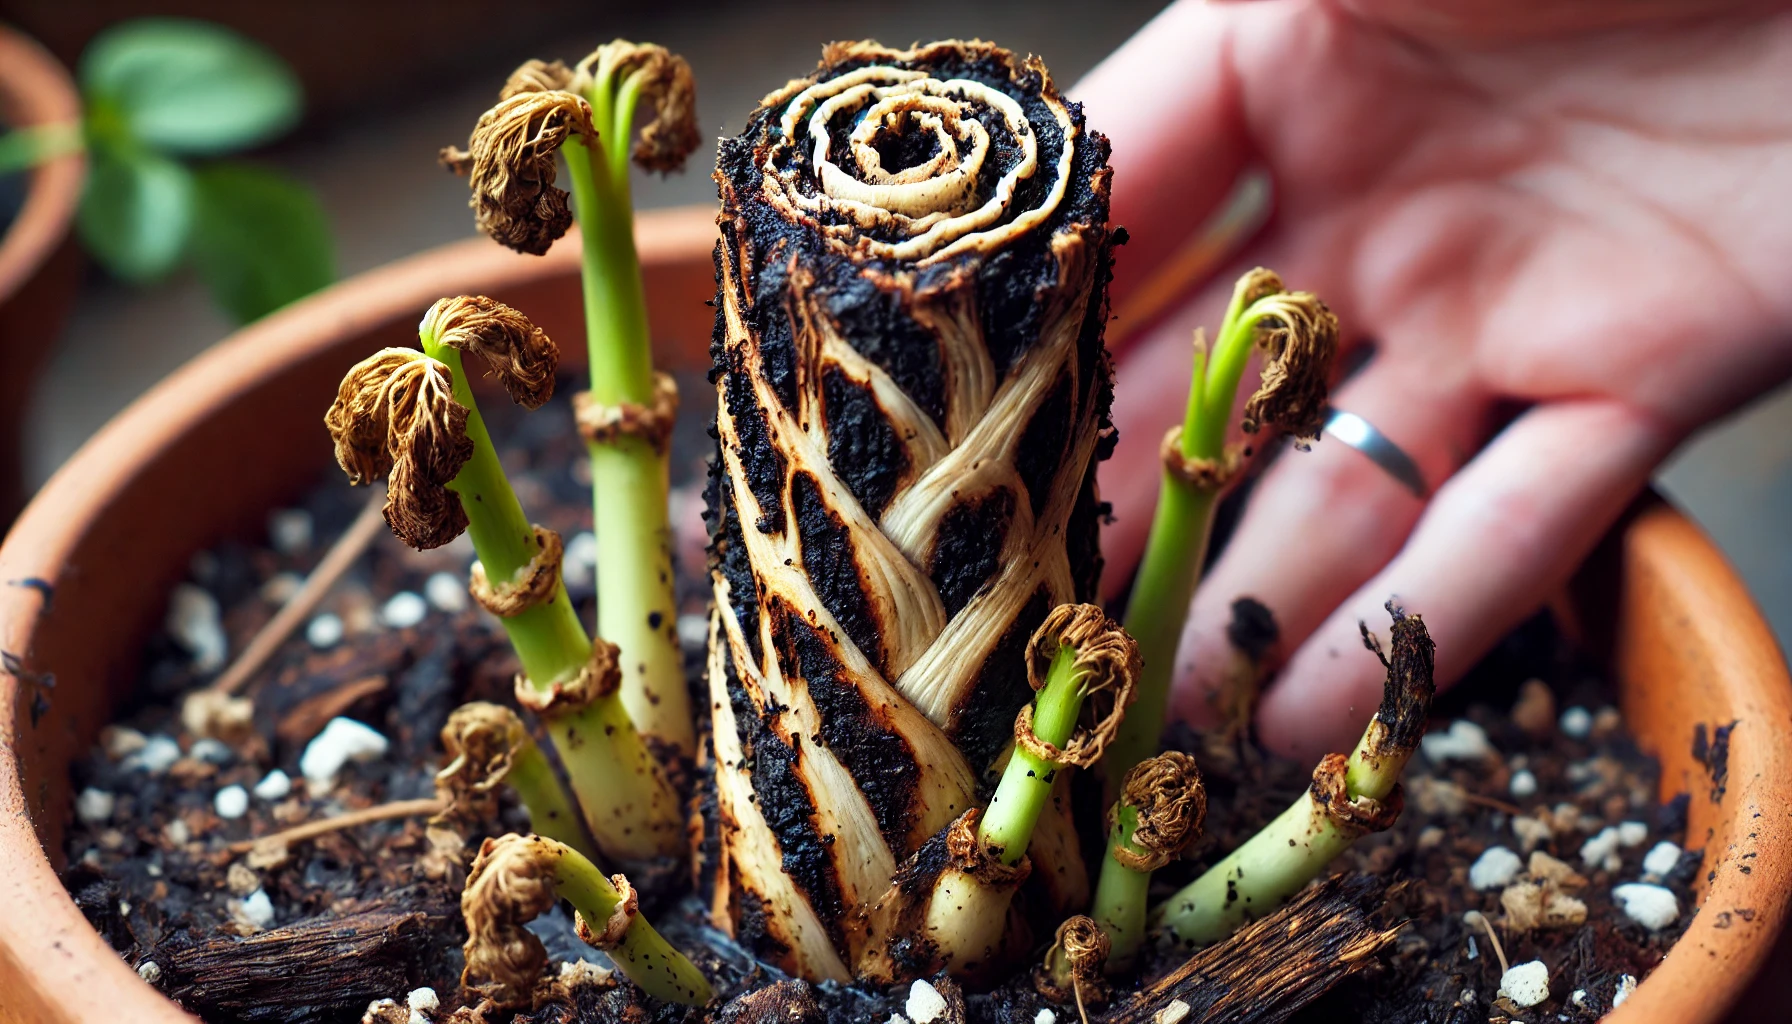
How to Fix Cutting Rot
Cutting rot is a common problem that can affect your plants, especially when you’re propagating through cuttings. It occurs when the cutting becomes infected with bacteria or fungi, often due to overwatering or poor hygiene. Here’s how to fix it effectively:
Remove the Rotting Cutting
As soon as you notice any signs of rot, remove the cutting from the soil or water. This prevents the infection from spreading to healthy parts of the plant.
Inspect for Signs of Disease
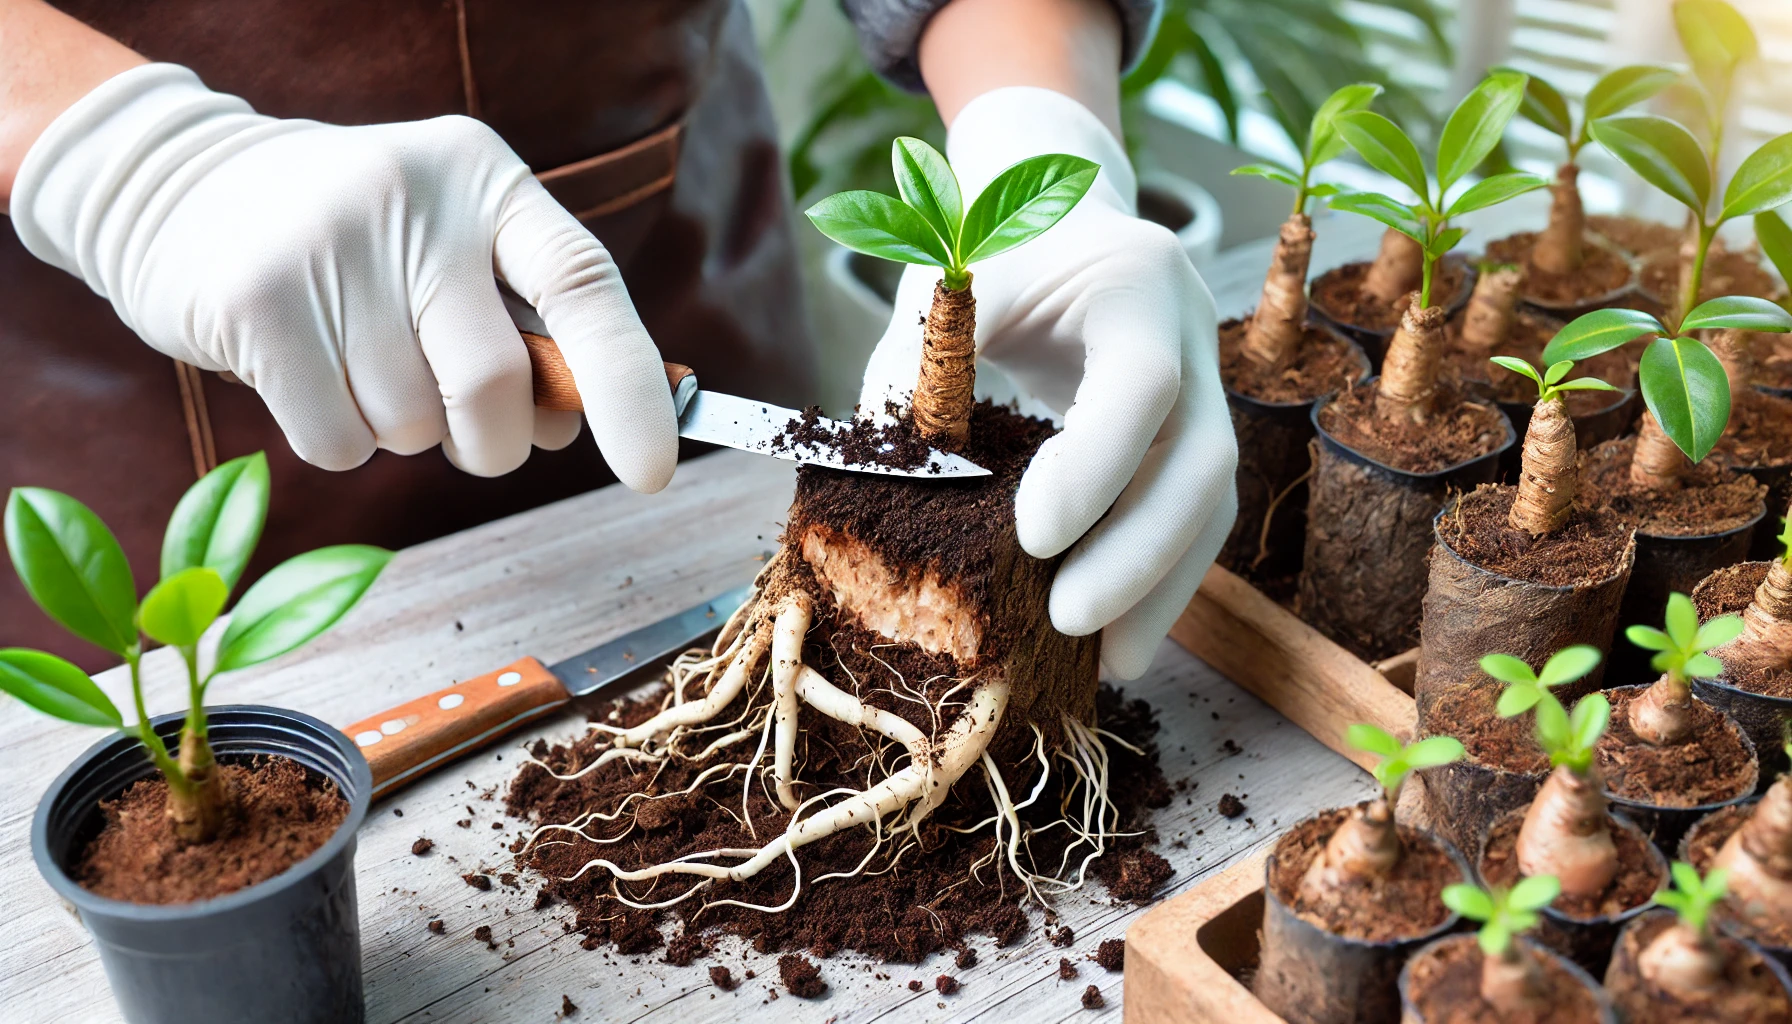
Examine the cutting closely. If there’s black, mushy, or discolored tissue, it’s likely rotting. Trim away the damaged portions with a clean, sharp knife or scissors. Make sure to sterilize your tools before using them on other plants.
Dry Out the Cutting
Let the cutting dry out for several hours, preferably in a shaded, dry area. This helps form a callus over the exposed area, reducing the risk of further infection.
Re-root the Cutting
Once the cutting has dried, you can re-root it by placing it in clean, fresh water or soil. If using soil, ensure it’s well-draining to avoid moisture buildup, which can lead to rot.
Use Fungicide (Optional)
If the rot was severe, consider treating the cutting with a mild fungicide before replanting. This will help prevent any fungal spores from lingering and causing future issues.
Monitor the Cutting
Keep a close eye on the cutting over the next few weeks. Ensure it’s not exposed to excess moisture, and make sure it’s receiving enough light. If you spot any signs of rot returning, repeat the process.
By following these simple steps, you can save your cuttings from rot and ensure they have a better chance of rooting successfully.
When to Let Go
While it’s important to try saving your cuttings from rot, there comes a point when it may be better to let go. Here are some key signs that it’s time to discard a cutting:
Extensive Rotting: If more than half of the cutting is affected by rot, it may be impossible to save the healthy part. Even with removal of the damaged areas, the cutting’s chances of recovery are slim.
No New Growth After Treatment: If the cutting has been treated and placed in fresh conditions but shows no new growth after a few weeks, it could indicate that the rot has compromised the cutting’s ability to root or thrive.
Foul Odor Persists: A persistent foul smell, even after cleaning and cutting away the rotted parts, is a clear sign that the cutting is beyond saving and could be spreading bacteria to other plants.
Discolored and Soft Tissue: If the remaining part of the cutting continues to soften, darken, or turn mushy despite your best efforts, it’s an indication that the rot has progressed too far.
While it’s hard to give up on a plant, keeping an infected cutting could harm other plants in your home or garden. In some cases, it’s better to cut your losses, discard the rotting cutting, and try again with fresh, healthy cuttings.
Remember, plant propagation is a learning process, and every failure helps you improve your technique for future successes.
Troubleshooting cutting rot can be a challenging part of plant propagation, but with the right knowledge and care, you can minimize damage and improve your chances of success. By understanding the causes of rot, taking preventive measures, and using proper treatment techniques, you can save many of your cuttings and enjoy thriving new plants.
However, it’s important to recognize when it’s time to let go of a cutting that’s beyond saving. Don’t get discouraged—plant propagation is a learning experience, and every mistake provides valuable lessons for your future attempts.
By following the expert tips shared in this guide, you’ll be better equipped to handle rooting issues and grow healthy, beautiful plants with confidence. Keep experimenting, stay patient, and soon you’ll be a pro at troubleshooting cutting rot and achieving successful plant propagation!