
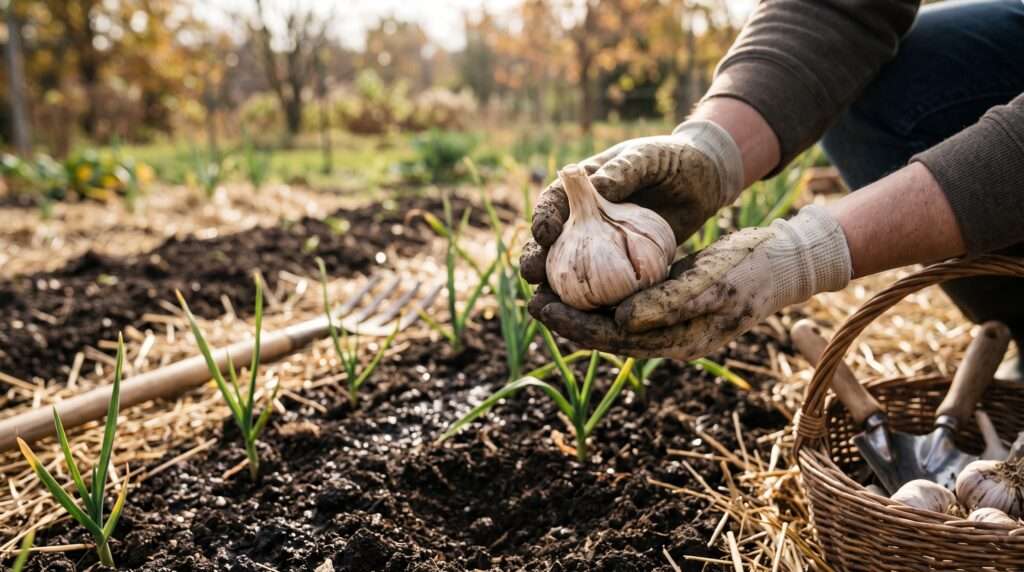
There is nothing quite as frustrating as waiting nine long months to harvest your homegrown garlic, only to dig into the soil and pull up a bulb the size of a shallot. If you have ever experienced this gardening heartbreak, you are not alone. Most gardeners focus all their energy on soil and fertilizer, but they miss the most critical factor of all: the calendar. Knowing exactly when to plant garlic is the absolute secret to achieving those massive, pungent, restaurant-quality bulbs we all dream of.
Growing garlic is uniquely different from cultivating your typical summer vegetables. Instead of planting after the last spring frost, garlic demands a long winter “sleep” to reach its full potential. In this comprehensive guide, we will break down the exact timing based on your climate, hardiness zone, and chosen garlic variety so you can secure a record-breaking harvest next summer. 🌱
Why Timing is Everything: The Science of Garlic Growth 🧬
To master the garlic calendar, you first need to understand how this incredible plant actually works. Why can’t we just pop it in the ground in May like a tomato? The answer lies in a biological process called vernalization.
Understanding Vernalization (The Cold Chill Requirement) ❄️ Garlic cloves are brilliant little survivalists. In order to signal the single planted clove to divide and form a large, multi-cloved bulb, the plant must endure a prolonged period of cold temperatures. This chilling period is known as vernalization. If a clove doesn’t experience temperatures below 40°F (4°C) for at least four to eight weeks, it will simply grow into a single, undivided mass known as a “round.” While rounds are perfectly edible, they aren’t the giant bulbs you are aiming for.
Fall Roots vs. Spring Shoots 📉 The golden rule of autumn planting is balancing underground growth with above-ground growth. When you plant garlic in the fall, your primary objective is for the clove to establish a strong, deep root system before the ground freezes solid.
What you do not want is for the plant to send up a foot of green shoots. A few inches of green growth above the soil is perfectly fine and will survive the winter, but if planted too early in late summer, the plant wastes crucial energy growing leaves that will just be killed back by a hard freeze.
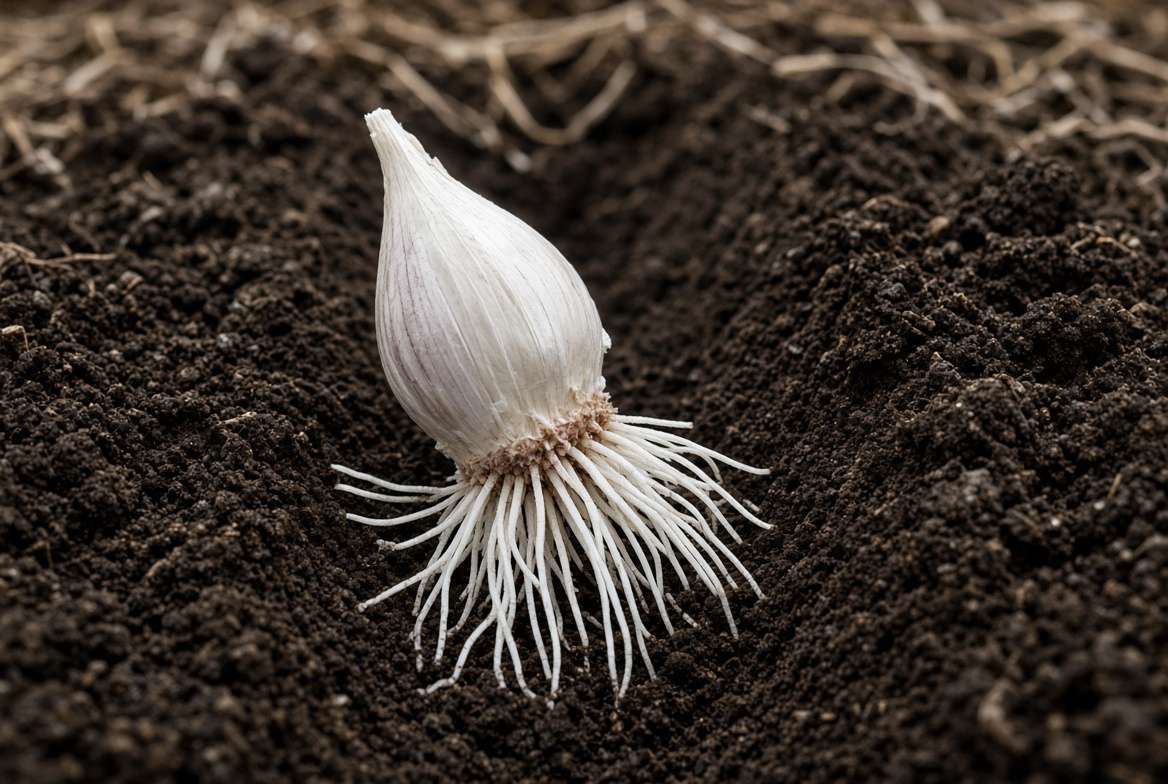
Ideal Soil Temperatures for Planting 🌡️ Forget about the ambient air temperature—it fluctuates too wildly. Instead, act like a professional grower and look at your soil temperature. The absolute perfect time to get your seed garlic into the earth is when the soil temperature is consistently around 50°F (10°C) at a depth of four inches. At this temperature, the soil is warm enough to encourage rapid root development, but cool enough to prevent aggressive top growth.
When to Plant Garlic: The Golden Rule for Fall Planting 🍂
Now that you know the science, let’s pinpoint your exact planting dates. Because autumn arrives at drastically different times depending on where you live, you have two highly reliable methods to determine your planting window.

The 4-to-6-Week Frost Rule 📅 If you want a foolproof calculation, find out the average date of the first hard frost (usually defined as temperatures dropping below 28°F / -2°C) for your zip code. Count backward four to six weeks from that date. This is your prime planting window! This gives the cloves just enough time to anchor themselves with roots before the soil locks up for the winter.
USDA Hardiness Zone Planting Schedule 🗺️ If you prefer a simpler calendar approach, here is the master planting schedule broken down by USDA Hardiness Zones:
-
Zones 1–3 (Extremely Cold): Mid-September to Early October. You have a very short autumn, so get your cloves in the ground before the heavy snows arrive.
-
Zones 4–5 (Cold): Early to Mid-October. Watch the weather forecasts. If an unseasonably warm autumn is predicted, wait until late October so your garlic doesn’t sprout too much.
-
Zones 6–7 (Moderate): Mid-October to Late November. This is the sweet spot for garlic growing, offering a long, gentle rooting period.
-
Zones 8–10 (Warm): Late November to January. Crucial Expert Tip: Because your winters do not get cold enough to provide natural vernalization, you must artificially chill your garlic. Place your seed garlic in a paper bag in the crisper drawer of your refrigerator for 6 to 8 weeks prior to planting!
Hardneck vs. Softneck: Does Garlic Type Change the Timeline? 🤔
Not all garlic is created equal. Depending on where you live and what you plant, your timeline might shift slightly. Choosing the right cultivar for your climate is a hallmark of expert allium care.
Hardneck Garlic (Allium sativum var. ophioscorodon): The Cold-Lovers 🏔️ Hardneck varieties (like Rocambole, Purple Stripe, and Porcelain) are prized for their complex, spicy flavors and easy-to-peel cloves.
-
Best For: Northern climates (Zones 1-6).
-
Timing Quirks: Hardnecks demand a cold winter. They must be planted in the fall. If you forget and try to plant them in the spring, they will almost certainly fail to bulb.
-
The Bonus Harvest: In late spring, hardnecks send up a curly green flower stalk called a “scape.” You must snip this off so the plant redirects energy to the bulb—and as a bonus, garlic scapes are a delicious, mild-tasting culinary delicacy! 🧑🍳
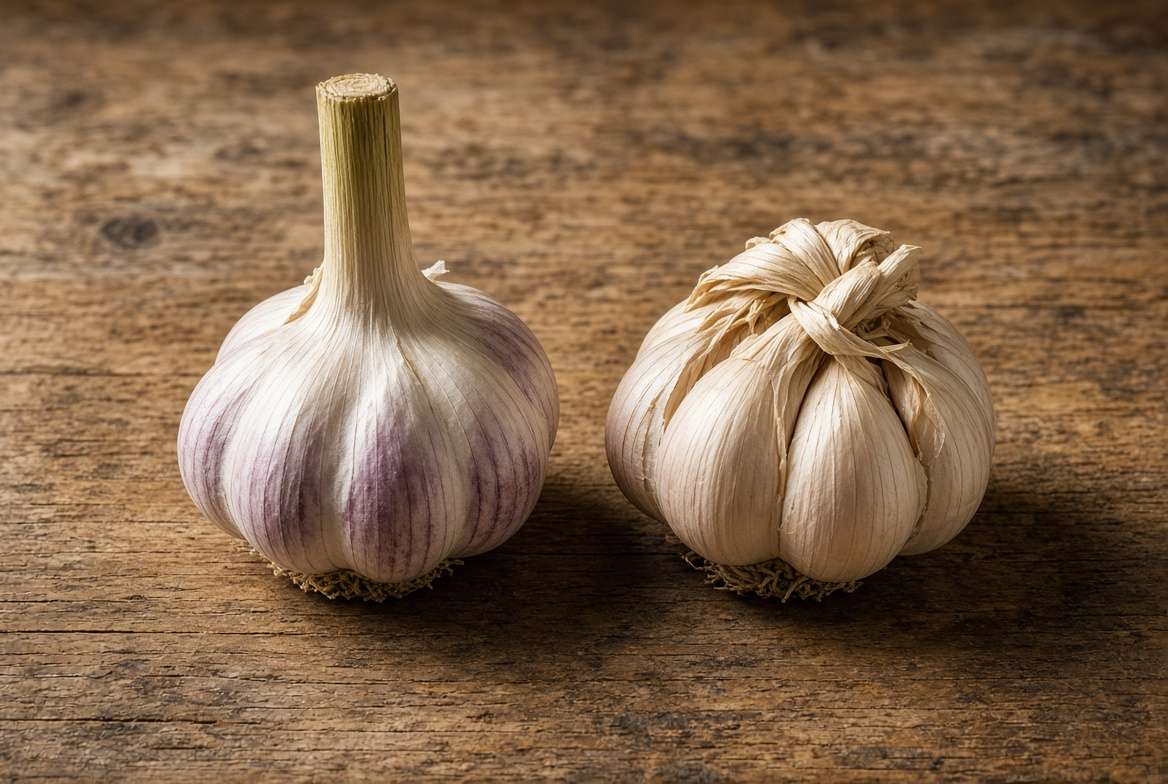
Softneck Garlic (Allium sativum var. sativum): The Mild-Climate Favorites ☀️ Softneck varieties (like Silverskin and Artichoke) are what you typically find in the grocery store. They have a milder flavor, store for a very long time, and feature a flexible neck perfect for braiding.
-
Best For: Southern and moderate climates (Zones 6-10).
-
Timing Quirks: Softnecks are less demanding about their cold chill. While fall planting is still vastly superior, softnecks are far more forgiving if you are forced into an early spring planting timeline.
Step-by-Step: How to Plant Garlic the Right Way 🛠️
Knowing when to plant garlic is only half the battle. To guarantee huge, healthy bulbs, the execution must be flawless. Follow these expert-level steps to transform your autumn planting session into a summer triumph.
1. Soil Preparation and Testing 🧪 Garlic is a heavy feeder that despises “wet feet.” Planting in dense, waterlogged clay is a guaranteed recipe for bulb rot.
-
The Soil Fix: You need loose, well-draining soil. A week before your planting date, generously amend your garden beds with rich organic compost.
-
The pH Check: Garlic thrives in slightly acidic to neutral soil, with a pH sweet spot between 6.0 and 7.0.
-
The Nutrient Boost: Before planting, work in a slow-release, phosphorus-heavy fertilizer (like bone meal). Phosphorus is the key to explosive root development during those crucial autumn weeks.
2. Cracking the Bulb & Selecting Cloves 🧄 Wait until the absolute last minute to “crack” (break apart) your garlic bulbs into individual cloves. Doing this too early can dry out the base of the clove where the roots form.
-
Size Matters: The fundamental rule of garlic math is simple: Big cloves equal big bulbs. Inspect your cracked garlic and select only the largest, plumpest, unblemished cloves for planting. Keep the smaller inner cloves in your kitchen for tonight’s dinner!
-
Leave the Paper On: It is vital that you do not peel the papery skin (the tunic) off the cloves. This wrapper protects the clove from soil-borne diseases and rot while it sits in the wet, cold winter ground.
3. The Perfect Spacing and Depth Guide 📏 Proper spacing prevents your garlic from competing for nutrients and water next spring.
-
Orientation: This is critical! Plant each clove with the flat, rough root side facing down, and the pointy side facing straight up. If planted upside down, the shoot will have to do a U-turn to reach the surface, resulting in a misshapen, exhausted bulb.
-
Depth: Plant the cloves 2 to 3 inches deep. In severely cold climates (Zones 1-3), aim closer to 3 or 4 inches deep for added frost protection.
-
Spacing: Space the cloves 6 inches apart in rows that are 10 to 12 inches apart. Give them room to stretch!
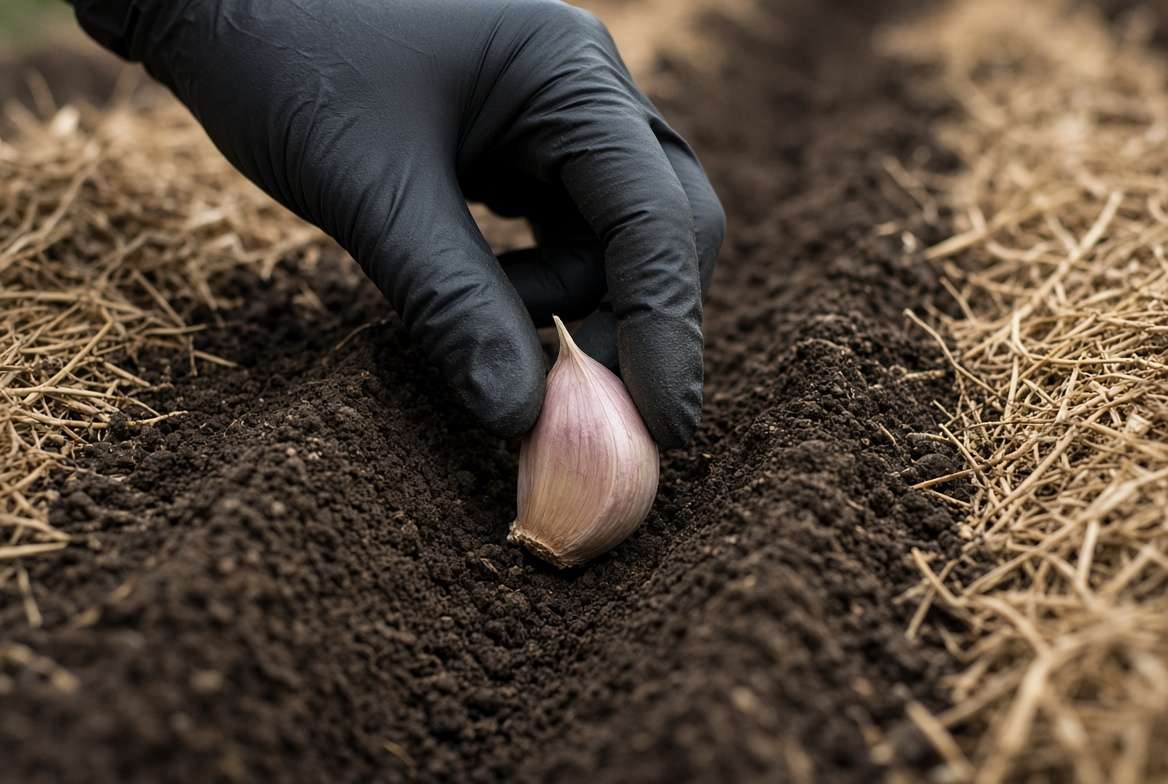
4. The Magic of Winter Mulch 🛌 If you live in a climate that experiences freezing temperatures (Zones 1-6), mulching is absolutely non-negotiable.
-
Immediately after planting and a light watering, cover your garlic bed with a thick, 4-to-6-inch layer of organic mulch. Clean straw (not hay, which contains weed seeds), shredded fall leaves, or pine needles work perfectly.
-
Why Mulch? This blanket acts as insulation. It prevents “frost heaving”—a devastating cycle where the ground repeatedly freezes and thaws, physically pushing your carefully planted garlic cloves right up out of the soil. When spring arrives and the ground thaws permanently, gently pull the mulch back to let the green shoots soak up the sun.
What Happens If I Miss the Fall Planting Window? (Spring Planting Guide) 🌸
Life happens. Maybe you forgot to order your seed garlic, or an early blizzard froze your garden beds solid in October. Is all hope lost? Can you plant garlic in the spring?
Yes, but you have to manage your expectations and employ a little horticultural trickery.
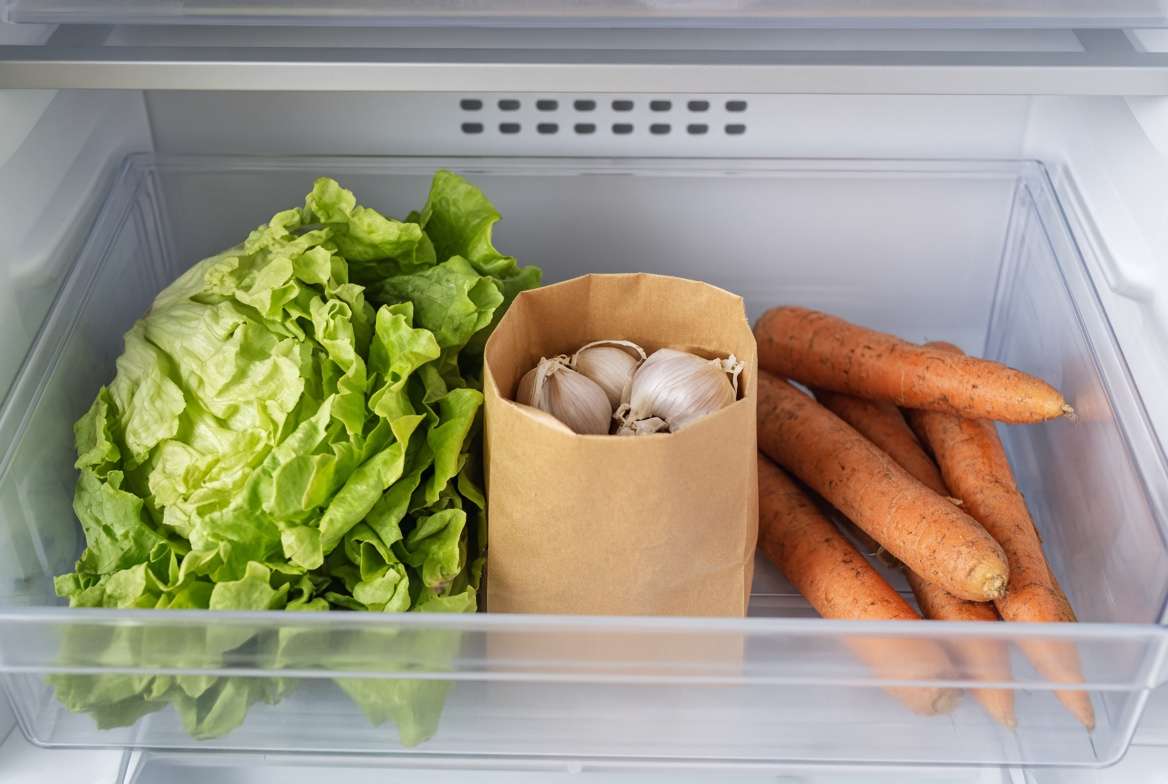
How to “Cheat” with Fridge Stratification 🧊 If you are holding unplanted garlic in March, you have missed the window for natural winter vernalization. You must artificially replicate winter indoors.
-
Place your uncracked bulbs in a paper bag (never plastic, which traps moisture and causes mold) and put them in the crisper drawer of your refrigerator.
-
Leave them there for 4 to 8 weeks.
-
As soon as your garden soil is workable in early spring (usually a month before your last spring frost), plant the chilled cloves immediately.
Adjusting Your Expectations 📉 It is important to be realistic. Spring-planted garlic simply does not have the six-month head start that fall-planted garlic enjoys.
-
The bulbs will almost certainly be smaller.
-
You are much more likely to harvest single “rounds” instead of divided, multi-clove bulbs. However, a small bulb of homegrown garlic still tastes infinitely better than anything you can buy at the supermarket, so it is always worth the effort!
Expert E-E-A-T Tips for a Record-Breaking Harvest 🏆
To elevate your harvest from “good” to “show-stopping,” incorporate these advanced professional practices into your routine:
-
Strict Crop Rotation: Never plant garlic in soil where onions, shallots, leeks, or other alliums have grown in the past three years. This breaks the life cycle of devastating pests like the Allium leaf miner and prevents the buildup of white rot, a fungal disease that can ruin a garlic bed for a decade.
-
The Spring Nitrogen Push: Garlic is a leaf-driven plant. The larger the green leaves grow in the spring, the larger the bulb will be in the summer (each leaf correlates to a layer of wrapping paper on the bulb). When the shoots reach 4 to 6 inches tall in early spring, hit them with a high-nitrogen organic fertilizer, like blood meal or liquid fish emulsion. Stop applying nitrogen by late May, as the plant needs to shift its energy from leafy growth to bulb production.
-
The Watering Cut-Off: As harvest approaches in mid-summer (when the bottom three leaves turn brown and die), stop watering entirely. The soil needs to dry out for the final two to three weeks. Harvesting garlic from wet, muddy soil severely compromises its ability to cure and store properly, leading to quick rotting in your pantry.
Frequently Asked Questions (FAQs) 🙋♀️
Can I plant grocery store garlic? It is highly discouraged. Most supermarket garlic (especially imported varieties) is treated with chemical sprout inhibitors to extend shelf life. Furthermore, grocery store garlic can introduce nasty soil-borne diseases or nematodes into your garden. Always buy certified disease-free “seed garlic” from a reputable nursery or local farmer.
How late is too late to plant garlic? If the ground can still be worked with a trowel and isn’t frozen solid, you can still plant! Even if you are planting in December in a cold zone, get it in the ground. It is better to plant late than to wait for spring.
Should I water my garlic immediately after planting? Yes. Give the bed a deep, gentle soaking immediately after planting (and before mulching). This helps settle the soil around the cloves and triggers the roots to start growing. If your autumn is exceptionally dry, water lightly once a week until the ground freezes.
Do garlic cloves multiply? Yes! That is the magic of growing garlic. Every single clove you plant in the fall will divide and multiply, growing into an entire head of garlic containing 6 to 12 new cloves by the summer.
Conclusion: Time to Get Your Hands Dirty! 🧑🌾
Growing massive, healthy garlic bulbs doesn’t require a master’s degree in botany—it just requires a calendar. By understanding when to plant garlic based on your specific hardiness zone and calculating your timeline against the first autumn frost, you are setting the stage for a spectacular harvest.
Remember the three golden rules:
-
Check your zone and plant when the soil hits 50°F.
-
Prep your soil with rich compost and select only the largest cloves.
-
Protect your investment with a heavy layer of winter mulch.
Are you planting Hardneck or Softneck this year? What zone are you growing in? Let us know in the comments below, and happy planting! 🧄✨











