We have all been there. You bring home a stunning, vibrant tropical houseplant, perfectly styling it in your living room. You water it diligently, mist its leaves, and sing it praises—only to watch it mysteriously wither, drop leaves, and join the tragic graveyard of houseplants past. If you are tired of high-maintenance greenery that demands constant attention, it is time to meet the ultimate botanical survivor: the zeezee plant.
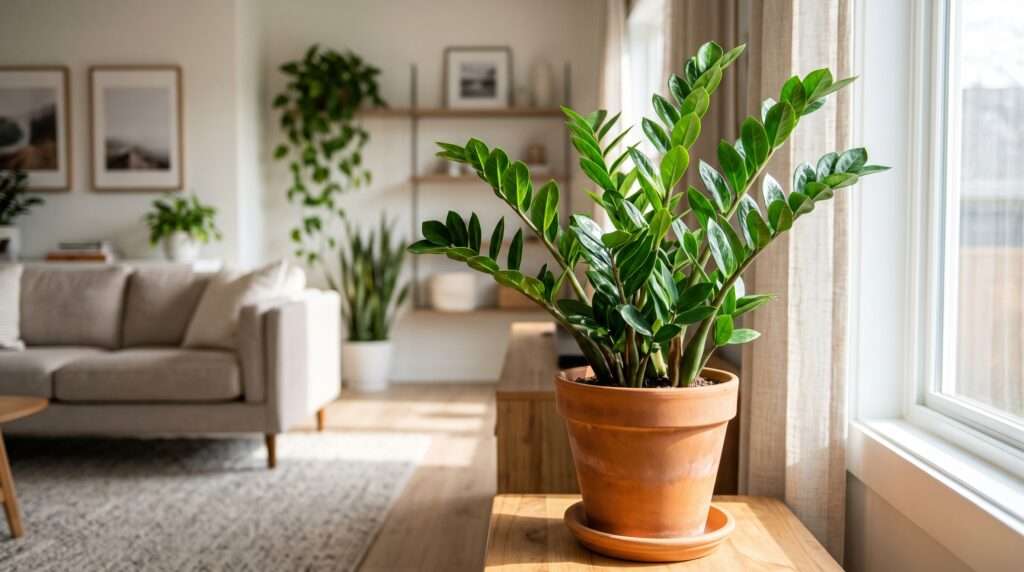
Scientifically known as Zamioculcas zamiifolia, this architectural stunner has earned a legendary reputation in the horticultural world as the “unkillable” houseplant. But here is the truth that many indoor gardening beginners miss: while it is famously low-maintenance, a “zero-effort” plant still requires the right kind of neglect to truly thrive. Surviving is not the same as thriving.
In this comprehensive, skyscraper-level guide, we are diving deep into the exact science and daily practices needed to cultivate a thriving indoor jungle. Whether you are a busy professional, a frequent traveler, or simply someone who forgets to water their plants, this roadmap will show you how to get massive growth, glossy emerald leaves, and a perfectly healthy root system with minimal work. Let’s unlock the secrets to zero-effort plant parenting. ✨
Why the ZeeZee Plant is the Ultimate Survivor 🌍
To understand how to care for any indoor foliage, you first have to understand where it comes from. The care instructions on a standard nursery tag only tell half the story; evolutionary history tells the rest.
Origins and Evolutionary Genius The Zamioculcas zamiifolia is native to the drought-prone regions of Eastern Africa, specifically stretching from Kenya down to northeastern South Africa. In its natural habitat, it endures long, punishing dry spells followed by periods of intense, heavy rainfall. To survive these extremes, the plant evolved into a biological marvel. It learned to gorge itself on water during the rainy season and tightly hold onto those reserves during droughts. When you bring this plant into your temperate, climate-controlled living room, you are essentially dealing with a survivalist that is over-prepared for the cushy indoor life.
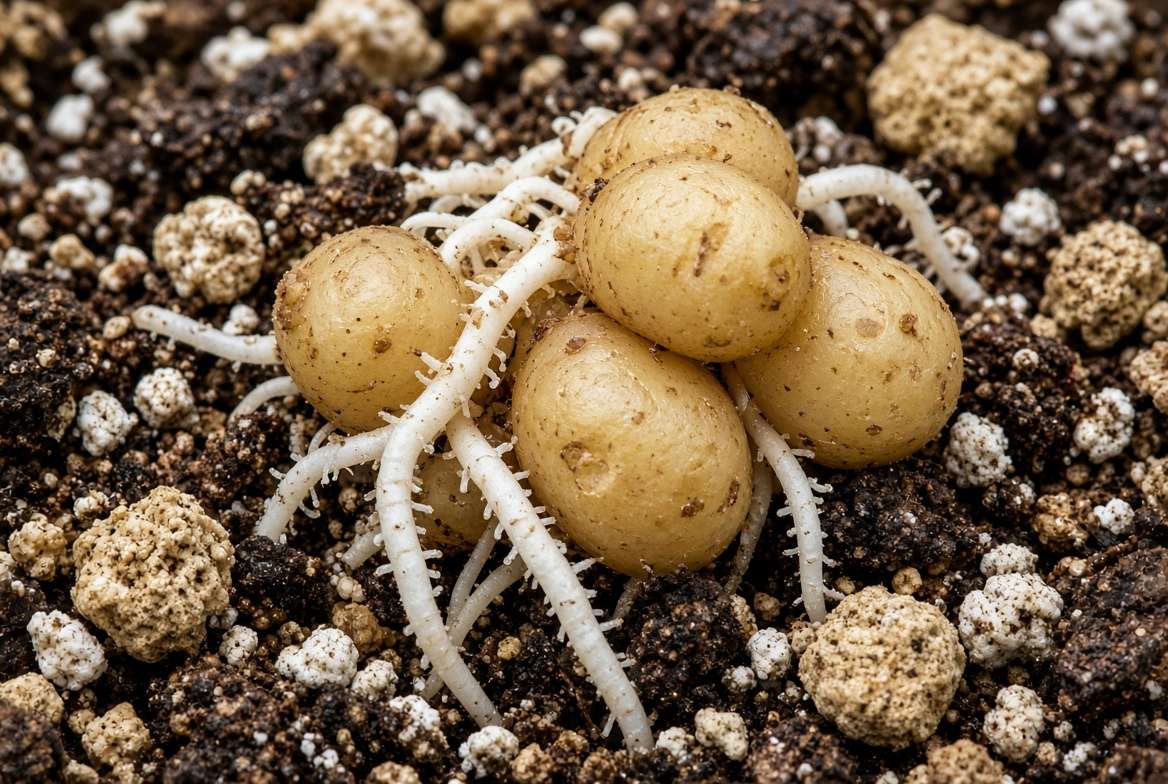
The Magic of Rhizomes 🥔 The true secret weapon of this species lies hidden beneath the soil. If you were to unpot your plant, you would notice strange, potato-like bulbs attached to the root system. These are called rhizomes. Rhizomes are modified subterranean plant stems that act as biological canteens, storing massive amounts of water and essential nutrients.
Because of these rhizomes, the plant does not rely on constant moisture in the soil. In fact, if the soil remains continuously wet, the rhizomes will drown, suffocate, and eventually rot. Understanding this single anatomical feature is the key to mastering your care routine. When you leave the plant alone, it simply drinks from its own internal reservoirs. 🐫
The “Zero-Effort” Care Formula: Mastering the Basics ✨
Horticultural success always comes down to mimicking a plant’s natural environment as closely as possible. For this resilient African native, that means mastering light, water, and soil mechanics.
Light Requirements: The “Anywhere” Plant ☀️ You will often see this species heavily marketed as a “low-light plant.” It frequently decorates windowless office cubicles, dim bathroom corners, and fluorescent-lit waiting rooms. While it is incredibly adaptable and will absolutely survive in low-light conditions, it will not actively grow.
To achieve explosive growth and trigger the unfurling of bright green new shoots, you need to provide bright, indirect light.
-
The Sweet Spot: Place your pot a few feet away from an east-facing or north-facing window, where it can soak up ambient, filtered daylight all day long.
-
The Danger Zone: Keep it out of direct, harsh afternoon sunlight (like placing it flush against a south-facing window). Because its dark green leaves are so efficient at capturing light, intense direct sun will scorch the foliage, leaving permanent brown, crispy burn marks on those beautiful waxy leaves.
Watering Schedule: The Golden Rule of Neglect 💧 If there is one rule you must memorize from this guide, it is the Golden Rule of Neglect: When in doubt, dry it out. Overwatering is the number one killer of indoor houseplants, and this drought-tolerant species is especially vulnerable.
Because of its water-hoarding rhizomes, your watering schedule should be sparse and deliberate.
-
Spring and Summer (Active Growing Season): Water thoroughly once every 2 to 3 weeks. You must wait until the soil is 100% dry from top to bottom before adding a single drop of water.
-
Fall and Winter (Dormancy Season): As daylight hours shorten, the plant’s metabolism slows down significantly. During these cooler months, you can easily stretch your watering schedule to once every 4 to 6 weeks.
-
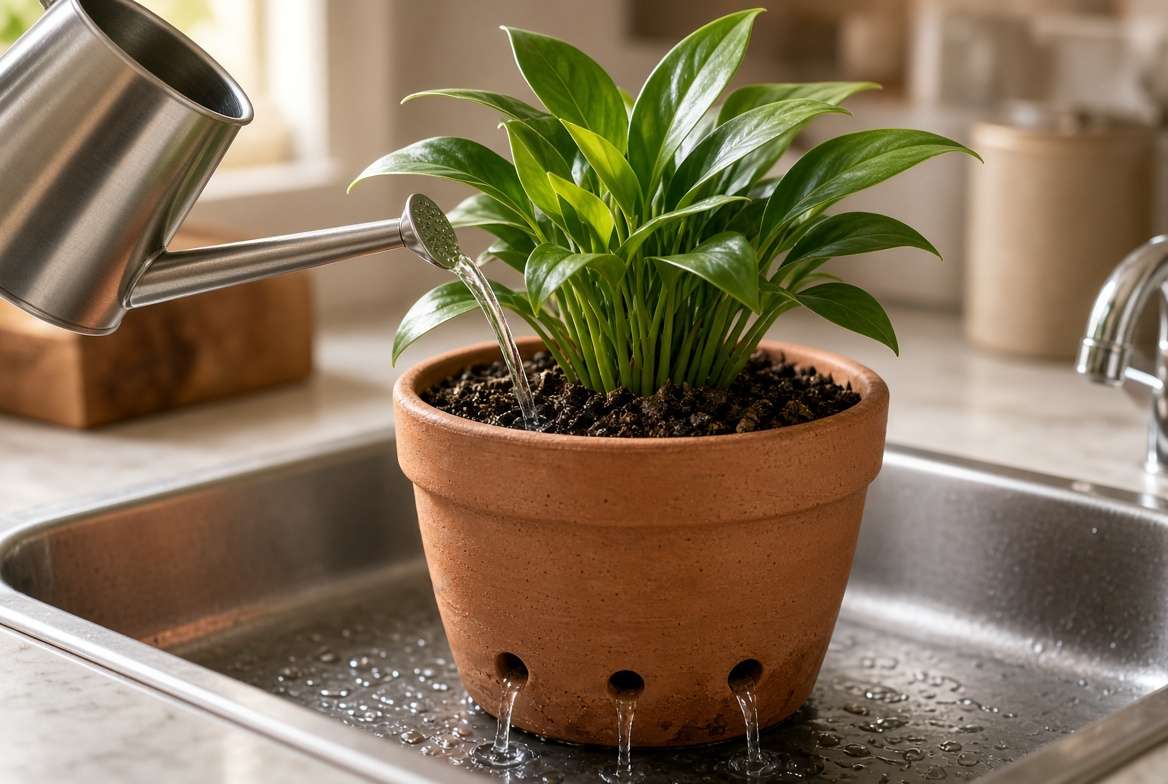
The Expert Watering Technique: Do not just give it a little sip. When it is time to water, take the plant to your sink or shower and drench the soil completely until water flows freely out of the bottom drainage holes. This mimics the heavy tropical downpours of its native habitat. Let it drain completely for 15 minutes before placing it back in its decorative cachepot to ensure it never sits in a puddle of standing water. 🚿
Soil and Drainage: Setting the Foundation 🪴 Even if you perfect your watering schedule, planting your greenery in the wrong type of soil will inevitably lead to disaster. Because the rhizomes are so sensitive to prolonged moisture, standard, dense, moisture-retaining potting soil straight out of the bag is a death sentence. It suffocates the roots and breeds fungal and bacterial pathogens.
Instead, you need a highly aerated, chunky soil mix that drains rapidly. Indoor plant experts often refer to this as an “aroid mix” or a succulent-leaning blend.
-
The Perfect Soil Recipe: Mix one part high-quality organic indoor potting soil, one part perlite (or pumice for extra aeration), and one part horticultural charcoal or orchid bark. This combination allows water to rush past the roots, hydrating them instantly while allowing oxygen to circulate freely immediately after watering.
-
The Non-Negotiable Rule of Drainage: Your pot must have drainage holes. It does not matter if you use terracotta, ceramic, or plastic—if the water cannot escape the bottom of the pot, the water pools around the rhizomes, leading to severe root rot. If you have a beautiful decorative pot without holes, simply keep the plant in a cheap plastic nursery pot and use the decorative one as a “cachepot,” pulling the plastic pot out when it is time to water.
Temperature and Humidity Sweet Spots 🌡️ Unlike fussy tropical calatheas or delicate ferns that demand greenhouse-level humidity, this resilient survivor is perfectly content with average indoor conditions.
-
Temperature: Aim for a comfortable range between 65°F and 85°F (18°C–29°C). Since they are native to a hot climate, they are highly sensitive to cold. Keep them away from drafty winter windows, unheated sunrooms, and direct blasts from air conditioning vents. Any exposure to temperatures below 50°F (10°C) can cause permanent cold damage or trigger premature dormancy.
-
Humidity: Standard household humidity (around 30% to 40%) is ideal. You do not need to invest in pebble trays or humidifiers. In fact, excessively high humidity combined with poor airflow can encourage fungal issues on the foliage.
Expert Maintenance for Explosive Growth 🚀
You have mastered the basics of light, water, and soil. Now it is time to look at the pro-level maintenance tasks that transform a stagnant, surviving plant into a thriving, rapidly growing showpiece.
Fertilizing: Less is More 🧪 Because this is a slow-growing species by nature, it is not a heavy feeder. Over-fertilizing can lead to a buildup of mineral salts in the soil, which burns the root system and damages the leaves.
-
When to Feed: Only apply fertilizer during the active growing season (spring and summer) when the plant is pushing out new, light-green shoots.
-
What to Use: Use a balanced, water-soluble liquid indoor plant fertilizer (like a 10-10-10 or 20-20-20 NPK ratio).
-
How to Apply: Dilute the fertilizer to half the recommended strength on the bottle label. Feed your plant once every four to six weeks. Stop fertilizing completely during the fall and winter months when the plant rests.
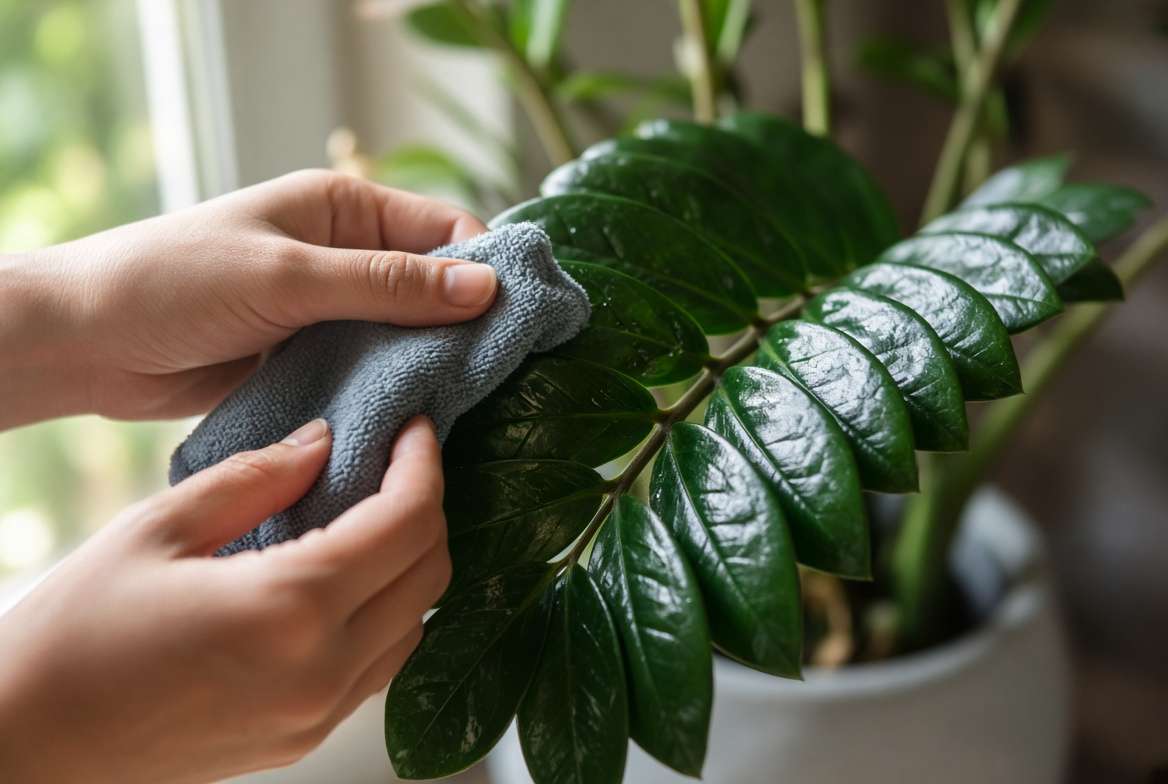
Leaf Care for Maximum Photosynthesis 🧽 One of the most striking features of this plant is its naturally glossy, dark green pinnate leaves. However, large indoor leaves act like magnets for household dust. A layer of dust blocks the stomata (the pores of the plant) and filters out the light it desperately needs for photosynthesis.
-
The Cleaning Routine: Once a month, take a soft, damp microfiber cloth and gently wipe down both the top and bottom of each leaflet.
-
Skip the Shine Sprays: Never use commercial “leaf shine” aerosol sprays. These products contain oils and waxes that clog the plant’s pores, effectively suffocating the foliage. If you want a natural, healthy shine, add a few drops of pure, cold-pressed neem oil to your damp cloth. This not only polishes the leaves but acts as a natural, organic pest deterrent! 🐞
Repotting 101: Signs It’s Time to Upgrade 🪴 One of the best things about this species is that it actually prefers to be slightly root-bound. Being snug in its pot encourages the plant to put its energy into pushing out new top growth rather than expanding its root system. You should only need to repot every two to three years.
-
Visual Cues to Repot: You will know it is time to upgrade when the thick, bulbous rhizomes start bulging against the sides of a plastic pot (sometimes even warping its shape), or when roots begin heavily growing out of the bottom drainage holes.
-
The Repotting Process: Always choose a new pot that is only one to two inches wider in diameter than the current one. Upsizing too drastically leaves excess soil around the roots, which holds too much water and increases the risk of rot. Spring is the optimal time for repotting, as the plant is entering its most vigorous growth phase and can easily recover from root shock.
Propagating Your ZeeZee Plant Like a Pro 🌱
Multiplying your collection (or growing free gifts for friends) is surprisingly easy, though it requires varying degrees of patience depending on the method you choose.
Root Division (The Instant Gratification Method) 🔪 If you have a large, mature plant, division is the fastest way to create a new one.
-
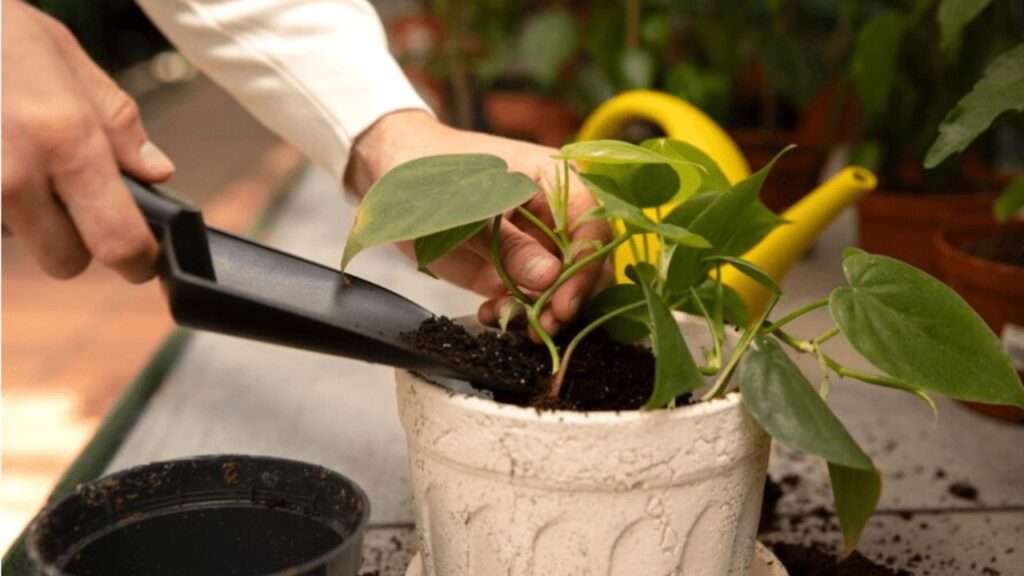
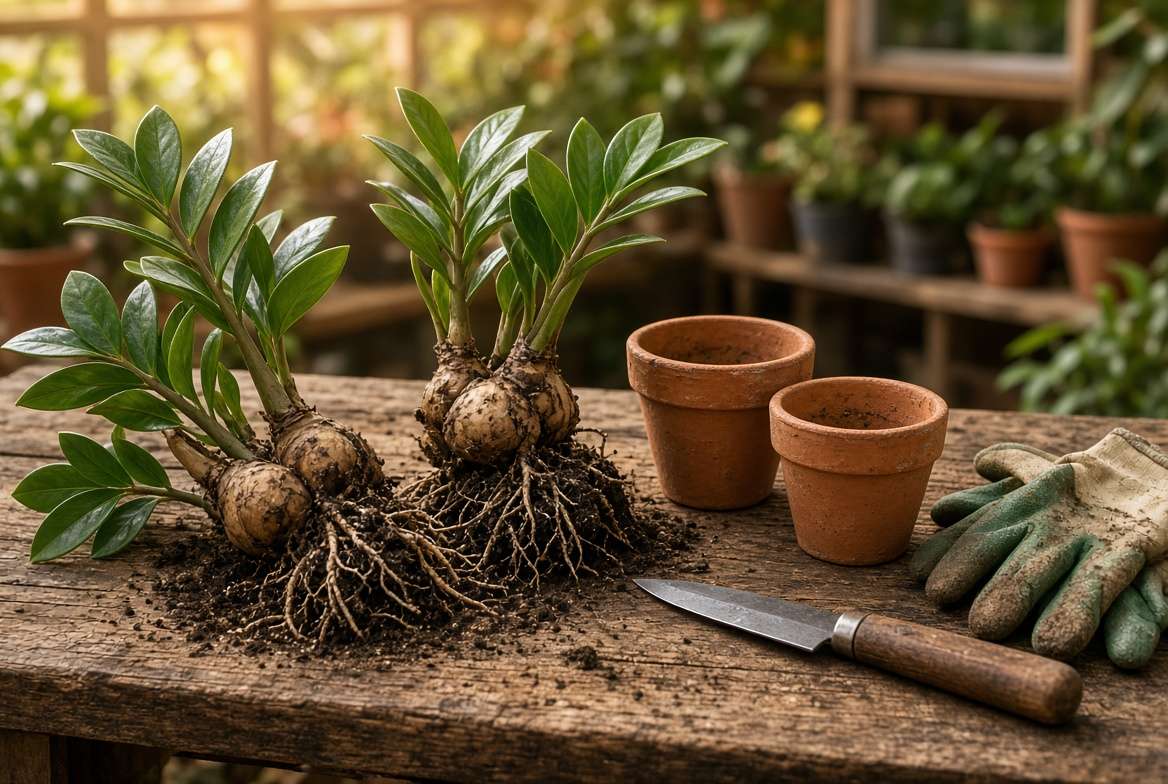
Gently remove the plant from its pot and brush away the excess soil so you can clearly see the rhizome clusters.
-
Using your hands or a sterilized, sharp knife, carefully separate the rhizomes. Make sure each division has at least one healthy tuber and one healthy stalk attached.
-
Repot the separated sections into their own pots using your chunky, well-draining aroid soil mix. Water lightly and place in bright, indirect light.
Stem and Leaf Cuttings (The Patient Route) 🍃 If you accidentally snap a stalk, or just want to try a fun science experiment, you can propagate from cuttings! Be warned: this method requires extreme patience. It can take up to a full year for a leaf cutting to grow a rhizome and sprout a new stem.
-
Stem Cuttings: Cut a healthy stem near the base. Let the cut end dry and callous over for a few hours. Place the stem in a glass of water, ensuring only the bottom inch is submerged. Change the water weekly to prevent bacterial growth. Once a small, white potato-like rhizome and roots form (usually in 2-4 months), transplant it into soil.
-
Leaf Cuttings: Snip a single leaflet off the stem, ensuring you get a tiny piece of the petiole (the small stem attaching the leaf to the stalk). Stick the bottom third of the leaf directly into slightly moist potting soil or sphagnum moss. Enclose it in a clear plastic bag to create a mini greenhouse, and prepare to wait several months for a rhizome to form beneath the dirt.
Troubleshooting: Diagnosing Common ZeeZee Plant Issues 🚑
Even the most unkillable houseplant can run into trouble if the basic rules of care are ignored. The key to saving a struggling plant is identifying the symptoms early and adjusting your care routine immediately.
Yellowing Leaves & Mushy Stems ⚠️
-
The Diagnosis: This is the universal distress signal for severe overwatering and impending root rot. When the rhizomes drown, the plant can no longer transport nutrients to the foliage, causing the lower leaves to turn a sickly, translucent yellow before dropping off.
-
The Fix: Stop watering immediately. Remove the plant from its pot and inspect the roots. Healthy roots are firm and white or light tan. If you see dark brown, black, or slimy roots that smell like a swamp, you have rot. Sterilize a pair of scissors, cut away all the mushy roots and rotted rhizomes, and repot the remaining healthy plant in fresh, dry, highly aerated soil. Do not water it for at least two weeks.
Wrinkled, Dry Stems 🏜️
-
The Diagnosis: While it is hard to underwater this plant, it is possible. If the thick, sturdy stems suddenly look wrinkled, shriveled, or slightly deflated, the plant has completely depleted the water reserves in its rhizomes and is dying of thirst. The tips of the leaves may also turn brown and crispy.
-
The Fix: Do not panic and drown the plant in heavy, dense soil. Take the pot to the sink and slowly drench the soil. You may need to water it a few times in a row, as severely dried-out soil can become hydrophobic (repelling water). Let it drain completely. The stems should plump back up within 48 hours.
Drooping or Leaning Stalks 🥀
-
The Diagnosis: If your stalks are leaning drastically or flopping over the side of the pot, it is usually a sign of light deprivation. The plant is desperately stretching and growing “leggy” in an attempt to find a light source. (Note: A slight, graceful arching of mature outer stalks is completely normal and just gravity doing its job).
-
The Fix: Move the plant to a brighter location with filtered, indirect sunlight. For stalks that have already flopped over, you can use thin bamboo plant stakes and soft garden twine to gently tie them upright for structural support.
Expert Corner: Insider Tips for a Flawless ZeeZee 👩🌾
Want to take your indoor gardening to the next level? Here are a few advanced horticultural secrets to maximize your plant’s aesthetic appeal and overall health:
-
The Terracotta Trick: If you are a chronic overwaterer and just cannot stop yourself from picking up the watering can, ditch the plastic nursery pots. Plant directly into an unglazed terracotta clay pot. Terracotta is highly porous and physically wicks excess moisture out of the soil, acting as a built-in safety net against root rot.
-
Quarterly Rotations: Houseplants naturally grow toward their light source. To prevent your plant from becoming lopsided and heavy on one side, rotate the pot a quarter-turn every time you water it. This ensures even, symmetrical growth.
-
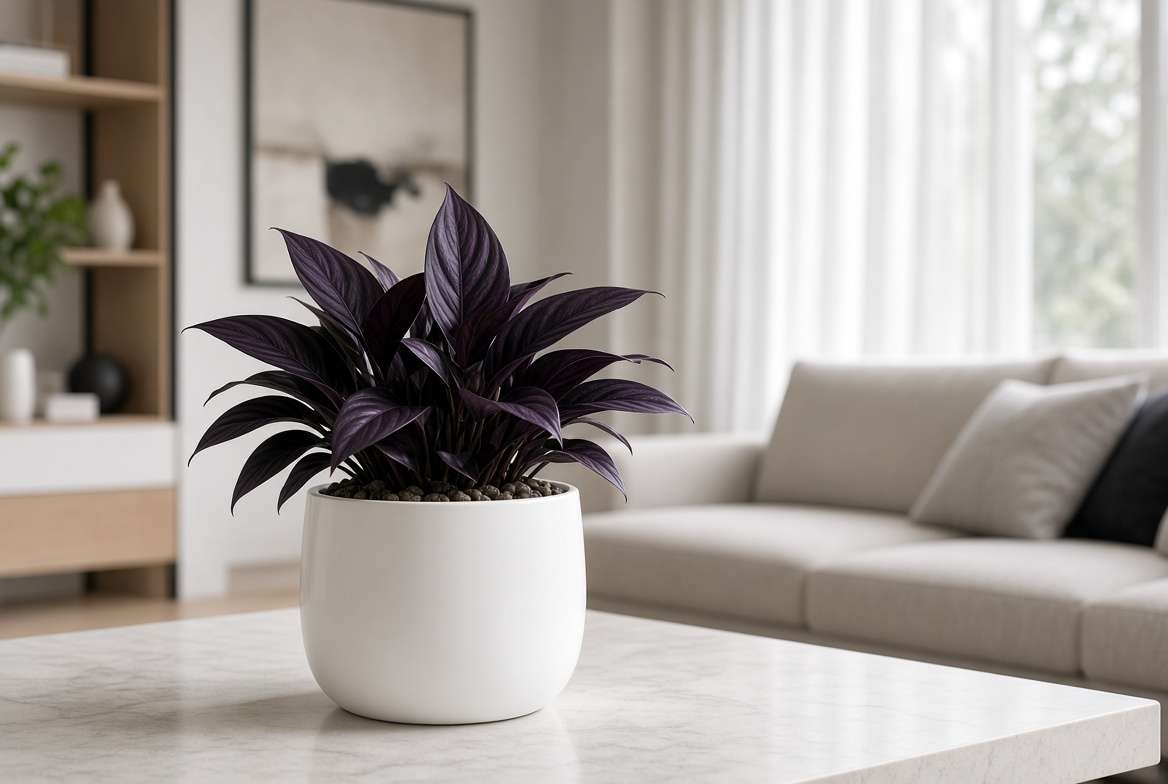
Embrace the “Raven” Variety: Once you master the classic green variety, look for the highly sought-after Zamioculcas zamiifolia ‘Raven’. This stunning cultivar pushes out bright lime-green new growth that slowly hardens and darkens into a dramatic, striking purplish-black foliage! 🖤
Frequently Asked Questions (FAQs) ❓
Is the ZeeZee plant toxic to cats and dogs? 🐾 Yes. Like many popular tropical houseplants (including Pothos and Monstera), this species contains calcium oxalate crystals. If chewed or ingested by pets or curious toddlers, these microscopic crystals cause intense oral irritation, swelling, and drooling. Always place this plant on a high shelf or elevated plant stand out of reach of furry friends.
Does it actually purify the air? Yes! While the famous 1989 NASA Clean Air Study is often overhyped (you would need a literal jungle in your living room to significantly impact indoor air quality), this plant has been proven in subsequent botanical studies to remove volatile organic compounds (VOCs) like xylene, toluene, and benzene from stagnant indoor air.
Why is my ZeeZee plant not growing new shoots? Patience is key! This is naturally a slow-growing species. If it hasn’t pushed out new growth in over a year, it is likely lacking adequate light. Move it closer to a bright window. Also, remember that it goes dormant in the winter; do not expect any new growth until the warm spring weather arrives.
Conclusion: Enjoy Your Indoor Jungle 🌟
Cultivating a lush, thriving indoor garden does not have to be a stressful, time-consuming chore that requires a degree in botany. By choosing the right species and understanding its unique evolutionary needs, you can enjoy all the aesthetic and mental health benefits of indoor greenery with none of the hassle.
The secret to a thriving zeezee plant really does come down to a zero-effort philosophy: provide it with bright, indirect light, pot it in a chunky, well-draining soil mix, and ruthlessly adhere to the Golden Rule of Neglect by letting it dry out completely between waterings. Master these simple steps, and this unkillable architectural stunner will reward you with glossy, vibrant growth for decades to come.
Now it is your turn! Are you ready to add this zero-effort survivor to your collection, or do you already have a massive one dominating your living room? Share your setup and your own care tips in the comments below, and do not forget to subscribe for more stress-free, expert gardening guides! 📸🌿