
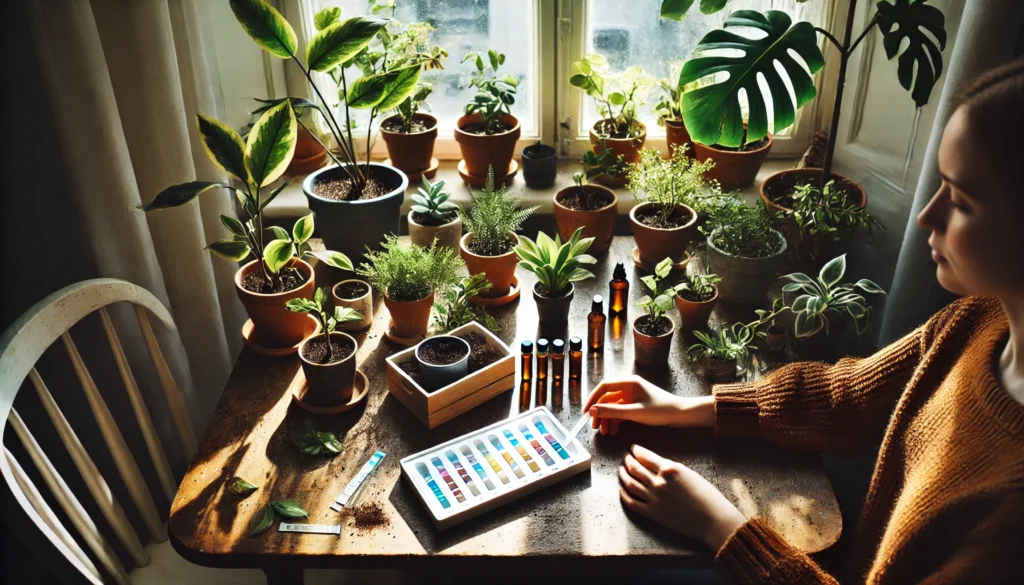
Have you ever wondered why your houseplants aren’t thriving despite your best efforts? The secret could lie beneath the surface—in the soil. Soil testing for houseplants is a simple yet powerful tool that helps you uncover hidden problems and unlock your plants’ full potential. Whether you’re dealing with yellowing leaves, stunted growth, or wilting, soil testing can provide the answers. In this guide, we’ll walk you through the process of checking and improving your potting mix, ensuring your plants get the right balance of nutrients, moisture, and pH for healthier, more vibrant growth.
Understanding Soil Testing for Houseplants
Soil testing for houseplants isn’t just for gardeners with fancy tools—it’s a simple way to make sure your plants get the care they deserve 🌱. By testing your potting mix, you can check if it’s providing the right balance of nutrients, moisture, and pH levels. Let’s break it down:
What is Soil Testing?
Soil testing involves analyzing your plant’s soil to measure its pH, nutrients, and moisture content. This gives you a clear picture of what your plant needs to grow healthy and strong 🌸. It’s like a health check-up for your plants!
Why Test the Soil?
Testing your soil helps in many ways:
- Prevent Overwatering/Underwatering: Knowing your soil’s moisture levels lets you water your plant properly 🌧️.
- Fix Nutrient Imbalances: If your plant’s leaves are yellowing or growth is slow, a soil test can show if it’s missing key nutrients like nitrogen or potassium 🌿.
- Correct pH Levels: Some plants love acidic soil, while others prefer neutral or alkaline. Testing helps adjust your soil’s pH to suit your plant’s needs 🌈.
Soil testing for houseplants ensures you’re giving them exactly what they need to thrive, leading to healthier plants and a happier gardener 😊.
Types of Soil Tests for Houseplants
When it comes to soil testing for houseplants, there are a couple of options that can help you get the answers you need. Let’s look at the two most common types of soil tests: DIY kits and professional services 🌱.
DIY Soil Testing Kits
DIY soil testing kits are the most accessible and budget-friendly option for most plant lovers 🌿. These kits come with everything you need to test your soil’s pH, nutrient levels, and sometimes moisture content.
- How They Work: Simply collect a soil sample, mix it according to the instructions, and add a reagent (usually included in the kit). Within minutes, you’ll know if your soil is too acidic, too alkaline, or just right 🌟.
- Pros: Fast, affordable, and easy to use at home 🏠.
- Cons: May not be as accurate as professional tests and may not provide detailed nutrient breakdowns.
Professional Soil Testing Services
For a more comprehensive analysis, you can send your soil sample to a lab for testing. These services analyze not just pH but also a full range of nutrients (like nitrogen, phosphorus, and potassium) and even contaminants or pathogens 🧪.
- How They Work: You collect a soil sample, send it to the lab, and they send back a detailed report of the results, usually with recommendations on how to improve your soil.
- Pros: In-depth analysis, especially for serious plant care or large collections 🌻.
- Cons: Takes longer and costs more compared to DIY kits 💰.
Both methods can help you understand your soil better, but your choice depends on how detailed you want the information and how much time or money you’re willing to invest 💡.
How to Perform Soil Testing for Your Houseplants
Soil testing for houseplants doesn’t have to be complicated! With the right tools and a little patience, you can easily test your soil at home. Here’s a simple step-by-step guide to help you get started 🌱:
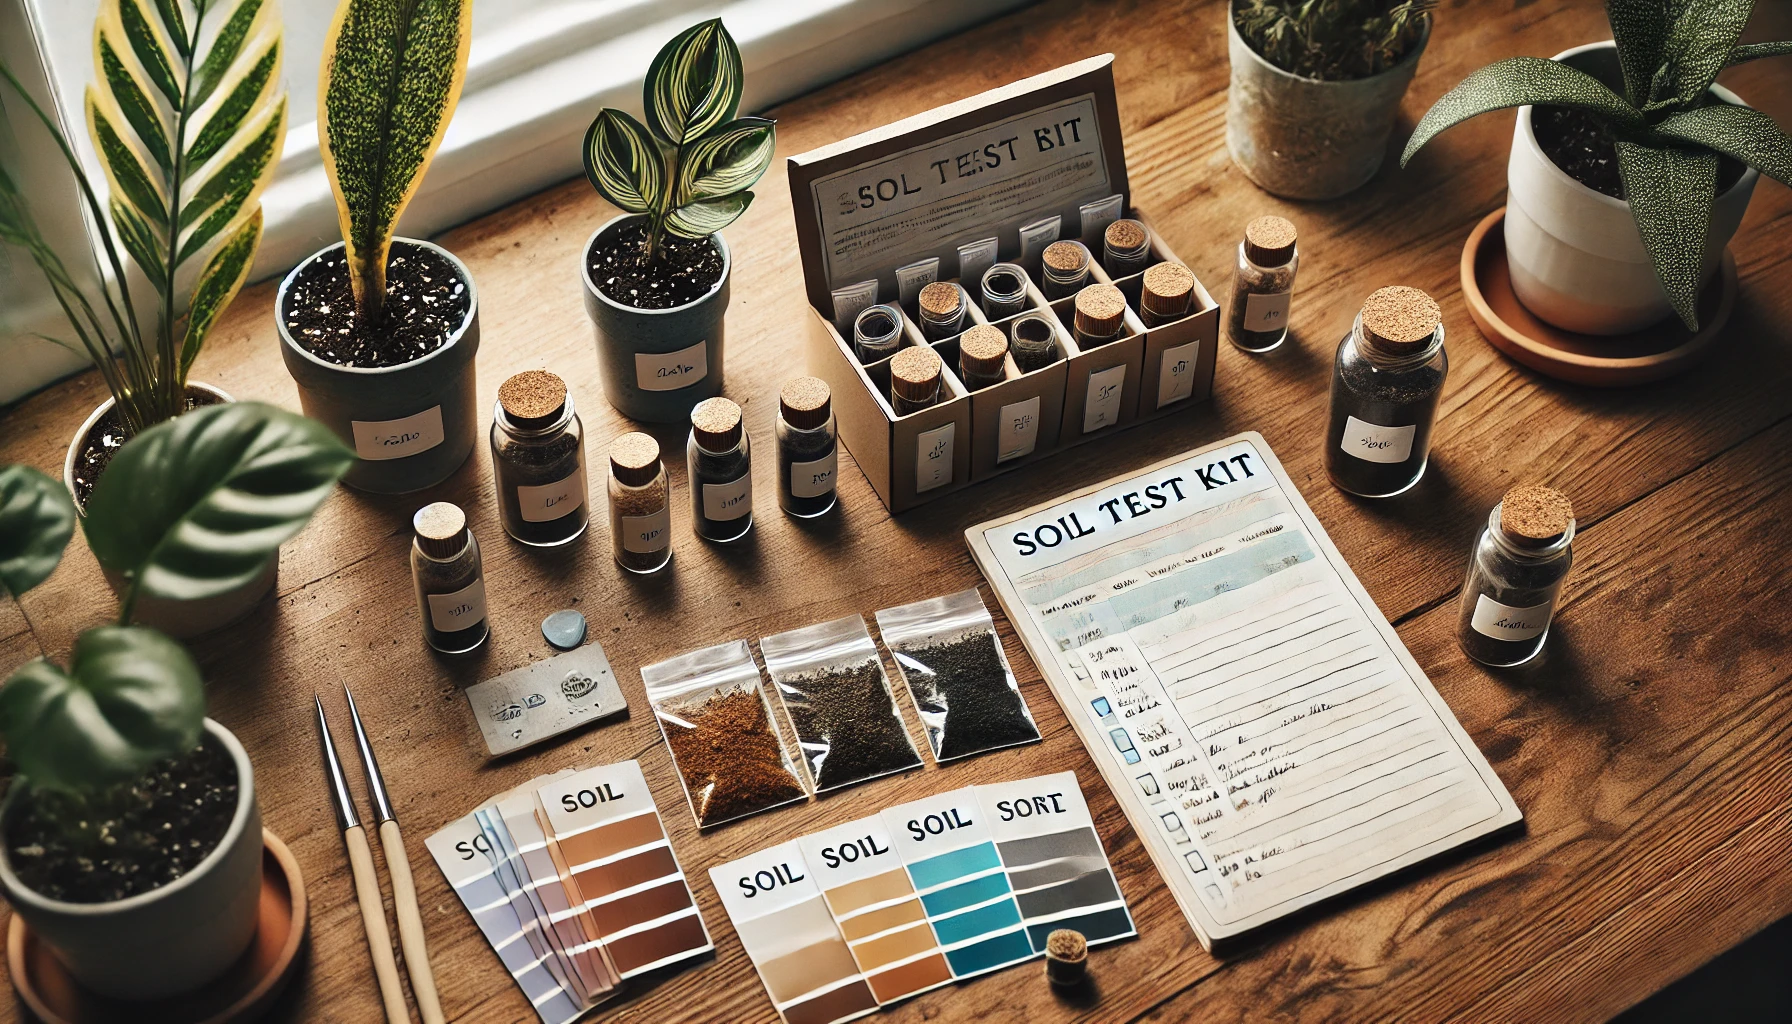
Step 1: Gather Your Supplies
You’ll need:
- A soil testing kit (either DIY or a professional service kit).
- A small shovel or spoon for collecting soil samples 🧑🌾.
- A clean container to hold your soil sample.
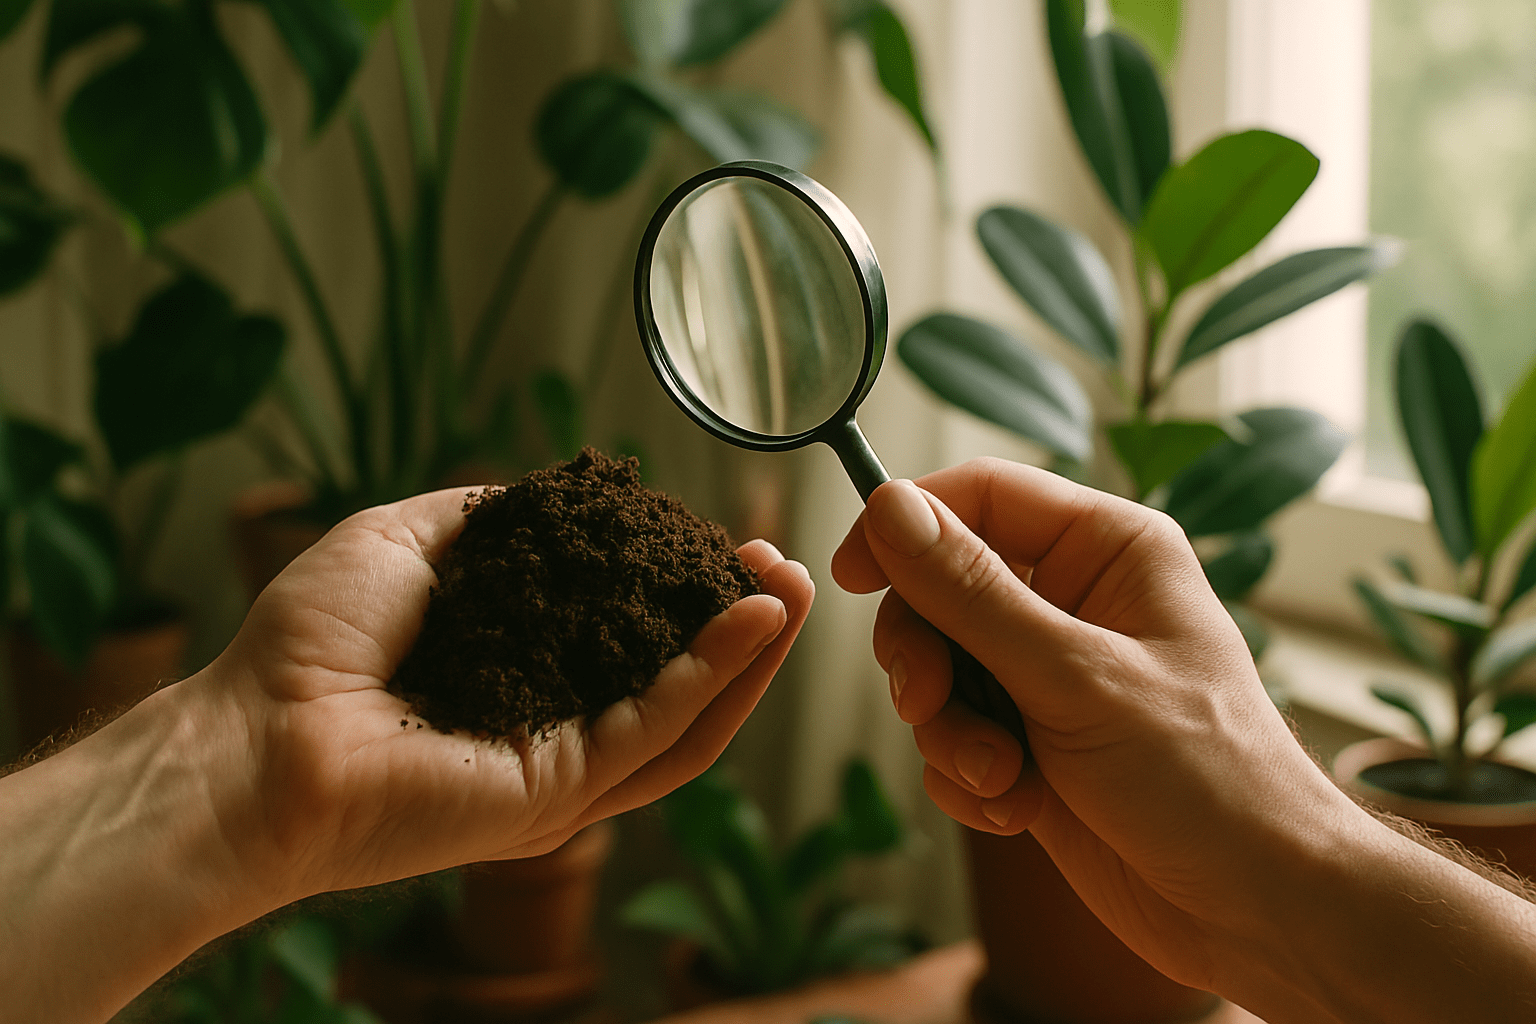
Step 2: Collect Soil Samples
To get an accurate reading, you should sample soil from multiple spots in your plant’s pot. Here’s how:
- Take a sample from about 3–4 different areas in the pot, about 2–3 inches deep 🌍.
- Mix the soil together in your container to get an even sample.
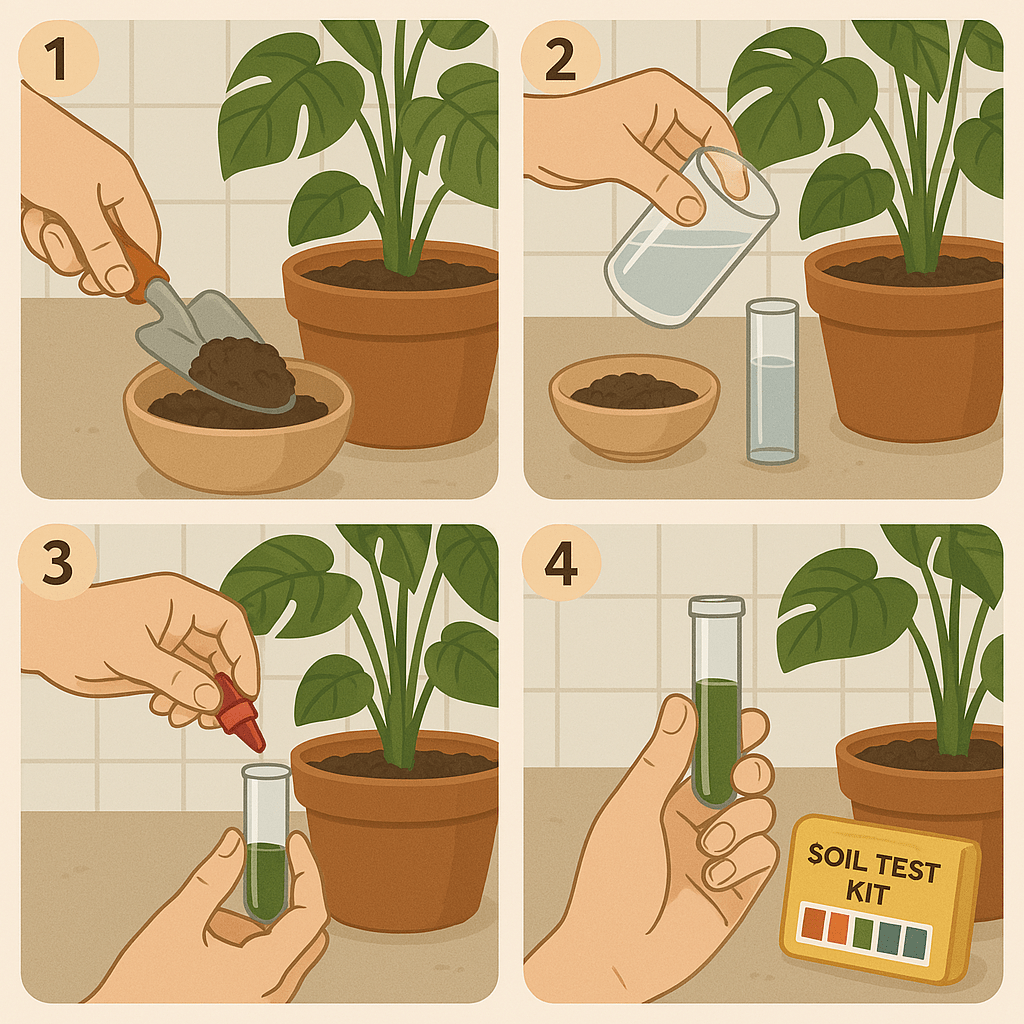
Step 3: Test Your Soil
- Follow the instructions on your testing kit. For a DIY kit, you’ll usually mix your soil with a solution or use a special probe.
- For pH, you’ll often add a liquid reagent to a small sample of soil. For nutrients, you might add soil to a test strip or card 🧪.
Step 4: Record the Results
Once the test is complete, you’ll get results showing the pH, moisture level, or nutrient status of your soil. Take note of the findings and compare them with your plant’s needs 📊.
Step 5: Assess the Needs
Look at your results and determine if you need to adjust the soil:
- If pH is off: You might need to add lime to raise the pH or sulfur to lower it.
- If nutrients are lacking: Use a targeted fertilizer or compost to enrich your soil.
- If moisture levels are too high or low: Adjust the drainage by adding perlite or peat moss.
Common Mistakes to Avoid:
- Not sampling from multiple areas: A single sample might not give you an accurate picture of your soil’s condition.
- Testing after fertilizing: Wait a couple of days after feeding your plants before testing, as fertilizers can skew results.
With these simple steps, you can easily check and improve your plant’s soil, helping them grow stronger and healthier 🌿!
Interpreting Soil Test Results
Once you’ve completed your soil test, it’s time to interpret the results to understand what your houseplants really need 🌱. Let’s break down how to make sense of the most common test results, including pH, nutrients, and moisture content:
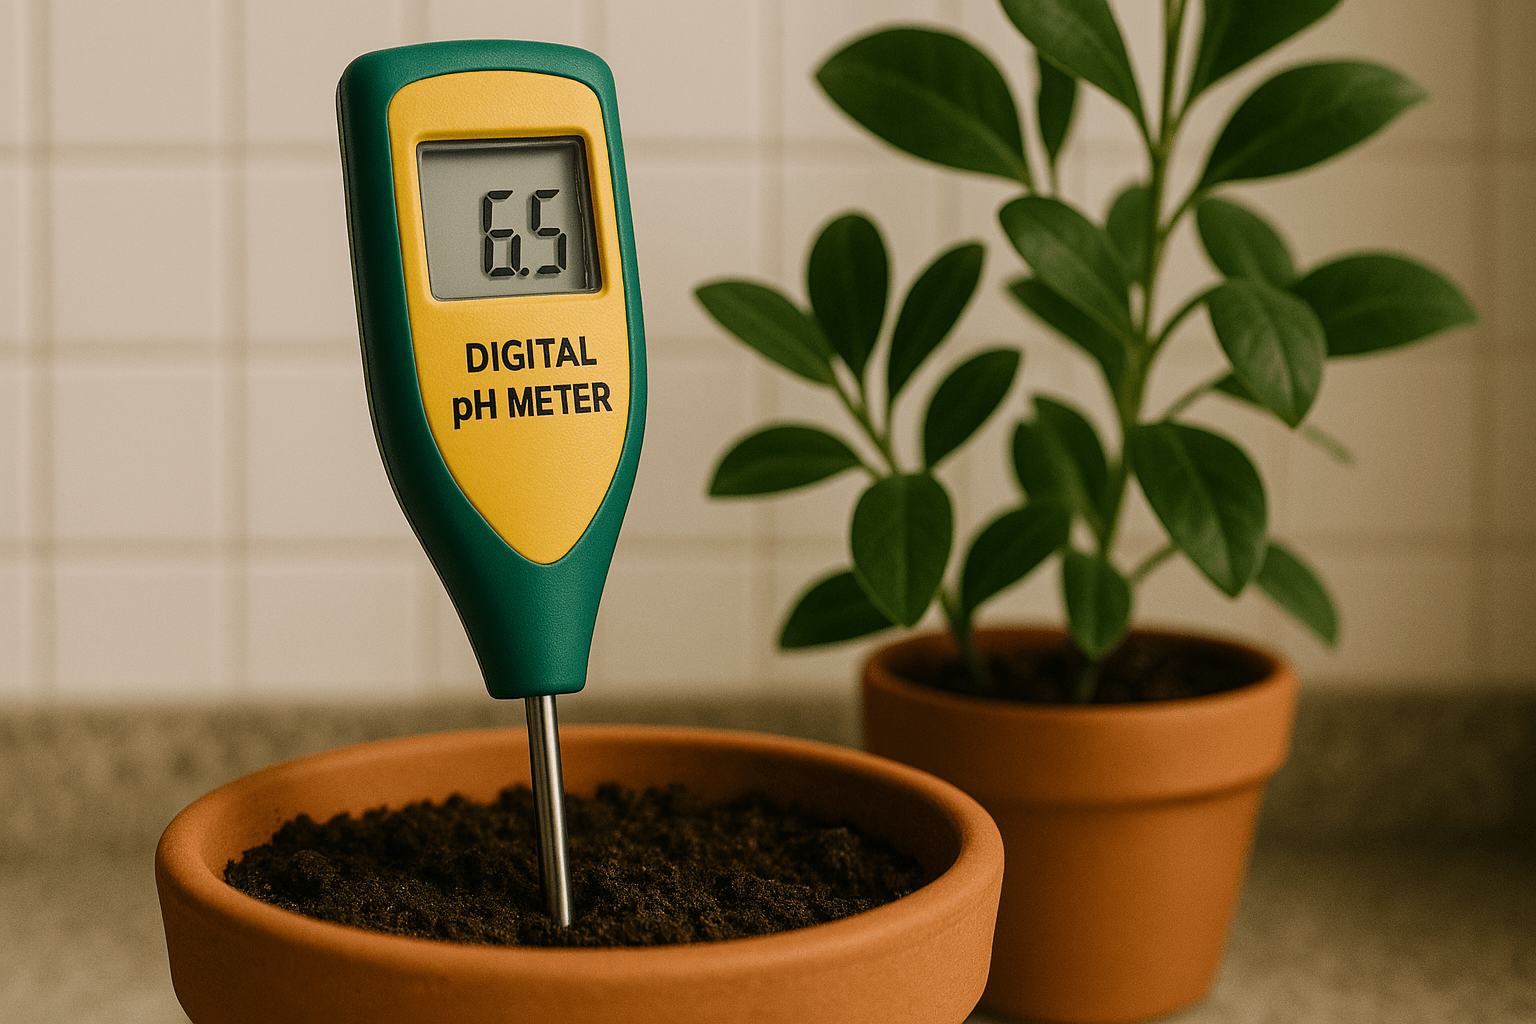
pH Levels: How Acidic or Alkaline Is Your Soil?
The pH level tells you how acidic or alkaline your soil is. This is important because it affects how easily plants can absorb nutrients.
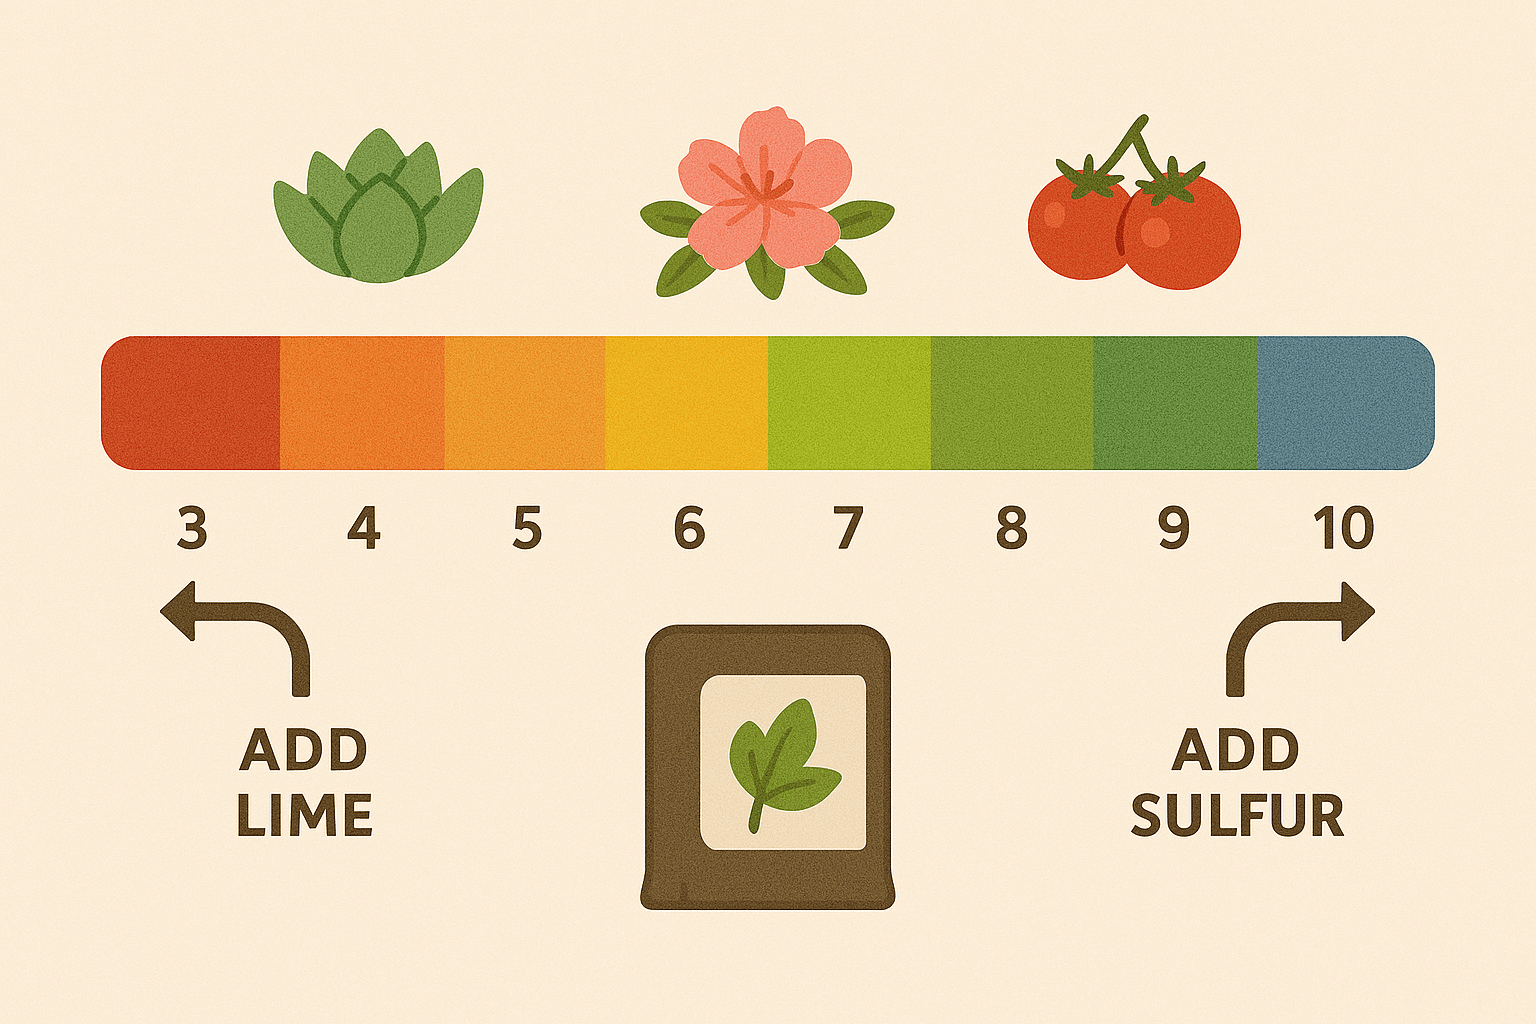
- Ideal pH Range: Most houseplants prefer a slightly acidic soil (pH 6.0–7.0). However, some plants like succulents and cacti prefer more alkaline soil, while others, like azaleas, thrive in more acidic soil 🌺.
- If pH is too low (acidic): You may need to add lime to raise the pH. This helps plants like tomatoes or roses grow better 🌻.
- If pH is too high (alkaline): Use sulfur or aluminum sulfate to lower the pH for plants that prefer acidic soil, such as hydrangeas.
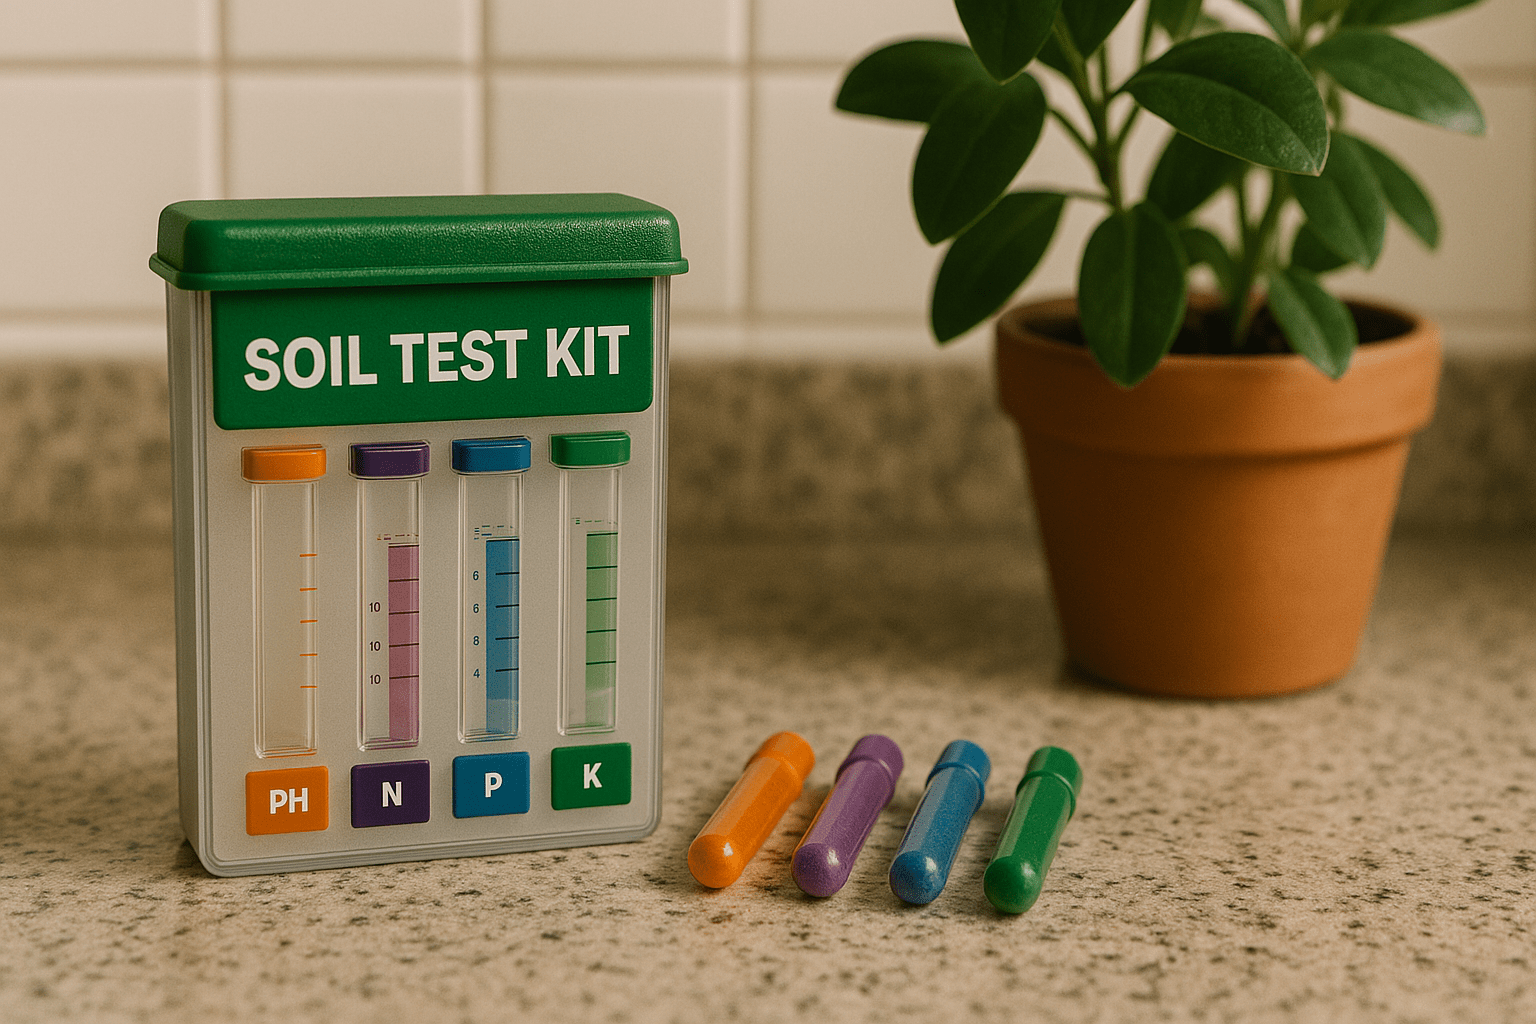
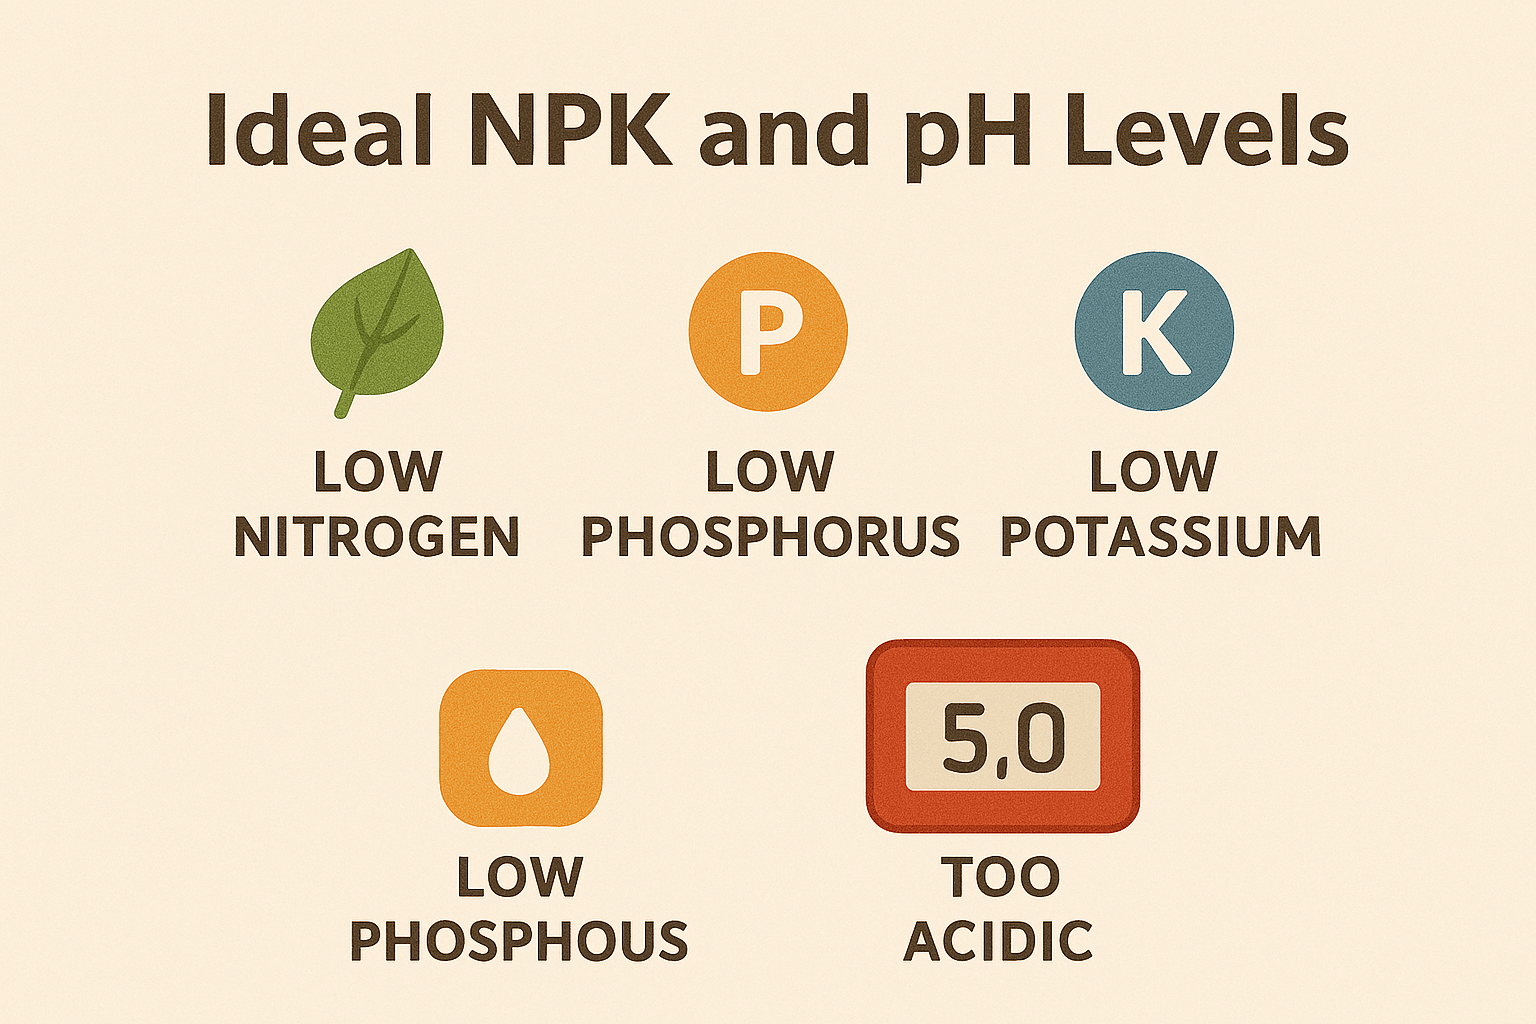
Nutrient Levels: Are Your Plants Getting Enough Food?
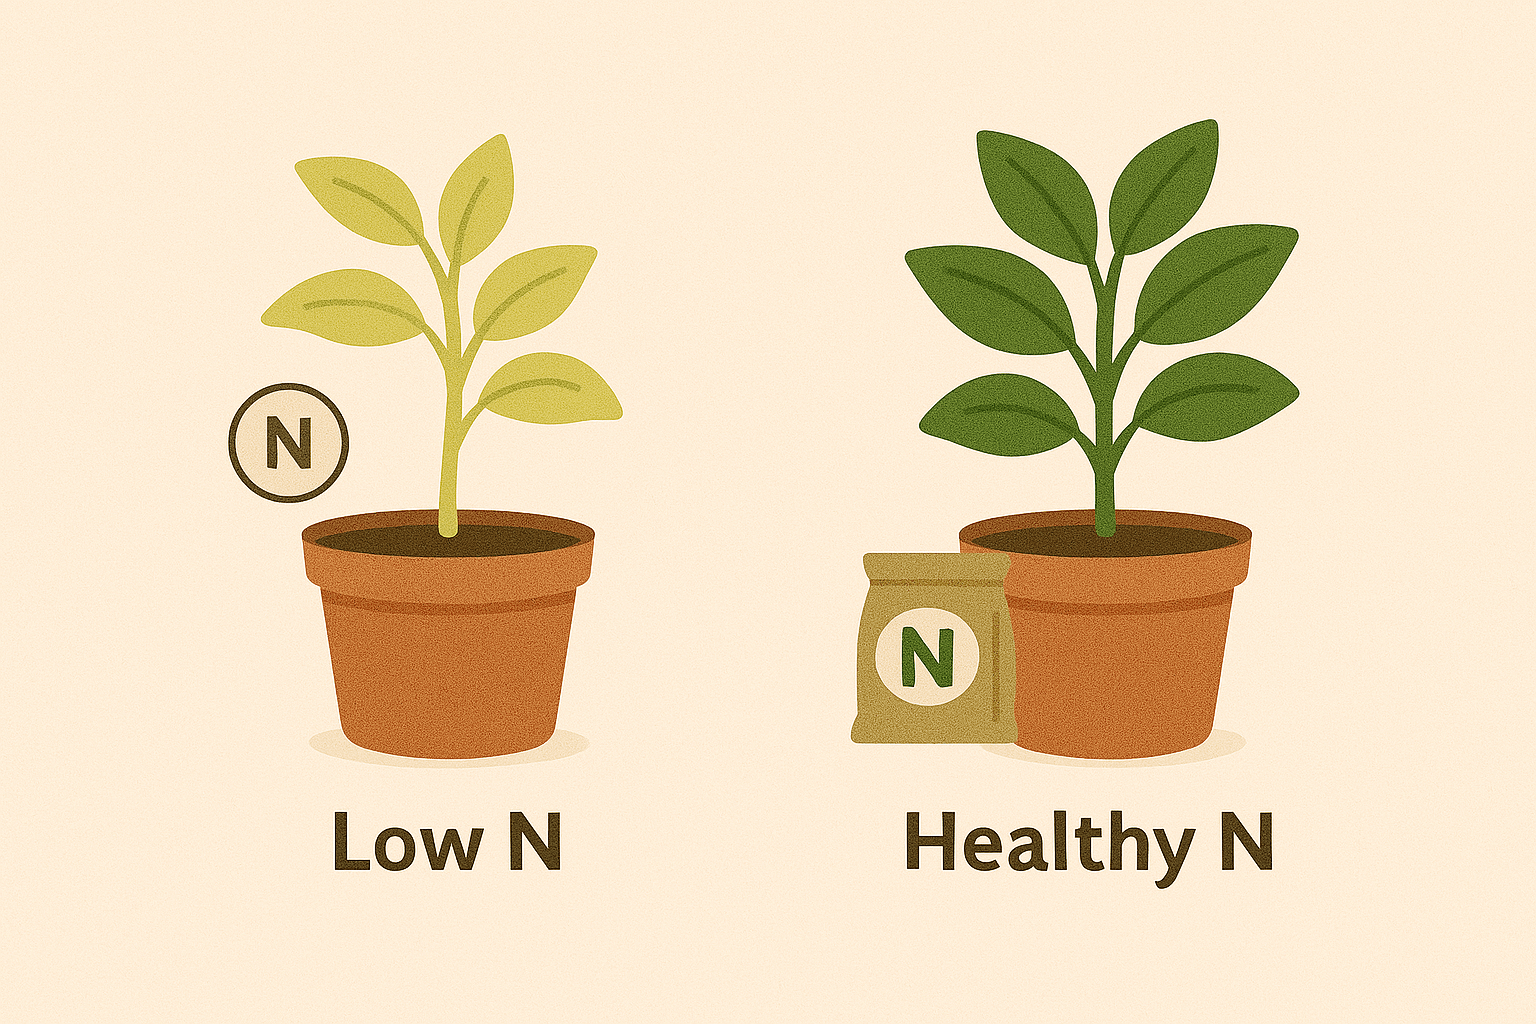
Soil tests often measure the levels of three key nutrients: nitrogen (N), phosphorus (P), and potassium (K). These are essential for healthy plant growth.
- Nitrogen (N): Important for healthy leaf and stem growth 🌿. If your plants have yellow leaves or are growing slowly, nitrogen might be lacking.
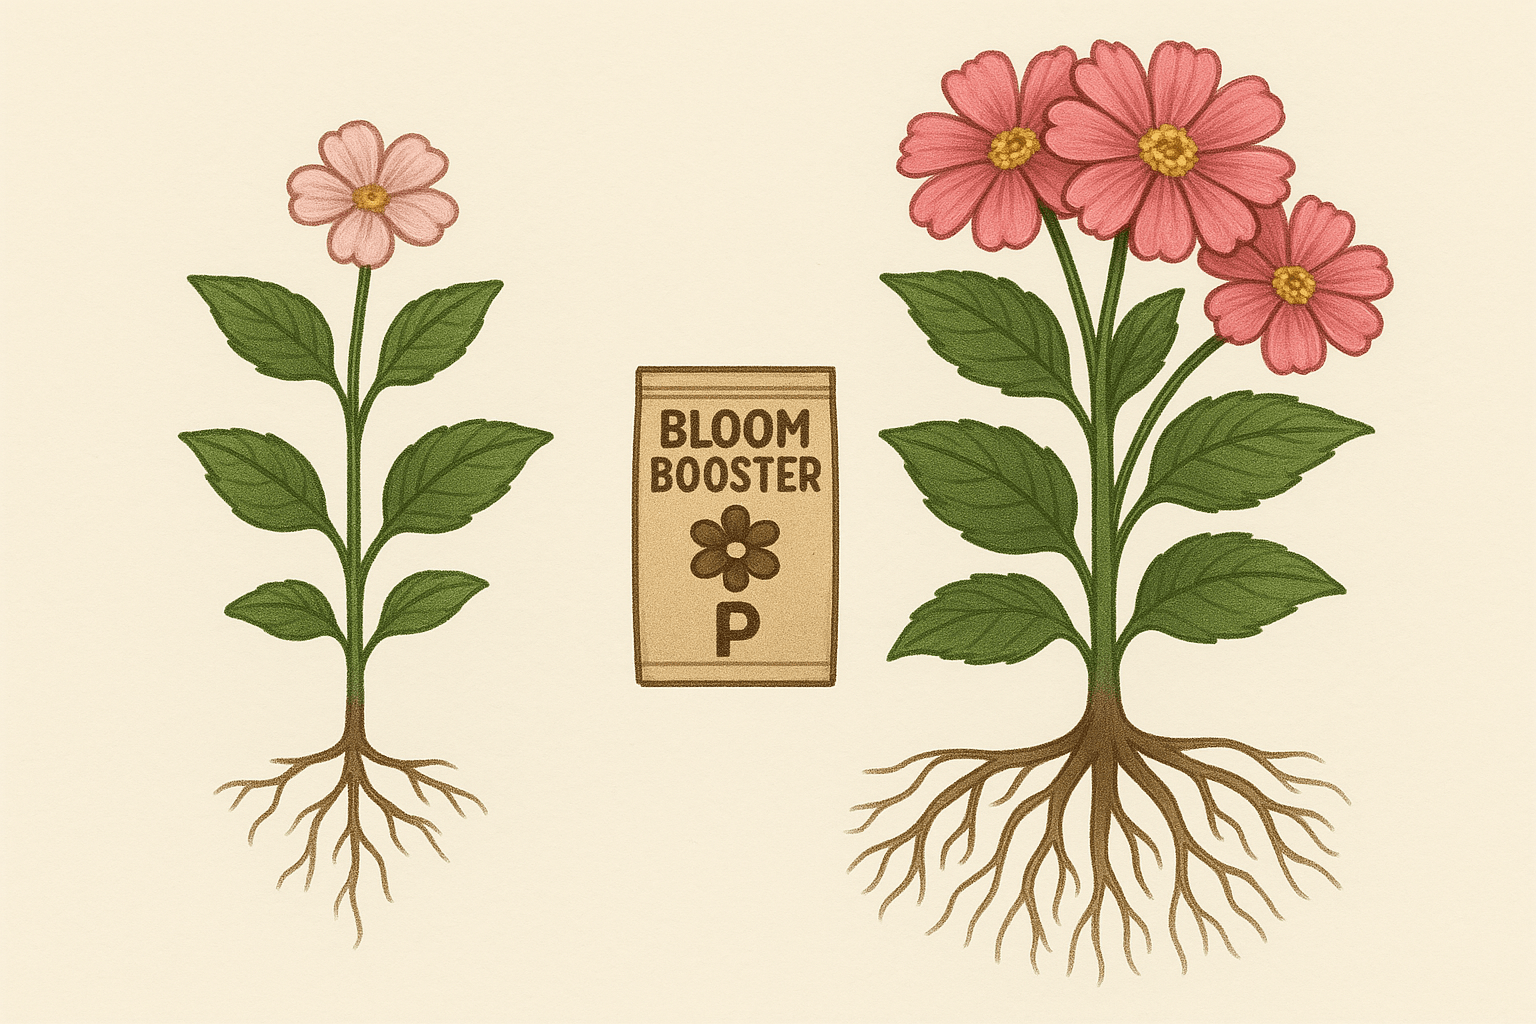
- Phosphorus (P): Vital for strong root development and flower/fruit production 🌼. If your plant isn’t flowering or is weak, phosphorus may be low.
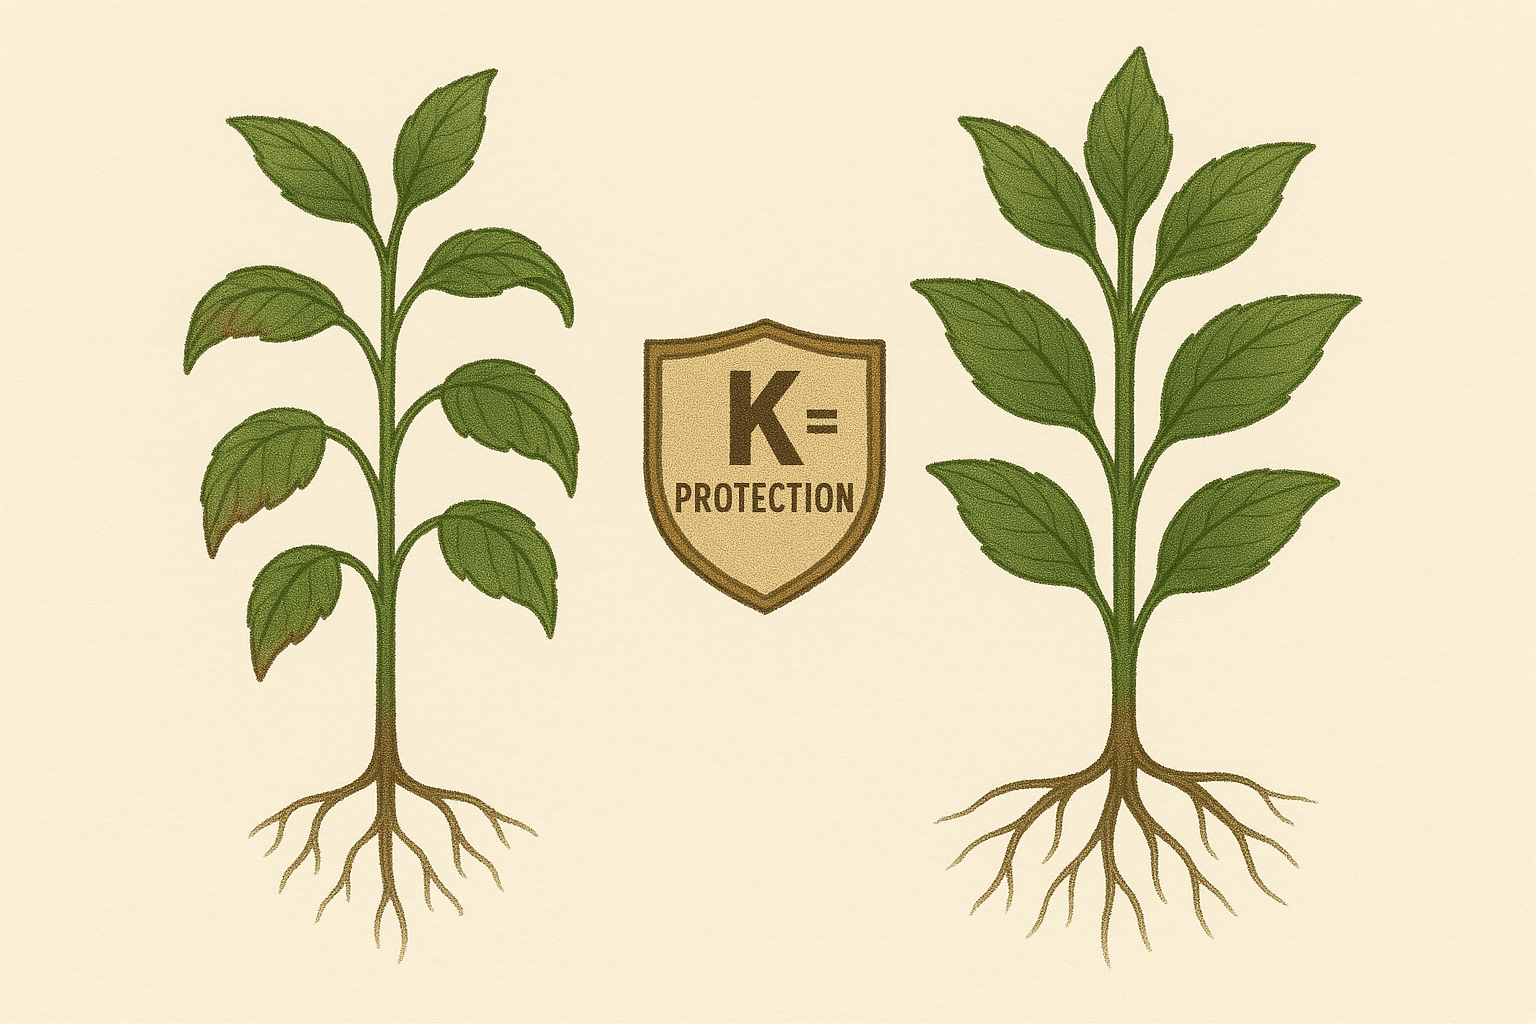
- Potassium (K): Helps with overall plant health and disease resistance 🌟. Low potassium can cause weak stems and poor disease resistance.
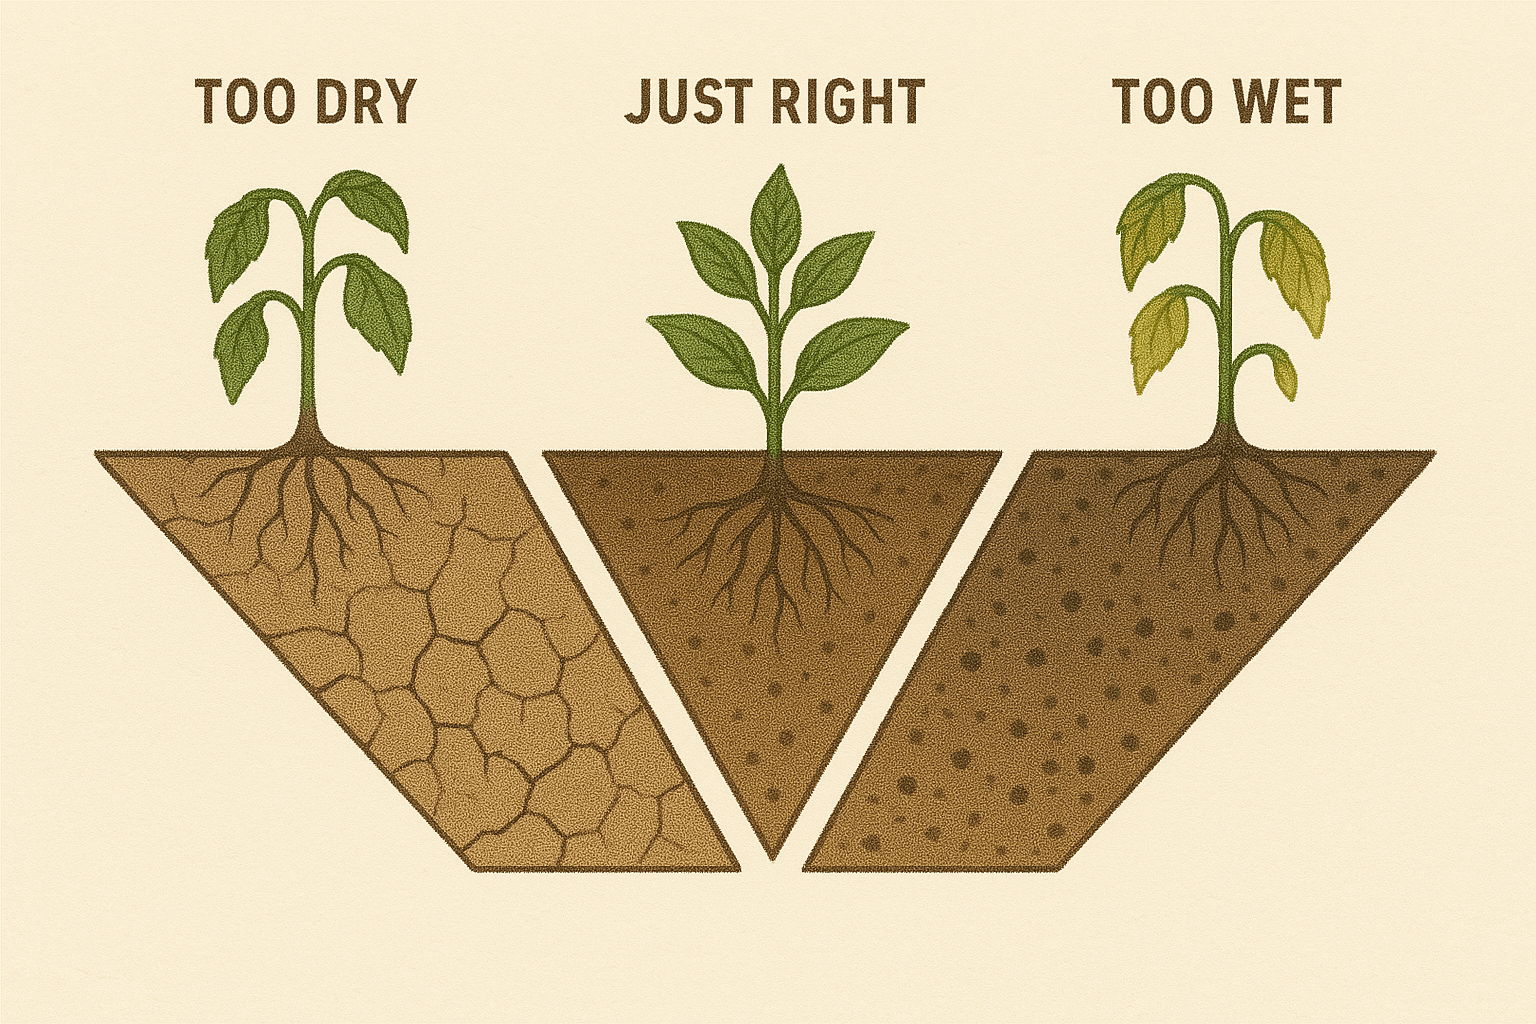
Moisture Levels: Is Your Soil Holding Enough Water?
Moisture levels in the soil are critical for your plant’s survival. Too much or too little water can stress plants.
- If the soil is too dry: You might need to improve moisture retention by adding materials like peat moss or coconut coir 🌴.
- If the soil retains too much water: It’s a sign your soil might not drain well. Try adding perlite, sand, or another drainage-friendly material to prevent root rot 🌧️.
Interpreting the Results
Once you have your test results, here’s how to assess your soil’s needs:
- If the pH is off, adjust it with the right amendments (lime, sulfur).
- If nutrients are lacking, add a suitable fertilizer or compost based on the specific deficiencies.
- For moisture, adjust the soil mix to either improve drainage or enhance water retention, depending on your plant’s needs.

By understanding and interpreting your soil test results, you can make informed decisions to ensure your houseplants are getting the right balance of nutrients, pH, and moisture for optimal growth 🌟!
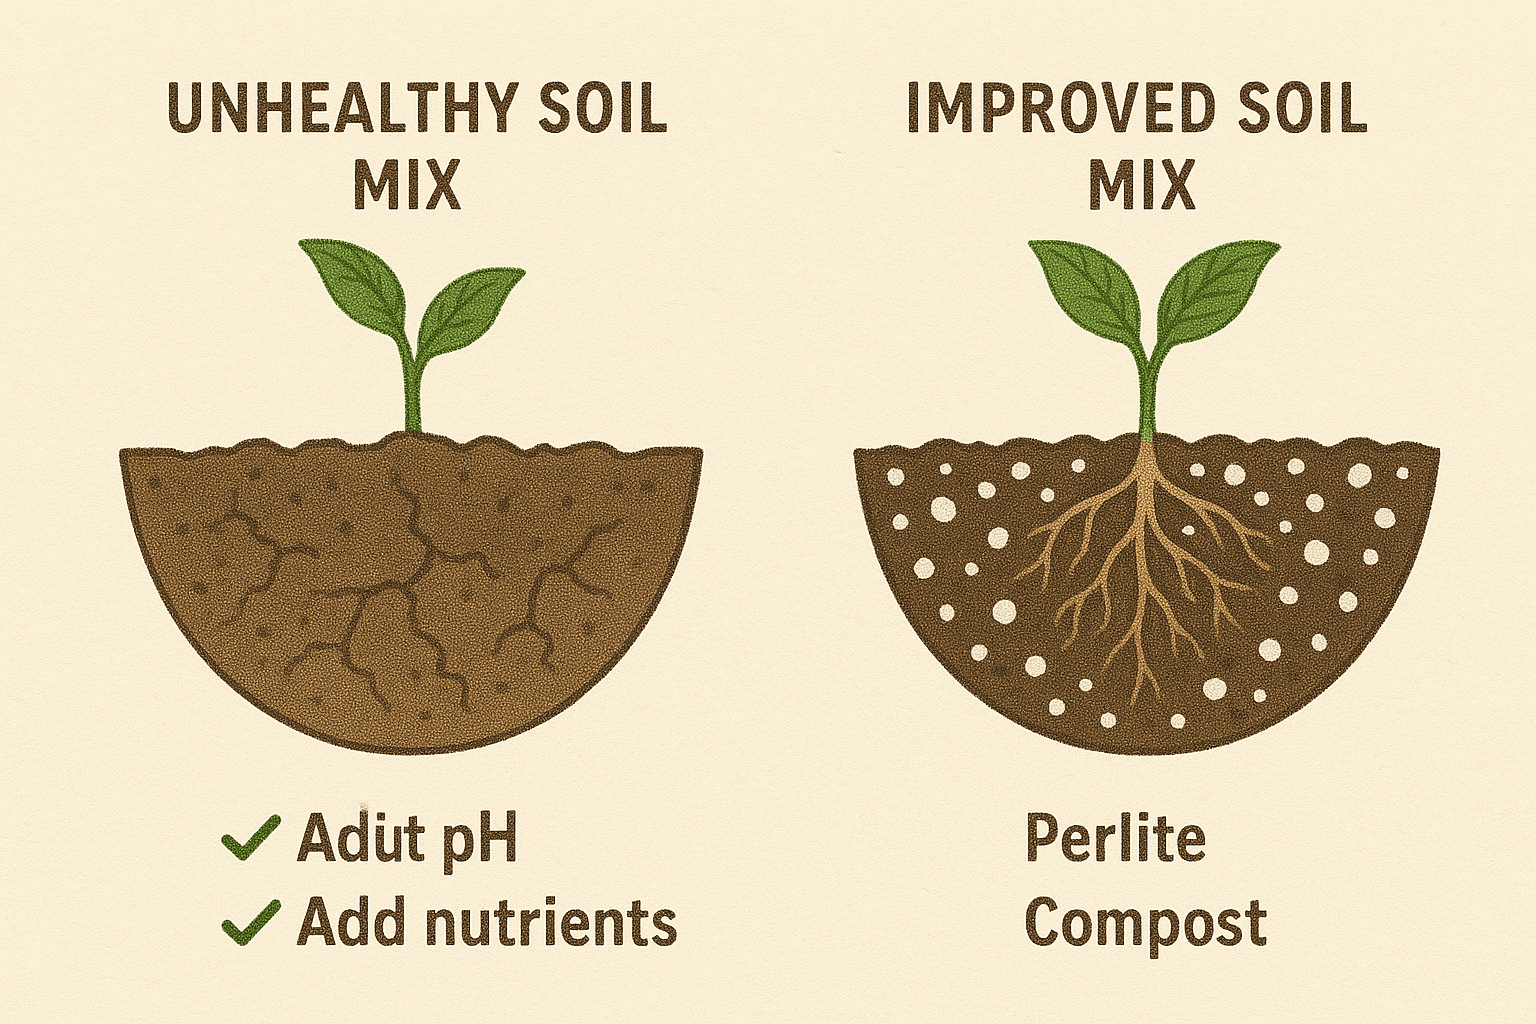
Improving Your Potting Mix Based on Soil Test Results
Once you have your soil test results, it’s time to take action and make adjustments to your potting mix 🪴. Whether it’s fixing nutrient imbalances, adjusting the pH, or improving moisture retention, the right changes will help your houseplants thrive 🌿. Here’s how to improve your potting mix based on your test results:
Amending Soil for Nutrient Deficiencies
If your test shows that your soil is lacking essential nutrients (like nitrogen, phosphorus, or potassium), it’s time to add amendments.
- Nitrogen Deficiency: Add a slow-release fertilizer with higher nitrogen content (look for products with a higher first number, like 10-5-5). You can also mix in organic compost 🧑🌾.
- Phosphorus Deficiency: Add bone meal or rock phosphate to boost phosphorus. This helps with root development and flower production 🌼.
- Potassium Deficiency: Use potassium-rich fertilizers or materials like kelp meal to support plant strength and disease resistance 🌱.
Adjusting pH Levels
If your soil pH is too high or too low for your plant’s needs, you’ll want to make adjustments.
- Too Acidic (pH below 6.0): If your soil is too acidic for your plant (such as for succulents or some herbs), add lime or dolomitic limestone to raise the pH. This will help neutralize the acidity 🌞.
- Too Alkaline (pH above 7.0): If the soil is too alkaline, use sulfur or aluminum sulfate to lower the pH. Acid-loving plants, like azaleas or blueberries, will benefit from this adjustment 🍃.
Improving Moisture Retention and Drainage
Your soil’s moisture balance is crucial. If the soil test shows your mix is too wet or too dry, make the following changes:
- Improve Drainage: If your soil doesn’t drain well (leading to root rot), mix in materials like perlite, sand, or bark chips. These additions will help water flow through the soil more easily, keeping the roots dry and healthy 🌧️.
- Increase Moisture Retention: If your soil dries out too quickly, mix in peat moss, coconut coir, or vermiculite. These materials retain moisture and release it gradually, providing your plants with a steady water supply 🌸.
Use Quality Potting Mix
In some cases, your potting mix might just need a complete overhaul. If the soil is too compacted, overly sandy, or lacking organic material, consider refreshing your mix with a high-quality, well-draining potting soil. Adding organic compost or a slow-release fertilizer will also improve its overall structure and nutrient content 🌻.
Recheck and Adjust Regularly
Soil health isn’t static! After making adjustments, it’s a good idea to test your soil again every 6-12 months. This will ensure your plants continue to get the nutrients they need, and you can spot any potential problems early 🕵️♀️.
By tweaking your potting mix based on soil test results, you’re setting your houseplants up for long-term success 🌟. Whether it’s adjusting pH, adding nutrients, or improving drainage, these small changes will make a big difference in the health and happiness of your plants! 🌱
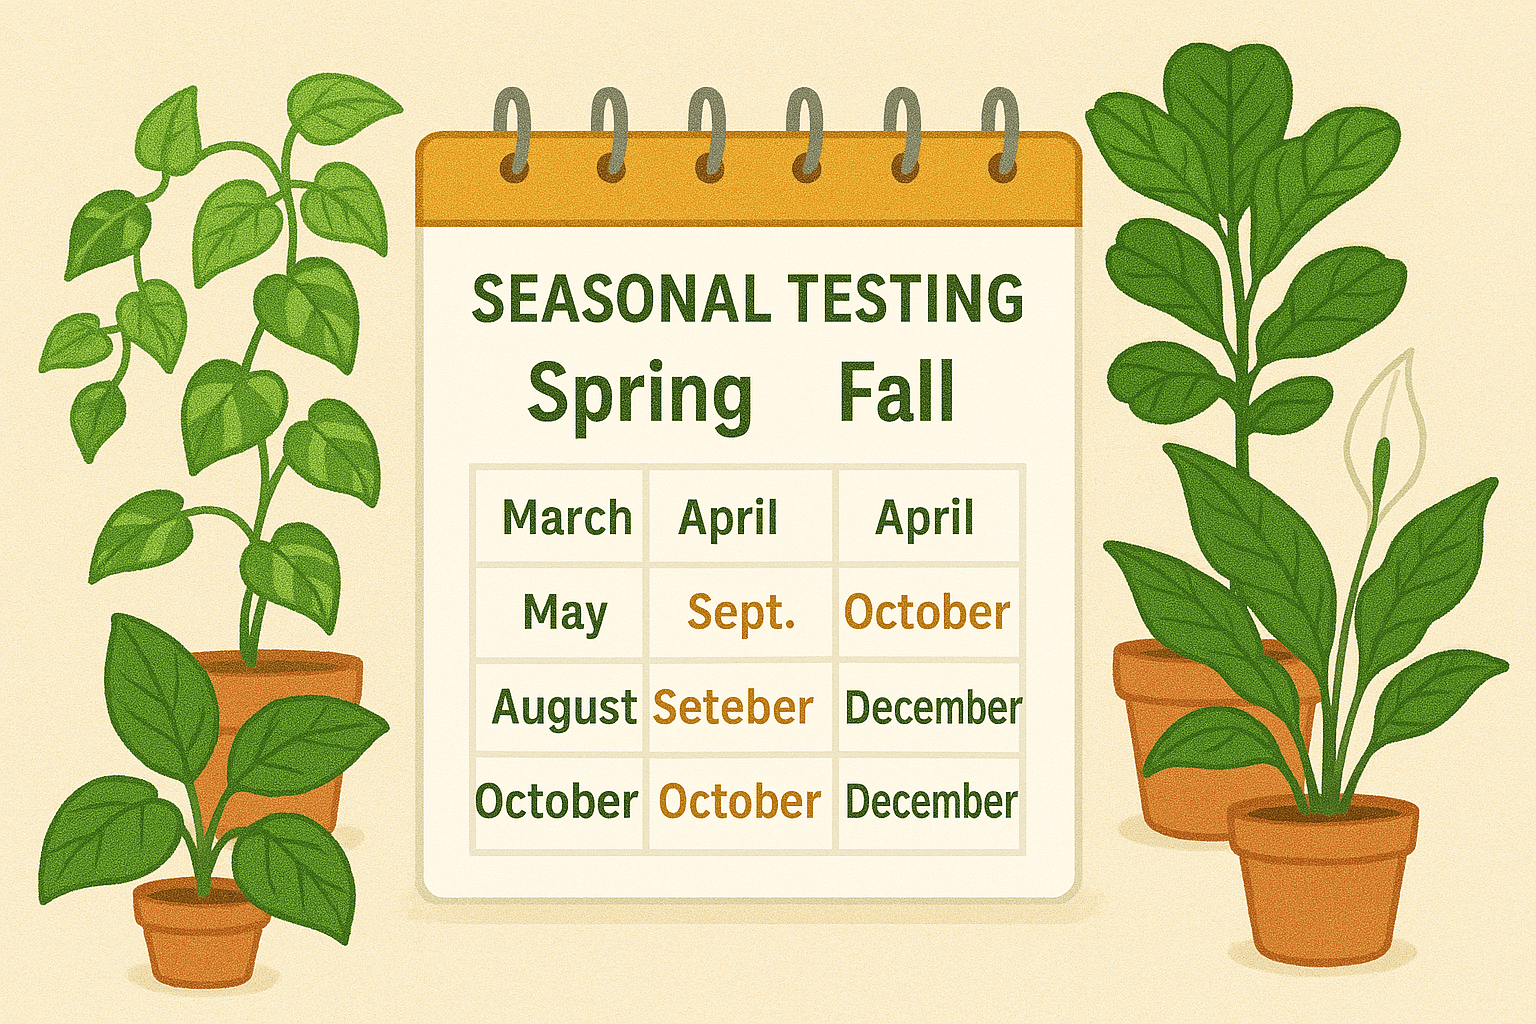
How Often Should You Test Your Soil?
Soil testing for houseplants isn’t something you need to do constantly, but regular checks are essential for keeping your plants healthy and thriving 🌱. Here’s a guide on how often to test your soil and when it’s time to recheck:
Frequency of Soil Testing
For most houseplants, it’s recommended to test your soil every 6 to 12 months. This timeframe gives you enough information to assess how well your plants are doing and whether they need any adjustments to their soil mix 🧑🌾.
- If You’re Using Fertilizers Regularly: If you add fertilizer or compost regularly, testing every 6 months can help you track changes in nutrient levels and ensure you’re not overfeeding or underfeeding 🌸.
- If Your Plants Are Growing Well: If your plants seem healthy, testing once a year should be sufficient to ensure their soil remains balanced and nutrient-rich 🌿.
Signs That You Need to Retest
Even if it’s not time for your regular soil check, there are signs that your plants might need a retest:
- Unusual Plant Behavior: Yellowing leaves, stunted growth, or wilting despite proper care may indicate an issue with the soil that you can detect through a test 🌾.
- After Fertilizing: If you’ve added a lot of fertilizer or compost recently, it might skew the balance in your soil. It’s a good idea to test after a few weeks to see if adjustments are necessary 🌟.
- After Repotting: If you’ve repotted your plants into new soil or pots, testing will ensure the new mix provides the proper pH and nutrients 💧.
Special Circumstances for Retesting
In certain cases, you might need to test more frequently:
- If You’re Growing Sensitive Plants: Plants like orchids, carnivorous plants, or acid-loving varieties (e.g., blueberries) require more precise soil conditions, so testing every 6 months might be best 🌼.
- After a Pest Infestation: If you’ve had a pest problem, particularly with soil-borne pests, retesting can help you check if the soil quality has been compromised 🐞.
Continuous Care
Soil testing doesn’t mean you’re done once you’ve made adjustments. Over time, plant care, watering habits, and the nutrients in the soil will change. Regular checks ensure your plants stay in optimal conditions 🌸. So, stay proactive, and your plants will thank you with vibrant growth and beauty 🌿.
In conclusion, testing every 6 to 12 months should be your baseline, but always listen to your plants. They’ll show you when it’s time to check again! 🌟
Final Thought
Soil testing for houseplants is a simple but powerful tool that can transform your gardening game. By regularly checking the health of your soil, you can make sure your plants are getting the right nutrients, proper pH, and the ideal moisture balance 🌱. Whether you’re using a DIY kit or sending your sample to a lab, the insights you gain will help you troubleshoot issues like nutrient deficiencies, poor growth, or unhealthy roots 🌿.
Remember, healthy soil leads to happy, thriving plants 🌸. So, don’t wait for problems to appear—be proactive and test your soil regularly. With the right care, your houseplants will flourish, bringing beauty and fresh energy to your home. Happy gardening! 🌻