
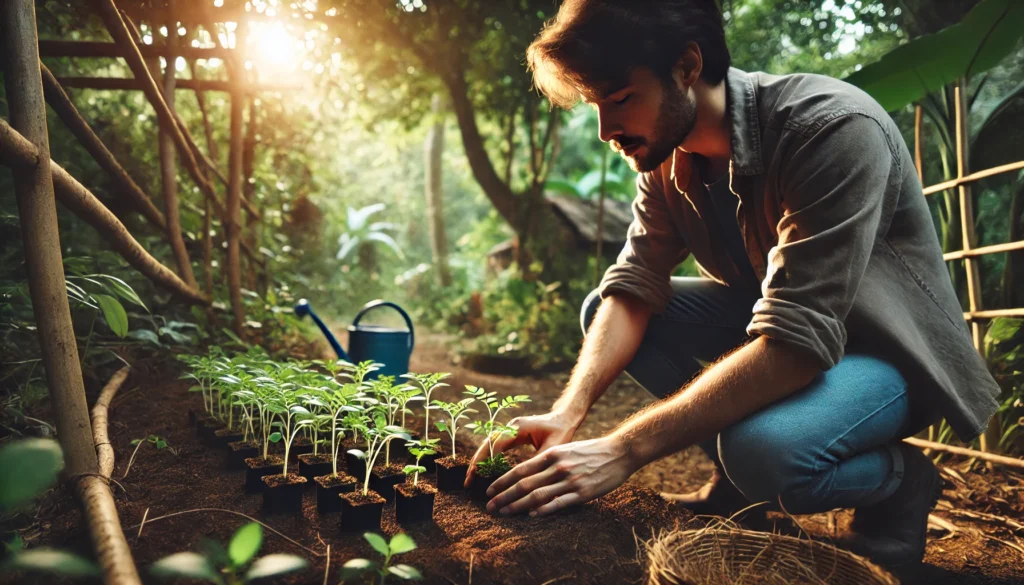
Bringing your carefully propagated seedlings from the safety of indoors to the unpredictability of the outside world can feel nerve-wracking—but it’s a crucial step for strong, healthy plants. Without proper acclimation, young seedlings can suffer shock, stunted growth, or even die. That’s why learning how to harden off propagated seedlings is essential for any gardener hoping for a successful transplant. In this step-by-step guide, you’ll discover exactly how to transition your tender plants to outdoor life with confidence and care.
What Does “Hardening Off” Mean? 
“Hardening off” is the process of gradually introducing indoor-grown plants to outdoor conditions. This essential step helps prevent transplant shock, sunburn, and stress caused by sudden exposure to wind, sunlight, and temperature swings 

 .
.
When seedlings or young plants are started indoors, they live in a stable, cozy environment—no wind, no harsh sun, and consistent warmth. But the outdoors is different. If you move them outside too quickly, their tender leaves and stems can get damaged, or worse, the plant may die. That’s where hardening off comes in.

Think of it as “training” your plants for the outside world  . You slowly increase their time outside each day over 7–10 days, letting them adjust to the elements little by little. This builds their strength, thickens stems, toughens leaves, and prepares roots to thrive in garden soil.
Why it matters:
 Reduces transplant shock
 Prepares plants for wind and weather
- Prevents leaf scorch from sudden sunlight
- Encourages stronger, more resilient growth
In short, hardening off is a simple yet powerful step that sets your garden up for success. It ensures your plants are ready, tough, and healthy before making the big move outside. 

Would you like a printable hardening-off schedule or checklist?
When to Start Hardening Off
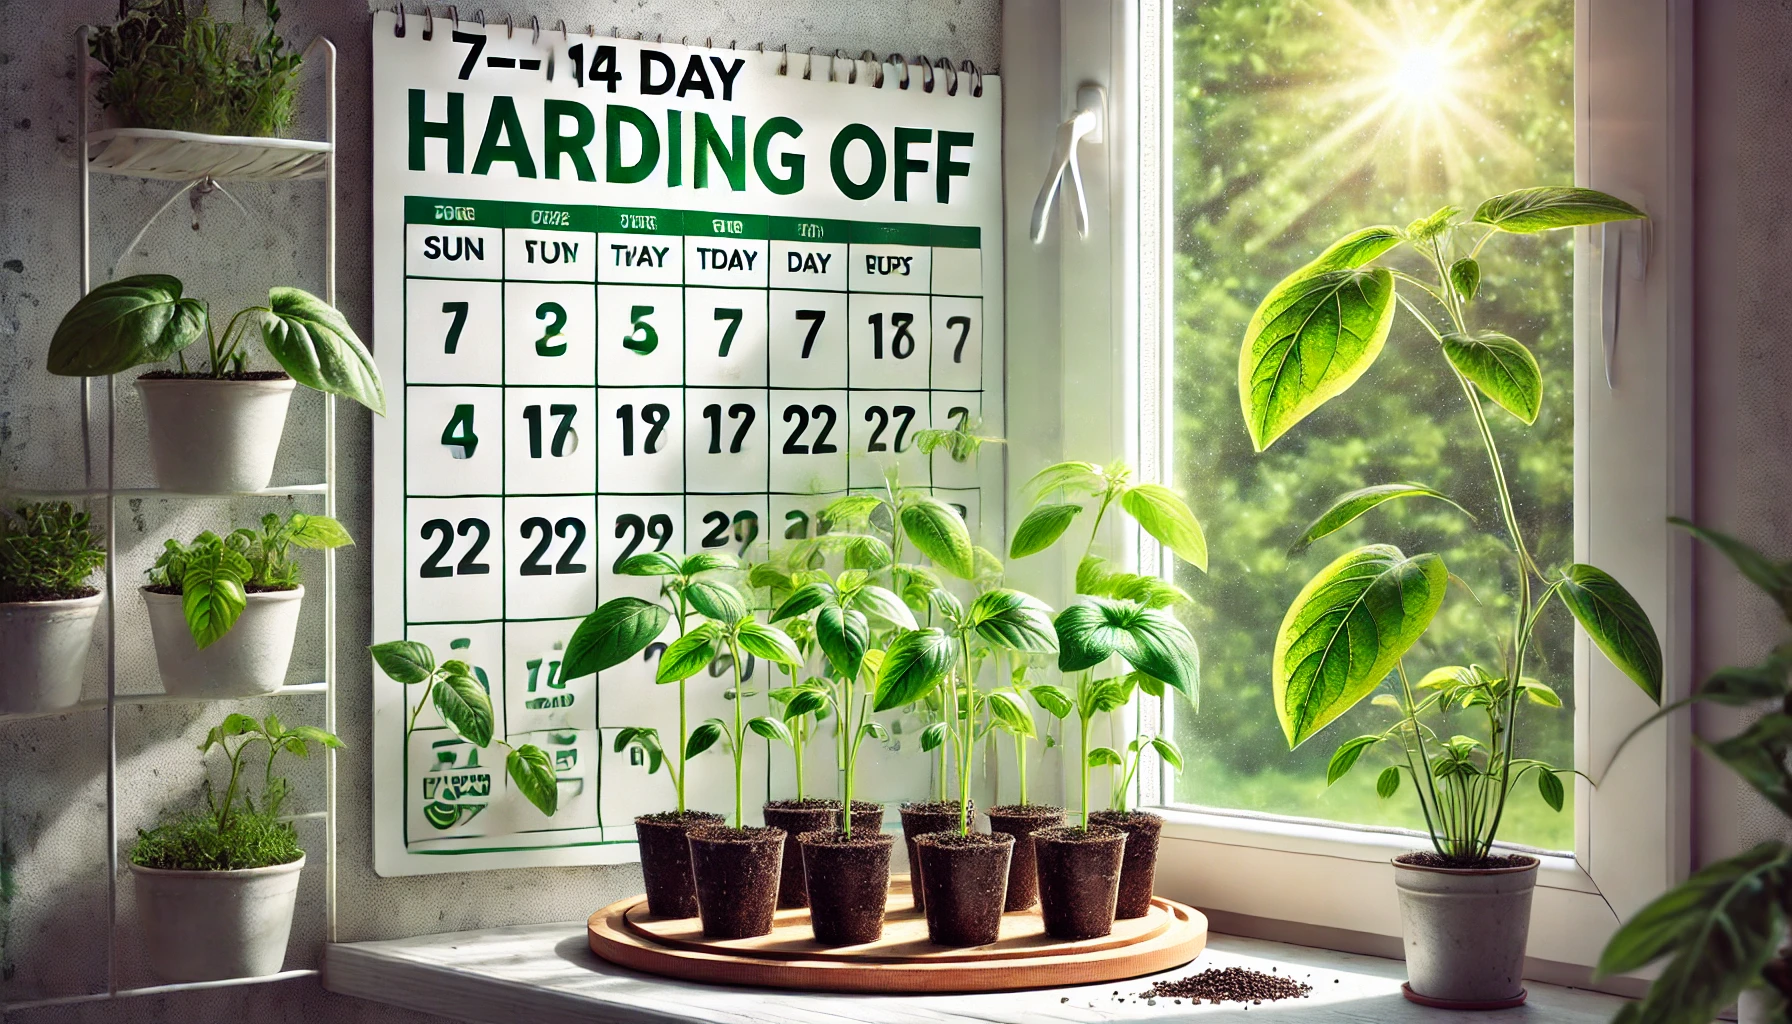
Timing is everything when it comes to hardening off your plants!  You should begin the hardening-off process about 7–14 days before transplanting them into your garden.
Here’s how to know it’s the right time:
 1. After Frost Risk Is Gone
Wait until the last expected frost date has passed. Tender seedlings can’t handle sudden cold!
2. Daytime Temps Above 50°F (10°C)
Make sure outdoor temperatures are consistently mild during the day. Warm, stable weather helps plants adjust safely.
 3. Seedlings Are Healthy and Established
Only start hardening off when your plants have strong stems, at least 2–3 sets of true leaves, and look vibrant.
 4. Choose a Calm, Cloudy Day
Begin on an overcast day or late afternoon to reduce sun stress. Bright sun can shock indoor-grown seedlings.
 Pro Tip:
Start slowly—just 1–2 hours outdoors the first day—and gradually increase time and exposure to sunlight and wind each day.
Being patient with hardening off ensures your plants won’t wilt or struggle when they hit the garden soil.
Would you like a printable schedule or checklist for the hardening-off process?
What You’ll Need Before You Begin
Before you jump into the project, it’s essential to gather a few tools and supplies. Having everything ready will save time and help you avoid mid-task frustration. Here’s what you’ll need:
- Healthy Plant or Seeds
Choose strong, disease-free plants or fresh seeds suitable for your climate and location. - Gardening Gloves
Protect your hands from dirt, thorns, or pests while working in the soil.
 3. Tools
Basic garden tools like a trowel, pruning shears, or a hand rake are must-haves.
- Quality Soil or Potting Mix
Ensure you have well-draining, nutrient-rich soil. A mix that suits your specific plant needs is key.
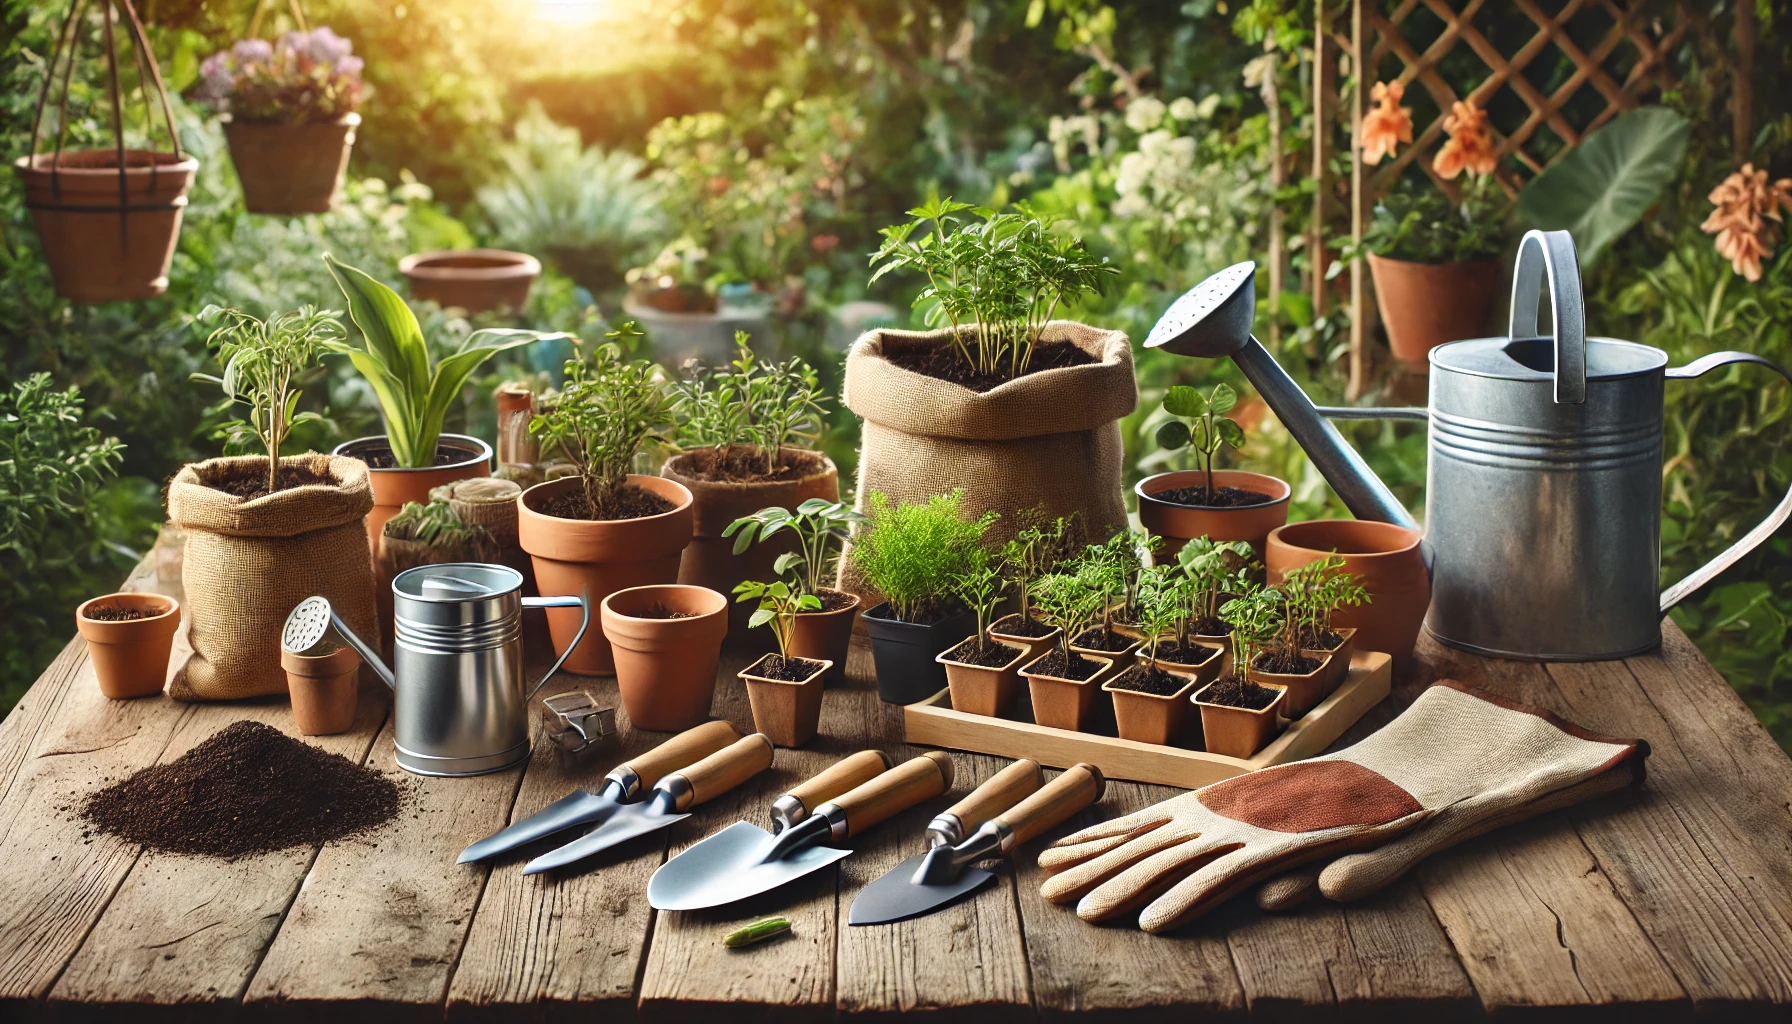
 5. Watering Can or Hose
Make sure you have a gentle watering method to avoid damaging tender roots or seedlings.
6. Sunlight Access
Ensure your planting area gets the right amount of sunlight—full sun, partial shade, or full shade—depending on the plant.
7. Fertilizer (Optional but Helpful)
A balanced, slow-release fertilizer can boost growth and health, especially in poor soils.
 8. Plan or Layout
Sketch out your planting layout, spacing, and position—especially if you’re working in a garden bed or using a planting tower.
With these essentials on hand, you’re ready to start strong and set your plants up for success!
Would you like a printable checklist version of this section?
Step-by-Step Hardening Off Schedule (7–10 Days)
Hardening off seedlings is the key step before transplanting them outdoors. Without it, tender plants can suffer sunburn, wind damage, or transplant shock. Follow this easy 7–10 day hardening off schedule for strong, garden-ready plants .
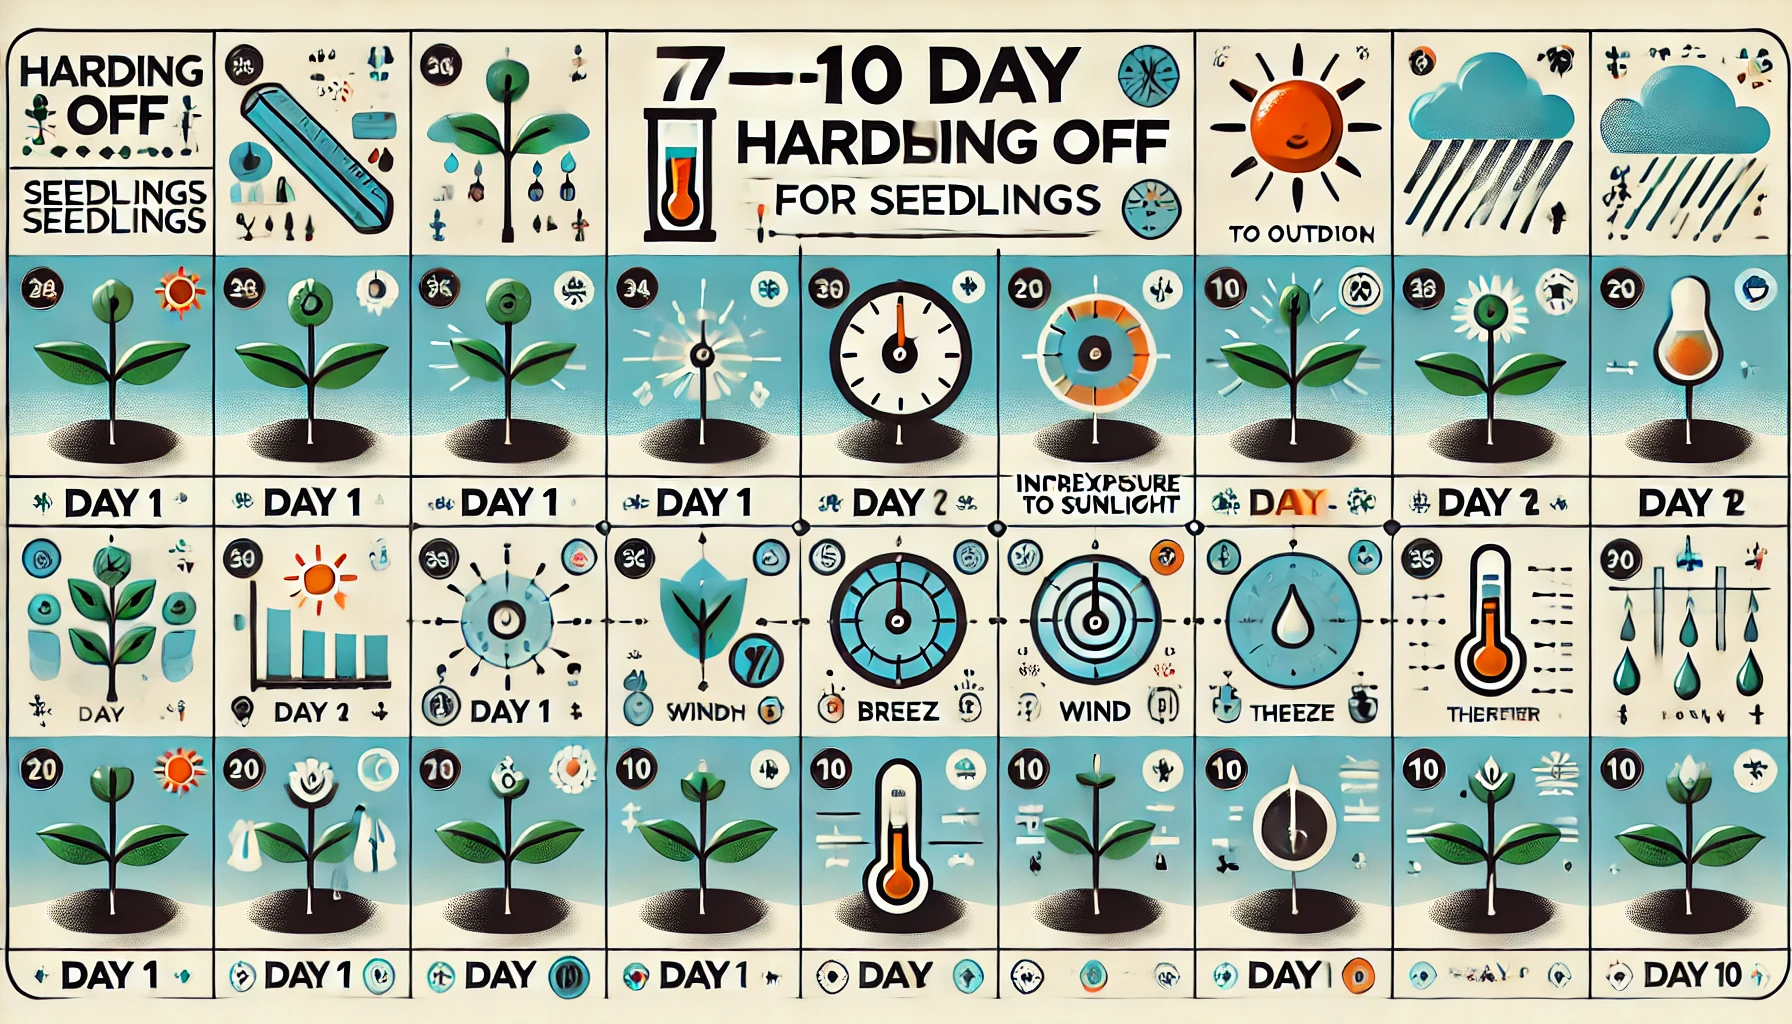
 Day 1–2: Short Outdoor Visits
- Place seedlings outside in a sheltered, shady spot for 1–2 hours.
- Avoid wind and full sun.
- Bring them back indoors after time is up.
 Tip: Choose a mild day with no harsh weather.
 Day 3–4: Increase Time & Light
- Extend outdoor time to 3–4 hours.
- Gradually expose plants to dappled sunlight.
- Avoid strong winds and intense afternoon sun.
Tip: Keep them off the ground to prevent pests.
 Day 5–6: Introduce Full Sun
- Place seedlings in direct sunlight for 4–5 hours.
- Water if soil starts drying out.
- Continue bringing them indoors at night.
Tip: Monitor leaves for signs of sun stress (wilting or bleaching).
Day 7–8: Longer Sun & Wind Exposure
- Leave plants outside for 6–8 hours.
- Include a little breeze exposure to strengthen stems.
- Shade them if temps spike suddenly.
Tip: Water early in the day to avoid evaporation.
 Day 9–10: Overnight Trial
- Leave plants outside overnight (if temps stay above 50°F/10°C).
- They should now tolerate full sun, light wind, and outdoor temps.
Tip: Use a light cloth cover if a chilly night is forecasted.
 Now your plants are hardened off and ready to thrive in the garden!
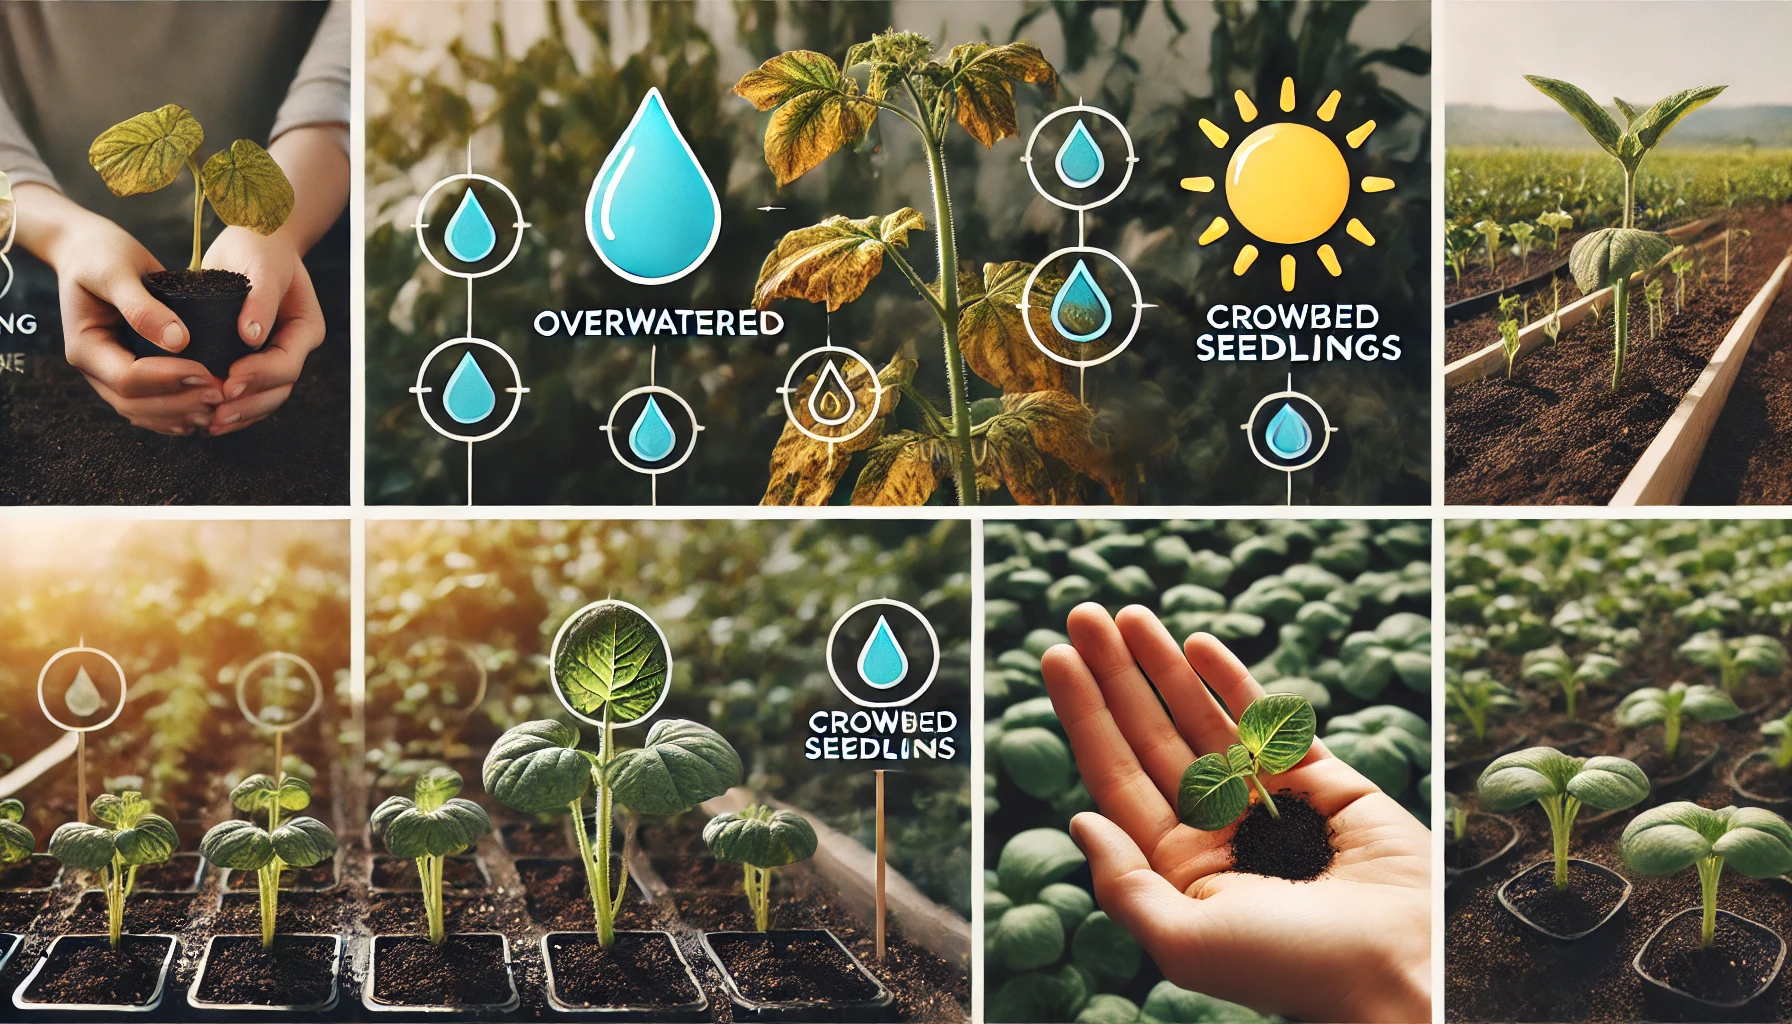
Common Mistakes to Avoid 
Even with the best intentions, small errors can hinder your plant’s growth. Here are key mistakes to avoid:
 Overwatering
Many plants suffer from “too much love.” Excess water leads to root rot. Always check the soil moisture before watering.
Ignoring Light Requirements
Placing a sun-loving plant in shade (or vice versa) causes stress and poor growth. Know your plant’s sunlight needs and position it accordingly.
Wrong Soil Type
Using the wrong soil can block nutrients and stunt growth. Use well-draining, nutrient-rich soil suited for your specific plant.
 Skipping Pruning
Letting dead or diseased parts stay on the plant can attract pests and disease. Regular pruning helps keep your plant healthy and tidy.
Not Monitoring Temperature
Sudden temperature changes or drafts can shock your plant. Keep it in a stable environment within its ideal temperature range.
Crowded Planting
Planting too closely limits airflow and invites fungus. Give your plants enough space to breathe and grow.
Using Cold Water
Cold water can shock roots. Always use room-temperature water to avoid stress.
 Ignoring Pest Signs
Early signs of infestation (like spots or holes) should never be ignored. Treat pests promptly with safe solutions.
Overfertilizing
More fertilizer doesn’t mean faster growth. It can burn the roots. Follow the recommended feeding schedule carefully.
 Inconsistent Care
Skipping watering or forgetting regular checks can lead to weak plants. Create a simple care routine and stick to it.
 Avoiding these common mistakes will make your plant care smoother and more successful!
Would you like a graphic checklist version of this section? 
How to Know Your Seedlings Are Ready for Planting
Knowing the perfect time to transplant your seedlings is key to a healthy, thriving garden . Here’s how to tell when your seedlings are strong enough to make the move outdoors:
1. True Leaves Are Visible
Seedlings first sprout “cotyledons” (baby leaves). Wait until they grow 2–3 sets of “true leaves” — the second type of leaves that look like the mature plant . These show your seedling is developing well.
2. Strong, Thick Stems
Wobbly, thin stems can’t handle outdoor conditions. Look for sturdy stems that hold the plant upright without support . A strong stem is a great sign your seedling is ready.
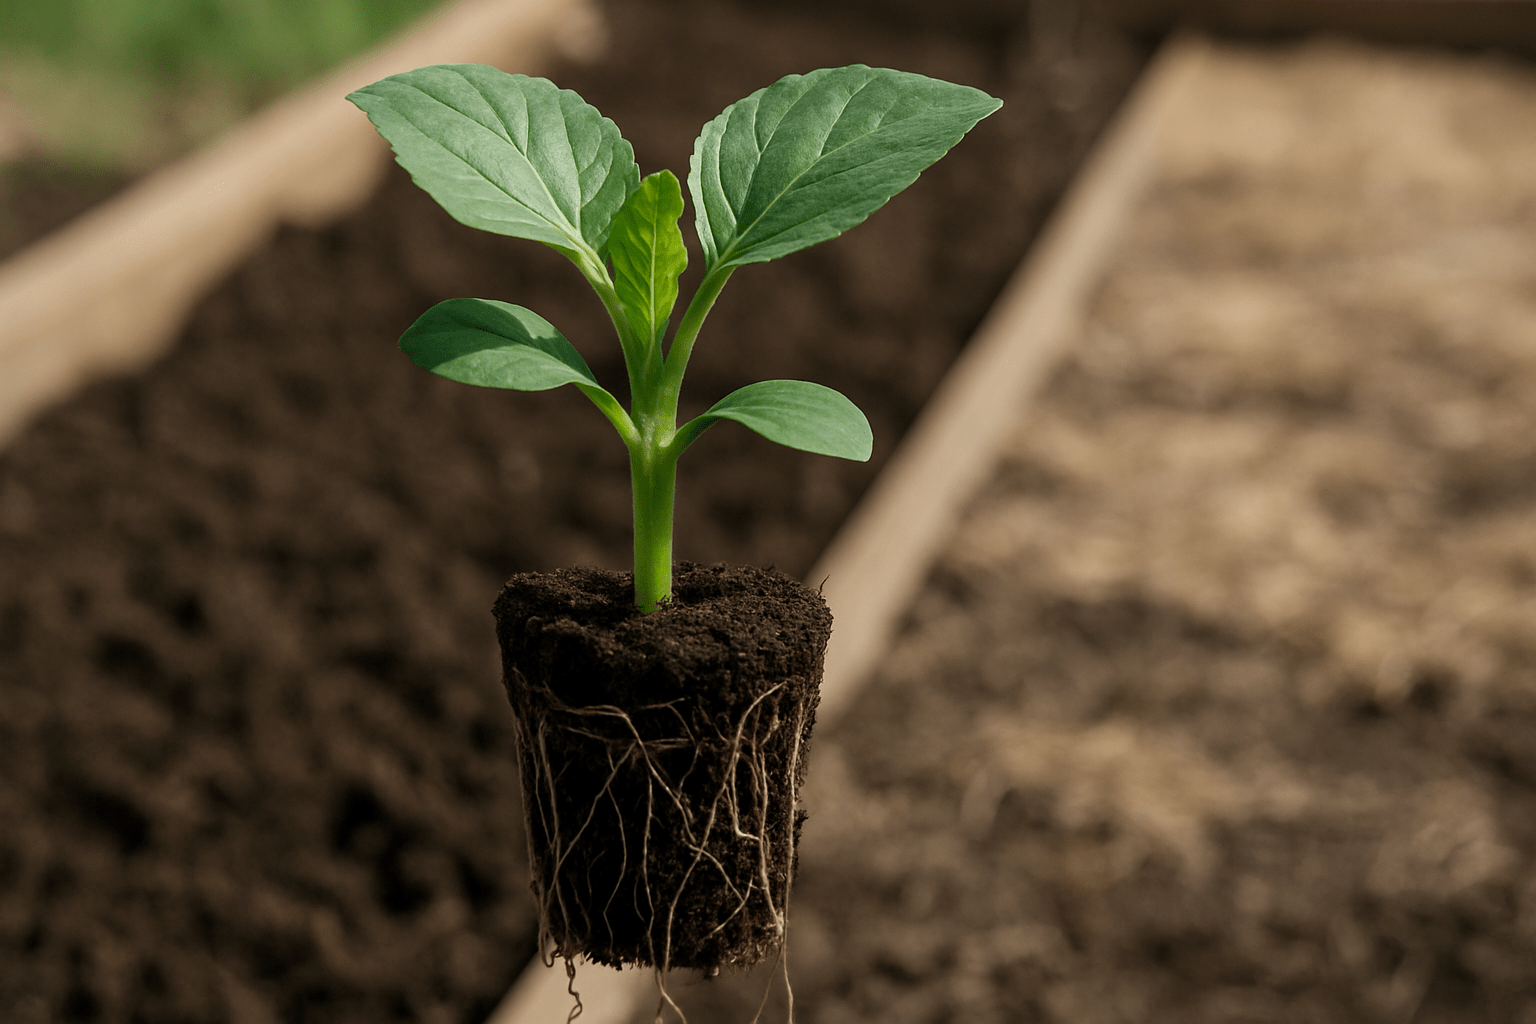
3. Root System Is Developed
Gently lift a seedling from its tray. If the roots are white, well-branched, and hold the soil together, it’s ready for planting  . Avoid overly root-bound seedlings.
4. Hardened Off
Seedlings need to adjust to the outdoor world. Gradually expose them to sunlight, wind, and outdoor temps over 7–10 days  . This “hardening off” period helps them survive the shock of transplanting.
5. Right Outdoor Conditions
Wait for the danger of frost to pass . Make sure soil is warm, nighttime temps stay above 50°F (10°C), and there’s no heavy rain in the forecast.
6. Compact and Healthy Growth
Healthy seedlings are not too tall or leggy. They should look compact, with bright green leaves and no signs of disease or yellowing  .
.
Pro Tip: Keep notes on when each type of seedling was started and matured. This helps you get the timing right for future plantings!
Pro Tips for a Smooth Transition 
Making the move seamless requires a bit of strategy. Here are expert tips to help your transition succeed with minimal stress:
Start During the Right Season
Early spring or fall is ideal. Mild weather reduces transplant shock and supports healthy root growth.
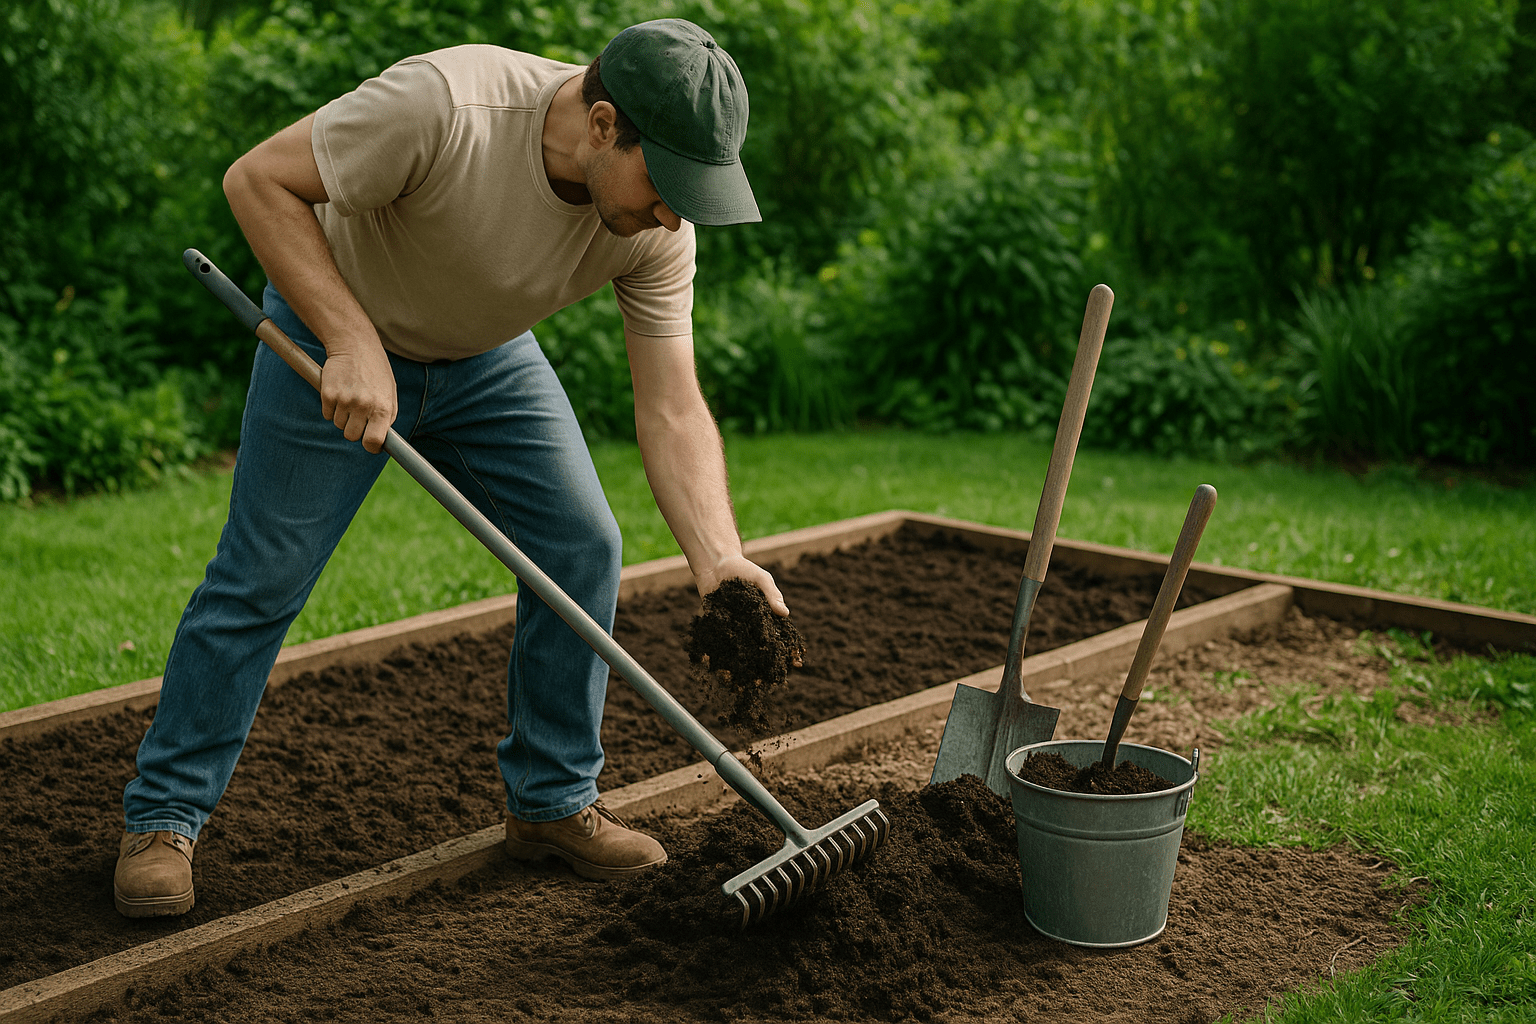
 Prepare the New Spot in Advance
Loosen the soil, enrich with compost, and ensure proper drainage. This gives roots a welcoming home.
Hydrate Before & After
Water deeply a day before moving and again after planting. Moist soil supports easier root adjustment.
Prune Smartly
Trim dead or overly long branches. This reduces stress and lets the plant focus on root recovery.
Protect from Harsh Conditions
Use shade cloth or mulch to shield against sunburn, wind, or sudden temperature swings.
Add Root Stimulator
A dose of root hormone or seaweed extract encourages faster root development.
Don’t Overfeed
Hold off on heavy fertilizing until the plant is established—usually 3–4 weeks post-transplant.
 Monitor Daily
Keep an eye on leaves and moisture. Catching stress signs early helps avoid setbacks.
 Consider Temporary Pots
If unsure about the final location, use a container temporarily to reduce repeated shock.
Be Patient
Even healthy plants take time to settle. Allow 2–4 weeks before expecting visible growth.
These practical steps help ensure your plant thrives in its new home 
Connecting with Your Plants During the Process
Building a bond with your plants isn’t just rewarding—it boosts their growth and your gardening success! Here’s how you can connect deeply with your green companions during the growing journey:
 Observe Daily
Check your plants each day. Look for changes in color, new leaves, droopy stems, or pests. Observing helps you catch issues early and learn what your plant loves. It’s like learning their “body language.” 

 Talk or Play Music
It may sound silly, but speaking to your plants or playing calm music creates a nurturing environment. Studies show that vibration (even from sound) can stimulate growth! 
 Touch with Care
Gently touching or brushing leaves can help plants grow stronger and simulate natural wind. Be gentle, especially with young or delicate varieties.
 Keep a Plant Journal
Record growth, watering, fertilizing, and changes. This not only improves care but builds a deeper understanding and connection. 

Water Mindfully
Watering isn’t just a chore—it’s a ritual. Feel the soil. Check moisture with your finger. Plants appreciate consistent, attentive care. 
Practice Mindful Gardening
Use gardening time to slow down and be present. Breathe deeply. Feel the soil, smell the leaves. Gardening can be a form of peaceful meditation. 

 Celebrate Milestones
New leaf? First bloom? Celebrate it! Acknowledge the little victories of your plant’s journey. It creates joy and deepens your care routine.
By tuning into your plants’ needs with love and attention, you become more than a gardener—you become a plant partner.
Would you like a printable plant care tracker to go along with this section?
Final Thought
Successfully hardening off your propagated seedlings is the key to giving them the best start in their new outdoor home. By following the gradual acclimation process outlined in this guide, you’ll help your young plants avoid shock and thrive in their new environment. Remember, patience is essential—taking the time to carefully harden off your seedlings will pay off with healthier, stronger plants that are ready to grow and flourish.
By connecting with your plants throughout this process, you’ll not only be helping them thrive but also building a stronger bond with your garden. Whether you’re new to gardening or have years of experience, hardening off is a rewarding step that will set you up for gardening success. Happy planting!