
Are you ready to take your plant propagation to the next level? A DIY greenhouse for propagation is the perfect solution for creating an ideal environment to nurture your plant babies from cuttings to full-grown beauties. Whether you’re a beginner or an experienced gardener, having a greenhouse dedicated to propagation can significantly boost your success rate and give your plants the perfect start in life. In this step-by-step guide, we’ll show you how to build your own greenhouse, set it up for optimal plant growth, and ensure your propagation efforts are thriving. Let’s dive into the world of greenhouses and watch your garden flourish! 

Why a Greenhouse for Propagation?
When it comes to plant propagation, using a greenhouse is an excellent way to boost your gardening success . Here’s why:
- Controlled Environment: A greenhouse provides a stable environment, shielding your plants from unpredictable weather
 . With consistent temperature and humidity levels, seeds and cuttings are more likely to thrive.
 - Extended Growing Season: Greenhouses allow you to start plants early or grow them later in the season, even during cold months
 . This gives you a head start in the spring and extra time in the fall.
 - Better Germination Rates: The warm, humid atmosphere of a greenhouse mimics ideal conditions for seed germination
 . This leads to faster sprouting and stronger young plants.
 - Protection from Pests and Diseases: Greenhouses act as a barrier against common pests and diseases . By controlling airflow and monitoring the conditions, you reduce the risk of unwanted invaders.
- Efficient Space Use: If you’re working with limited space, a greenhouse maximizes your growing area
 . You can stack trays, create shelves, and optimize every inch for plant propagation.
Overall, a greenhouse offers the perfect environment to propagate plants successfully, ensuring healthier, stronger growth for your garden  .
.
Planning Your DIY Greenhouse 
Planning is key when building your own greenhouse. Here’s a step-by-step approach to ensure your project is a success!
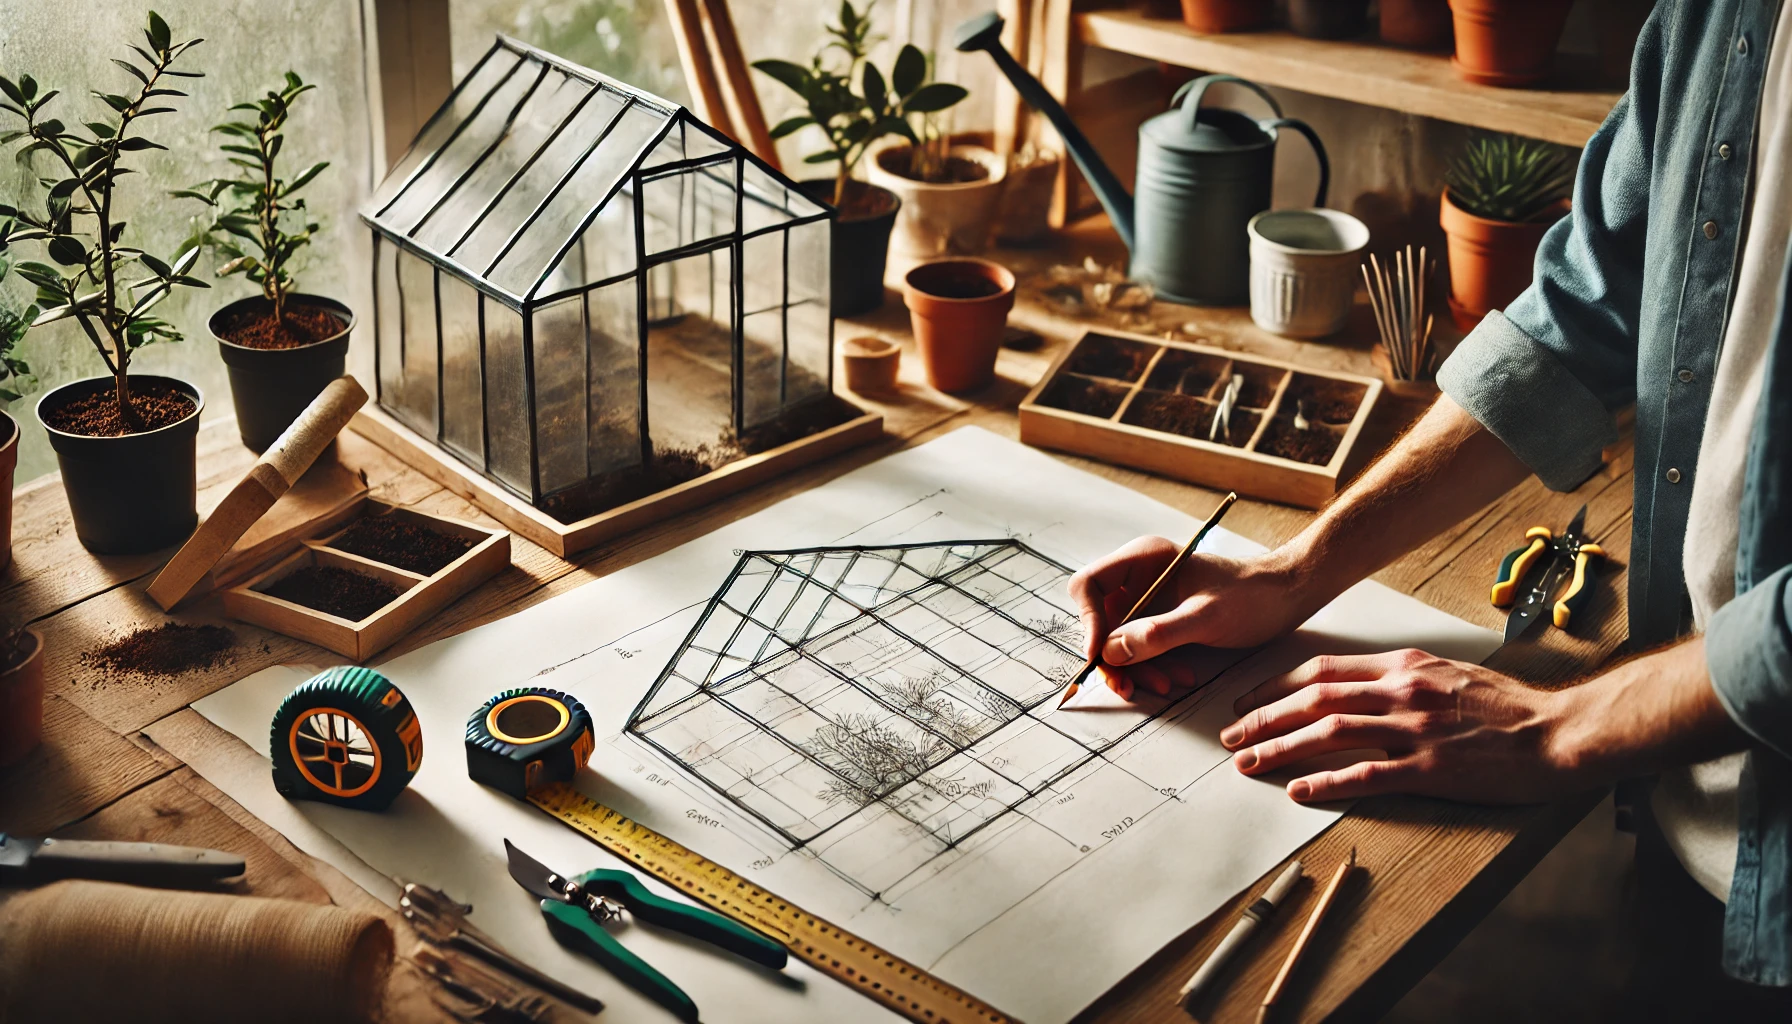
- Choose the Right Location

- Select a sunny spot with at least 6-8 hours of sunlight per day.
- Avoid areas with heavy winds or extreme weather conditions.
- Ensure good drainage to prevent water buildup.
- Select a sunny spot with at least 6-8 hours of sunlight per day.
- Decide on the Size

- How much space do you need? Consider the plants you want to grow and the available space.
- Start small if you’re new, and expand as you gain experience.
- Leave room for walkways to move around comfortably.
- How much space do you need? Consider the plants you want to grow and the available space.
- Select Materials Wisely

- For the frame, consider wood, PVC, or metal. Each has pros and cons depending on your budget and climate.
- For the covering, choose between plastic sheeting, polycarbonate, or glass, keeping durability and insulation in mind.
- For the frame, consider wood, PVC, or metal. Each has pros and cons depending on your budget and climate.
- Ventilation Is Key

- Plan for windows or vents to ensure proper air circulation, especially during hot months.
- You can also add exhaust fans for more control in larger greenhouses.
- Plan for windows or vents to ensure proper air circulation, especially during hot months.
- Plan for Watering

- Install an automatic watering system or set up a drip irrigation system to save time.
- Make sure your greenhouse has an easy-to-access water source.
- Install an automatic watering system or set up a drip irrigation system to save time.
- Think About Accessibility

- Ensure you can easily get in and out, as well as reach plants at all corners.
- Consider door placement and walkways for optimal convenience.
- Ensure you can easily get in and out, as well as reach plants at all corners.
By considering these factors, you’ll be well on your way to creating a functional and efficient greenhouse!
Materials You’ll Need 
Before diving into the planting or care process, gathering the right materials ensures everything runs smoothly. Here’s a quick checklist to get you started:
Well-draining Soil
Choose soil that drains well to prevent waterlogging. A mix of potting soil and sand or perlite will do wonders.
Planting Container or Ground Space
If planting in a pot, ensure it has drainage holes. For garden planting, prepare a spot with plenty of sunlight. 
Watering Can or Hose 
A gentle watering can with a narrow spout helps control the water flow. If using a hose, make sure the water pressure is moderate to avoid damaging delicate plants.
Gardening Gloves 
Protect your hands from thorns and dirt. Gloves also help keep your nails clean while digging and handling plants.

Fertilizer or Plant Food
Choose a balanced, slow-release fertilizer to support growth, especially for flowering plants. This will give your plants the nutrients they need.
Shovel or Trowel 
A small hand trowel works great for smaller plants, while a shovel is perfect for digging holes or moving soil in larger garden spaces. 
Mulch 
Mulch helps retain moisture and keeps the soil temperature stable. It also reduces weeds, making maintenance easier! 
Pruning Shears 
For trimming dead or overgrown branches, keep a pair of sharp pruning shears handy. Regular trimming promotes healthy growth. 
With these tools, you’re all set to successfully plant and maintain your garden or potted plants. Happy gardening!
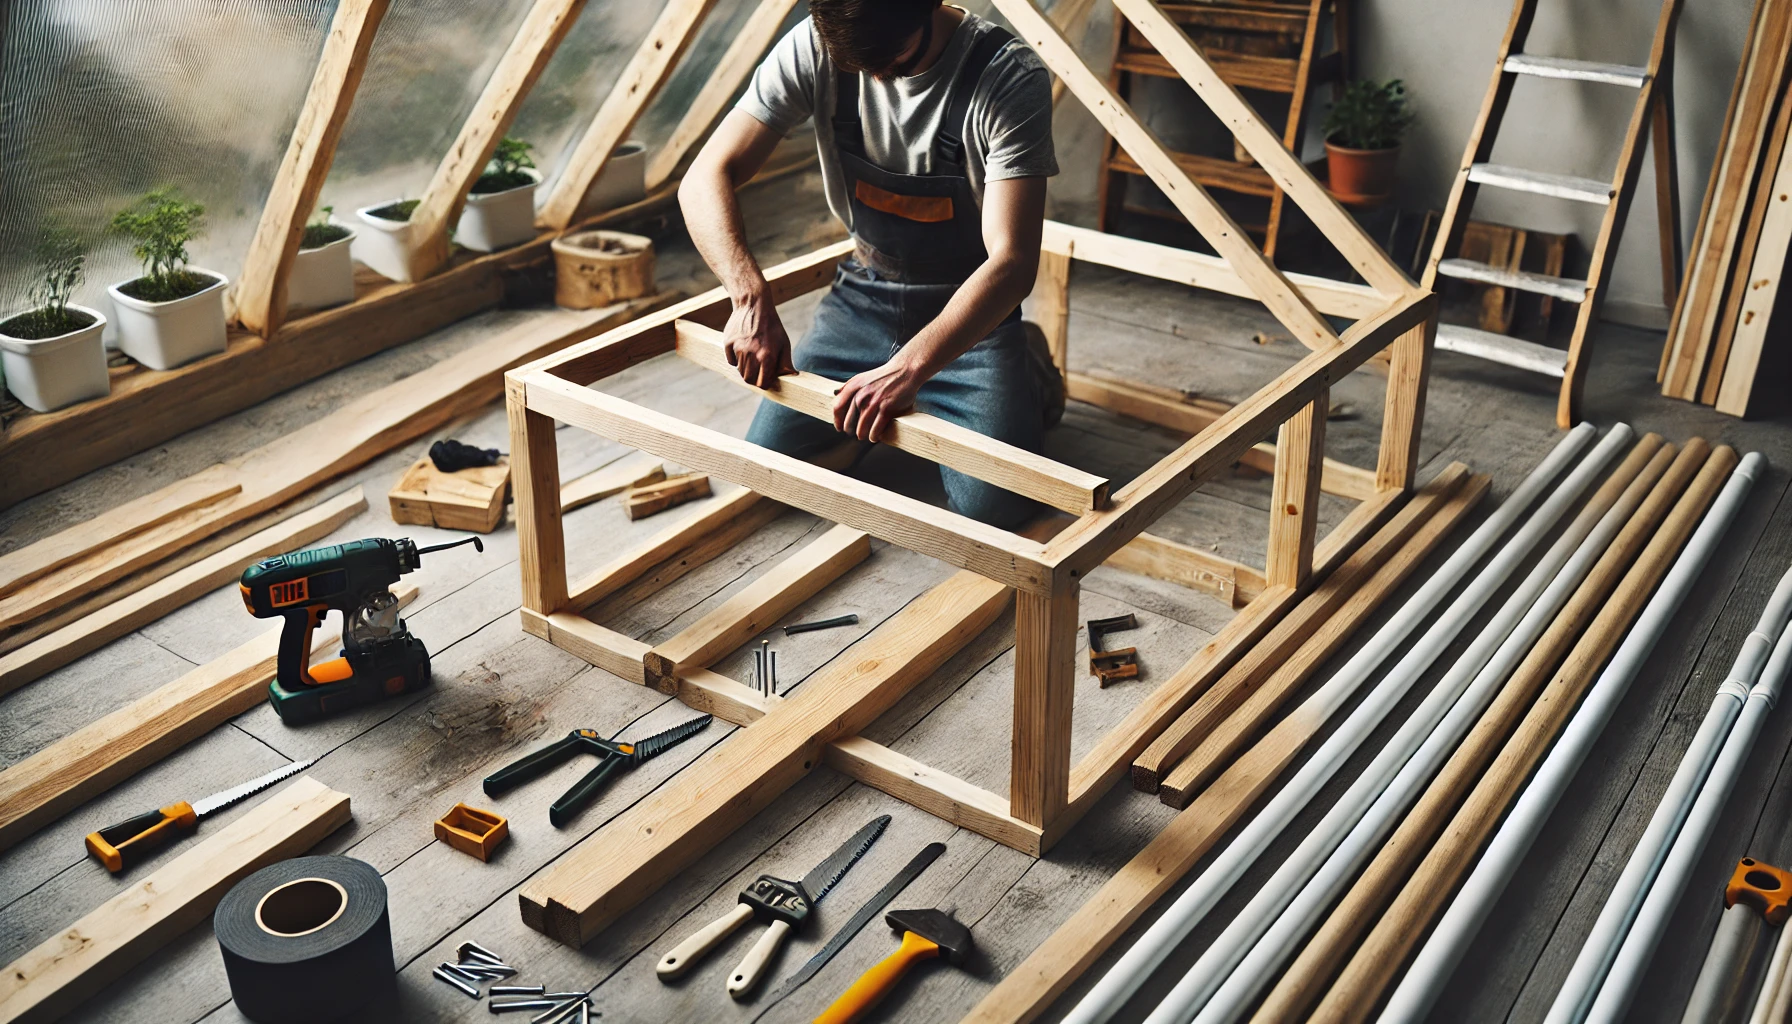
Step-by-Step Guide to Building Your DIY Greenhouse 
Building your own greenhouse is a fun and rewarding project that can elevate your gardening game. Here’s how to do it step-by-step:
1. Choose the Right Location
- Pick a sunny spot with good drainage.
- Avoid areas with heavy winds or shade from tall structures.
2. Gather Your Materials
- Frame: Wood, PVC pipes, or metal are popular choices.
- Covering: Polycarbonate panels, clear plastic, or shade netting.
- Tools: Hammer, nails, screws, saw (for wood), and measuring tape.
3. Build the Frame 
- Start with the base: Lay down treated lumber or sturdy pipes to form the foundation.
- Construct the walls and roof supports, ensuring they are level and square.
4. Install the Roof
- Attach the roof framing to the walls and secure your chosen covering material.
- Make sure the roof slopes slightly for proper rain runoff.
5. Cover the Greenhouse
- Stretch the plastic or panels over the frame and secure with clips or nails.
- Leave space for ventilation if needed.
6. Add Doors and Windows 
- Install a door that swings easily for access.
- Add vents for airflow and temperature control.
7. Ensure Stability 
- Anchor the greenhouse firmly to the ground with stakes or anchors to prevent it from blowing away.
8. Set Up Shelving & Garden Beds
- Arrange shelves, pots, or garden beds for your plants. Use vertical space for hanging planters.
9. Watering and Ventilation
- Set up an irrigation system or ensure access to a hose.
- Use fans or open windows for air circulation.
With these steps, your DIY greenhouse will be ready to grow! Keep things simple, and don’t forget to maintain it regularly.
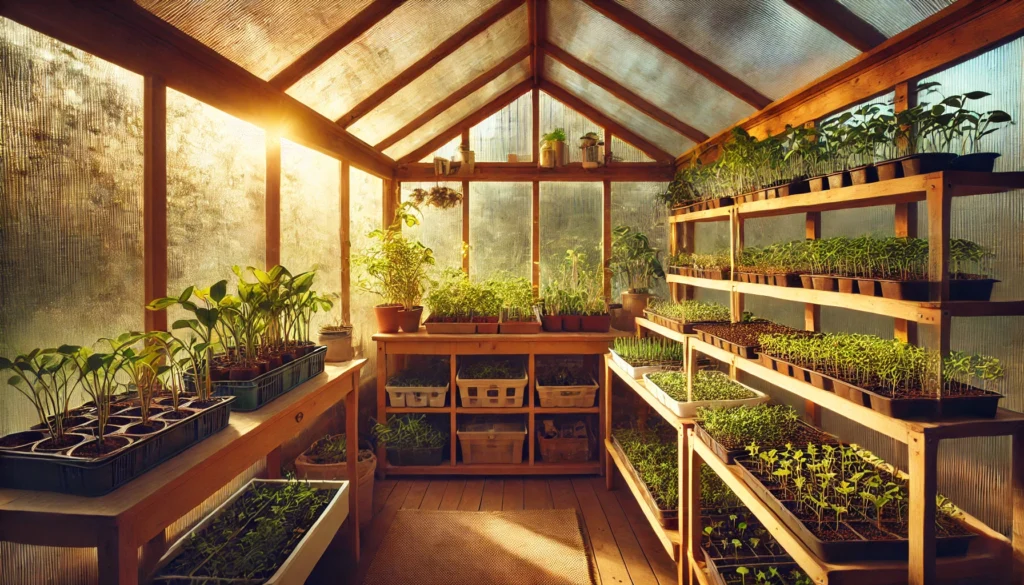
Preparing Your Greenhouse for Propagation
Getting your greenhouse ready for propagation is crucial for successful plant growth. Here are the steps to make sure your space is perfect for nurturing young plants:
Clean Your Greenhouse 
Start by thoroughly cleaning all surfaces, including shelves, pots, and trays. This will help prevent disease and pests. A simple solution of water and mild soap can do wonders.
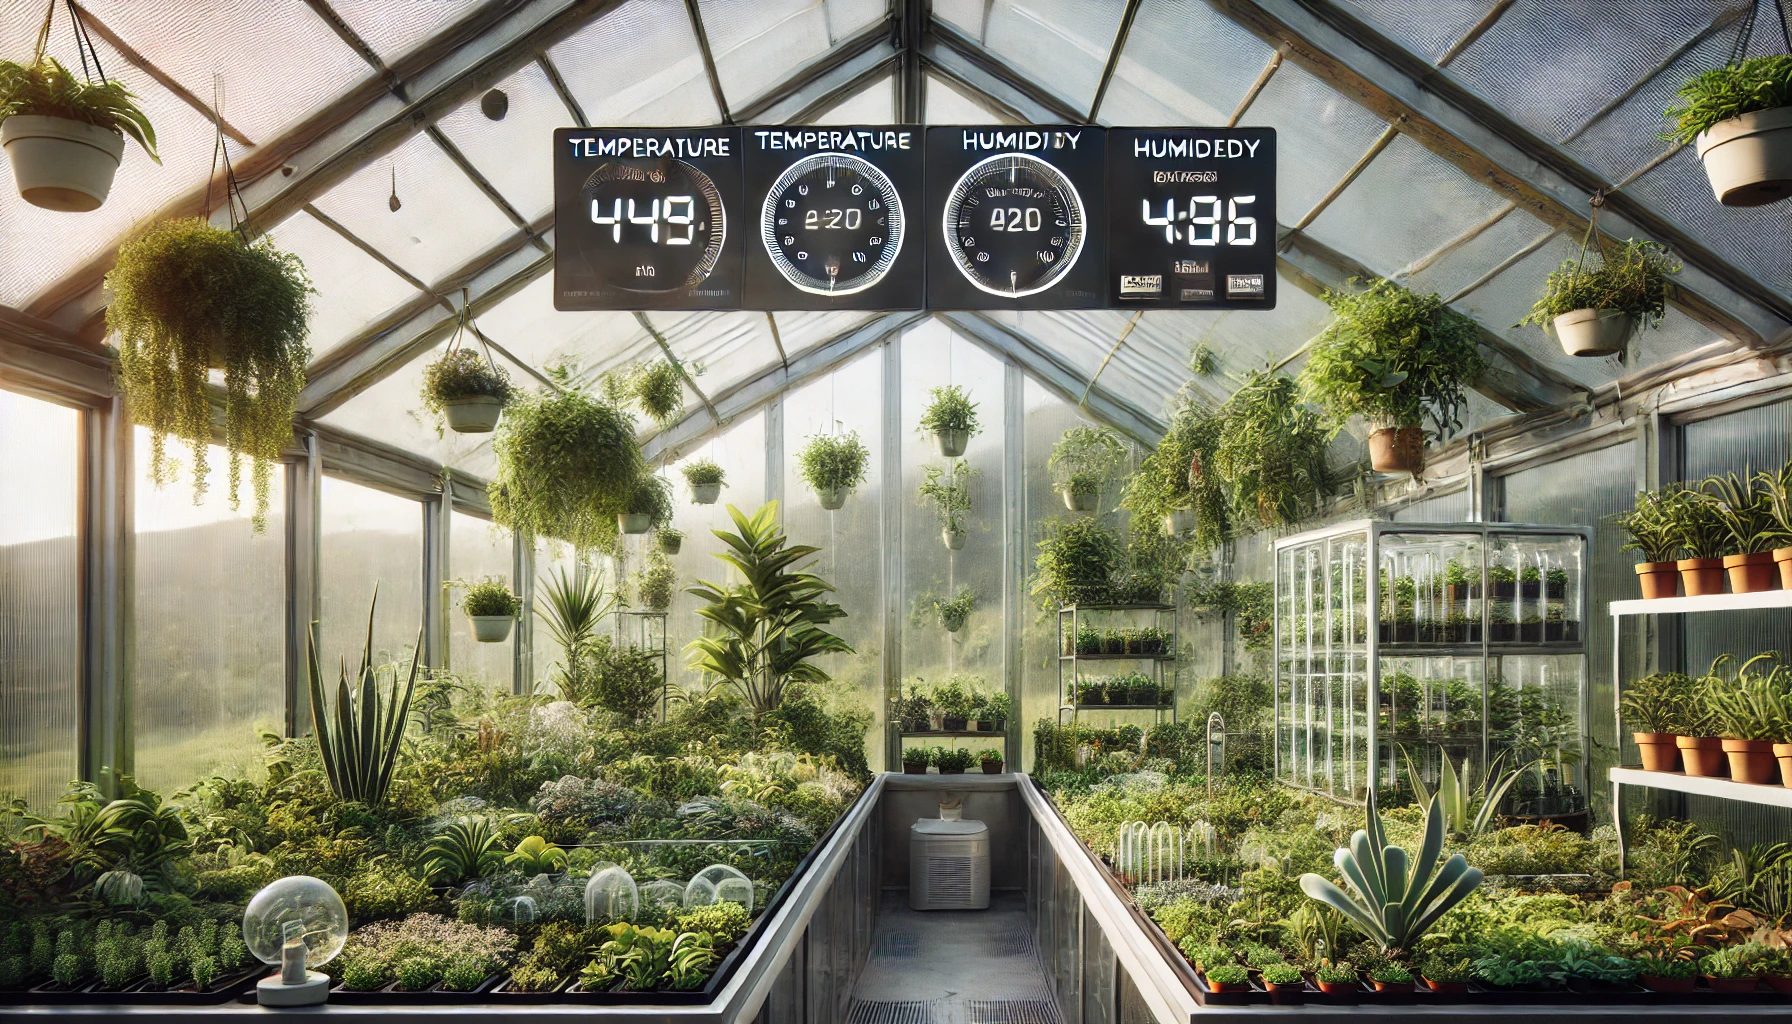
Check Temperature and Humidity 
Ensure the greenhouse maintains a steady temperature, ideally between 65-75°F (18-24°C), with humidity levels around 50-70%. You can adjust humidity using a misting system or by placing shallow water trays.
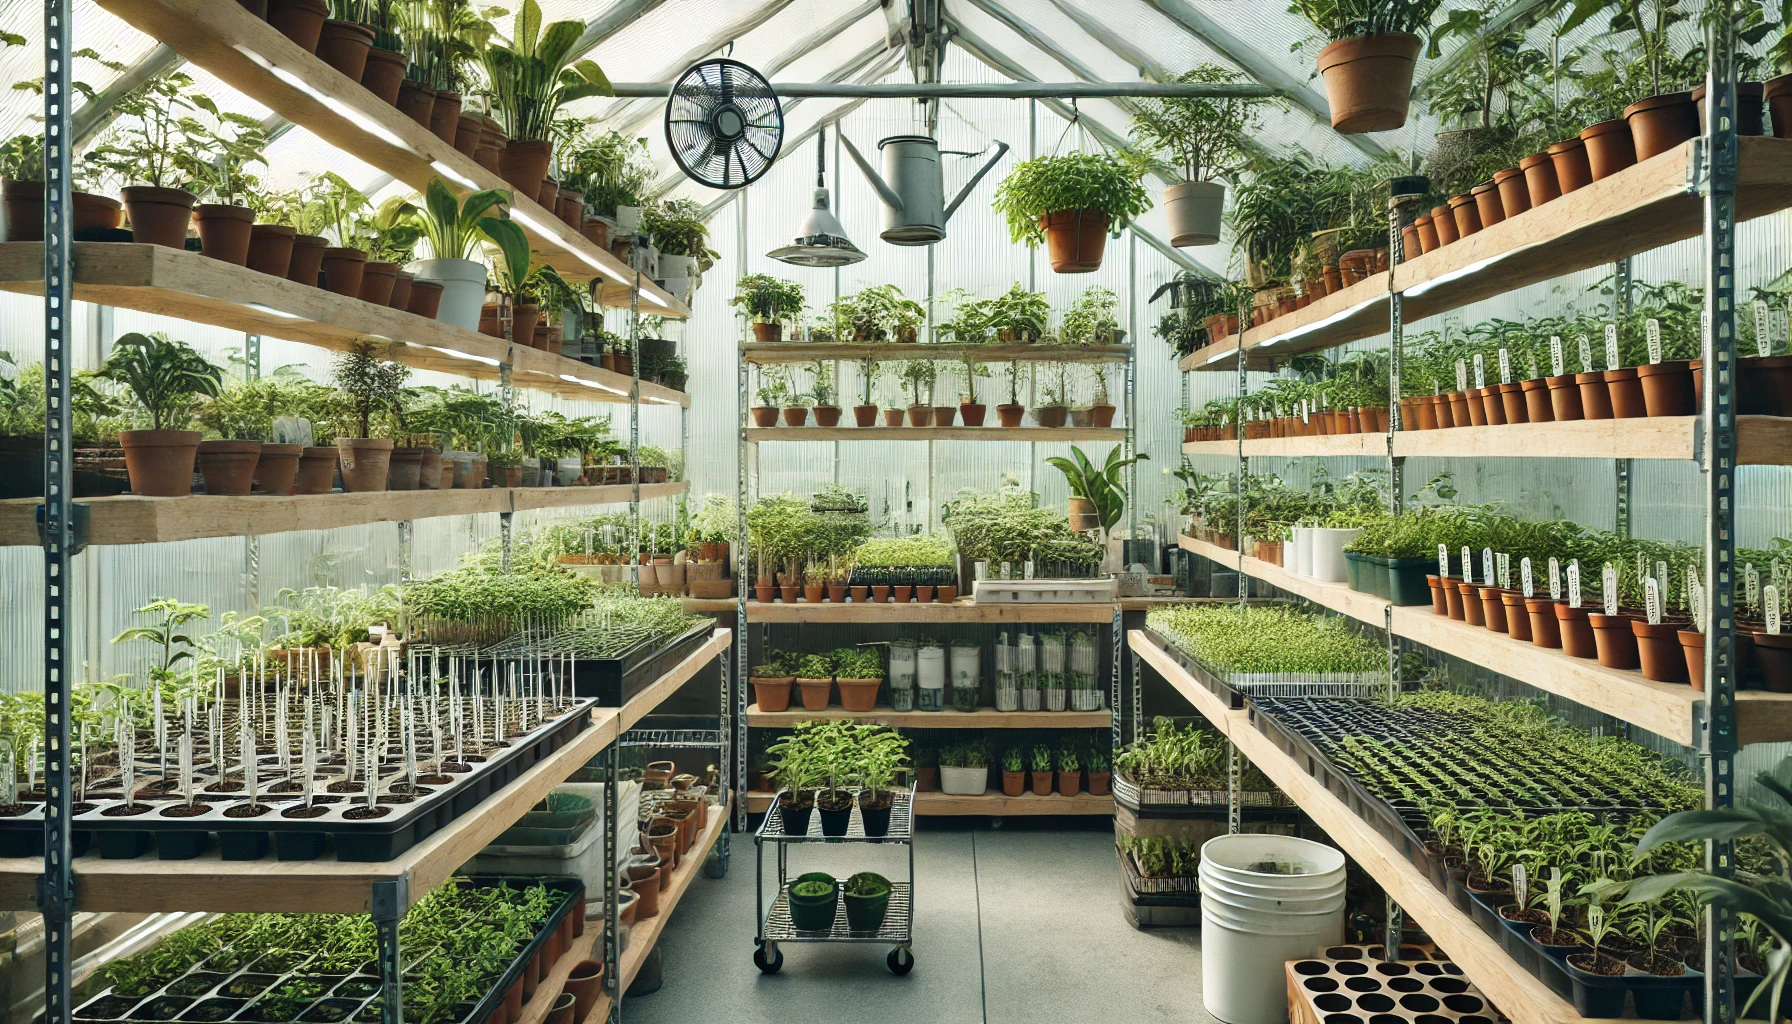
Organize Your Space
Set up workstations where you’ll handle seedlings. Ensure there’s enough space for airflow to prevent mold growth. Keep your pots, soil, and tools neatly organized.
Quality Soil and Containers
Use well-draining, sterilized soil in containers to avoid root rot. Small pots or seed trays work best for starting seeds. Make sure containers have drainage holes.
Lighting 
Proper lighting is essential for seedling growth. If your greenhouse lacks natural sunlight, invest in grow lights that mimic sunlight to ensure plants get enough energy to grow.
Watering System
Install an efficient watering system, such as a drip system or misting setup. Overwatering or underwatering can harm your propagating plants, so consistency is key!
By following these steps, you’ll create an optimal environment for plant propagation and boost your chances of success.
Best Plants for Propagating in a Greenhouse
Greenhouses are the perfect environment for propagating plants, as they offer controlled temperature, humidity, and light. Here are the best plants to propagate in your greenhouse for thriving results:
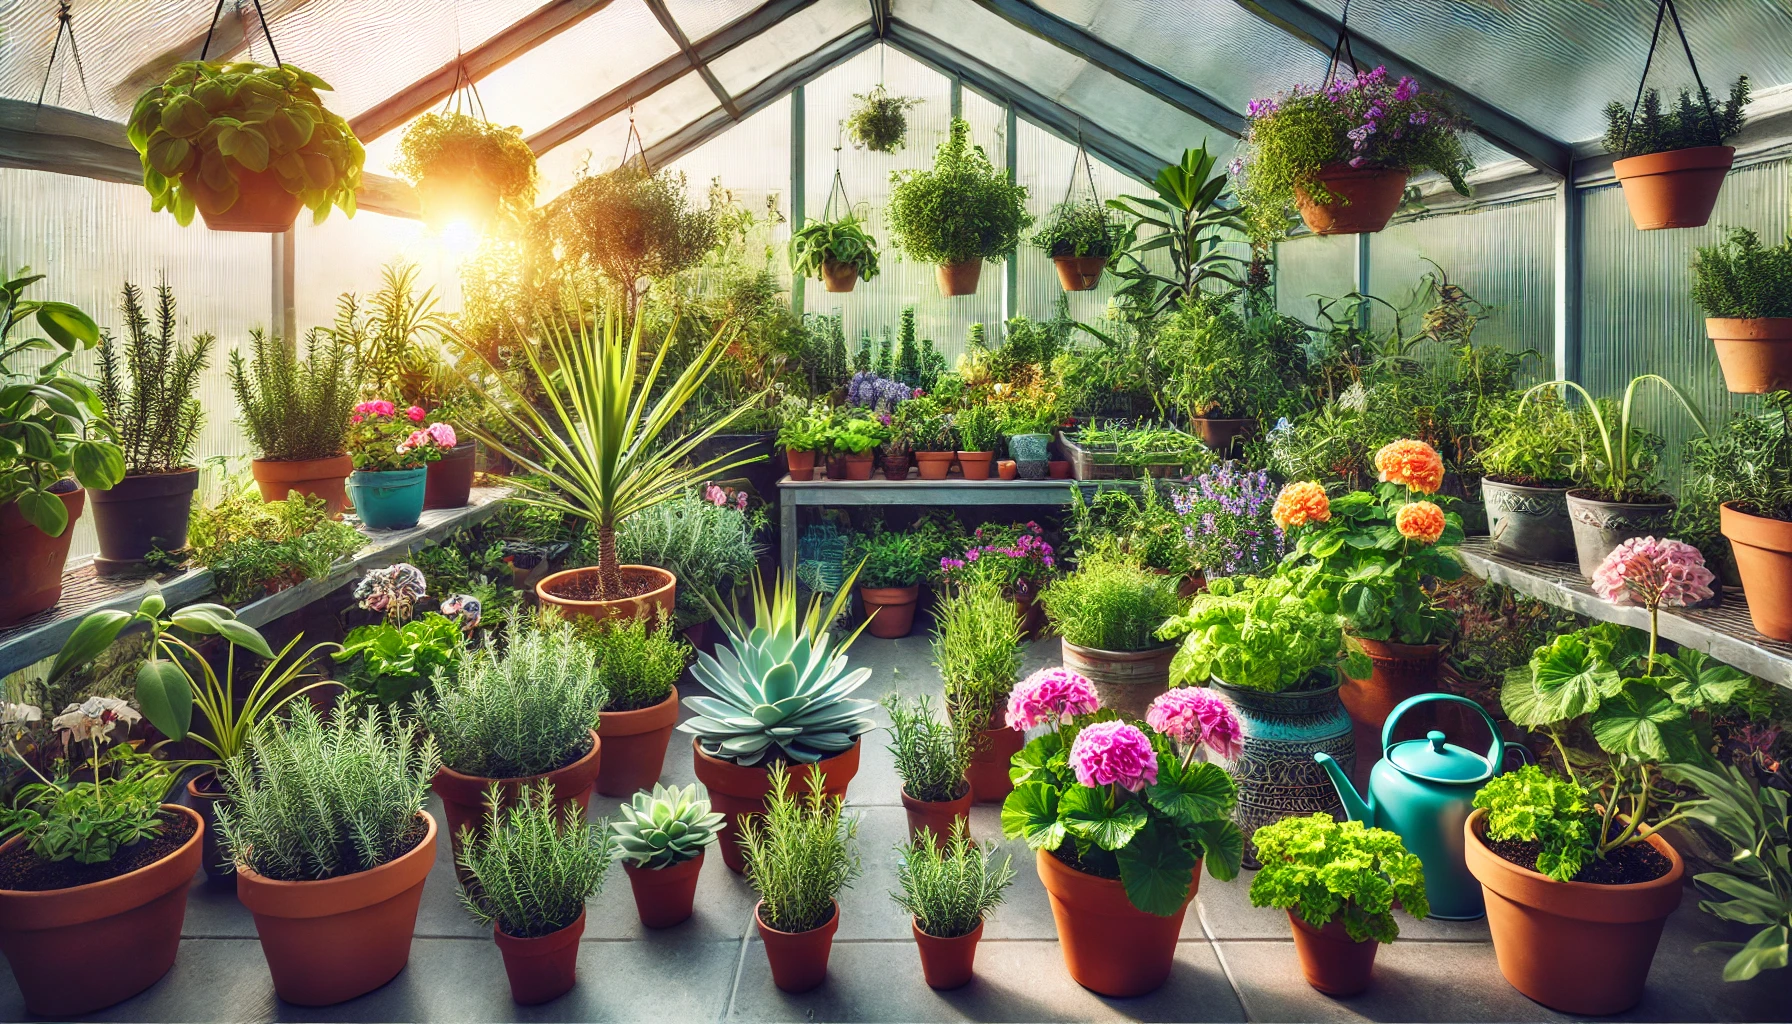
- Succulents

Succulents like Aloe Vera and Echeveria thrive in greenhouses due to their need for consistent warmth and dryness. Simply cut a healthy leaf and let it dry for a few days before planting. - Herbs
Basil, mint, and rosemary are perfect for greenhouse propagation. Use softwood cuttings in early spring for quicker growth. They love the warmth and controlled conditions. - Tomatoes

Propagating tomatoes from cuttings is simple in a greenhouse. Keep the environment warm and moist, and you’ll have healthy starts ready for your garden in no time. - Geraniums

Geraniums are easy to propagate through stem cuttings. They prefer bright, indirect sunlight, making greenhouses ideal for their growth. - Ferns
Ferns like Boston Ferns can be propagated from spores. A greenhouse ensures the humidity they need to grow their delicate fronds. - Houseplants
Plants like Pothos, Spider Plants, and Peace Lilies take well to propagation in greenhouses. They root quickly in high humidity and warm conditions. - Flowers
Propagate colorful flowers like Impatiens and Petunias in a greenhouse, where they can enjoy the warmth and consistent moisture they need to thrive.
Tip: Always ensure your greenhouse has good airflow to prevent fungal growth, especially when propagating plants in a humid environment.
With the right care and the optimal greenhouse environment, you can easily multiply your favorite plants! 
Maintenance Tips for a Healthy Greenhouse 
A well-maintained greenhouse ensures optimal growing conditions for your plants. Follow these expert tips to keep your greenhouse healthy and thriving:
Regular Cleaning
Clean the interior surfaces, windows, and benches regularly. Dirt and algae can block sunlight, affecting plant growth. Use non-toxic cleaners and avoid harsh chemicals to protect your plants.
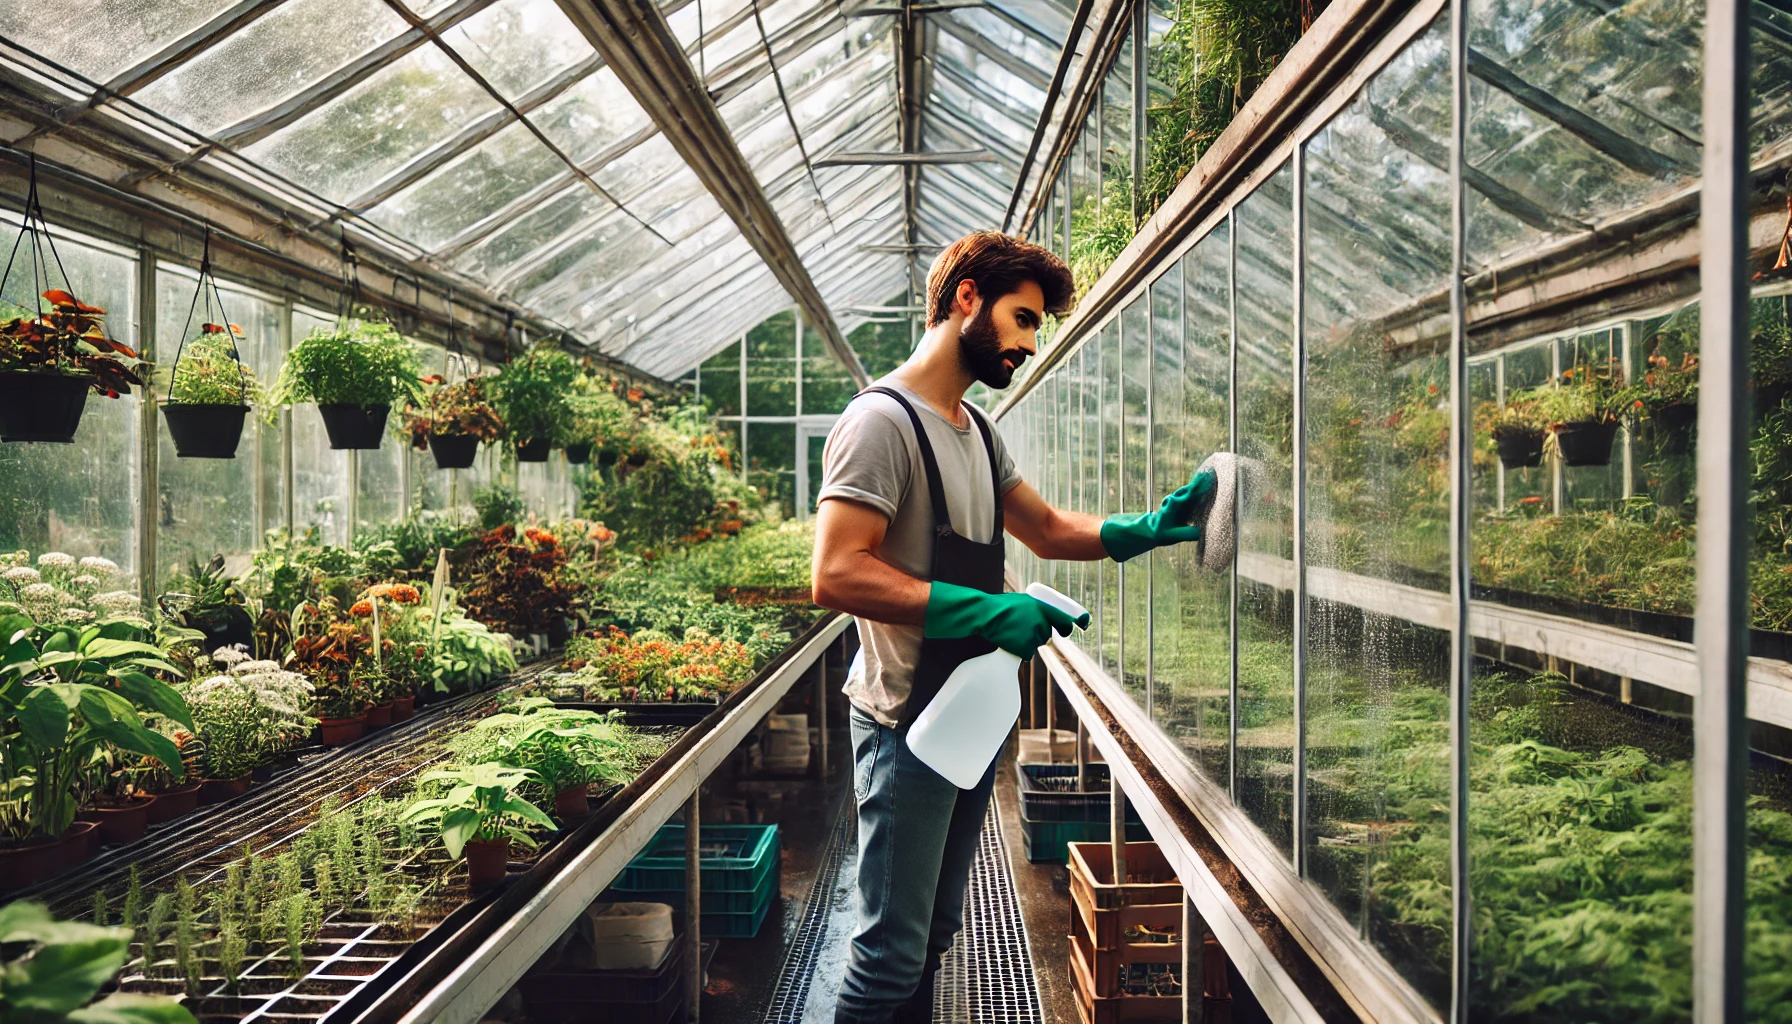
Check Temperature & Humidity
Monitor the temperature and humidity levels daily. Ideal conditions are 65-75°F (18-24°C) during the day and slightly cooler at night. Keep humidity around 50-70% for healthy plant growth.
Proper Ventilation 
Ensure proper airflow by opening vents and windows. Good ventilation prevents mold, fungal diseases, and overheating, which can harm your plants.
Watering Routine
Water your plants early in the morning to avoid excess moisture during the night. Use a drip irrigation system for even watering and to prevent waterlogging.
Pest Control 
Regularly inspect your plants for pests. Use organic pest control methods like neem oil or insecticidal soap to keep your greenhouse free from harmful insects.
Soil Health
Refresh the soil every season by adding organic matter, compost, or a balanced fertilizer. This boosts soil nutrients and promotes healthy plant growth.
Light Management
Ensure your plants get enough sunlight by cleaning the greenhouse glass or plastic regularly. If needed, use shading nets to prevent overheating in the summer.
Check for Leaks
Inspect your greenhouse for leaks in the structure. Seal any gaps or cracks to maintain a stable temperature and protect plants from drafts.
By following these easy yet effective maintenance tips, you’ll create a thriving environment for your plants to flourish all year round.
Harvesting and Transplanting Your Propagated Plants
Once your propagated plants have established roots and are growing strong, it’s time to think about harvesting or transplanting them into their permanent home. This step is crucial to ensuring they thrive and continue to flourish. Here’s how to go about it:
1. Know When to Harvest 
When your plant cuttings have developed sufficient roots and are showing new growth, it’s the right time to harvest or transplant them. For many plants, this typically takes 4-6 weeks. Look for strong, healthy roots that are at least a few inches long before you consider moving them.
2. Preparing for Transplanting
Before transplanting, prepare the new planting area or pot. Choose a location with the right sunlight, soil type, and enough space for the plant to grow. If you’re using a pot, make sure it has drainage holes to prevent waterlogging.
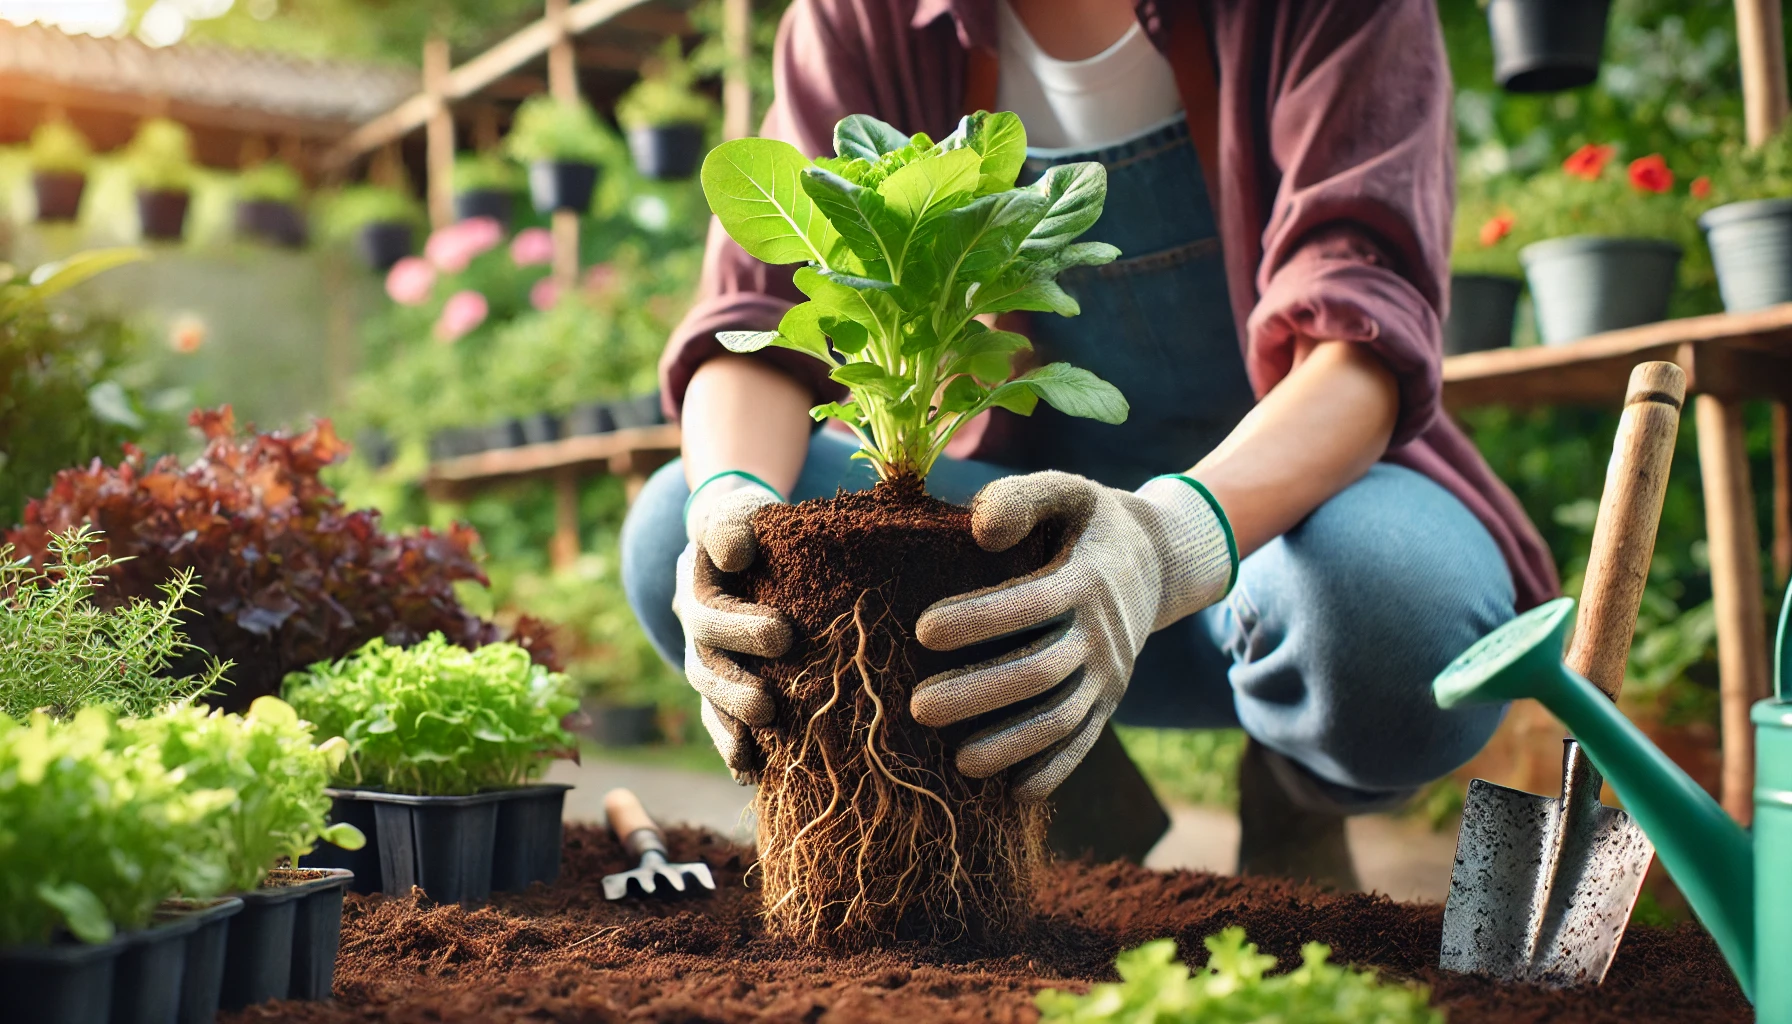
3. How to Transplant 

Carefully remove the propagated plant from its rooting medium. Avoid disturbing the roots too much. Place the plant gently into the prepared hole or pot, ensuring the roots are well-spread out. Fill in with soil, gently pressing it down to eliminate air pockets.
4. Watering After Transplanting
Water the plant thoroughly after transplanting. This helps settle the soil around the roots and reduces transplant shock. Keep the soil consistently moist for the first few weeks as the plant adjusts to its new home.
5. Ongoing Care
Continue to monitor your plant for any signs of stress, such as wilting or yellowing leaves. Provide the right care (light, water, and nutrients) to help it adjust and grow strong in its new environment.
By following these steps, you’ll give your propagated plants the best chance to thrive in their new space. Happy gardening!
In conclusion, propagating plants is a rewarding process that not only helps you expand your garden but also strengthens your gardening skills. By following the right steps—choosing healthy cuttings, providing the ideal growing conditions, and taking care of your plants during their rooting phase—you set them up for success.

Whether you’re new to propagation or a seasoned gardener, patience and attention to detail are key. With the proper care, your propagated plants will thrive, bringing beauty and joy to your garden.
Remember: Every plant has its own unique needs, so always research specific care tips for each variety you grow. Happy propagating, and watch your garden bloom with success!