

Have you ever dreamed of growing your very own majestic redwood tree?  While these towering giants are awe-inspiring, starting from redwood tree seeds can feel like a daunting task for beginners. The good news is, with the right approach, you can successfully germinate and nurture these incredible trees from seed to sapling.
In this guide, we’ll walk you through each essential step for growing redwood tree seeds, from preparation to planting, and offer expert tips for overcoming common challenges along the way. Whether you’re looking to add a redwood to your garden or start your own forest of giants, this article will provide you with the knowledge and confidence to succeed. Ready to get started? Let’s dive in! 
Understanding Redwood Tree Seeds 
Redwood trees are among the tallest and oldest living organisms on Earth, and growing them from seed is a rewarding challenge for any gardener! But before you dive into planting, it’s important to understand what makes redwood seeds unique and how to set them up for successful germination. Here’s a beginner-friendly breakdown:
1. What Are Redwood Tree Seeds? 
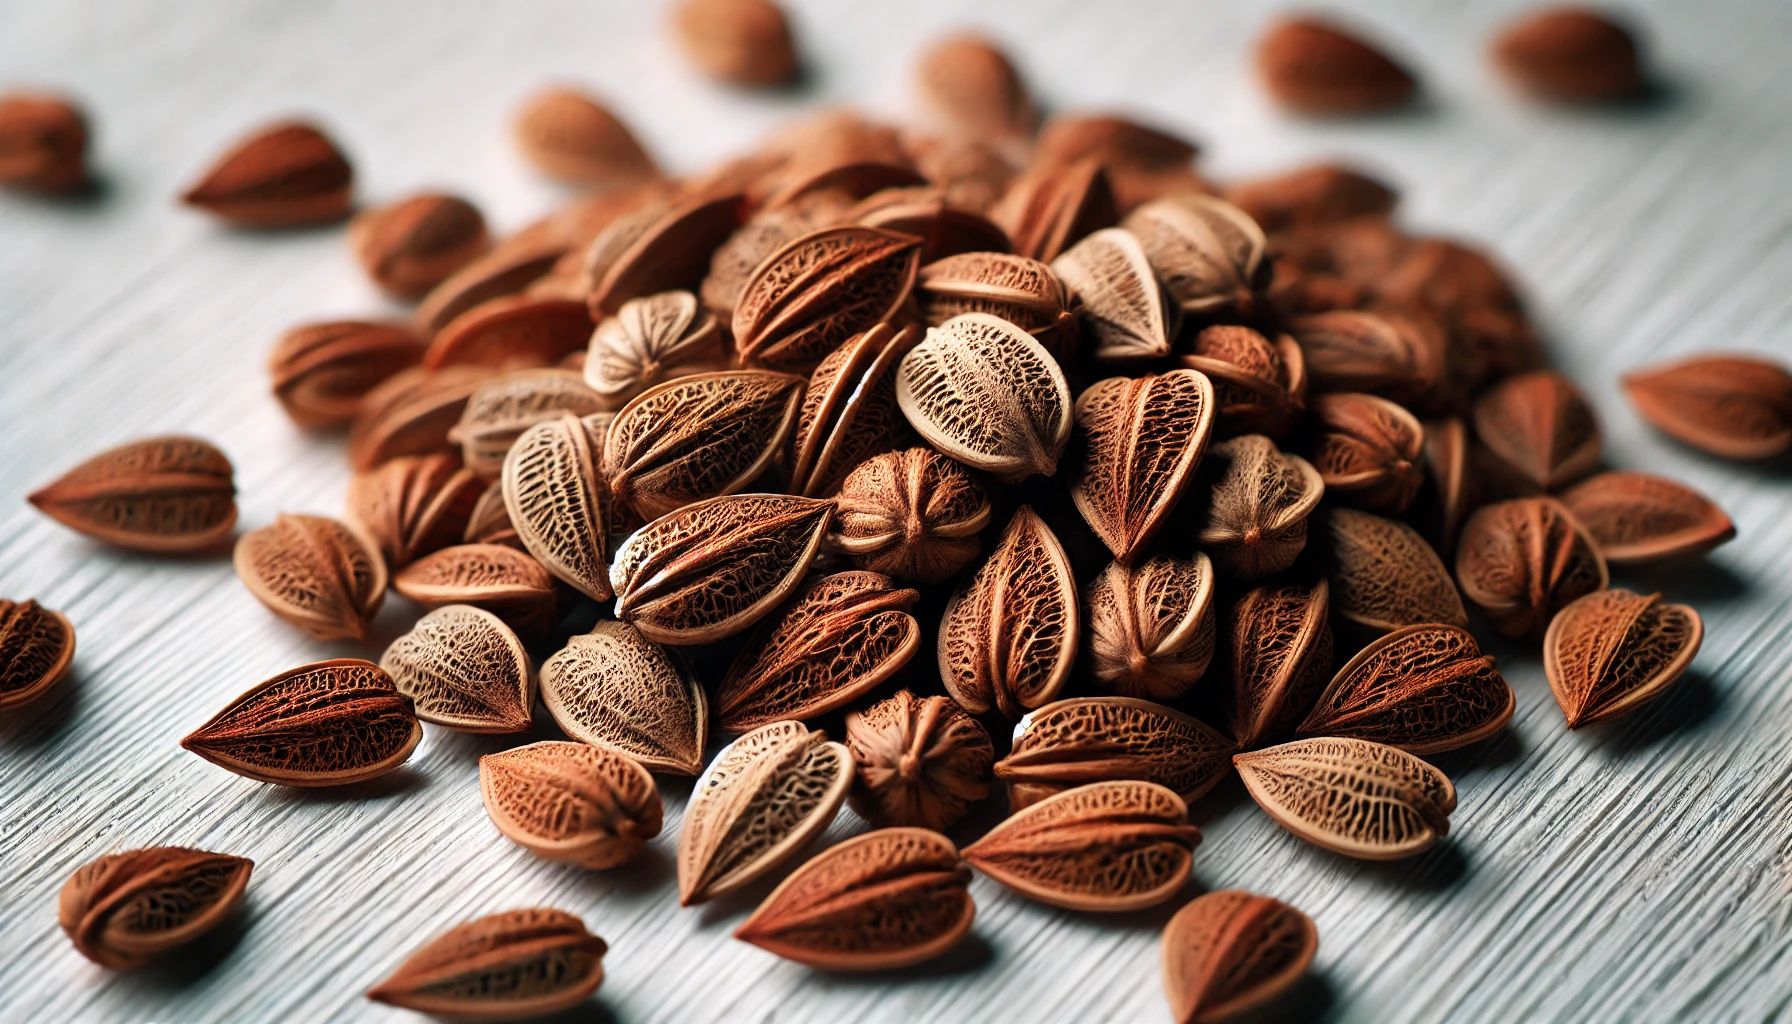
Redwood seeds come from the majestic coast redwood (Sequoia sempervirens) or giant sequoia (Sequoiadendron giganteum), both of which are native to California. These seeds are tiny, usually about the size of a small pea, but have great potential to grow into massive trees that can reach heights of over 350 feet! 
2. Seed Dormancy & Stratification 
Redwood seeds, like many tree seeds, have a natural dormancy period. This means they won’t start sprouting right away. To overcome this dormancy, you need to give them a “chill” treatment called cold stratification. This mimics the winter conditions that would naturally break their dormancy in the wild. 
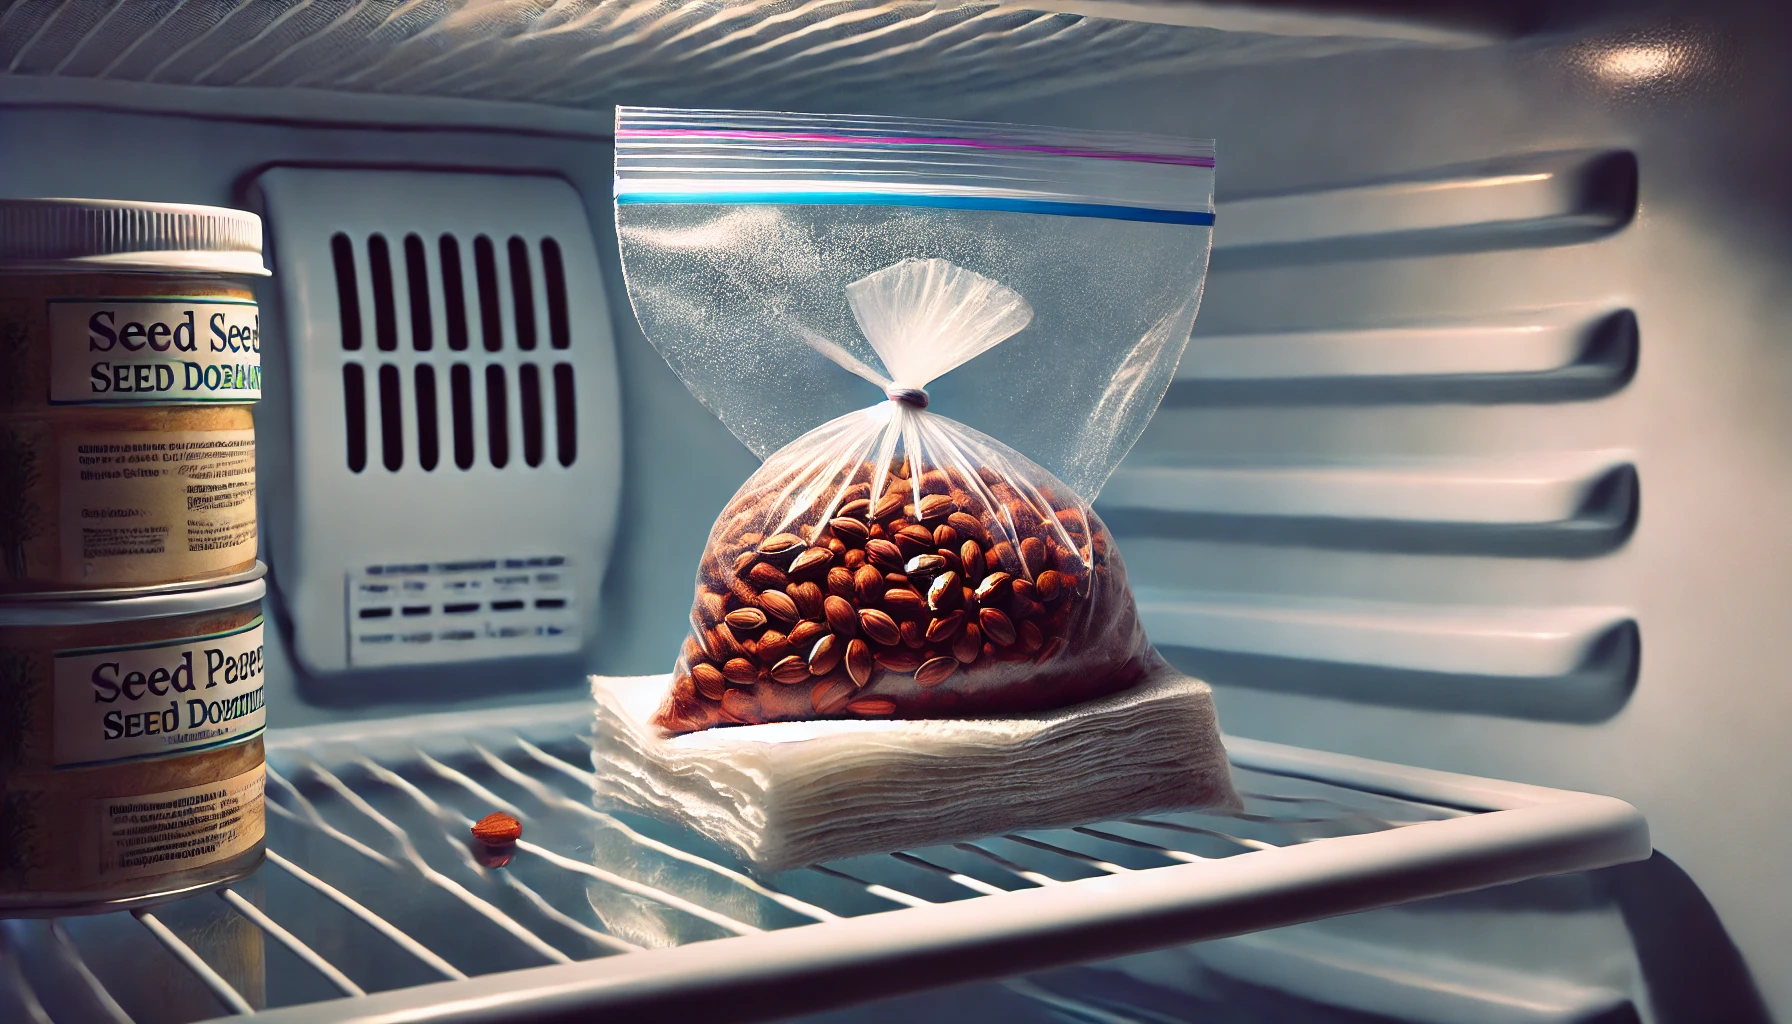
- Cold Stratification: Place your seeds in a damp paper towel or sand in a plastic bag, then refrigerate them for 30 to 60 days. This cold period encourages the seed to break dormancy and prepares it for germination. Don’t skip this step if you want successful germination!

3. Seed Quality & Viability 
It’s important to use fresh, high-quality seeds for the best results. If the seeds are too old, they may not germinate at all. Look for seeds that are plump and firm, with no signs of damage or discoloration. When buying from a supplier, check the seed’s harvest date to ensure freshness. Fresh seeds have a much higher chance of success! 
4. Germination Process
Once your seeds have gone through the cold stratification period, they are ready to be planted. You’ll need:
- Seed-Starting Mix: Use a well-draining seed-starting mix that’s light and airy to promote healthy root growth. Avoid using garden soil, which can be too dense for the seeds.
- Planting Depth: Lightly press each seed into the surface of the soil mix—no need to bury them deep! Just cover them with a thin layer of soil.
- Watering: Keep the soil lightly moist but not soggy. Too much water can lead to mold or rot, while too little can dry out the seeds before they germinate. A misting bottle works wonders for gently watering.

5. Temperature & Light Requirements 
Redwood seeds thrive in warm, bright conditions to germinate. Aim for a temperature between 60-70°F (15-21°C), and place your seed tray in a location with indirect sunlight. Too much direct sun can overheat the seeds, while too little light can delay germination. Keep an eye on them and make sure they’re getting just the right amount of warmth and light! 
6. Patience is Key 
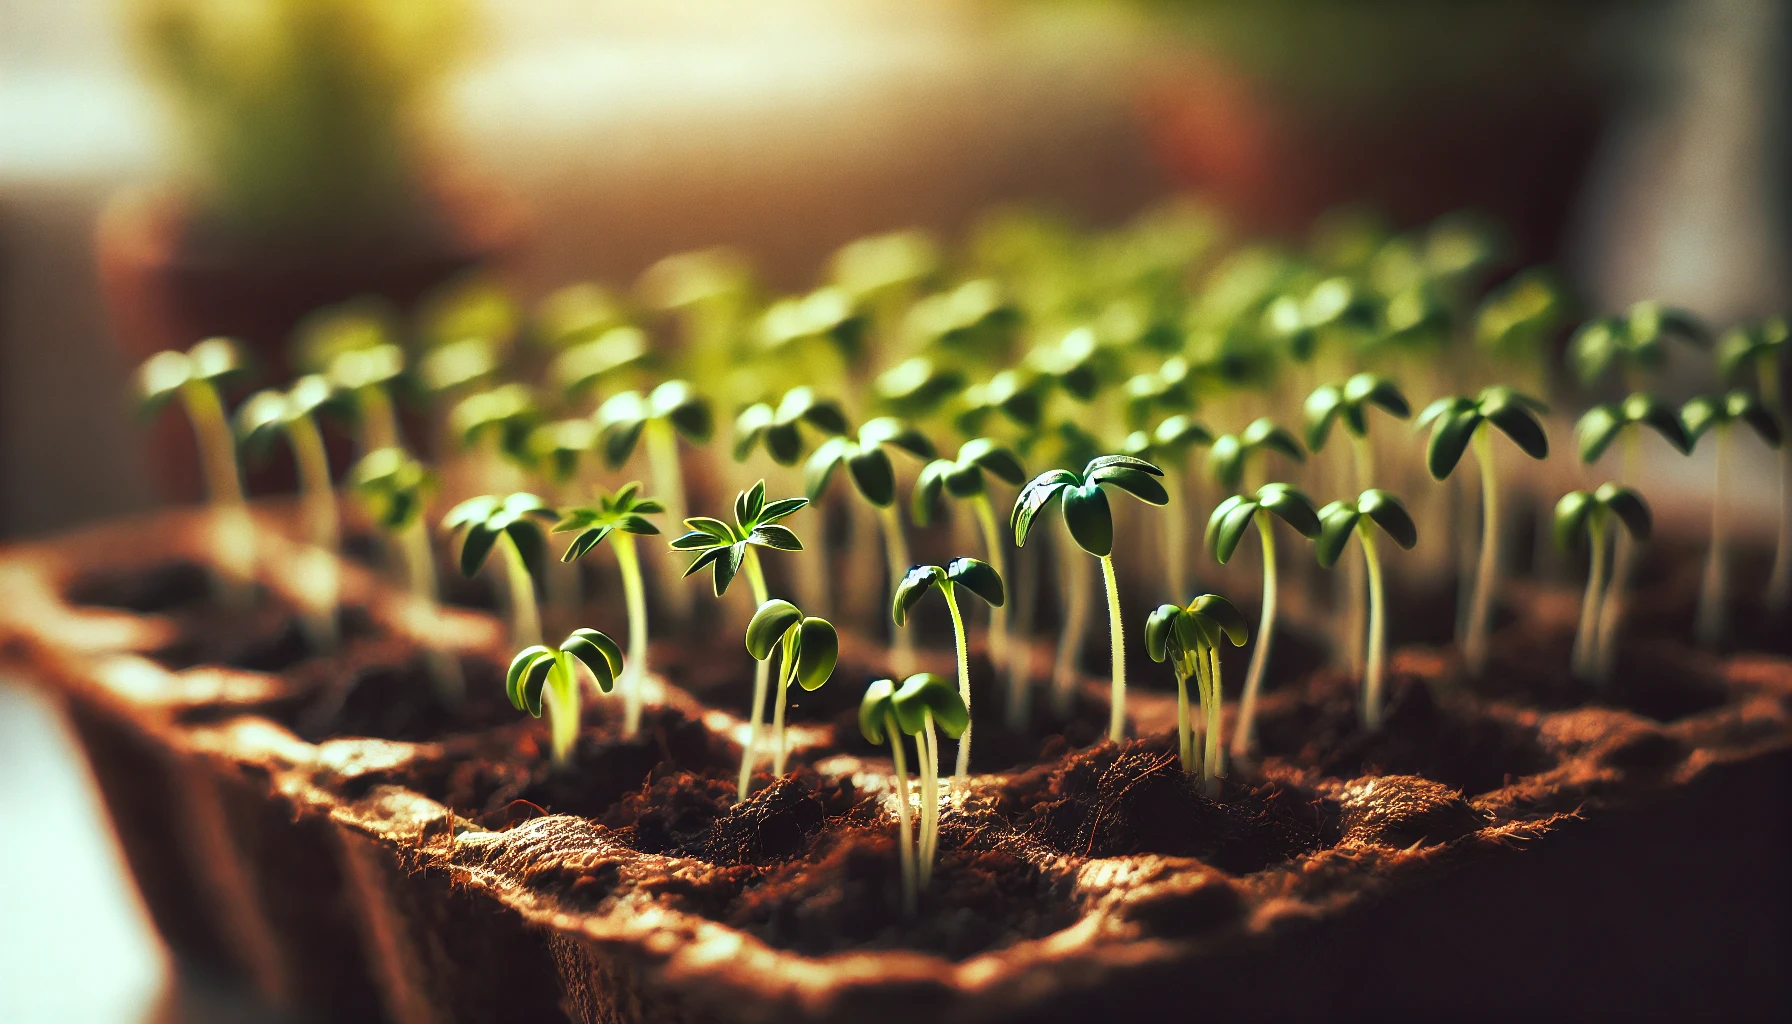
Germination for redwood seeds can take anywhere from 2 to 4 weeks, so don’t be discouraged if they don’t sprout immediately. Keep the conditions consistent, and eventually, tiny green shoots will emerge, signaling the beginning of your redwood journey!
By understanding the unique needs of redwood tree seeds, you’re setting yourself up for success. With the right care, you’ll be well on your way to growing these towering beauties in your own garden or backyard.
Happy planting!
Preparing Redwood Tree Seeds for Germination
Starting redwood trees from seeds can be a rewarding and exciting experience. However, before you jump into planting, it’s essential to properly prepare the seeds for germination. This step increases your chances of success, ensuring that your seeds have the best possible start. Here’s a step-by-step guide to get your redwood seeds ready for planting!
1. Harvest the Seeds (If You Haven’t Already)
If you’re harvesting redwood seeds from a tree, be sure to collect them when they’ve fully matured. Redwood seeds are tiny, so look for the brown cones that have opened up. You’ll want to grab the seeds when they’re dry and have fallen out of the cone.
2. Clean the Seeds 
Once you’ve gathered your seeds, it’s time to clean them. This helps remove any debris and ensures that the seeds are free from any fungi or mold. Simply rinse the seeds in cool water and let them dry on a paper towel for a day or two. This step is vital to avoid any mold buildup during germination.
3. Stratification: Mimic Winter Conditions
Redwood seeds need a period of cold treatment to break their dormancy. This process is called stratification and is key for encouraging germination.
- Cold Stratification Method: Place your cleaned seeds in a damp paper towel or sand and seal them in a plastic bag. Store the bag in the fridge for about 30-60 days. This mimics the winter chill and prepares the seeds to sprout in spring.
Pro tip: You can also use a plastic container with a lid, just make sure the seeds are kept moist but not soaking wet. Check on them every week to ensure they remain damp but not soggy.
4. Soak the Seeds (Optional)
After stratification, soak your seeds in water for 12-24 hours. This extra step can help speed up germination by softening the seed coat, allowing moisture to penetrate and kick-start the growth process.
5. Test for Viability 
If you’re not sure whether your seeds are good to go, do a simple float test. Drop a few seeds in water, and if they sink, they’re likely viable. If they float, they may be too old or damaged to sprout.
6. Prepare Your Planting Area 
While your seeds are soaking or after the stratification period, prepare your planting area. Choose a spot with well-draining soil and a mix of shade and sunlight for the best results. Redwood seeds love cool, moist conditions, so find a place that mimics their natural habitat.
By following these simple steps, you’ll give your redwood tree seeds the best chance for successful germination. With patience and care, you’ll soon see tiny green shoots emerging, ready to grow into towering giants! Happy planting! 
Planting Redwood Tree Seeds
Planting redwood tree seeds is an exciting and rewarding experience, but it requires some careful attention to detail to ensure successful germination. Here’s a step-by-step guide to help you get those seeds into the soil and watch your future giant trees grow!
1. Prepare Your Seeds 
Before planting, you’ll need to prepare your redwood seeds. These seeds have a hard outer shell that benefits from a process called scarification. Scarifying helps break the seed coat and speeds up germination.
- Soak the seeds in warm water for 24-48 hours. This softens the seed coat and encourages germination.

- Optional: If you want to be extra thorough, you can gently rub the seeds with sandpaper or a nail file to further scarify the seeds. Just be careful not to damage them!
2. Choose the Right Container 
Redwood seeds need plenty of space to grow, even at the start. Choose a container with good drainage holes—this helps avoid waterlogging, which can lead to root rot.
- Plastic or clay pots work well. If you’re planting multiple seeds, opt for a shallow tray with separate compartments to avoid overcrowding.
3. Soil Preparation
Redwoods thrive in well-drained, loamy soil. Mix a combination of peat moss, perlite, and sand for the perfect seed-starting mix. The soil should be light, airy, and slightly acidic (pH 5.5–6.5 is ideal). 
- Fill your container with the prepared soil, leaving about half an inch of space at the top for watering.
4. Planting the Seeds
Now it’s time to plant your redwood seeds!
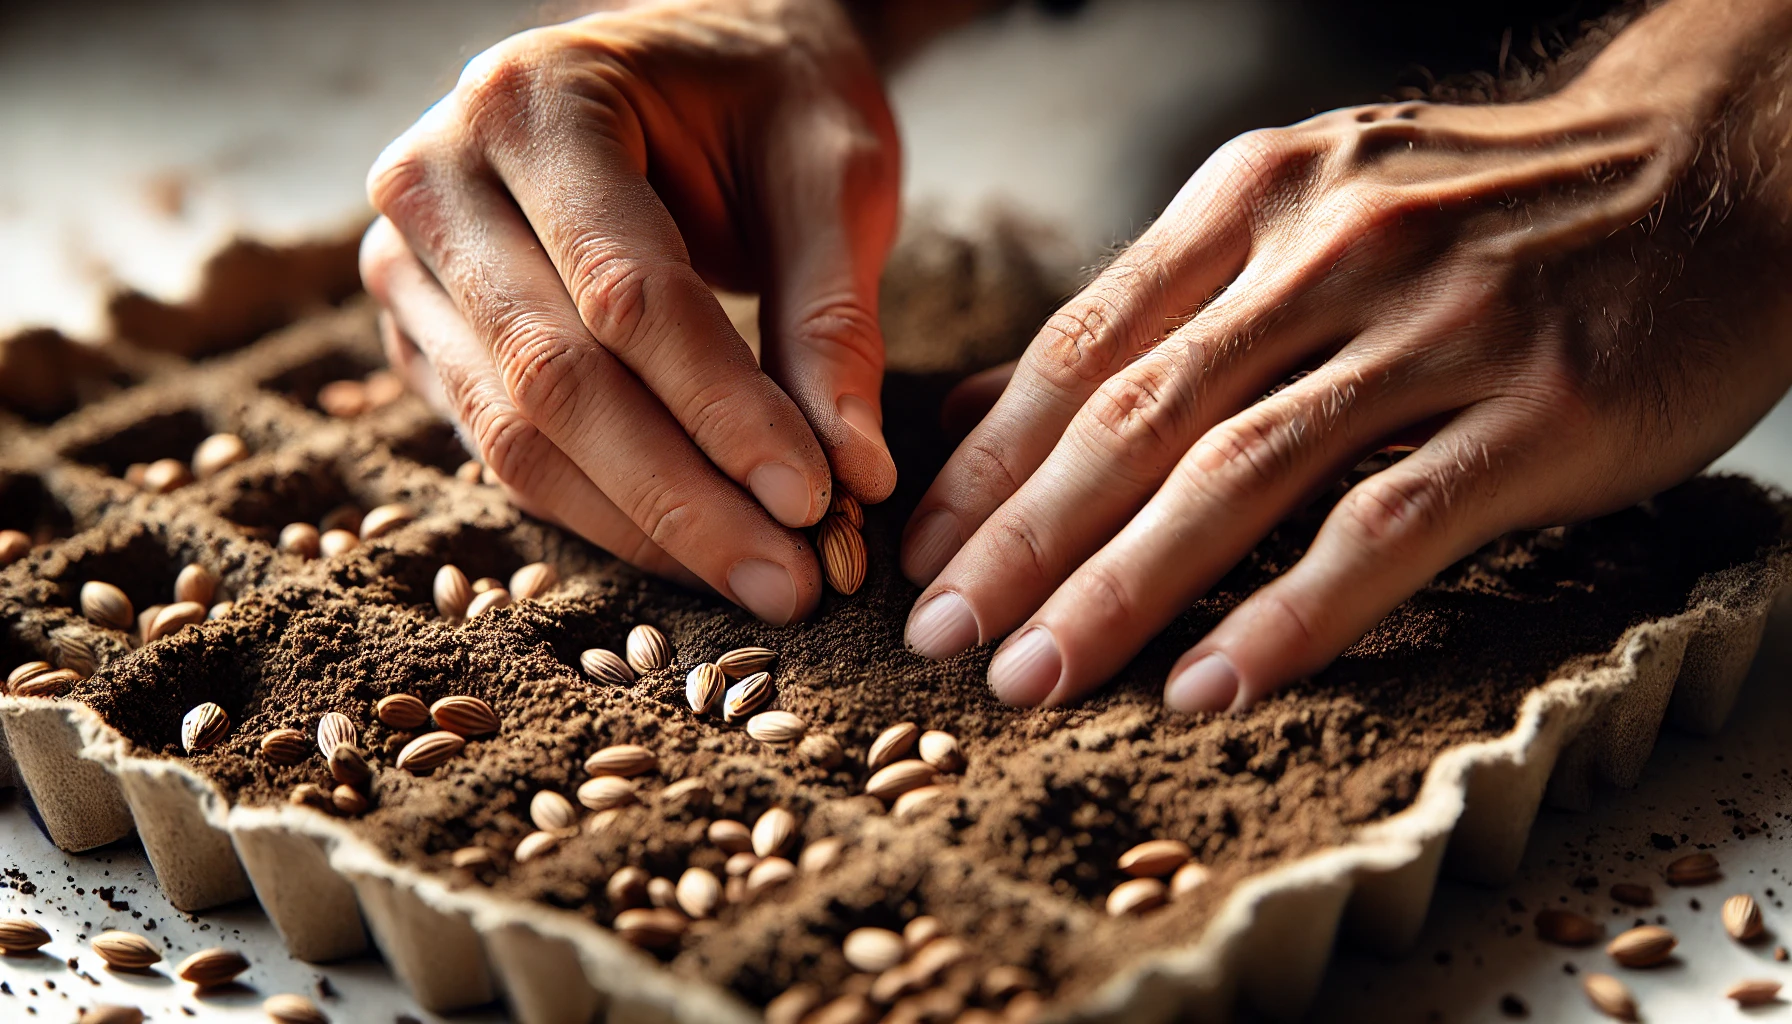
- Sprinkle the seeds evenly across the soil surface. Don’t bury them too deeply—redwood seeds need light to germinate! Simply press them gently into the soil with your fingers or a flat tool.
- Lightly cover the seeds with a thin layer of fine soil, about 1/8 inch (3 mm). This protects the seeds without blocking out too much light.
5. Maintain Ideal Conditions
Redwood seeds need warmth and moisture to sprout. Keep the environment consistent to encourage healthy growth.
- Temperature: Keep the soil temperature between 65°F and 75°F (18°C to 24°C). This range helps promote quicker germination.
- Humidity: Mist the seeds with water regularly, keeping the soil moist but not soggy. Consider covering the container with a plastic dome or clear plastic wrap to trap moisture.

- Light: Place the container in a spot with bright, indirect light. Avoid direct sunlight, as it can dry out the soil quickly.
6. Wait for Germination 
Patience is key when growing redwoods from seed. It can take anywhere from 2 to 6 weeks for the seeds to germinate, depending on the conditions. Once you see tiny sprouts pushing through the soil, you’ll know your efforts are paying off! 
7. Transplanting 
Once the seedlings have grown large enough (around 2–4 inches tall), it’s time to think about transplanting them into larger pots or outdoors. Be sure the young trees are strong enough to handle the move, and gradually acclimate them to their new environment by introducing them to outdoor conditions slowly.
By following these simple steps, you can successfully plant and grow your redwood tree seeds. With a little care and attention, you’ll soon have seedlings ready to start their journey into becoming the majestic giants we all admire!
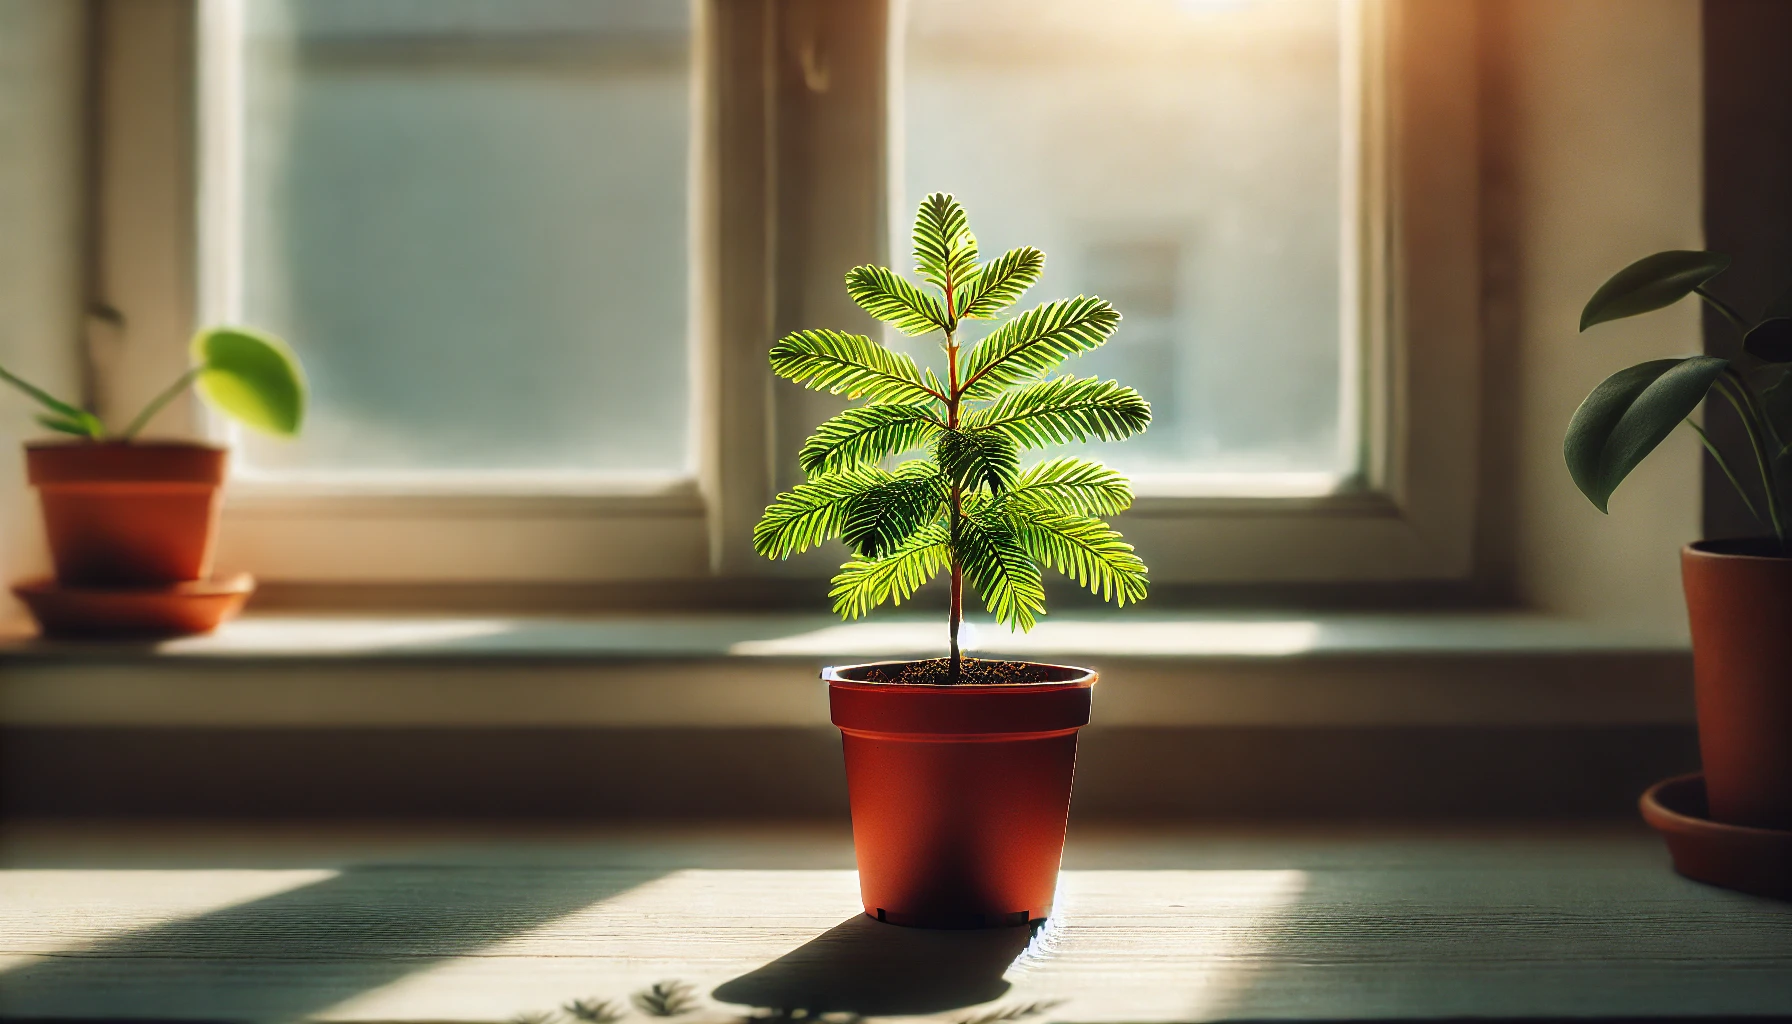
Caring for Germinated Redwood Tree Seedlings
Once your redwood tree seeds have successfully germinated, it’s time to shift focus to nurturing the tiny seedlings. Providing the right care during their early growth stages is crucial for their long-term health and survival. Here’s how to ensure your seedlings thrive:
1. Provide Proper Lighting
Redwood seedlings need plenty of light to grow strong and healthy. Place them in a spot that gets bright, indirect sunlight. A south-facing windowsill is ideal, but if you don’t have enough natural light, consider using a grow light to provide the extra boost they need. Make sure the seedlings are not exposed to direct, harsh sunlight, which can burn their delicate leaves.
2. Maintain Optimal Temperature 
Redwood trees thrive in cool to moderate temperatures. Aim to keep the seedlings in an environment between 50°F (10°C) and 70°F (21°C). Avoid placing them in drafty areas or in direct heat, like near radiators or heaters. Consistent, mild warmth will help the seedlings grow steadily.
3. Water Regularly, But Don’t Overwater
Redwood seedlings prefer consistently moist soil, but they don’t like to be waterlogged. Water the seedlings when the top inch of soil feels dry to the touch. Always check the drainage of the container to prevent stagnant water, which could cause root rot. When watering, make sure the water flows freely through the bottom of the pot.
4. Use Well-Draining Soil
The right soil is essential for the healthy growth of your redwood seedlings. Opt for a light, well-draining potting mix. You can use a mix designed for seedlings or create your own by combining potting soil with perlite or sand to increase drainage. Avoid heavy, compact soil that retains too much moisture.
5. Fertilize Lightly
Seedlings don’t need much fertilizer, but a small amount can help promote healthy growth. Use a diluted, balanced liquid fertilizer (something like 10-10-10) once every 4-6 weeks during the growing season. Be careful not to over-fertilize, as this can burn the delicate roots.
6. Thin Seedlings for Better Growth 
If you’ve started several seeds in one pot, it’s important to thin the seedlings once they’re big enough. Choose the strongest, healthiest seedling to keep and carefully remove the others. This ensures the remaining seedling has enough space and resources to grow without competition.
7. Repot When Necessary
As your redwood seedling grows, it may outgrow its pot. If you notice roots growing out of the bottom or the seedling seems to be slowing down in growth, it’s time to repot. Choose a container that’s just slightly larger than the current one, and make sure it has good drainage. Repotting helps give the seedling the room it needs to grow bigger and healthier.
8. Monitor for Pests and Disease 
Keep a close eye on your seedlings for signs of pests like aphids or spider mites. Early detection is key! If you notice any pests, gently wash them off with a mixture of water and mild soap or use an organic insecticide. Also, check for signs of disease such as yellowing leaves or mold growth. Healthy seedlings are more resistant to pests and diseases, so providing proper care is essential.
9. Prepare for Transplanting
Once your redwood seedlings have developed a strong root system and are around 6 inches tall, they’ll be ready for transplanting into larger pots or into the ground (if you live in a suitable climate). Before transplanting, harden them off by gradually exposing them to outdoor conditions for a week or two. This helps them adjust to the changes in temperature, light, and wind.
10. Patience is Key
Growing redwood trees from seed takes time—don’t rush the process! Be patient, and understand that seedlings grow slowly at first. With proper care and attention, your redwood tree will eventually become a magnificent specimen.
By following these simple but essential care tips, your redwood tree seedlings will have the best start to a long and healthy life . Whether you’re growing them in pots or preparing them for planting outdoors, a little love and attention go a long way in ensuring your redwoods thrive. Happy growing!
Common Problems and Solutions
Growing Redwood tree seeds can be incredibly rewarding, but it does come with its challenges. Here are some common problems you might face and simple solutions to ensure your Redwood seeds thrive.
1. Slow Germination 
Redwood seeds are notorious for taking their time to sprout. If you’re noticing slow or no germination, don’t panic! Here’s what to do:
- Solution: Start by cold stratifying the seeds. This means chilling them in the fridge for 30 days before planting. This mimics the natural winter conditions and encourages them to sprout.
- Extra Tip: Keep the soil moist but not soggy. Too much water can drown the seeds, while too little can dry them out. A balance is key!
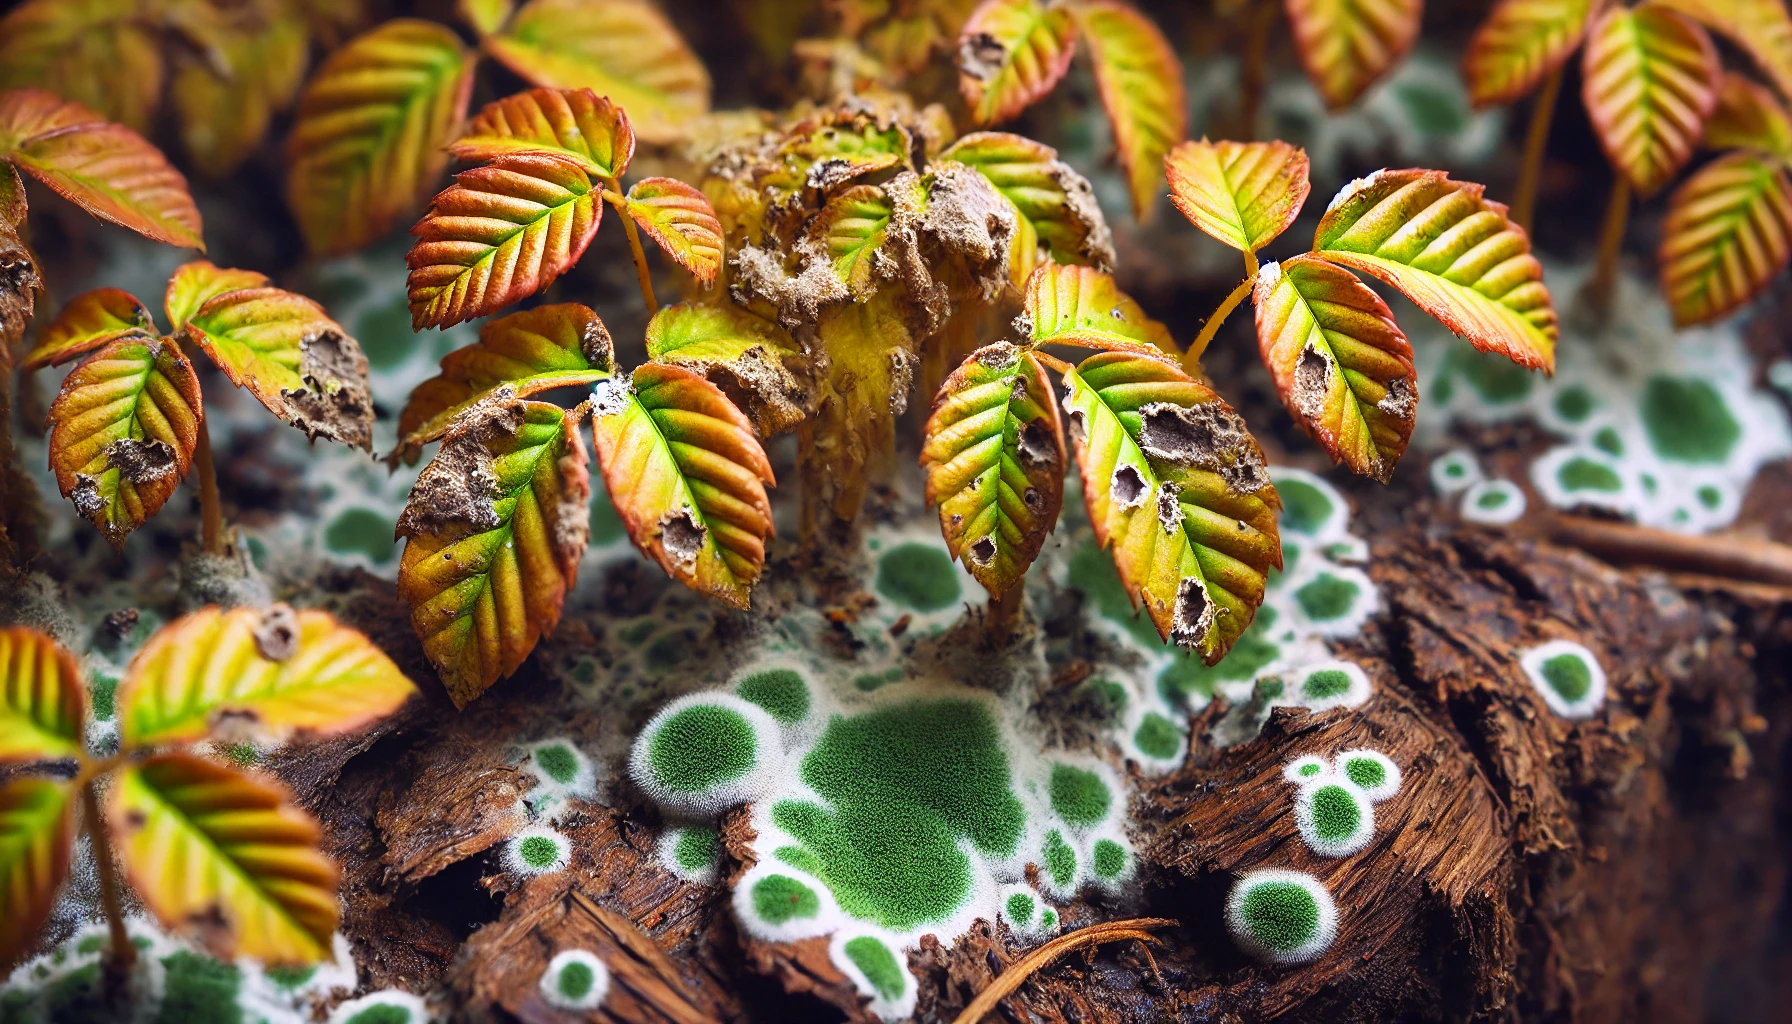
2. Mold or Fungus Growth
Mold can appear on your soil, especially in high humidity environments. This can hinder seed growth and even kill the seedlings.
- Solution: Ensure good air circulation around your seeds. Avoid overwatering and let the soil dry out a bit between waterings. Consider using a fungicide (organic options like neem oil work great!) to prevent mold.

- Extra Tip: If you spot mold, gently remove the affected area, and allow the surface to dry out before re-watering.
3. Too Much Sun
Redwoods are used to a lot of shade when they’re young. Too much direct sunlight can scorch the delicate seedlings.
- Solution: Keep your young Redwoods in partial shade until they grow a bit stronger. You can move them to a sunnier spot gradually as they get older.
- Extra Tip: If you’re growing them indoors, place them near a window with indirect light.
4. Pests 
Small insects, like aphids or spider mites, can sometimes target your Redwood seedlings. These pests can weaken your plants and stop them from growing properly.
- Solution: Regularly inspect your seedlings for signs of pests. If you spot any, try using a gentle insecticidal soap or a mixture of water and mild dish soap.

- Extra Tip: Neem oil is another excellent natural option that works wonders for pests and is safe for your plants.

5. Seedlings Are Stretching or “Leggy” 
If your Redwood seedlings are growing tall but thin, they are probably not getting enough light.
- Solution: Move your seedlings to a brighter spot, or use grow lights if you’re starting them indoors. Providing more light will encourage healthy, strong growth.

- Extra Tip: Be careful not to overwater your seedlings while increasing their light exposure. A balance of both light and moisture is essential!
6. Yellowing Leaves 
Yellowing leaves can be a sign of nutrient deficiencies or poor soil quality.
- Solution: Use a balanced, slow-release fertilizer with micronutrients to feed your seedlings. Organic compost is a great choice, as it helps improve soil quality naturally.

- Extra Tip: Ensure your pots or garden bed has good drainage. Standing water can lead to root rot, which makes leaves yellow.
By staying attentive and solving these common issues quickly, your Redwood trees will have the best chance to thrive and grow tall and strong . Don’t get discouraged—gardening is all about patience and learning from your experiences! Happy planting!
Growing Redwood Tree Seeds
Growing redwood trees from seeds is a rewarding and fascinating process that requires patience and care. With the right approach, you can successfully germinate redwood seeds and watch these majestic trees grow into towering giants. Here’s a simple, step-by-step guide to help you get started!
1. Choose the Right Seeds
When starting your redwood tree journey, choosing high-quality seeds is crucial. Look for seeds from a reliable source, preferably fresh and from a well-established redwood tree. You can find redwood seeds online or at local nurseries specializing in native plants.
2. Cold Stratification: Preparing the Seeds
Redwood seeds need a cold period to break dormancy. This process, known as cold stratification, mimics winter conditions. To do this:
- Soak the seeds: Start by soaking them in water for 24 hours to soften the seed coat.
- Chill them: Place the soaked seeds in a plastic bag with some moist sphagnum moss or paper towels. Seal the bag and refrigerate it for about 30 to 60 days. The cold will help the seeds wake up and prepare for germination.
3. Sowing the Seeds
Once your seeds have undergone stratification, it’s time to sow them!
- Prepare a container: Use a shallow tray or small pots with drainage holes.
- Soil mix: Choose a well-draining seed-starting mix. You can also make your own by mixing equal parts of sand, perlite, and peat moss.
- Sow the seeds: Scatter the seeds evenly on the surface of the soil, then lightly press them down. Avoid burying them too deep, as redwood seeds need light to germinate. A light dusting of soil on top is enough.
4. Germination Conditions
Now comes the waiting game. To encourage germination, you need to provide the right conditions:
- Warmth and light: Keep your seed trays in a location that receives indirect sunlight. Aim for a temperature between 60°F to 70°F (15°C to 21°C). A windowsill or under a grow light works perfectly!
- Moisture: Keep the soil lightly moist but not soggy. Use a spray bottle to mist the surface, ensuring it remains damp. Too much water can cause the seeds to rot, so avoid pooling water in the tray.
- Patience: Redwoods can take anywhere from 3 weeks to 3 months to germinate, so be patient. If you don’t see immediate results, don’t worry—it’s normal!
5. Caring for Seedlings
Once your redwood seeds have sprouted, it’s important to take care of the seedlings:
- Provide light: Once the seeds have germinated, they will need plenty of light. If they’re growing indoors, make sure they get at least 12–14 hours of light per day.
- Water gently: Water the seedlings regularly but gently to avoid disturbing the delicate roots.
- Thin out: If multiple seeds sprouted too closely together, thin them out by removing the weaker seedlings. This ensures the stronger ones have enough room to grow.
6. Transplanting to Larger Pots or Outdoors
When your seedlings are strong enough to handle their own, it’s time to transplant them.
- Larger pots: If you’re growing them indoors for now, move them to bigger pots to allow their roots to spread.
- Outdoors: If you’re ready to plant outdoors, choose a sunny location with well-draining soil. Redwood trees need space to grow, so pick a spot where they can thrive for years to come.
7. Watch Them Grow!
Redwood trees are slow growers, especially in their early years. But with time, your tiny seedling will begin to grow taller and more robust. Remember to keep an eye on water levels, provide sunlight, and ensure the soil is not too compacted.
Final Tips for Success
- Patience is key: Germinating redwood seeds can take time, but the results are worth the wait!
- Protection from pests: Keep an eye out for pests like aphids or snails, which can harm your young trees. Consider using organic repellents to protect them.
- Keep an eye on temperature and moisture: A consistent environment is vital for redwood seeds. Sudden temperature fluctuations or inconsistent watering can hinder germination.
With these simple steps, you’ll be on your way to growing your own beautiful redwood tree . Enjoy the journey, and soon you’ll have a towering tree to be proud of!
Conclusion
Growing a redwood tree from seed is an incredibly rewarding process, even though it requires patience and attention to detail. From understanding the importance of proper stratification to providing the right soil, light, and care, each step is crucial for ensuring the success of your redwood tree seeds. While the process may take time, the result will be worth it—watching your seed transform into a towering, majestic tree that stands as a testament to your care and dedication.

Remember, the key to successful germination and growth is consistency. Whether you’re starting your redwood tree seeds indoors or outdoors, with the proper guidance, you’ll be well on your way to nurturing a healthy, thriving redwood tree.
Don’t forget, patience is essential, and every step you take will bring you closer to witnessing the incredible growth of your redwood. Ready to start your journey? Begin planting today and enjoy the beauty of a redwood tree in your own space! Feel free to share your experiences and questions in the comments below—we’d love to hear about your progress. Happy gardening!