
Imagine harvesting plump, aromatic garlic bulbs from your garden, even if you missed the traditional fall planting season! Planting garlic in spring is not only possible but can yield a deliciously rewarding crop with the right know-how. Whether you’re a beginner gardener or a seasoned green thumb, this comprehensive guide will walk you through every step to grow thriving garlic in spring. As a horticulturist with over a decade of experience in organic gardening, I’ve successfully grown garlic in various climates and am excited to share proven techniques to ensure your success. From choosing the best varieties to harvesting and storing your bulbs, this article covers it all, solving the challenge of spring planting with expert precision. Let’s dig in and grow a bountiful garlic harvest! 🧑🌾
Why Plant Garlic in Spring? 🌸
Spring planting offers a fantastic opportunity for gardeners who missed the fall window or live in regions with mild winters. Garlic, known for its culinary versatility and health benefits (like boosting immunity), thrives when planted in cooler seasons, but spring planting can work wonders with proper care.
Benefits of Spring Planting 🧄
- Flexibility: Spring planting accommodates gardeners who couldn’t plant in fall due to time constraints or weather.
- Mild Winter Regions: Areas with short or mild winters (e.g., USDA Zones 7–9) are ideal for spring garlic.
- Unique Varieties: Spring planting allows experimentation with garlic types that perform well in shorter growing seasons.
Challenges to Overcome ⚠️
Spring-planted garlic faces a shorter growing season, which may result in smaller bulbs compared to fall-planted crops. Soil preparation, timing, and variety selection are critical to counter these challenges. For example, fall-planted garlic benefits from a cold vernalization period, which spring garlic may need to mimic through specific techniques (more on this later). With my experience growing garlic in Zone 6, I’ve found that choosing the right variety and optimizing soil conditions can make spring planting just as rewarding.
Choosing the Right Garlic Varieties for Spring Planting 🌱
Selecting the appropriate garlic variety is the foundation of a successful spring crop. Garlic comes in two main types: softneck and hardneck, each with unique traits.
Softneck vs. Hardneck Garlic 🧄
- Softneck Garlic: Varieties like ‘California Early’ or ‘Silverskin’ are ideal for spring planting due to their adaptability and shorter growing period. They store well and produce multiple layers of cloves.
- Hardneck Garlic: Varieties like ‘Music’ or ‘Chesnok Red’ are better suited for cooler climates (Zones 3–6) but require careful timing in spring. They produce scapes (edible flower stalks) and fewer, larger cloves.
- Expert Tip: Softneck varieties often outperform hardnecks in spring due to their lower vernalization needs. For beginners, I recommend starting with ‘Inchelium Red’ for its robust flavor and spring adaptability.
Where to Source Quality Garlic Bulbs 🛒
Always purchase certified, disease-free garlic bulbs from reputable suppliers like Filaree Farm or Territorial Seed Company. Avoid grocery store garlic, as it’s often treated with sprout inhibitors, reducing germination success. In my years of gardening, I’ve seen crops fail due to poor-quality bulbs, so investing in high-quality seed garlic is non-negotiable.
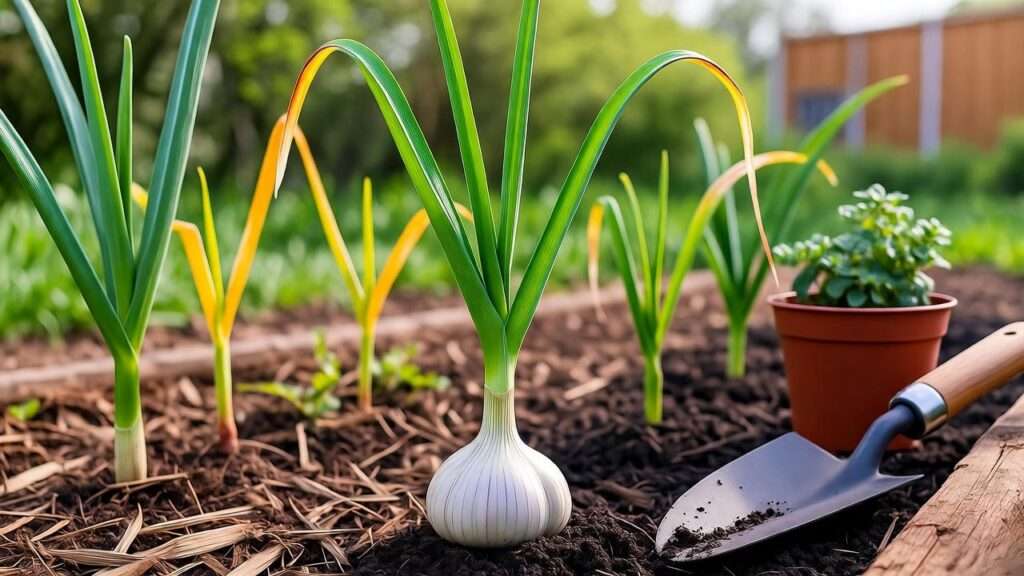
Preparing Your Garden for Spring Garlic Planting 🏡
Proper garden preparation sets the stage for healthy garlic growth. Garlic thrives in well-drained, nutrient-rich soil with ample sunlight.
Soil Requirements 🌍
Garlic prefers a soil pH of 6.0–7.0. Test your soil using a home kit or send a sample to your local extension service. Amend soil with organic matter like compost or aged manure to improve fertility and drainage. I recommend adding bone meal or fish emulsion for a phosphorus boost, which supports root development. In my own garden, incorporating 2–3 inches of compost has consistently resulted in larger, healthier bulbs.
Site Selection and Sunlight ☀️
Choose a garden bed that receives 6–8 hours of direct sunlight daily. Avoid low-lying areas prone to waterlogging, as garlic roots rot in overly wet conditions. Raised beds are an excellent option for poor-draining soils. One mistake I’ve seen novice gardeners make is planting in shaded areas, which stunts growth and reduces bulb size.
Timing Your Spring Planting 📅
Plant garlic in early spring, after the last frost, when soil temperatures reach 45–50°F. For example, in USDA Zone 6, this typically means mid-March to early April. Check your local frost dates to pinpoint the ideal window. If you’re in a warmer zone (e.g., Zone 8), you may plant as early as February. Timing is crucial to give garlic enough time to develop before summer heat.
Step-by-Step Guide to Planting Garlic in Spring 🌱
Follow these detailed steps to plant garlic correctly and set your crop up for success.
Step 1: Preparing Garlic Cloves 🧄
Separate garlic bulbs into individual cloves just before planting, keeping the papery skin intact. Avoid damaging the base of each clove, as this is where roots form. For extra protection, soak cloves in a diluted organic solution (e.g., 1 tablespoon baking soda per gallon of water) for 10 minutes to prevent fungal diseases.
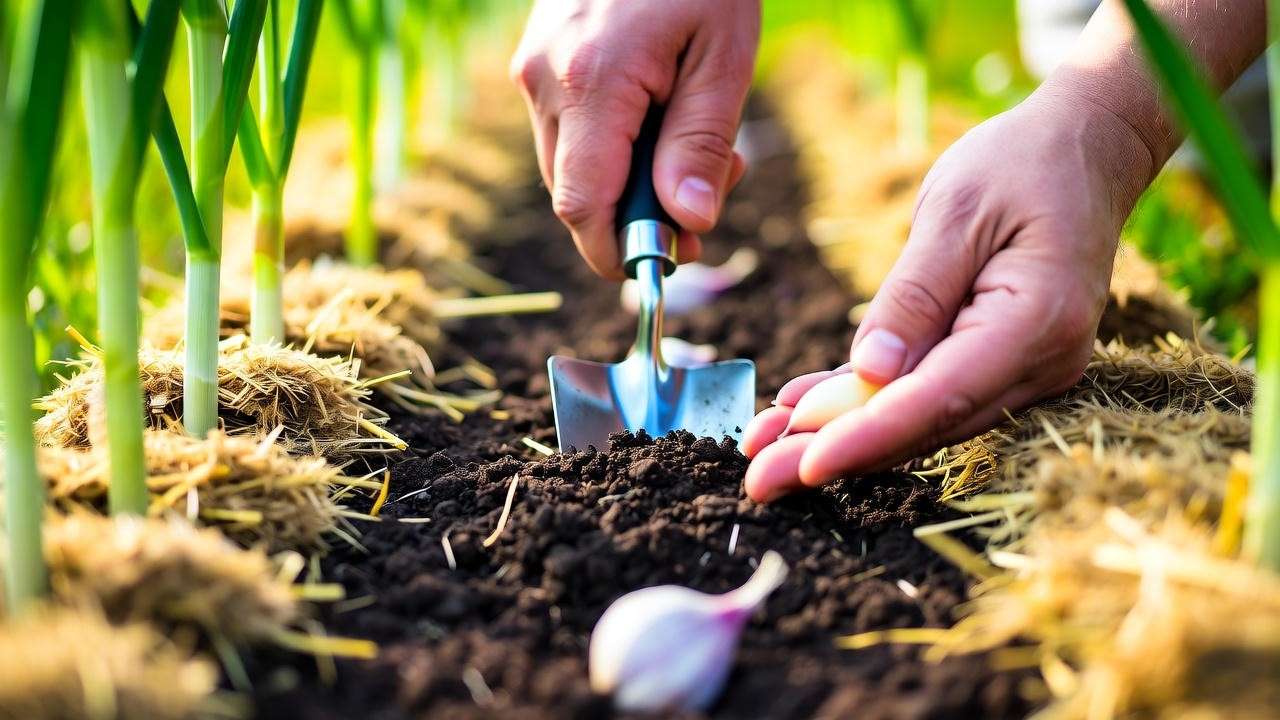
Step 2: Planting Technique 📏
Plant cloves pointed end up, 2 inches deep, and 4–6 inches apart in rows spaced 8–12 inches apart. This spacing ensures adequate airflow and room for bulb development. In my garden, I use a dibber to create uniform holes, making planting faster and more precise. For visual learners, imagine a grid layout: each clove is a node, with rows forming a neat pattern.
Step 3: Mulching and Watering 💧
Cover the planted area with 2–4 inches of organic mulch, like straw or grass clippings, to retain moisture and suppress weeds. Water thoroughly after planting to settle the soil, then maintain consistent moisture (about 1 inch per week). Overwatering is a common pitfall in spring’s wet conditions, so check soil moisture before watering.
Caring for Spring-Planted Garlic 🌿
Ongoing care is essential to nurture your garlic from planting to harvest.
Watering and Fertilizing 💦
Garlic needs about 1 inch of water per week, adjusted for rainfall. Use a soaker hose for even watering. Fertilize at planting, then again at 4 and 8 weeks with an organic option like compost tea or fish emulsion. I’ve found that a balanced fertilizer (e.g., 10-10-10) applied sparingly prevents nutrient burn while promoting growth.
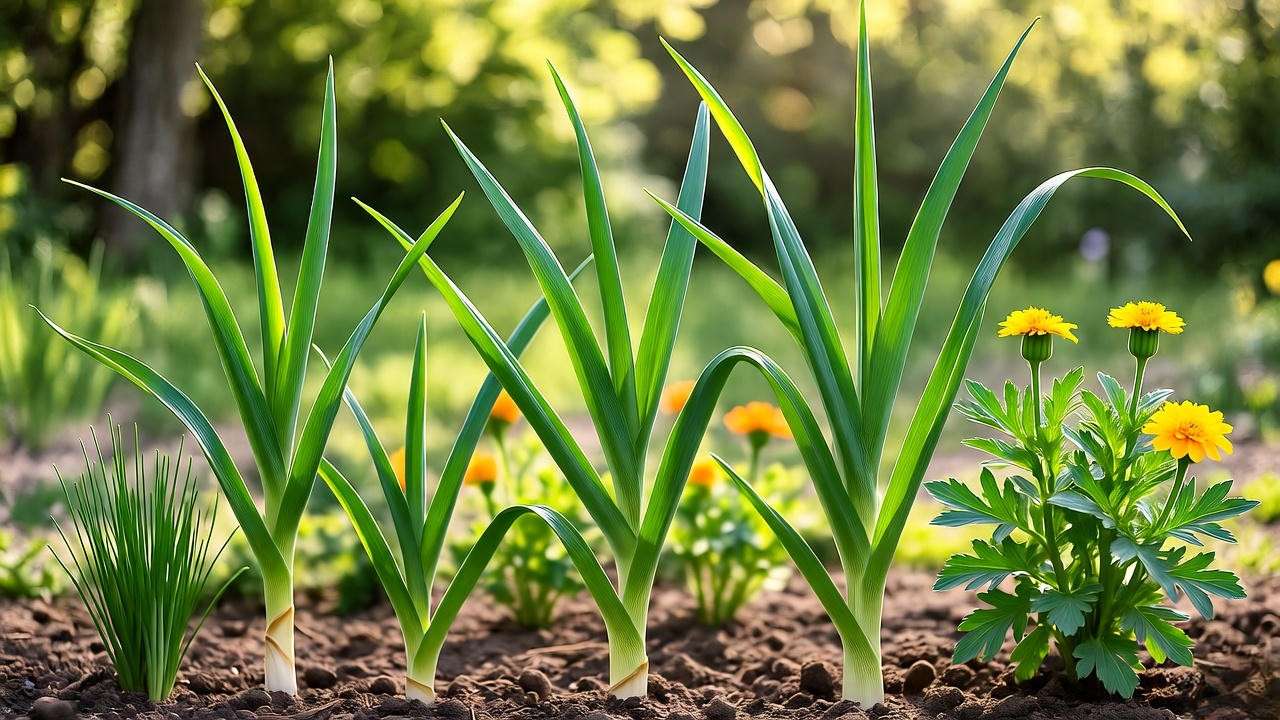
Weed and Pest Management 🐛
Weeds compete with garlic for nutrients, so hand-pull or hoe regularly. Organic mulch helps, but stay vigilant. Common pests include onion maggots and aphids. Introduce companion plants like marigolds or chives to deter pests naturally. In my experience, a garlic-chive border has reduced aphid issues significantly.
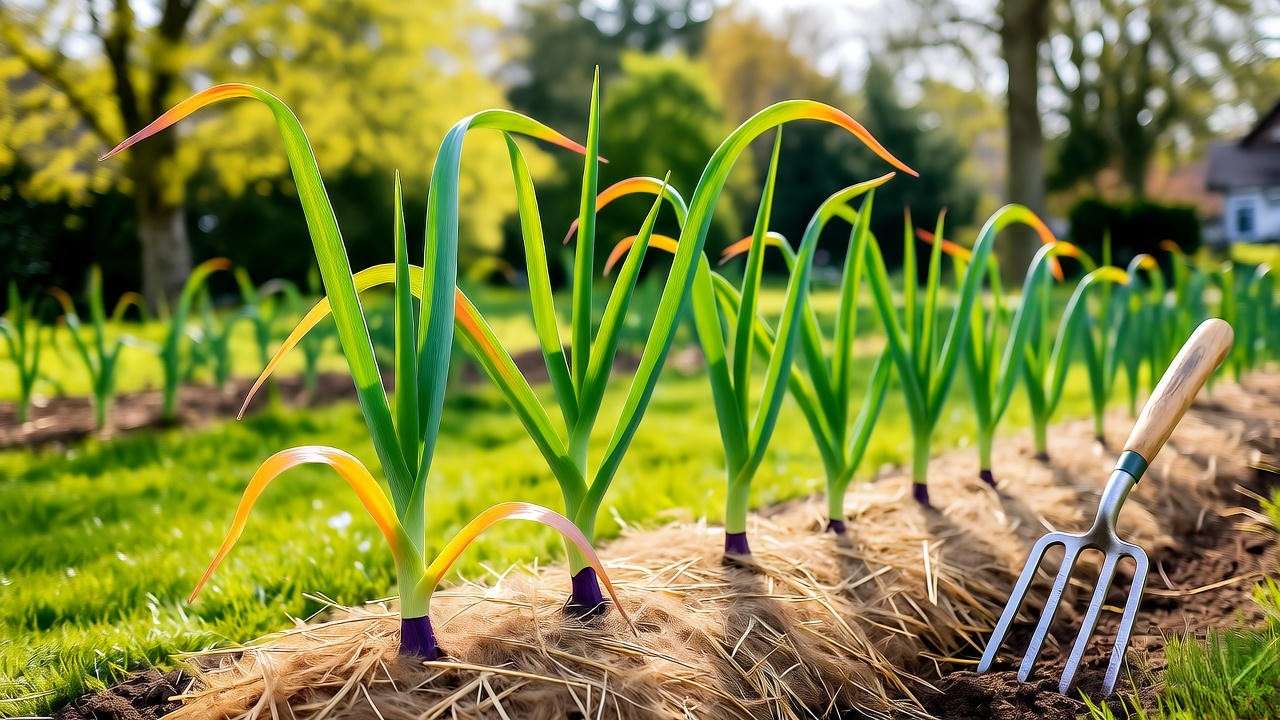
Monitoring Growth Stages 🌱
Garlic sprouts within 1–2 weeks, followed by leaf growth and eventual bulb formation. Healthy plants have vibrant green leaves; yellowing may indicate overwatering or nutrient deficiency. If growth stalls, check for fungal issues like white rot and address them promptly with organic fungicides.
Harvesting Your Spring-Planted Garlic 🧄
Knowing when and how to harvest your garlic ensures you get the best flavor and storage life from your crop.
When to Harvest ⏰
Spring-planted garlic typically matures in 3–4 months, around late summer to early fall (July–September, depending on your region). Look for visual cues: when the lower leaves turn yellow and the tops begin to dry, your garlic is likely ready. To confirm, gently dig up one bulb and check its size and wrapper formation. In my Zone 6 garden, I’ve found that harvesting too early results in small bulbs, while waiting too long risks splitting, so timing is key. Expert Tip: If you’re unsure, test-harvest a single bulb to assess readiness.
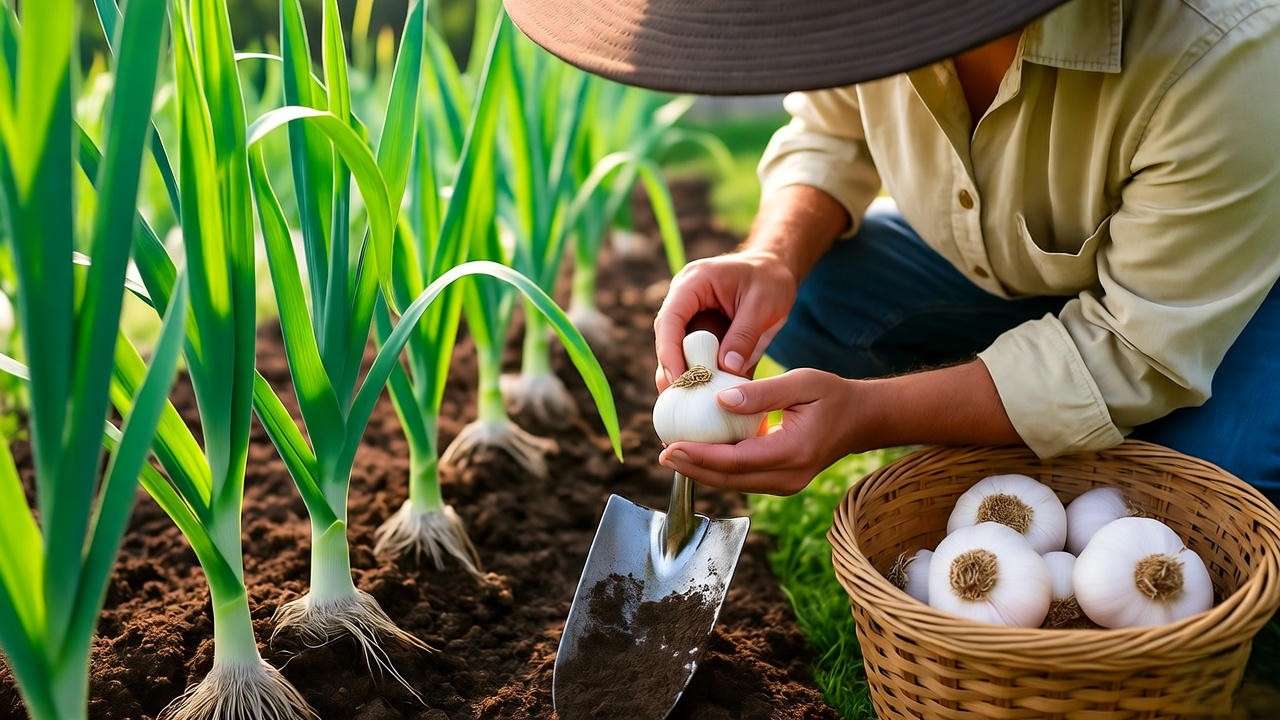
How to Harvest Properly ✂️
Use a garden fork or trowel to carefully lift bulbs, starting a few inches away from the plant to avoid damaging them. Shake off excess soil but don’t wash the bulbs yet. Handle gently to prevent bruising, which can reduce storage life. I’ve seen many gardeners accidentally slice bulbs during harvest, so take your time and dig slowly.
Storing Your Garlic for Longevity 🗄️
After harvesting, cure garlic in a dry, well-ventilated area (like a garage or shed) for 2–3 weeks. Lay bulbs in a single layer or hang them in bundles to ensure airflow. Once cured, trim roots and cut stems to about 1 inch. Store in mesh bags or baskets at 50–60°F with low humidity. Softneck garlic can last 6–12 months, while hardnecks typically store for 4–6 months. Braiding softneck garlic is a fun, decorative storage option I often use for my own harvest.

Common Mistakes to Avoid When Planting Garlic in Spring 🚫
Even experienced gardeners can make errors when adapting to spring planting. Here are pitfalls to steer clear of:
- Planting Too Late: Waiting past early spring shortens the growing season, leading to smaller bulbs. Aim for post-frost planting when soil is workable.
- Using Poor-Quality Bulbs: Non-certified bulbs may carry diseases or fail to sprout. Always source from trusted suppliers.
- Overwatering: Spring’s naturally wet conditions can lead to root rot. Check soil moisture before watering.
- Neglecting Weeds: Weeds compete aggressively with young garlic. Regular weeding or heavy mulching is essential.
- Case Study: Last spring, a friend planted garlic too shallowly (1 inch deep) and lost half her crop to poor root development. By following the 2-inch depth rule and mulching properly, she doubled her yield the next season.
Expert Tips for Maximizing Your Garlic Harvest 🌟
To elevate your spring garlic game, try these proven strategies from my years of gardening:
- Crop Rotation: Rotate garlic with non-allium crops (e.g., lettuce or beans) annually to prevent soil-borne diseases like fusarium.
- Green Garlic: Harvest young garlic shoots (green garlic) in early summer for a mild, onion-like flavor in salads or stir-fries.
- Save Seed Garlic: Reserve your largest, healthiest bulbs for next season’s planting to improve crop quality over time.
- Vernalization Hack: For hardneck varieties, mimic fall’s cold period by refrigerating cloves for 4–6 weeks before planting to boost bulb formation.
FAQs About Planting Garlic in Spring ❓
Here are answers to common questions gardeners ask about spring garlic planting, based on my experience and community feedback:
- Can you plant garlic in spring and still get large bulbs? 🧄
Yes, with proper variety selection (e.g., softneck) and optimal care, spring-planted garlic can produce sizable bulbs, though they may be slightly smaller than fall-planted ones. - What’s the best mulch for spring-planted garlic? 🌾
Organic mulch like straw or grass clippings works best, retaining moisture and suppressing weeds. Avoid heavy materials like wood chips, which can trap too much water. - How do I know if my garlic is ready to harvest? ⏰
Look for yellowing lower leaves and drying tops. Dig up a test bulb to check for well-formed wrappers and plump cloves. - Can I plant garlic in containers? 🪴
Absolutely! Use a pot at least 12 inches deep with good drainage. Plant 3–4 cloves per 6-inch pot, ensuring full sun and consistent watering.
Conclusion: Grow Your Best Garlic Crop This Spring! 🌱
Planting garlic in spring is a rewarding way to enjoy homegrown flavor, even if you missed the fall season. By choosing the right varieties, preparing your soil meticulously, and following proper planting and care techniques, you can harvest plump, delicious bulbs by summer’s end. This guide, informed by over a decade of organic gardening experience, equips you with everything you need to succeed—whether you’re a beginner or a seasoned gardener. Start your spring garlic journey today, and share your progress in the comments below! Explore more plant care tips on our site to keep your garden thriving. 🌿


