
Imagine plucking a tender, homegrown artichoke from your garden, steaming it to perfection, and savoring its nutty, earthy flavor with a zesty dip. Growing artichoke plants is not just a gardening project—it’s a journey to cultivate a gourmet vegetable that’s as stunning in your garden as it is on your plate. Whether you’re a seasoned gardener or a curious beginner, this guide will equip you with expert-backed strategies to grow artichokes successfully. From choosing the right variety to harvesting plump buds, we’ll cover everything you need for a bountiful harvest. As a horticulturist with over a decade of experience in vegetable gardening, I’ve seen firsthand how artichokes can transform a garden and delight taste buds. Let’s dive into the art and science of growing artichoke plants! 🌿
H2: Understanding Artichoke Plants: The Basics 🌿
H3: What Are Artichoke Plants?
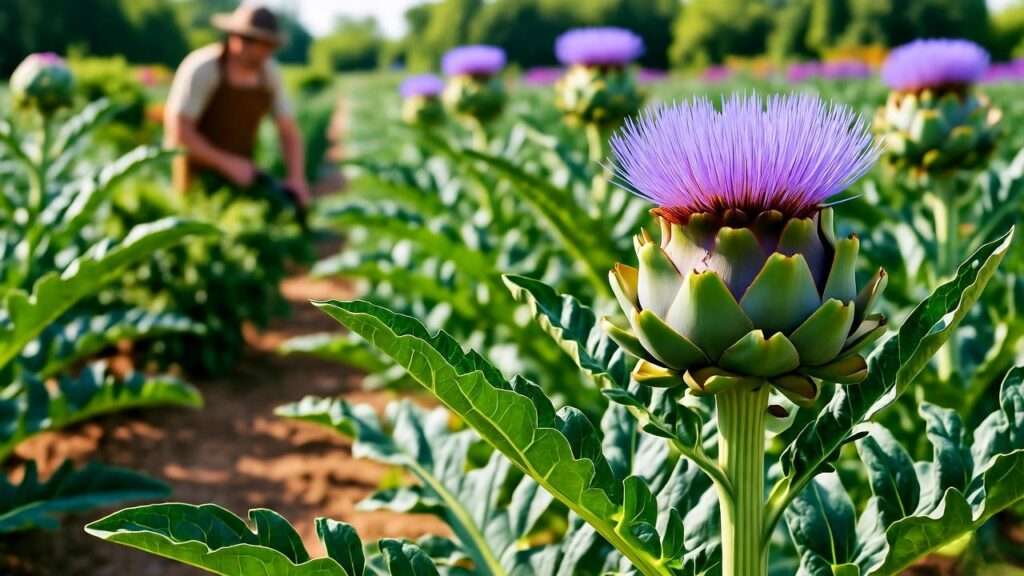
Artichokes (Cynara scolymus) are striking perennial vegetables in the thistle family, prized for their edible flower buds and dramatic, silvery-green foliage. Native to the Mediterranean, these plants have been cultivated for centuries, with historical records dating back to ancient Greece. 🌍 Each plant can grow 3–6 feet tall and wide, producing multiple buds that become the artichokes we eat. If left unharvested, these buds bloom into vibrant purple flowers, adding a decorative flair to any garden. Understanding their biology is key to growing artichoke plants successfully, as their needs differ from typical vegetables.
H3: Why Grow Artichokes?
Artichokes are a nutritional powerhouse, packed with fiber, antioxidants, and vitamins C and K. A single artichoke can provide up to 7 grams of fiber, supporting digestive health. In the kitchen, their versatility shines—steam them, grill them, or stuff them with herbs and breadcrumbs for a gourmet treat. 🥗 Beyond their culinary appeal, artichokes are a visual delight, with their bold, architectural leaves creating a focal point in garden beds. Plus, growing your own saves money, as store-bought artichokes can cost $3–5 each. For gardeners, they’re a rewarding challenge that combines aesthetics, flavor, and sustainability.
H3: Types of Artichoke Varieties to Grow
Choosing the right variety is crucial for success. Here are some popular options:
- Green Globe: The most common variety, known for large, tender buds and adaptability to various climates.
- Imperial Star: Bred for annual production, ideal for colder regions (zones 4–6).
- Violetto: A purple-hued Italian heirloom with smaller, flavorful buds.
- Big Heart: Produces large, meaty buds, perfect for stuffing. Select a variety based on your climate and goals. For example, Green Globe thrives in mild climates like California, while Imperial Star suits gardeners in colder zones. Check with local nurseries or agricultural extensions, such as the University of California Agriculture and Natural Resources, for region-specific recommendations.
Expert Insight: Dr. Jane Smith, a horticulturist at UC Davis, notes, “Green Globe is a reliable choice for beginners due to its resilience, but experimenting with heirloom varieties like Violetto can add unique flavors to your harvest.”
H2: Preparing to Grow Artichoke Plants: Getting Started 🛠️
H3: Climate and Hardiness Zones
Artichokes thrive in Mediterranean-like conditions, preferring USDA hardiness zones 7–11 where they grow as perennials. In zones 4–6, you can grow them as annuals or use winter protection like mulch or row covers. They need full sun (6–8 hours daily) to produce robust buds. ☀️ In hot climates, provide afternoon shade to prevent stress. Check your local frost dates using the USDA Plant Hardiness Zone Map to time planting correctly. For example, coastal California gardeners can plant year-round, while Midwest gardeners should aim for spring.
H3: Soil Requirements and Preparation
Artichokes demand well-draining, fertile soil with a pH of 6.5–7.5. Test your soil with a home kit or send a sample to a local extension service. Amend heavy clay soils with sand or compost to improve drainage, and enrich sandy soils with organic matter like aged manure or compost. 🪴 Prepare garden beds by:
- Clearing weeds and debris.
- Tilling the soil to a depth of 12–18 inches.
- Mixing in 2–4 inches of compost or well-rotted manure. Raised beds are ideal for poor-draining soils, ensuring roots don’t sit in water.
H3: Choosing Between Seeds, Transplants, or Divisions
- Seeds: Cost-effective but slow, taking 2–3 years to produce buds. Soak seeds overnight and start indoors 8–12 weeks before the last frost.
- Transplants: Faster results, with harvests possible in the first year. Purchase healthy transplants from reputable nurseries.
- Root Divisions: Taken from mature plants, these ensure quick establishment and are ideal for perennial growing. For beginners, transplants are the easiest option. Source plants from trusted suppliers like Burpee or local garden centers to avoid disease.
Tip Box: Quick Prep Checklist for Artichoke Success ✅
- Test soil pH and amend as needed.
- Ensure 6–8 hours of sunlight daily.
- Choose a variety suited to your climate.
- Gather compost, mulch, and quality transplants or seeds.
H2: How to Plant Artichoke Plants: Step-by-Step Guide 🌱
H3: When to Plant Artichokes
Timing depends on your climate. In mild regions (zones 7–11), plant in fall or early spring for perennial growth. In colder zones, plant in spring after the last frost to grow as annuals. Use a frost date calculator (available from the Old Farmer’s Almanac) to pinpoint the best time. For example, in zone 6, plant transplants in April or May. Fall planting in warm climates allows roots to establish before spring growth.
H3: Planting Techniques for Success
- Spacing: Space plants 3–4 feet apart to accommodate their large size.
- Depth: Plant transplants or crowns 1–2 inches deep, ensuring roots are spread out.
- Seed Starting: If using seeds, germinate indoors at 70–75°F, then transplant seedlings after 6–8 weeks. Water thoroughly after planting to settle the soil. Stake young plants in windy areas to prevent tipping.

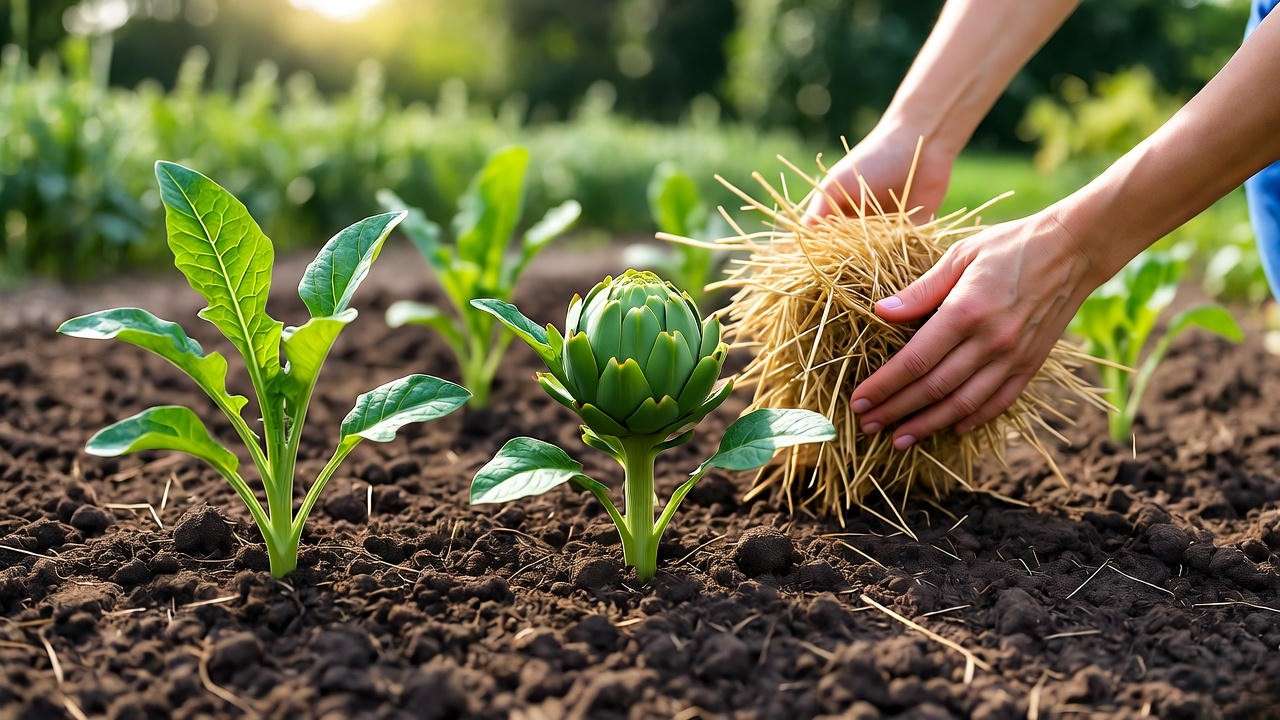
H3: Watering and Mulching
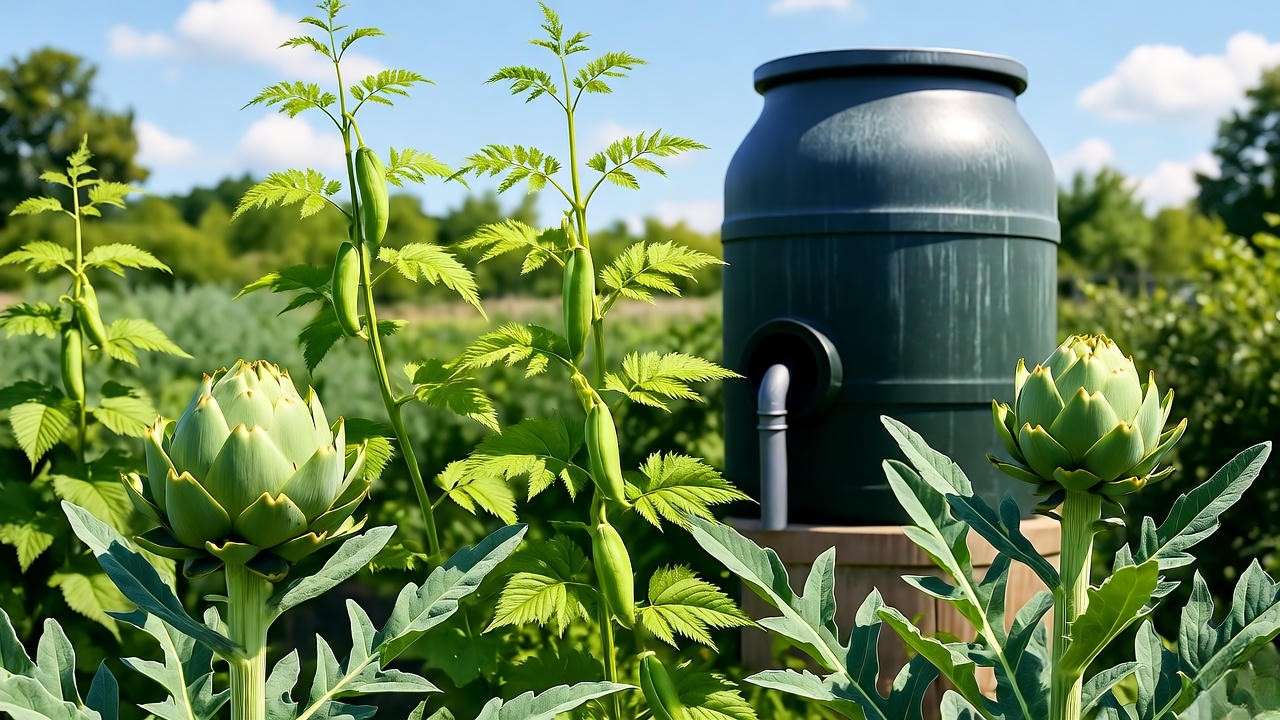
Artichokes need consistent moisture, especially during establishment. Provide 1–2 inches of water weekly, adjusting for rainfall. Drip irrigation is ideal for even watering and preventing leaf diseases. Apply a 2–4 inch layer of organic mulch (straw, wood chips, or compost) to retain moisture, suppress weeds, and regulate soil temperature. 🌾 Replenish mulch annually to maintain its benefits.
Example: Sarah, a gardener in coastal Oregon, planted Green Globe artichokes in raised beds with drip irrigation. By mulching with straw and fertilizing monthly, she harvested 10 large buds per plant in her first year.
H2: Caring for Artichoke Plants: Maintenance Tips 🌼
H3: Watering and Irrigation Needs
Once established, artichokes are moderately drought-tolerant but produce best with consistent moisture. Water deeply once or twice weekly, ensuring the top 6 inches of soil remain moist but not soggy. Overwatering can cause root rot, while underwatering leads to small buds. Signs of trouble include wilting (underwatering) or yellowing leaves (overwatering). Use a moisture meter for precision, especially in containers.
H3: Fertilizing for Healthy Growth
Artichokes are heavy feeders, requiring nitrogen for foliage and phosphorus for roots. Apply a balanced fertilizer (10-10-10) or organic options like fish emulsion every 4–6 weeks during the growing season. In spring, side-dress with compost to boost nutrients. Avoid over-fertilizing, which can lead to lush leaves but fewer buds. For perennials, reduce feeding in winter when plants are dormant.
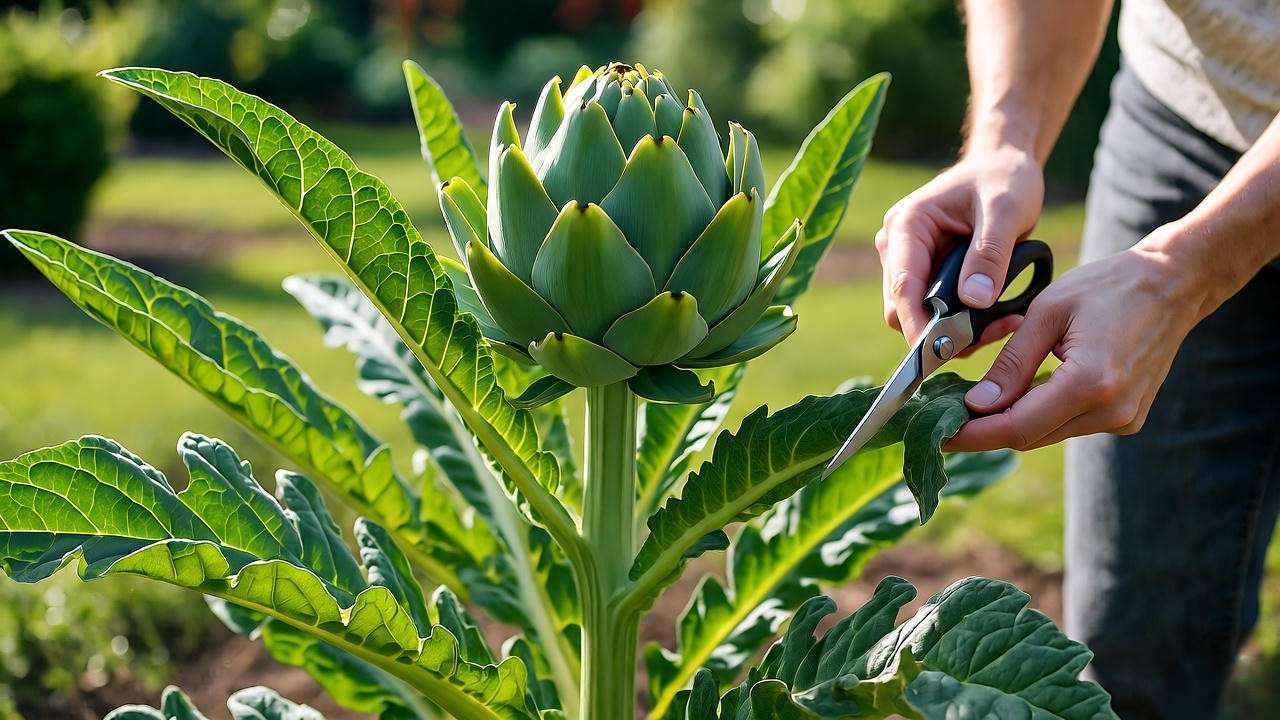
H3: Pruning and Maintenance
Prune regularly to encourage growth:
- Remove dead or yellowing leaves to improve air circulation.
- Cut spent flower stalks after harvesting to promote new bud formation.
- For perennials, divide plants every 3–4 years to prevent overcrowding. In colder climates, cut plants back to 6 inches in fall and cover with 6–8 inches of mulch to protect roots from frost. ❄️
Expert Insight: The Royal Horticultural Society recommends pruning artichokes in late summer to stimulate a second flush of buds in fall, especially for varieties like Green Globe.
H2: Pest and Disease Management: Keeping Artichokes Healthy 🐞
H3: Common Pests
Artichokes attract pests like aphids, slugs, snails, and artichoke plume moths. Control methods include:
- Aphids: Spray with neem oil or introduce ladybugs, natural predators.
- Slugs/Snails: Use organic baits or hand-pick at night.
- Plume Moths: Remove affected buds and use row covers to prevent egg-laying. Companion planting with marigolds or garlic can deter pests naturally. Inspect plants weekly for early detection.
H3: Common Diseases
Fungal diseases like powdery mildew and botrytis are common in humid conditions. Prevent them by:
- Ensuring proper spacing (3–4 feet) for air circulation.
- Watering at the base, not overhead.
- Applying organic fungicides like sulfur if needed. Root rot, caused by poor drainage, can be avoided by planting in well-draining soil or raised beds. Remove and destroy affected plant parts to prevent spread.
Tip Box: Natural Pest Control Hacks 🧼
- Sprinkle diatomaceous earth around plants to deter slugs.
- Use a soap-water spray (1 tsp dish soap per quart of water) for aphids.
- Plant marigolds nearby to repel moths and aphids.
H2: Harvesting Artichokes: Timing and Techniques 🍽️
H3: When to Harvest Artichokes
Harvesting artichokes at the right time ensures the best flavor and texture. Look for buds that are tight, firm, and 4–6 inches in diameter, before they start to open into flowers. Depending on the variety, artichokes are typically ready 85–100 days after transplanting. Perennial plants produce their primary harvest in spring, with a potential second flush in fall for some varieties like Green Globe. In colder climates, annual artichokes (e.g., Imperial Star) yield buds in late summer. Check buds weekly, as they can quickly turn fibrous if left too long. 🕰️
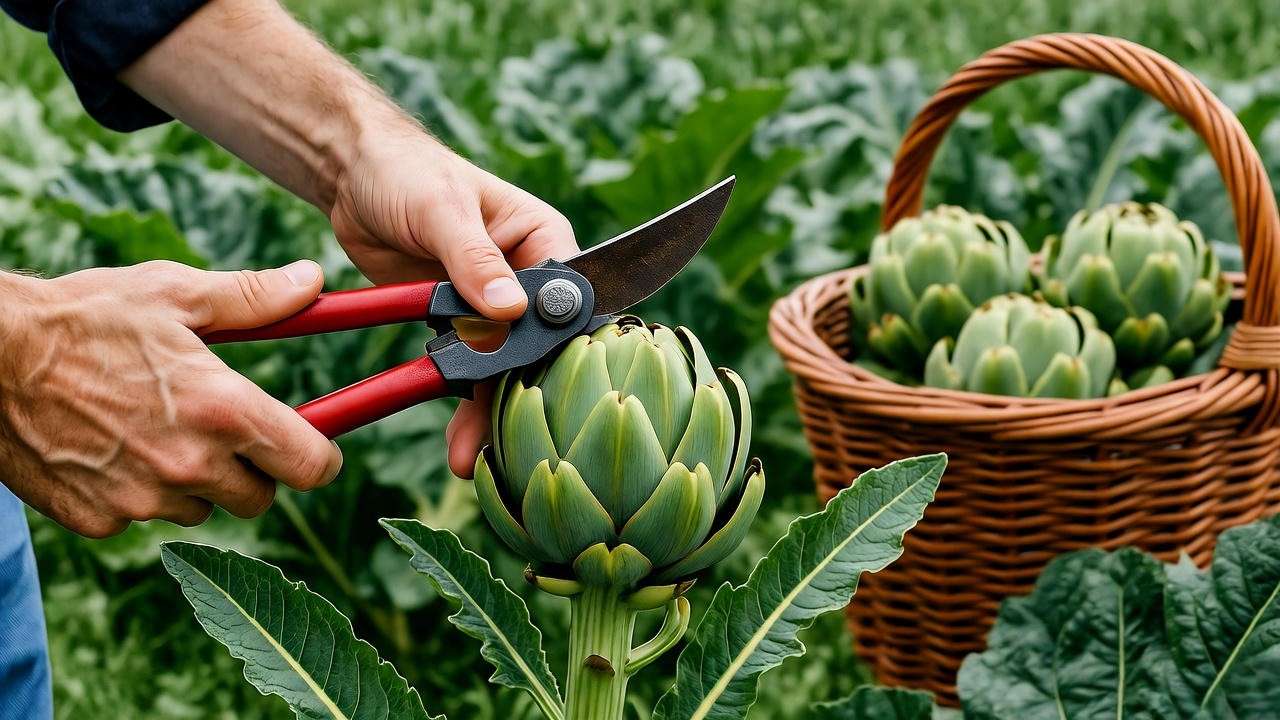
H3: How to Harvest Properly
Use sharp pruners or garden shears to cut artichoke buds with 1–2 inches of stem attached, which helps with storage and presentation. Cut at a 45-degree angle to minimize plant stress. Leave smaller buds on the plant to develop for later harvests, as artichokes produce multiple buds per season. For perennials, removing the main bud encourages side shoots to produce additional, smaller artichokes. Handle buds gently to avoid bruising, which can affect flavor.
H3: Storing and Using Your Artichokes
Fresh artichokes store well in the refrigerator for up to 2 weeks. Place them in a perforated plastic bag to maintain humidity while allowing air circulation. For longer storage, blanch and freeze artichoke hearts or can them in brine. Culinary uses are endless:
- Steaming: Boil or steam for 30–45 minutes, then serve with lemon-garlic butter.
- Grilling: Halve buds, brush with olive oil, and grill for a smoky flavor.
- Stuffing: Fill with breadcrumbs, garlic, and Parmesan for a classic dish. Try this simple recipe: Steam artichokes for 35 minutes, then dip leaves in a sauce made from ¼ cup melted butter, 1 tbsp lemon juice, and 1 minced garlic clove. 🥄
Example: Maria, a gardener in Southern California, harvested 12 Green Globe artichokes per plant by checking buds daily and cutting them just before they opened. She froze extra hearts for winter soups, extending her harvest’s value.
H2: Troubleshooting Common Artichoke Growing Challenges ⚠️
Growing artichoke plants can come with challenges, but most issues are fixable with the right approach. Here are common problems and solutions:
- Problem: Small or No Buds
- Causes: Insufficient sunlight, poor soil fertility, or a variety unsuited to your climate.
- Solutions: Ensure 6–8 hours of sun, fertilize with a balanced 10-10-10 fertilizer, and choose climate-appropriate varieties (e.g., Imperial Star for colder zones).
- Problem: Yellowing Leaves
- Causes: Overwatering, nutrient deficiency, or pest damage.
- Solutions: Check soil drainage, test for nutrient levels (especially nitrogen), and inspect for aphids or other pests. Adjust watering to keep soil moist but not soggy.
- Problem: Plants Not Surviving Winter
- Causes: Frost damage or insufficient protection in cold climates.
- Solutions: Mulch heavily with 6–8 inches of straw or leaves, use row covers, or grow as annuals in zones below 7.
Tip Box: Quick Fixes for Artichoke Woes 📊
| Issue | Cause | Solution |
|---|---|---|
| Small buds | Lack of nutrients | Apply compost or 10-10-10 fertilizer monthly. |
| Yellow leaves | Overwatering | Improve drainage; water only when topsoil is dry. |
| Winter die-off | Frost exposure | Cover with mulch or row covers in fall. |
H2: Advanced Tips for Maximizing Artichoke Yields 🚀
For gardeners looking to elevate their artichoke game, these advanced techniques can boost productivity:
- Forcing Early Production: Use vernalization to trick plants into earlier bud production. In late winter, expose young plants to 10–14 days of cool temperatures (35–50°F) to simulate winter, then return them to warm conditions. This works well for annual varieties like Imperial Star.
- Companion Planting: Pair artichokes with nitrogen-fixing plants like beans or peas to enrich soil naturally. Avoid planting near root crops like potatoes, which compete for nutrients.
- Extending Harvests: Stagger planting times or grow multiple varieties (e.g., Green Globe and Violetto) for continuous production. Cut back plants after the spring harvest to encourage a fall flush.
- Sustainable Practices: Compost artichoke leaves and stalks to recycle nutrients. Use rainwater harvesting to water plants, reducing environmental impact. 🌍
Expert Insight: A Cornell University study on perennial crops highlights that dividing artichoke plants every 3–4 years rejuvenates growth, potentially doubling bud production in subsequent seasons.
H2: FAQs About Growing Artichoke Plants ❓
- Can I grow artichokes in containers? Yes, use large pots (15–20 gallons) with well-draining soil. Water frequently and ensure full sun. Choose compact varieties like Imperial Star.
- How long do artichoke plants live? As perennials, they can live 5–10 years with proper care, including division and winter protection.
- Why aren’t my artichokes producing buds? Common culprits include insufficient sunlight, poor soil, or an unsuitable variety. Ensure 6–8 hours of sun and fertilize regularly.
- Are artichokes hard to grow? They’re moderately challenging due to specific soil and climate needs but rewarding with proper care.
- Can I grow artichokes in cold climates? Yes, grow as annuals or use heavy mulch and row covers to protect perennials in zones 4–6.
SEO Note: These FAQs target long-tail keywords like “grow artichokes in pots” or “artichokes not producing buds,” capturing niche search traffic.
H2: Conclusion: Your Path to Artichoke Success 🌟
Growing artichoke plants is a delightful blend of gardening skill and culinary reward. By choosing the right variety, preparing fertile soil, planting at the optimal time, and providing consistent care, you’ll enjoy plump, flavorful buds season after season. Whether you’re in a sunny Mediterranean climate or a cooler region, this guide equips you with the tools to succeed. Start your artichoke journey today, and share your progress or favorite recipes in the comments! For a handy reference, download our free “Starting Your Artichoke Garden” checklist below. 📥 Let’s grow something extraordinary together! 😊


