
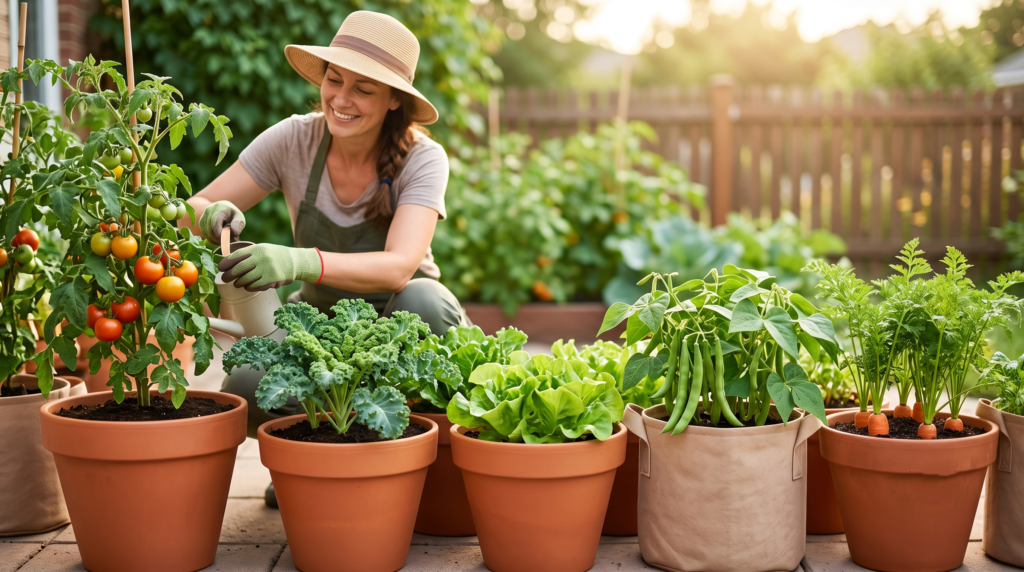
Have you ever noticed that a tomato plant grown in the exact same pot two years in a row suddenly struggles, producing fewer fruits, stunted growth, and yellowing leaves? You are likely not doing anything wrong with your watering schedule or sunlight exposure; instead, you are dealing with a severe case of potted soil exhaustion. When you grow plants in confined spaces, they rapidly deplete specific nutrients and create a breeding ground for soil-borne pathogens. The secret to breaking this frustrating cycle and achieving massive, healthy harvests year after year is learning exactly how to rotate crops in containers.
While traditional farmers and homesteaders have utilized crop rotation for centuries across sprawling acres, applying this proven botanical science to your patio, balcony, or backyard container garden requires a slightly different, highly tailored approach. Over years of diagnosing plant health issues, analyzing soil composition, and testing home gardening techniques, I’ve seen countless gardeners simply throw away expensive bags of potting mix at the end of every season.
In this comprehensive guide, we are going to dive deep into the science of container soil health. You will learn how to mimic the natural soil food web in a closed environment, organize your favorite vegetables into strategic plant families, and implement a foolproof rotation system that saves you money and guarantees a thriving garden. 🌻🍅
🔬 The Science of Soil Exhaustion: Why Rotate in Pots?
Before we look at the how, it is crucial to understand the why. Container gardening is essentially creating a micro-ecosystem. Unlike garden beds where roots can stretch for yards to find trace minerals, a potted plant has a strictly limited reservoir of resources.
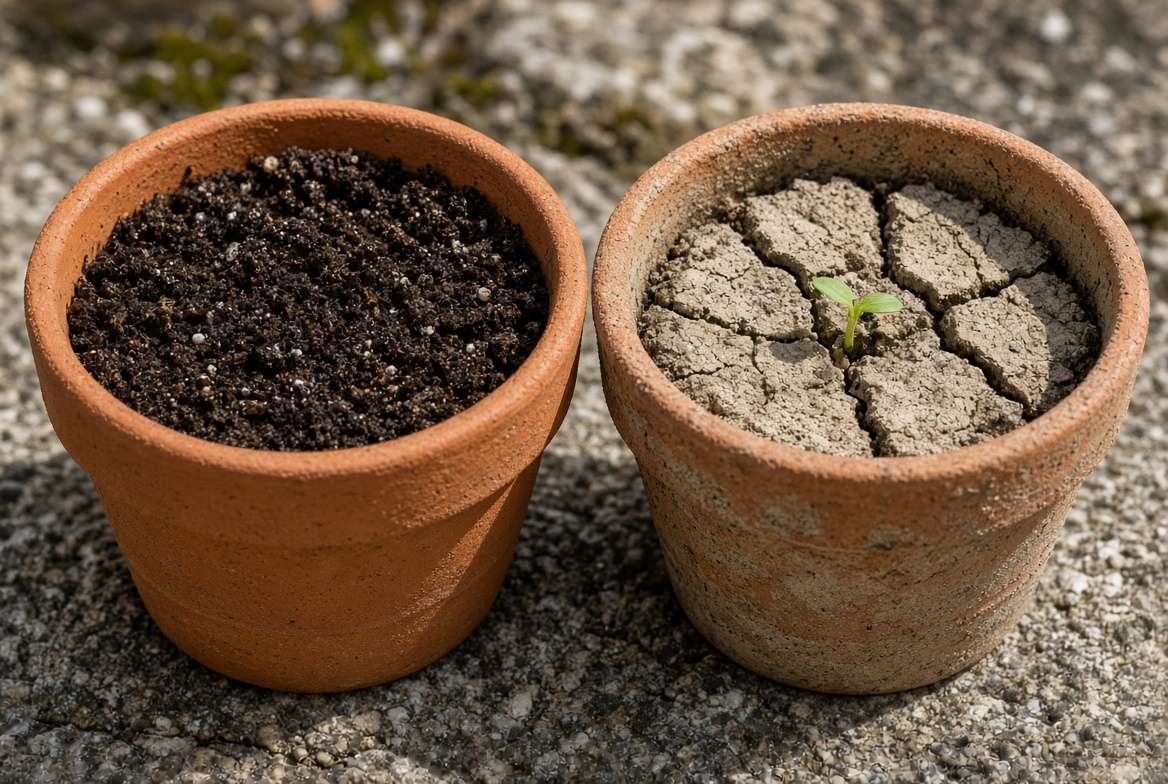
When you skip crop rotation in containers, three massive problems occur:
1. Nutrient Depletion (The “Heavy Feeder” Problem) 🥀
Different plants consume varying ratios of Nitrogen (N), Phosphorus (P), and Potassium (K). For example, leafy greens like spinach and cabbage are nitrogen hogs. If you plant spinach in the same five-gallon bucket three seasons in a row, the soil will become entirely stripped of nitrogen. Even if you fertilize, the natural balance of the potting matrix is compromised.
2. Pathogen and Pest Buildup 🐛
Many pests and fungal diseases are host-specific. Fungi like Verticillium wilt or Fusarium wilt, and pests like root-knot nematodes, love to overwinter in the soil. If they fed on your eggplants last summer, they will lie dormant in that specific pot, waiting for you to plant another eggplant (or its cousin, a pepper) next spring. Rotating crops starves these pathogens by denying them their preferred host.
3. Soil Structure Degradation 🧱
Roots physically alter the potting mix. Deep taproots break up compaction, while dense, shallow fibrous roots can weave the topsoil into an impenetrable mat. Rotating root structures helps aerate the soil naturally, keeping it fluffy and promoting better drainage and oxygen flow for the microscopic fungi and beneficial bacteria that process nutrients.
👨🌾 The 4-Step Container Crop Rotation Strategy
To make crop rotation easy to remember and apply to containers, we organize plants based on their primary nutritional needs and growth habits. This is often referred to as the Leaf-Fruit-Root-Legume Strategy.
Here is how the continuous cycle works in your pots:
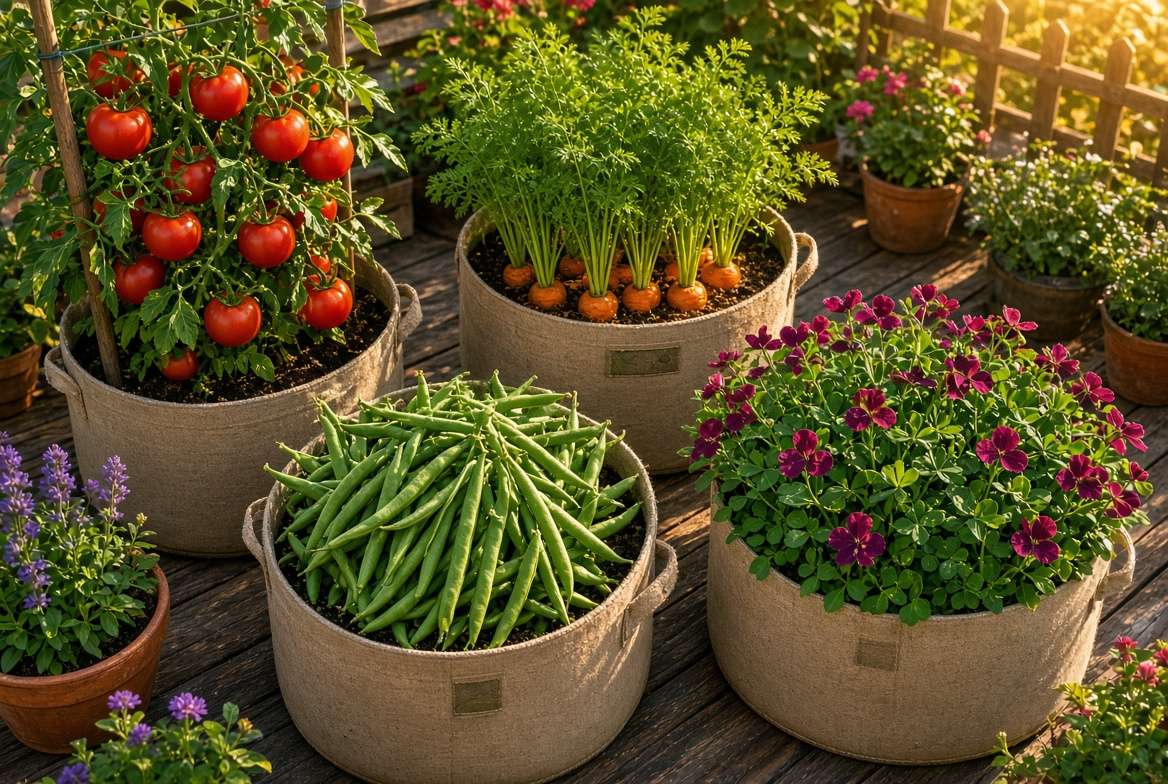
Phase 1: Heavy Feeders (The “Fruit” & “Leaf” Producers) 🍅🥬
These are the most demanding plants in your garden. They require rich soil packed with compost, nitrogen, and balanced minerals to produce large foliage and heavy fruits.
-
Examples: Tomatoes, peppers, eggplants, cucumbers, squash, cabbage, kale, and lettuce.
-
Soil Action: These plants will aggressively drain the soil of organic matter and available nitrogen.
Phase 2: Medium/Light Feeders (The “Root” Crops) 🥕🧅
After the heavy feeders have taken the bulk of the surface nutrients, you plant root crops. Root vegetables do not need excessive nitrogen (too much nitrogen actually gives you beautiful carrot tops but tiny, stunted carrots). They thrive on potassium and phosphorus left behind deeper in the pot.
-
Examples: Carrots, radishes, beets, onions, garlic, and turnips.
-
Soil Action: Their deep growing habits break up the soil compaction caused by the heavy feeders, naturally aerating your potting mix.
Phase 3: Soil Builders (The “Legumes”) 🫛🌱
This is the most critical step for restoring soil vitality without synthetic chemicals. Legumes have a symbiotic relationship with Rhizobium bacteria in the soil. Together, they pull nitrogen straight from the air and “fix” it into nodules on the plant’s roots.
-
Examples: Bush beans, pole beans, peas, and clover.
-
Soil Action: These plants act as natural fertilizers, actively replenishing the nitrogen levels in your container that the heavy feeders depleted two seasons prior.
Phase 4: Rest or Cover Crop (Optional but Highly Recommended) 🌾
For absolute peak soil health, letting a container rest for a season while growing a “green manure” like winter rye, buckwheat, or crimson clover will supercharge the biological life in your pot. You simply chop the cover crop down before it seeds and let it decompose back into the pot.
🪴 Know Your Plant Families: The Key to Disease Prevention
Rotating by nutrient needs is only half the battle. To prevent soil-borne diseases, you must ensure you are not planting members of the same botanical family in the same container consecutively.
Pests and diseases do not care if you switch from a tomato to a potato—to them, it’s all the same food!
The Essential Container Garden Family Guide 📋
| Botanical Family | Common Name | Popular Container Crops | Rotation Rule |
|---|---|---|---|
| Solanaceae | Nightshades | Tomatoes, Peppers, Eggplants, Potatoes, Tomatillos | High Risk: Very susceptible to blights and wilt. Never follow a nightshade with another nightshade. |
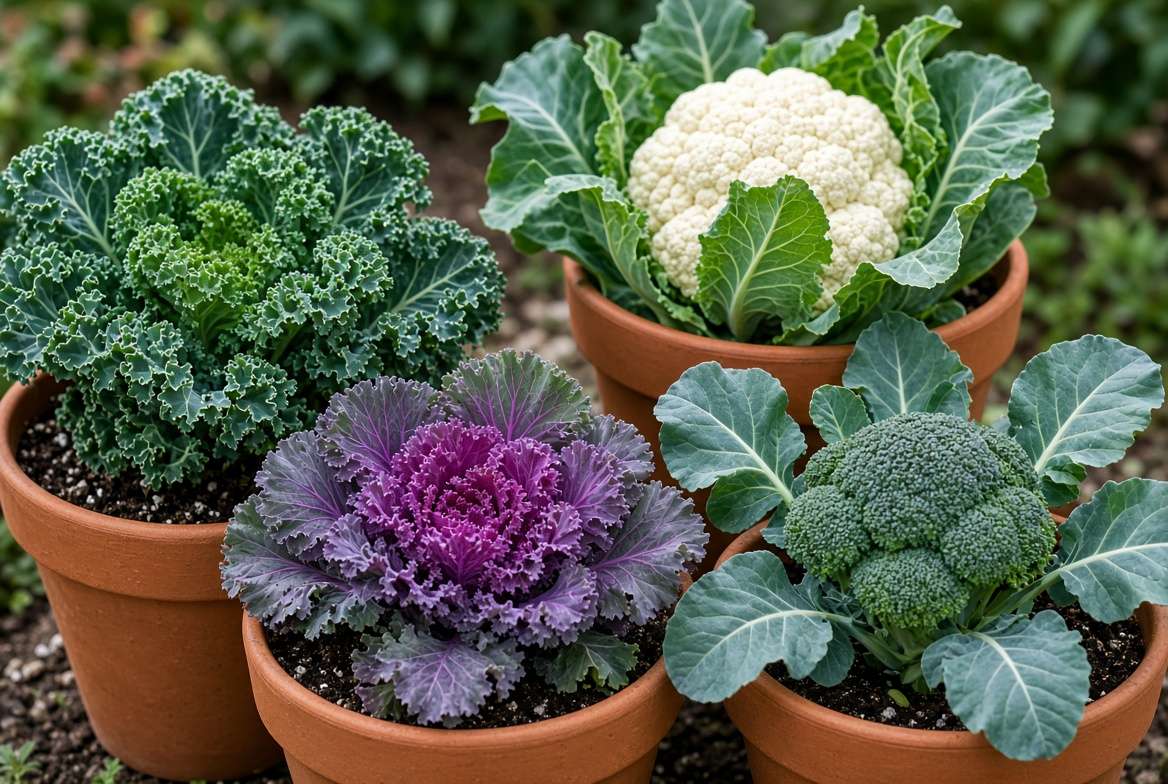
| Brassicaceae | Brassicas/Cole Crops | Broccoli, Cauliflower, Kale, Radishes, Cabbage, Arugula | Heavy Feeders: Susceptible to clubroot. Follow with a legume to restore nitrogen. |
| Fabaceae | Legumes | Peas, Green Beans, Fava Beans, Chickpeas | The Restorers: Plant these to fix nitrogen. Safe to plant before heavy feeders. |
| Cucurbitaceae | Cucurbits/Gourds | Cucumbers, Zucchini, Summer Squash, Melons | Space Hogs: Prone to powdery mildew and squash bugs. Need very rich, fresh soil. |
| Alliaceae | Alliums | Onions, Garlic, Leeks, Chives, Shallots | Pest Deterrents: Great for cleansing the soil. Often planted alongside or after root crops. |
| Apiaceae | Umbellifers | Carrots, Celery, Parsley, Dill, Cilantro | Light Feeders: Perfect to follow heavy fruiters. Their taproots help loosen potting soil. |
(Pro Tip: Bookmark this table or save it to your gardening Pinterest board for quick reference when planning your spring planting!) 📌
📝 Step-by-Step: Implementing a Container Rotation System
Understanding the families and feeding phases is great in theory, but how do you actually keep track of it all on a busy patio? The biggest hurdle to learning how to rotate crops in containers is simply remembering what was planted where.
Here is the foolproof system used by master gardeners to keep their container layouts organized year after year.
Step 1: The Numbered Pot System 🏷️
Stop trying to memorize your garden layout. Instead, physically label your containers. Use weatherproof plant tags, paint markers, or even decorative ceramic stakes to number your pots (e.g., Pot 1, Pot 2, Pot 3, Pot 4). If you have dozens of fabric grow bags, group them into “Zones” or “Blocks.”
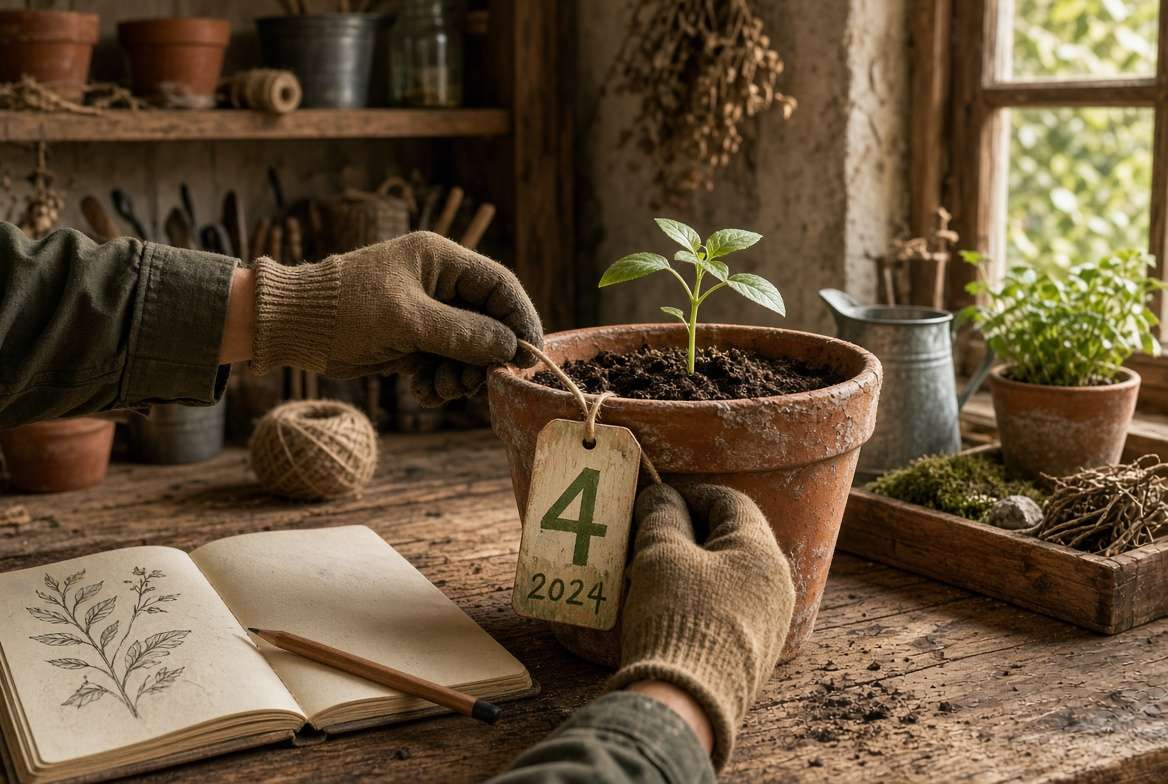
Step 2: Keep a Simple Garden Journal 📓
You don’t need a complex spreadsheet (unless you love them!). A simple notebook dedicated to your garden will save your soil. At the beginning of the spring season, sketch out your numbered pots and write down exactly what you are planting in each one, including the botanical family.
-
Example Entry: Pot 1 (20-Gallon): Tomato (Nightshade/Heavy Feeder).
-
Next Year’s Plan: I know Pot 1 needs a Root Crop (like Carrots/Umbellifers) or a Legume to recover.
Step 3: The “Pot Swap” Technique 🔄
If you have a dedicated setup—like a large planter box for tomatoes and a separate one for bush beans—you don’t necessarily have to move the heavy pots. Simply swap the crops. Plant the beans where the tomatoes were, and the tomatoes where the beans were. The plants do the rotating, not the containers!
🪱 The Missing Link: Refreshing Your Soil Between Rotations
Crop rotation manages nutrient balance and breaks disease cycles, but it does not replace the physical volume of organic matter that disappears over a growing season. Potting mix naturally breaks down, compacts, and washes out through the drainage holes.
To make your rotation truly effective, you must “refresh” or “amend” the soil between each planting cycle. Here is the expert protocol for reviving container soil:
1. The Root Pull and Sift 🧤
At the end of the season, pull out the spent plant. Shake as much dirt off the root ball as possible. For thick, woody root systems (like large peppers or eggplants), toss the root ball into your municipal compost. For fine, fibrous roots, you can actually break them up and leave them in the soil to decompose, feeding the soil food web.
2. The 20% Rule for Compost 🍂
Before planting your next rotated crop, top off the container. A general rule of thumb is to replace the top 20% of the container’s volume with high-quality, fresh organic compost or well-aged manure. This replenishes the humus, feeds the microbial life, and restores the fluffy texture needed for proper aeration.
3. Add Targeted Amendments 🧄
Tailor your organic amendments to the next crop in your rotation cycle:
-
Moving to Root Crops? Add bone meal for a phosphorus boost, which encourages strong root development.
-
Moving to Heavy Feeders? Mix in a handful of nitrogen-rich worm castings, blood meal, or kelp extract.
-
Moving to Legumes? You rarely need to add fertilizer! Just ensure the soil is loose and well-draining.
4. Re-establish the Fungal Network 🍄
Container soil can easily become sterile over the winter. When planting your new seeds or seedlings in the spring, dust the roots with mycorrhizal fungi. This beneficial fungus forms a symbiotic web with the roots, drastically expanding their ability to uptake water and nutrients within the confined space of a pot.
🏙️ Small-Space Balcony Modifications (The “Mini-Rotation”)
What if you don’t have the space for a massive four-stage rotation cycle? What if you only have room for three fabric grow bags on a tiny apartment balcony?
You can still reap the benefits of soil health management with the Two-Season Swap combined with Strategic Intercropping.
-
The Two-Season Swap: If you only grow summer tomatoes (heavy feeders), do not leave the pots empty over the winter. Plant a cold-hardy cover crop like crimson clover or winter peas in the late fall. These legumes will fix nitrogen all winter long. In the spring, chop them down, mix them into the soil, and plant your tomatoes again. You are rotating in time rather than in space.
-
Intercropping (Companion Planting): Grow soil-building plants and heavy feeders in the same large container. Planting bush beans around the base of a heavy-feeding eggplant allows the beans to continually fix nitrogen, slightly offsetting the extreme nutrient drain of the eggplant. Add some strong-smelling alliums (like chives) to confuse pests, and you have created a miniature, self-sustaining guild!
🛑 3 Common Mistakes to Avoid When Rotating Potted Crops
Even seasoned gardeners can stumble when adapting agricultural practices to small containers. Avoid these E-E-A-T backed pitfalls to ensure maximum yields:
-
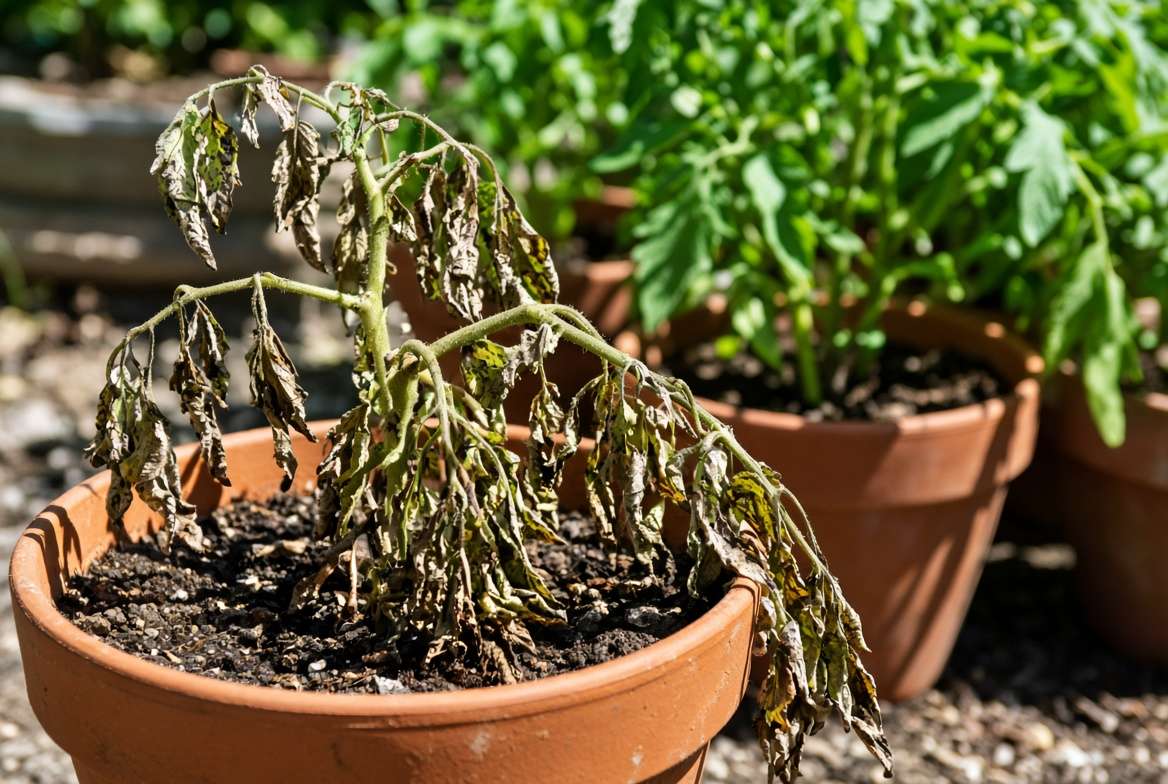
Ignoring Severely Diseased Soil: Crop rotation prevents the buildup of pathogens, but it is not a cure for a massive infestation. If a tomato plant was completely decimated by late blight, do not rotate that soil. The fungal spores are too concentrated. Safely dispose of that specific batch of soil and sanitize the pot with a mild bleach solution before starting fresh.
-
Forgetting About Fertilizer entirely: Rotating to a legume restores nitrogen, but container plants are still captive. Because they require frequent watering, soluble nutrients wash out the bottom daily. You must still provide a baseline of organic, slow-release fertilizer throughout the growing season to support the rotation.
-
Confusing Plant Families: Assuming a sweet potato and a regular potato are in the same family is a common error. (Regular potatoes are Solanaceae/Nightshades, while sweet potatoes are Convolvulaceae/Morning Glories!). Always double-check botanical families before planning your rotation layout.
❓ Frequently Asked Questions (FAQs) About Container Crop Rotation
Q: Can I reuse potting soil if I didn’t rotate crops last year? Yes, but it requires heavy amending. If you grew tomatoes in a pot and want to grow them there again, you will need to dump the soil into a wheelbarrow, mix it with at least 30-40% fresh compost, add a balanced organic fertilizer, and heavily inspect for overwintering grubs or pests before returning it to the pot.
Q: Does crop rotation matter for herbs? Most culinary herbs (like rosemary, thyme, oregano, and sage) are perennials in their native climates and are generally light feeders. They can stay in the same pots for years as long as you occasionally top-dress them with compost. Annual herbs like basil (a heavy feeder) benefit greatly from rotation or being planted after a legume.
Q: How do I rotate crops in permanent raised beds? Treat the raised bed like one giant container! Divide the bed into visual quadrants or grids (Square Foot Gardening). Rotate your plant families clockwise through the quadrants each season, ensuring no family occupies the same square for at least three years.
🌻 Conclusion: Your Blueprint for Endless Container Harvests
Figuring out how to rotate crops in containers might seem like an extra layer of planning at first, but it is the ultimate transition from simply buying plants to actually managing a garden ecosystem.
By respecting the heavy feeders, utilizing the deep-diving root crops, harnessing the nitrogen-fixing magic of legumes, and giving your soil a well-deserved rest, you will put an end to potted soil exhaustion forever. You will save money on bagged soil, drastically reduce your reliance on synthetic liquid fertilizers, and most importantly, you will be rewarded with bigger, healthier, and more vibrant harvests year after year.
So grab your garden journal, pull up your plant family charts, and start mapping out next season’s pots. Your soil—and your plants—will thank you! 💚🪴✨











