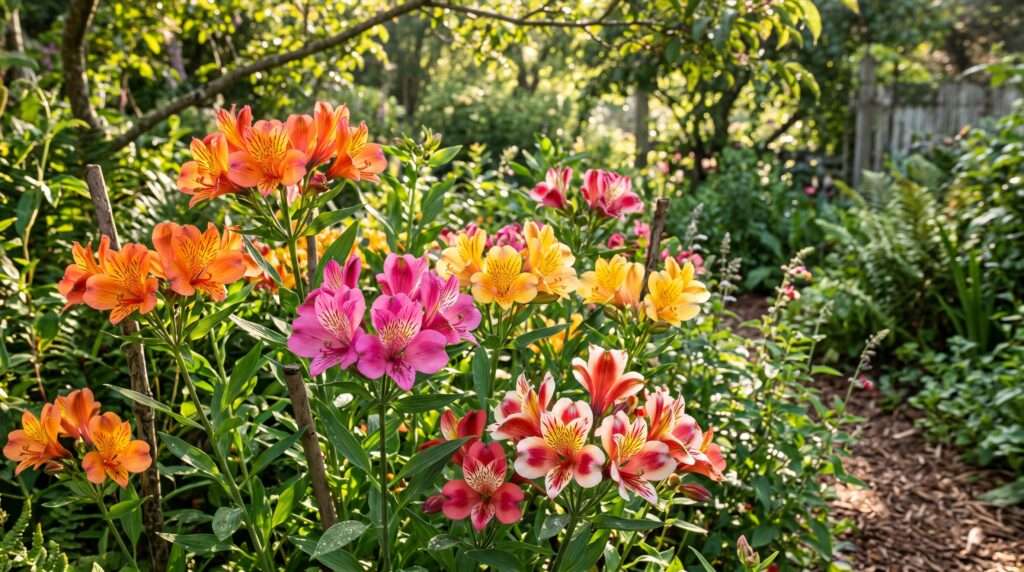
Walk into any high-end florist or browse a premium floral arrangement, and you will almost certainly find the striking, orchid-like faces of the Peruvian lily. Known for their vivid, freckled petals and legendary vase life, these flowers are an absolute staple in the cut-flower industry. But if you want to cultivate these vibrant, long-lasting blooms in your own garden, learning how to care for alstroemeria plants is the first step to unlocking a truly spectacular summer display.
The common frustration among many home gardeners is that they purchase a lush, blooming potted specimen from the nursery, only to watch it fizzle out and produce nothing but green foliage after a few short weeks.
Over my years of cultivating and trialing various Peruvian lily cultivars across different climates and soil types, I’ve discovered that keeping them blooming all season long doesn’t rely on expensive, exotic fertilizers. Instead, it comes down to a highly specific, somewhat counterintuitive harvesting technique. In this comprehensive guide, we will cover everything you need to know about growing these breathtaking perennials, including the expert “Pull, Don’t Cut” rule that will transform your garden into an endless sea of color. ✨
What Are Alstroemeria Plants? 🌿
Before we dive into advanced care techniques, it is essential to understand how these fascinating plants function beneath the soil.
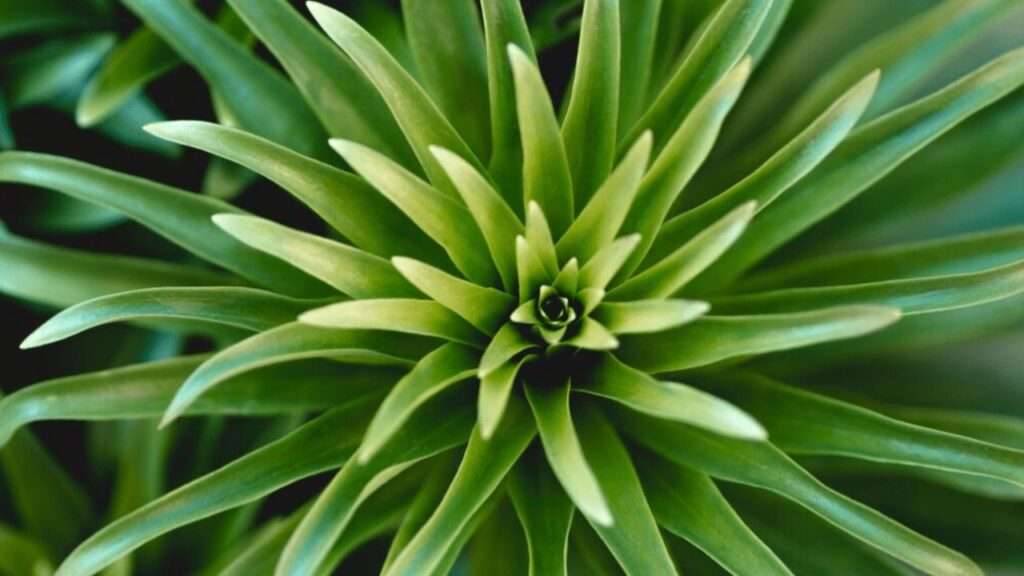
Native to the cool, mountainous regions of South America—particularly the Andes mountains in Chile and Brazil—Alstroemeria (commonly known as the Peruvian Lily or Lily of the Incas) is a hardy herbaceous perennial. Depending on the specific variety, most are well-suited to USDA Hardiness Zones 7 through 10. They feature distinctive, twisting leaves that actually grow upside down (a botanical quirk known as resupination) and clusters of funnel-shaped blossoms that arrive in almost every color except true blue.
The Power of the Rhizome
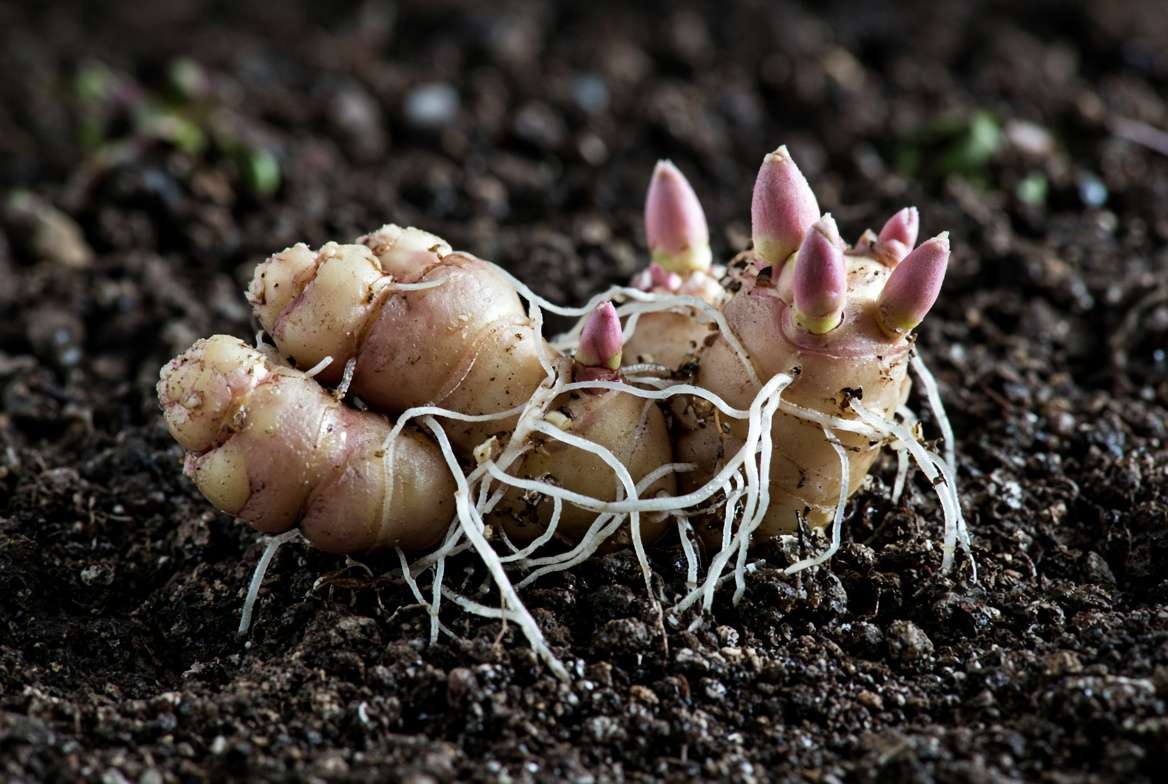
Unlike annual flowers that rely on shallow, fibrous root systems, Alstroemeria plants grow from a network of thick, fleshy underground stems called rhizomes. These tuberous structures store water and carbohydrates, acting as the plant’s battery pack. Understanding this rhizomatic root system is the absolute key to understanding how the plant feeds, survives winter, and most importantly, how it reproduces and triggers new floral shoots.
⚠️ Expert Safety Warning: Handle With Care
While beautiful, Alstroemeria plants require a bit of caution. The sap of the plant contains a compound called tulipalin A, which is a known contact allergen.
-
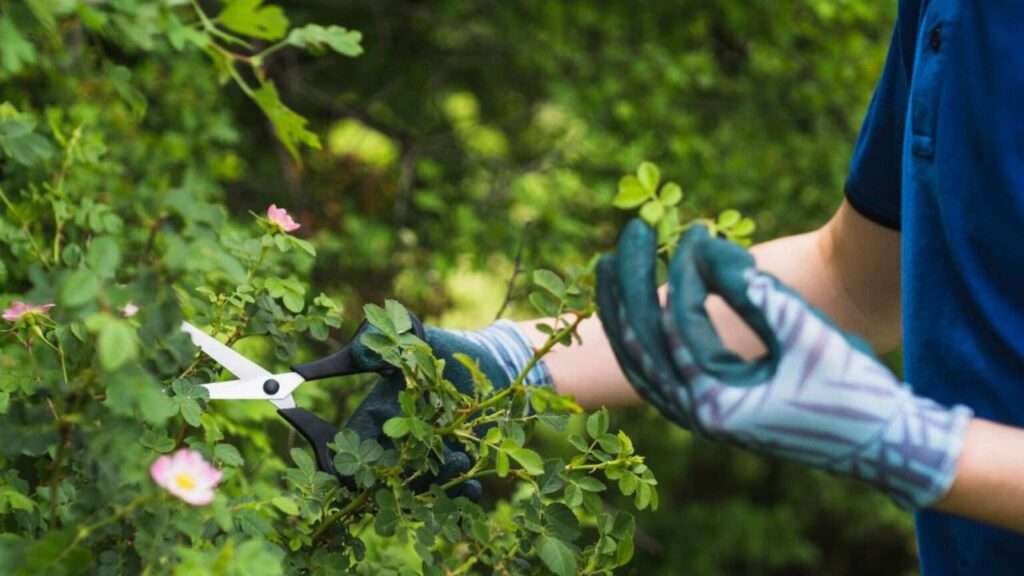
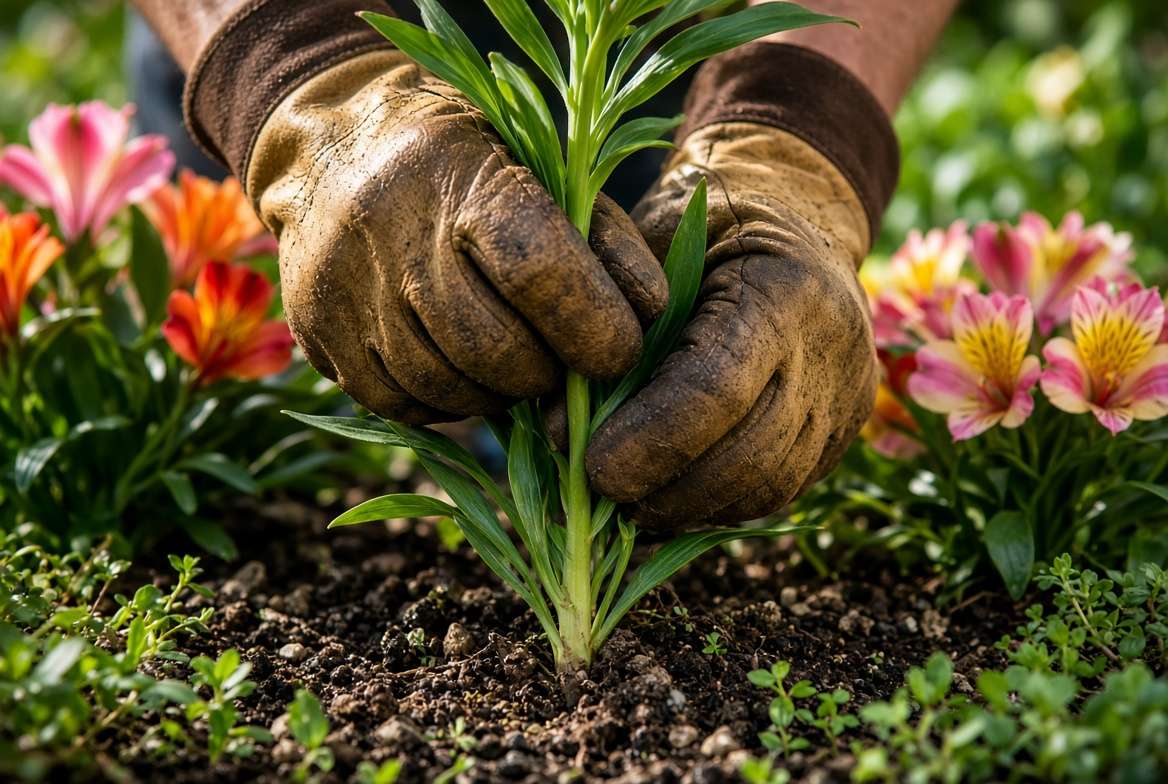
For Gardeners: Repeated exposure to the sap from broken stems or crushed leaves can cause allergic contact dermatitis (a red, itchy skin rash). Always wear quality gardening gloves when pruning, pulling, or dividing these plants.
-
For Pets: The plant is considered mildly toxic to cats and dogs. While it does not cause fatal organ failure like true lilies (Lilium species), ingestion can lead to unpleasant gastrointestinal upset, vomiting, and diarrhea. Plant them in areas out of reach of curious pets. 🐶🐱
The Expert Secret to Endless Blooms: The “Pull, Don’t Cut” Rule 🤫
If you only take one piece of advice away from this guide, let it be this. This is the golden rule of Alstroemeria care, and it is the exact technique commercial cut-flower growers use to maximize their yields.
When a flower cluster begins to fade, or when you want to harvest a stem for a vase indoors, your first instinct is likely to grab your favorite pair of bypass pruners and snip the stem. Do not cut the stem. Instead, you must pull it.
Why Pulling Works (The Science)
When you cut an Alstroemeria stem with shears, you leave a partial stem attached to the underground rhizome. The plant’s energy is then wasted in one of two ways: it either attempts to heal the cut wound, or the remaining hollow stem slowly rots, potentially introducing fungal diseases directly into the root system.
However, when you grasp the stem low to the ground and give it a firm, twisting tug, the entire stem snaps off cleanly right at the base of the rhizome. This physical action essentially “shocks” the underground tuber. The sudden removal of the stem signals a survival response in the rhizome, triggering a dormant underground bud to immediately push up a brand-new, vigorous shoot.
By continuously pulling spent stems, you trick the plant into an endless cycle of regeneration, resulting in non-stop blooms from early summer right through to the first autumn frost.
👩🌾 The “First Year Exception”
While the pull method is critical for mature plants, there is one major exception: newly planted Alstroemeria.
During a plant’s first summer in your garden, its root system is not yet deeply anchored into the soil. If you yank a stem on a young plant, you risk uprooting the entire rhizome and killing it. For the first year only, snip the spent flowers off at the top to prevent them from setting seed, allowing the foliage to remain and gather energy. Once the plant has been in the ground for a full year and feels firmly rooted, you can safely graduate to the pulling method.
Ideal Growing Conditions for Alstroemeria ☀️
To get the most out of your Peruvian lilies, you need to replicate their native mountainous environment as closely as possible. This means balancing light and managing soil moisture perfectly.
Finding the Perfect Sunlight Balance
Alstroemeria are often sold as full-sun plants, but this can be slightly misleading depending on where you live.
-
In cooler summer climates (Zones 7-8): They thrive in glorious, full, all-day sun.
-
In hotter climates (Zones 9-10): The intense afternoon sun can scorch their leaves and, more detrimentally, overheat the soil. Rhizomes stop producing flowers if the soil temperature gets too high. In warmer regions, plant them where they receive bright morning sun but are protected by dappled shade during the harsh afternoon hours. 🌤️
Soil Preparation & Drainage Needs
If there is one thing Alstroemeria absolutely despise, it is sitting in cold, wet, waterlogged soil. Root rot is the number one killer of these plants. They require a rich, slightly acidic to neutral soil (pH 6.0 to 7.0) that is exceptionally free-draining.
💡 Pro Tip for Heavy Clay Soils: If you have dense clay soil, do not simply dig a hole and drop the plant in. The clay will act like a teacup, holding water around the rhizomes until they turn to mush. You must aggressively amend the planting area. Dig a wide hole and incorporate generous amounts of coarse horticultural grit, well-rotted compost, and composted pine bark to drastically improve aeration and drainage. Alternatively, construct a raised garden bed or opt for container planting.
How to Plant Alstroemeria for a Strong Start 🌱
Getting your plants into the ground correctly sets the foundation for years of prolific blooming. Because their root structures are delicate when young, taking the time to plant them right will save you from major headaches down the line.
When and Where to Plant
The ideal time to plant your Peruvian lilies depends largely on your local climate.
-
Spring Planting: For gardeners in cooler zones (USDA Zones 7 and 8), planting in late spring after the final frost has passed is the standard recommendation. It gives the plant the entire summer to establish before facing a cold winter.
-
Autumn Planting: Interestingly, in milder climates (Zones 9 and 10), autumn planting is often superior. Planting in early autumn allows the rhizomes to establish a robust root system in the cool, moist soil before the intense heat of the following summer arrives.
Container vs. Garden Bed Planting
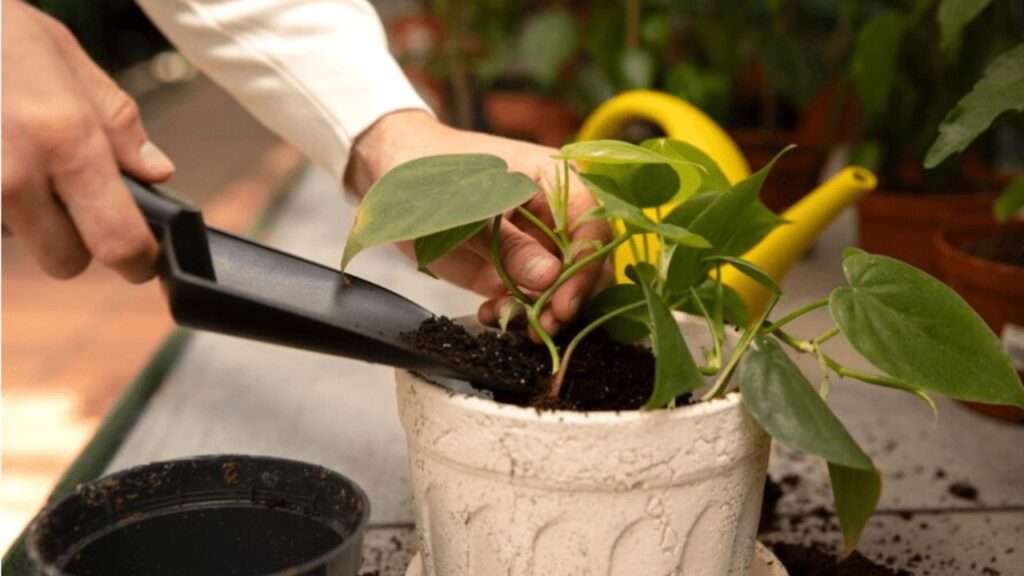
When planting in a garden border, space your plants about 12 to 18 inches apart. Dig a hole that is wider than it is deep, and plant the crown (the point where the stems meet the roots) just slightly below the soil surface—about 2 inches deep is ideal.
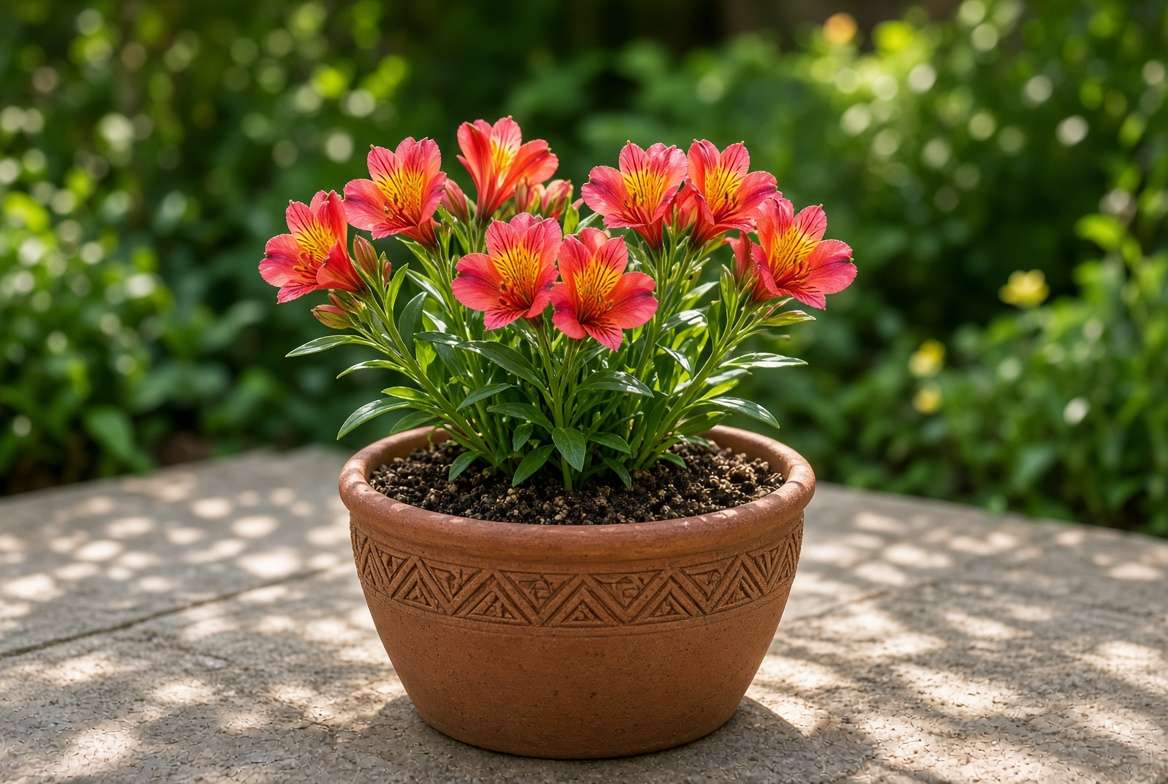
If your garden soil is unsuitable, or if you want patio color, container gardening is a fantastic alternative. However, Alstroemeria need space to stretch their legs. Always choose a deep pot—a 5-liter (about 1.5 gallons) minimum is required to accommodate their deep-reaching fleshy roots. Fill the container with a high-quality, soil-based compost (like a loam-based mix) heavily cut with perlite or horticultural grit for rapid drainage.
Tall vs. Compact Varieties: Remember to match the variety to the location. Tall, cut-flower varieties (often reaching 3 to 4 feet in height) will require staking or support grids in the garden border. For containers, look for dwarf or compact series, which naturally stay bushy and upright at around 12 to 18 inches tall without the need for ugly stakes. 🪴
Essential Alstroemeria Care & Maintenance 💧
Once established, these perennials are surprisingly low-maintenance. However, getting the watering and feeding balance right is what separates an average plant from a show-stopping garden centerpiece.
Watering Effectively (Avoid the Rot)
Alstroemeria are somewhat drought-tolerant once mature, but for peak flower production, they require consistent moisture. Aim for about 1 inch of water per week during the active growing season.
The secret to watering is the “soak and dry” method. Water deeply at the base of the plant to encourage the roots to grow downward, and then allow the top inch of the soil to dry out completely before watering again. Constantly damp surface soil is a breeding ground for Pythium and Rhizoctonia, two devastating fungal pathogens that cause rapid root rot. Always water the soil, not the leaves, to prevent foliar diseases. 🚿
Feeding for Flowers, Not Leaves
Many well-meaning gardeners accidentally ruin their Alstroemeria display by falling into the “Nitrogen Trap.” If you apply a standard, high-nitrogen lawn or all-purpose fertilizer to these plants, you will be rewarded with a massive, lush bush of magnificent green leaves—and absolutely zero flowers. Nitrogen fuels foliar growth at the expense of blooms.
To feed for maximum flowers:
-
Spring: Apply a slow-release, balanced organic fertilizer just as the first green shoots appear in early spring.
-
Summer: As soon as you spot the first flower buds forming, switch immediately to a liquid high-potash (potassium) fertilizer. A standard liquid tomato feed applied every two weeks is the absolute best choice for encouraging bright, abundant, and continuous flowers. 🍅
Mulching and Overwintering
While tough, the fleshy rhizomes are susceptible to freezing solid in severe winters. In late autumn, before the hard frosts arrive, cut the remaining foliage down to the base. Apply a thick, 2-to-3-inch layer of dry mulch over the crown. Straw, composted bark, or dry leaf mold works perfectly to insulate the roots.
If you are growing tender varieties in containers, simply move the pots into a frost-free garage, cool greenhouse, or unheated conservatory for the winter, keeping the compost almost completely dry until spring growth resumes. ❄️
Propagating Alstroemeria: How to Divide Rhizomes ✂️
Over time, your plants will expand into large clumps. After 2 to 3 years, you may notice that the center of the clump produces fewer flowers and the stems look crowded. This is the plant signaling that it is time to divide and conquer! Dividing not only gives you free plants but also rejuvenates the original clump.
Step-by-Step Division Guide:
-
Timing: The best time to divide is in early spring just before active growth begins, or in early autumn while the soil is still warm.
-
Lifting: Use a garden fork (not a spade) to carefully lift the entire clump. The fleshy tuberous roots are incredibly brittle and snap easily, so work slowly.
-
Dividing: Gently tease the root mass apart with your hands. Avoid cutting them with a knife if possible. Ensure that each new division has an adequate root system and at least one or two healthy, visible growth buds (eyes).
-
Replanting: Alstroemeria roots absolutely hate drying out. Have your new holes or pots prepared in advance, and replant the divisions immediately. Water them in well to settle the soil. 🌱
Common Pests, Diseases, and Troubleshooting 🐛
While generally robust, keeping an eye out for a few specific pests and pathogens will ensure your garden remains pristine.
Identifying and Treating Pests
-
Slugs and Snails: These are public enemy number one in early spring. They love to munch on the tender new shoots as they emerge from the soil. Use organic iron phosphate slug pellets, beer traps, or evening patrols to keep them at bay.
-
Aphids and Spider Mites: During hot, dry spells, these sap-sucking insects can congregate under the leaves. A blast of water from the hose or an application of organic neem oil usually clears them up quickly.
-
Thrips: These tiny pests cause distorted blooms and silvery stippling on the leaves. More dangerously, thrips are vectors for viruses.
Preventing Fungal & Viral Diseases
Poor airflow and wet leaves lead directly to Botrytis (gray mold). Ensure your plants are properly spaced and weed-free at the base to allow the wind to circulate.
The most serious threats to Alstroemeria are the Alstroemeria mosaic virus and tomato spotted wilt virus. Symptoms include stunted growth, strangely mottled or streaked leaves, and distorted, color-broken flowers. Unfortunately, there is no cure for plant viruses. If you confirm a viral infection, you must dig up the entire plant and destroy it (do not compost it) to prevent insects from spreading the disease to the rest of your garden. 🥀
Companion Planting with Peruvian Lilies 🌼
To create a stunning, professional-looking garden border, pair your Peruvian lilies with companion plants that share their love for free-draining soil and sunshine, while offering a contrast in texture.
-
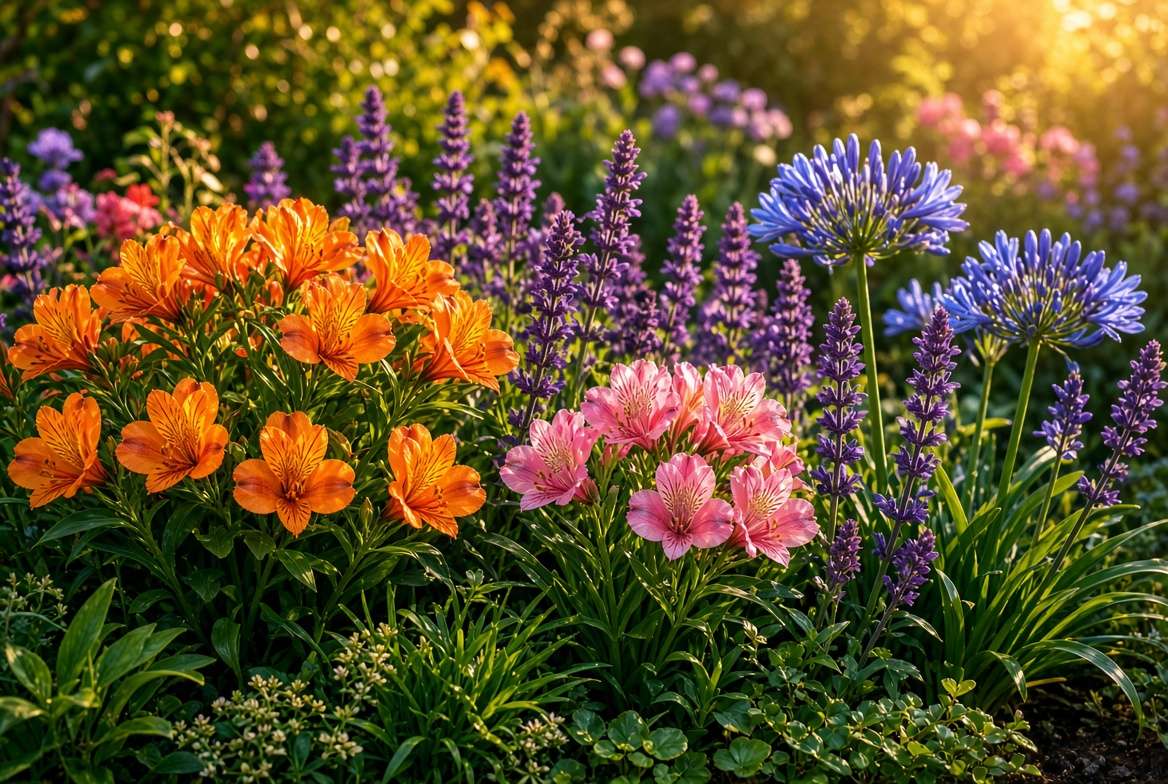
Agapanthus (Lily of the Nile): The bold, spherical blue and purple blooms of Agapanthus provide a striking structural contrast to the funnel-shaped Alstroemeria flowers.
-
Salvia and Nepeta (Catmint): The spiky, vertical purple flower stalks contrast beautifully with the bushy habit of the lilies.
-
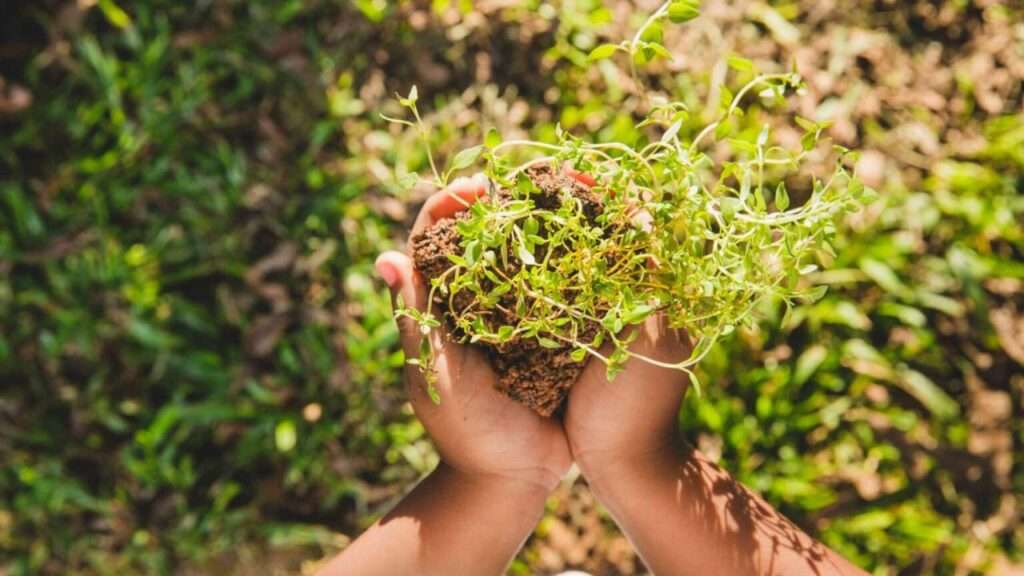
Low-Growing Ground Covers: Plants like creeping thyme or sedums act as a “living mulch.” They shade the soil, keeping the Alstroemeria roots cool during the heat of summer, while drawing very little water away from the deeper rhizomes. 🐝
Frequently Asked Questions (FAQs) ❓
Why are my Alstroemeria leaves turning yellow? Yellowing leaves are usually a sign of stress. The most common culprit is overwatering and poor drainage, which suffocates the roots. It can also be caused by a lack of sunlight or nitrogen deficiency. Note that it is totally normal for older, lower leaves to yellow and die back as the season progresses.
Do Alstroemeria spread out of control? They do spread via their underground rhizomes, but generally at a very polite, manageable pace. They are not highly invasive like mint. Furthermore, by strictly following the “pull, don’t cut” rule and removing all spent flowers, you completely prevent the plant from self-seeding indiscriminately around your garden.
Can I grow them indoors as houseplants? While you might be tempted to keep them on a windowsill, Alstroemeria do not make good long-term houseplants. They require high light intensity, excellent airflow, and crucial seasonal temperature fluctuations (a cool winter dormancy) to trigger blooming. They are much happier living outdoors in patio containers or garden beds! 🏡
Conclusion: Enjoying Your Endless Blooms 🏆
Growing magnificent Alstroemeria plants is incredibly rewarding and surprisingly simple once you understand their unique physiology. By providing them with excellent drainage, avoiding high-nitrogen feeds in favor of blossom-boosting potash, and mastering the expert “pull, don’t cut” harvesting technique, you will unlock their true potential.
Whether you are designing a vibrant cottage garden border, filling patio pots with summer color, or aiming to grow your own professional-grade cut flowers for stunning indoor arrangements, the resilient and radiant Peruvian lily will never disappoint.
Do you have a favorite variety of Alstroemeria, or are you trying the “pull” method for the first time this season? Share your experiences or photos of your blooms in the comments below—I’d love to see how your garden is thriving! 🌸✨