
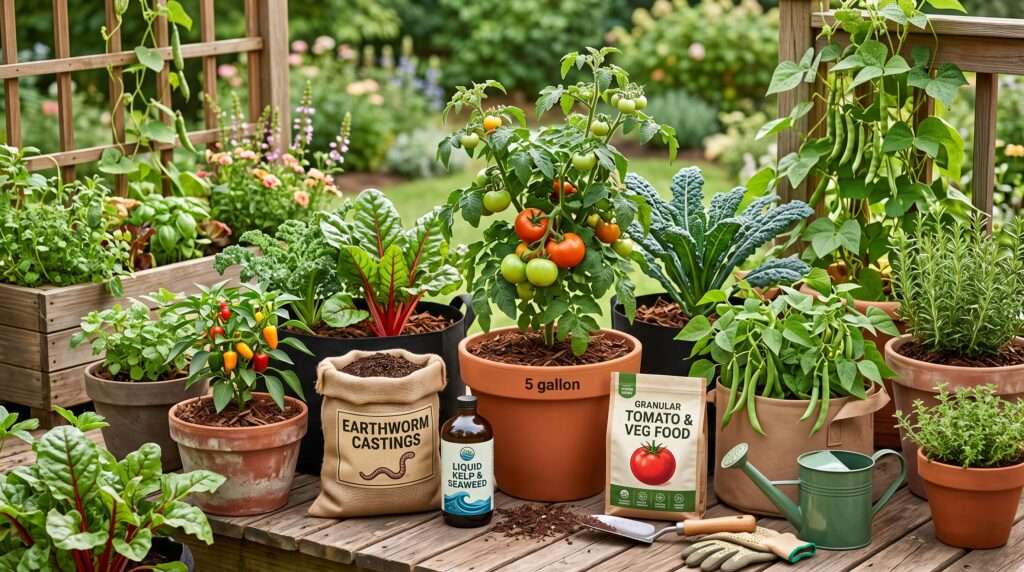
You have spent weeks carefully tending to your patio tomato plant. You bought premium potting soil, selected the perfect sunny spot, and watered it diligently. Yet, instead of a vibrant, heavy-yielding plant, you are looking at pale, yellowing leaves and a disappointing handful of stunted vegetables. It is incredibly frustrating to put in the effort and get a tiny harvest in return. 🍅
The good news? It is likely not a watering issue or a sunlight problem. It is a food problem. To transform sad, struggling plants into lush, high-yielding crops, you need the best organic fertilizers for container veggies.
Unlike vegetables planted directly in the ground, potted plants rely on you for 100% of their nutrition. Every time you water your pots, vital nutrients flush out of the drainage holes. By the time your plants start flowering, the potting soil is often completely depleted. In this comprehensive guide, we will explore exactly what to feed your potted vegetables to combat nutrient loss, build healthy roots, and practically double your container harvest using safe, natural methods.
Why Container Veggies Demand a Totally Different Feeding Strategy 🪴
Growing food in a pot is an entirely different science than growing food in a raised bed or a traditional garden plot. Understanding the unique environment of a container is the first step to mastering your urban or patio garden.
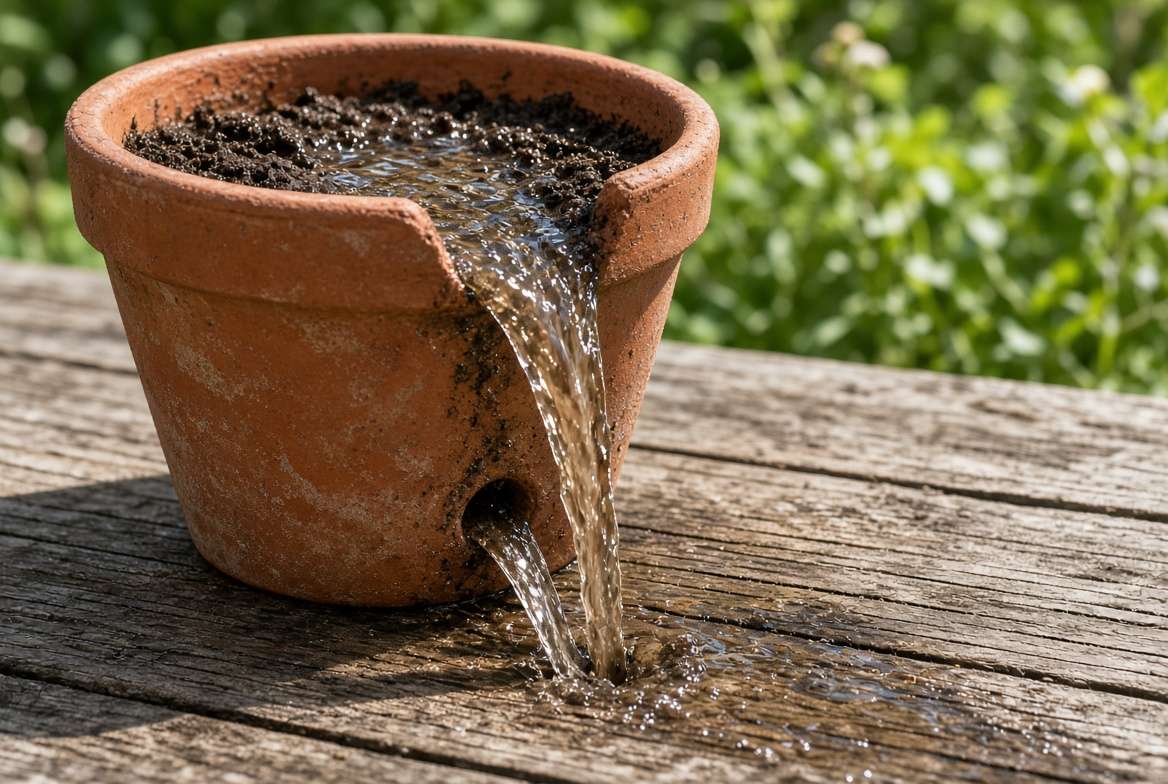
The “Nutrient Washout” Dilemma Explained 🚿
When you plant a vegetable in the ground, its roots can stretch for feet in every direction, actively hunting for moisture and trace minerals deep within the earth. In a 5-gallon bucket or a terracotta pot, the roots are confined. They can only access what is immediately around them.
Furthermore, container gardeners must water their plants frequently—often daily during the peak of summer heat. This creates a phenomenon known as “nutrient washout.” As water flows through the potting mix and out the bottom drainage holes, it carries away essential water-soluble nutrients like nitrogen and potassium. Within just four to six weeks, the rich potting mix you started with becomes essentially sterile. If you do not actively replace those nutrients, plant growth will stall, leaves will yellow, and fruit production will stop.
Organic vs. Synthetic in Pots (Why Organic Wins) 🥇
When faced with yellowing leaves, it is tempting to reach for bright blue, synthetic chemical fertilizers for a quick fix. However, in the confined space of a container, organic is the superior choice for several reasons.
Synthetic fertilizers are made of mineral salts. In a small pot, these salts can quickly accumulate in the soil, pulling moisture away from the plant roots and causing severe “fertilizer burn.” You might fix the nitrogen deficiency but accidentally scorch the root system in the process.
Organic fertilizers, on the other hand, feed the soil microbiome. Even in a small pot, beneficial bacteria and fungi break down organic matter into a form the plant roots can easily absorb. Natural fertilizers release their nutrients slowly, provide a wider array of trace minerals, and carry a near-zero risk of burning your plants.
Expert Botanical Insight: A healthy container garden relies on a thriving micro-ecosystem. Using organic amendments ensures you are feeding the microbes that, in turn, feed your vegetables.
Quick Crash Course: Understanding N-P-K for Potted Vegetables 🧪
Before diving into the specific fertilizers, it is crucial to understand how to read a fertilizer label. Every commercial fertilizer features three numbers on the front of the package, representing the N-P-K ratio. These represent the three macronutrients every plant needs to survive.
-
N (Nitrogen): Fuels green, leafy growth. High nitrogen is perfect for leafy greens like lettuce, spinach, kale, and Swiss chard. 🥬
-
P (Phosphorus): Promotes strong root development and supports flowering and fruiting. High phosphorus is critical for tomatoes, peppers, eggplants, and root crops like carrots. 🥕
-
K (Potassium): Essential for overall plant health, water regulation, and disease resistance. It helps your potted veggies survive the stress of summer heat. 🛡️
When shopping for container plants, look for gentle, slow-release formulas. A balanced 5-5-5 organic fertilizer provides a steady, safe supply of food without overwhelming the confined root zone.
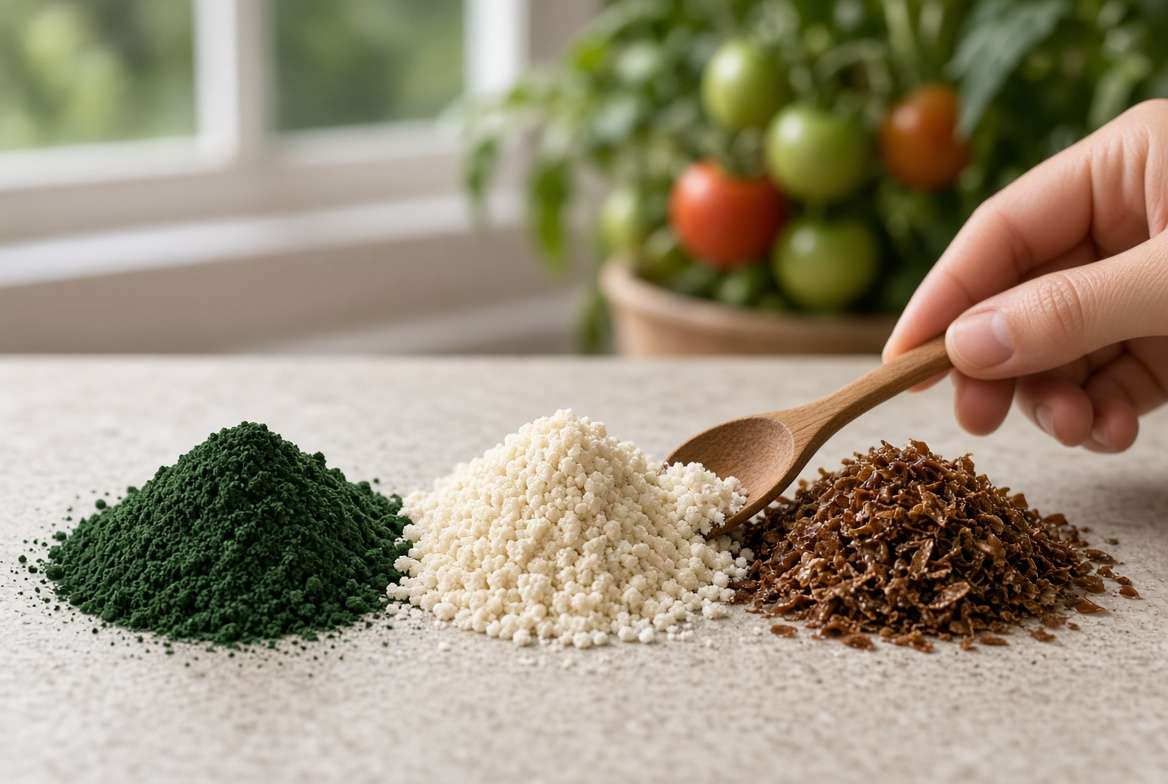
The 7 Best Organic Fertilizers for Container Veggies 🏆
Achieving a massive harvest requires the right amendments. Here is a curated breakdown of the most effective, science-backed organic fertilizers specifically suited for the unique demands of container gardening.
1. Liquid Seaweed & Kelp Extract (The Stress Reliever) 🌊
Liquid seaweed or kelp extract is one of the most valuable tools in a container gardener’s arsenal. While it has a relatively low N-P-K ratio (often around 0-0-1), its true power lies in its trace minerals and natural growth hormones.
-
Why it works: Kelp extract contains over 60 trace minerals, amino acids, and plant hormones like cytokinins. These compounds vigorously stimulate cell division and root growth. More importantly, kelp acts as a massive stress reliever for plants. If your potted vegetables are wilting from extreme heat, suffering from transplant shock, or battling pests, a foliar spray of liquid kelp helps them recover rapidly.
-
Best used for: All container vegetables, especially tomatoes, peppers, and cucumbers during peak summer heat.
-
How to apply: Mix the liquid concentrate with water according to the package directions. Use it as a soil drench every two weeks, or spray it directly onto the leaves (foliar feeding) early in the morning for rapid absorption.
2. Earthworm Castings (The Gentle Giant) 🪱
Earthworm castings are essentially worm manure, and they are widely considered the gold standard of organic soil amendments.
-
Why it works: Worm castings are teeming with beneficial microbes, enzymes, and a perfectly balanced blend of slow-release nutrients. Because the nutrients have already been digested by worms, they are immediately bio-available to plant roots. Additionally, worm castings dramatically improve the moisture retention of fast-draining potting soils, reducing the amount of times you need to water your pots. It is also physically impossible to burn your plants with worm castings, no matter how much you apply.
-
Best used for: Seedlings, delicate herbs, and mixing into new potting soil before planting.
-
How to apply: Mix a generous handful into the planting hole when transferring your veggies to their final containers. For established plants, sprinkle a one-inch layer on top of the soil and water it in thoroughly.
3. Fish Emulsion (The Fast-Acting Nitrogen Powerhouse) 🐟
When your potted vegetables are crying out for nitrogen—evidenced by pale, yellowing lower leaves and stunted growth—fish emulsion is the fastest organic rescue remedy available.
-
Why it works: Made from the byproducts of the fishing industry, fish emulsion is a potent, fast-acting liquid fertilizer (typically an N-P-K of 5-1-1). Because it is applied as a liquid, the nutrients bypass the slow breakdown process required by granular fertilizers and are immediately taken up by the plant roots. It triggers an explosion of lush, green growth within days.
-
Honest Note: Fish emulsion has a distinctly strong, fishy odor. The smell usually dissipates within 24 to 48 hours, but it is best to apply it outdoors rather than in an enclosed balcony or sunroom.
-
Best used for: Leafy greens (lettuce, spinach, cabbage) and heavy-feeding fruiting plants during their early vegetative growth stage.
-
How to apply: Dilute 1 to 2 tablespoons per gallon of water (always follow manufacturer guidelines) and apply as a soil drench every 10 to 14 days.
4. Organic Tomato & Vegetable Granules (The Slow-Release Staple) 🍅
To establish a baseline of nutrition that won’t wash out after a single watering, you need a high-quality, granular organic blend. These are usually formulated specifically for fruiting crops.
-
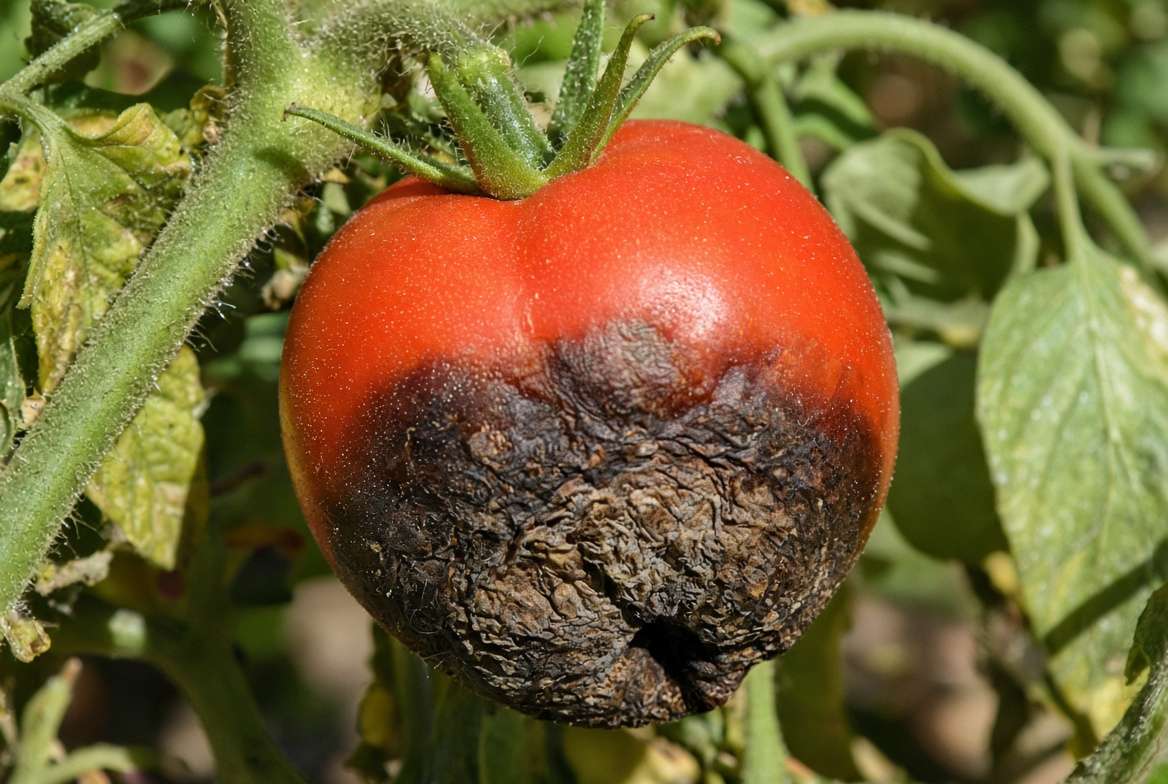
Why it works: Granular fertilizers break down slowly over time. The best organic blends on the market (often with an N-P-K around 3-4-4 or 4-5-3) contain a mix of alfalfa meal, feather meal, and rock dust. Crucially for container gardeners, premium tomato blends include added calcium. Potted tomatoes, peppers, and eggplants are notoriously susceptible to Blossom End Rot (the dreaded black, sunken spots on the bottom of your fruit), which is caused by a calcium deficiency triggered by inconsistent watering.
-
Best used for: Tomatoes, peppers, eggplants, and cucumbers.
-
How to apply: Mix one to two tablespoons per gallon of soil when initially potting your plants. Reapply every 4 to 6 weeks during the growing season by gently scratching it into the top inch of the soil (a process called “top dressing”).
5. Bone Meal (For Robust Roots and Heavy Blooms) 🦴
Bone meal is exactly what it sounds like: finely ground animal bones (usually beef) sourced from slaughterhouses. It is one of the oldest and most trusted organic fertilizers in agriculture.
-
Why it works: Bone meal is a powerhouse of phosphorus (N-P-K is typically 3-15-0) and calcium. Phosphorus is the macronutrient responsible for energy transfer within the plant, stimulating massive root development and triggering heavy blooming. In the confined space of a pot, a robust, deeply woven root system is essential for water and nutrient uptake. More blooms equal more vegetables!
-
Best used for: Root crops (like container carrots, radishes, and beets) and all flowering vegetables right before they begin to set fruit.
-
How to apply: Because phosphorus moves very slowly through the soil, it is best mixed directly into the root zone at planting time. If adding later in the season, you must scratch it gently into the soil surface; leaving it sitting on top is ineffective.
6. Blood Meal (The Heavy Feeder’s Dream) 🩸
Like bone meal, blood meal is a slaughterhouse byproduct. However, its nutritional profile serves the exact opposite purpose.
-
Why it works: Blood meal is one of the highest non-synthetic sources of pure nitrogen available (typically 12-0-0). If you are growing heavy-feeding crops in large containers—such as patio corn, giant pumpkins, or massive bushy brassicas like broccoli—blood meal will provide the intense fuel they need to size up rapidly.
-
Warning: Unlike earthworm castings, blood meal can burn the roots of your container plants if over-applied. The nitrogen is highly concentrated. Furthermore, applying too much nitrogen to fruiting plants like tomatoes will result in a massive, beautiful green bush with zero actual tomatoes. Use it strategically!
-
How to apply: Use sparingly. Mix one tablespoon per gallon of soil early in the season, or use it as a targeted top dressing only when heavy-feeding greens show severe signs of nitrogen deficiency.
7. DIY Compost Tea (The Microbial Booster) 🫖
If you want to tap into the ultimate Google Discover “household hack,” look no further than homemade compost tea. You do not always have to buy commercial products to get amazing yields.
-
Why it works: Over time, the potting soil in a container becomes sterile. Compost tea is liquid magic that reintroduces billions of beneficial microbes, bacteria, and fungi right back into the root zone. These microbes break down existing organic matter in the pot, making locked-up nutrients bio-available to your plants again. It acts as both a gentle fertilizer and a soil conditioner.
-
Best used for: A bi-weekly boost for your entire container garden, from delicate herbs to heavy-yielding squash.
-
How to apply: Steep a handful of rich, aged compost (or earthworm castings) in a 5-gallon bucket of unchlorinated water for 24 to 48 hours. Stir frequently to introduce oxygen. Strain the liquid and use it as a soil drench immediately.
How to Feed Potted Veggies Like a Pro (A Step-by-Step Routine) 🧑🌾
Buying the best organic fertilizer is only half the battle. Knowing when and how to apply it in a container setting is what separates novice gardeners from experts.
Liquid vs. Granular: The 1-2 Punch Strategy 🥊
To maximize your potted harvest, rely on the “1-2 Punch” method used by master gardeners:
-
The Slow-Release Base: At the time of planting, thoroughly mix a granular organic fertilizer (like a tomato blend or bone meal) into your potting soil. This provides a steady baseline of nutrition that will slowly feed the plant for the first month.
-
The Liquid Boost: Because nutrients wash out of pots so quickly, supplement that granular base with a liquid fertilizer (like fish emulsion or kelp extract) every 10 to 14 days. Liquid fertilizers provide an immediate “snack” directly to the roots, preventing any nutrient dips between granular applications.
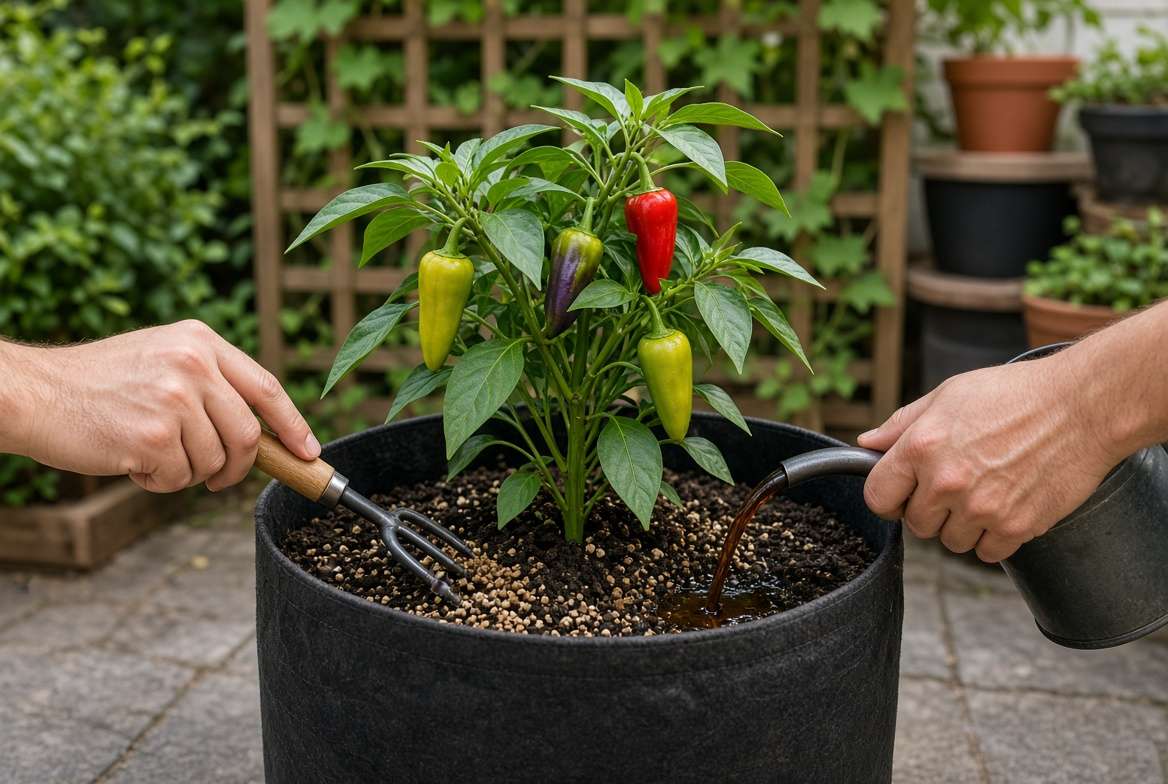
How to “Top Dress” a Container Plant 🪴
Around week four or five, the original granular fertilizer you mixed into the soil will be depleted. You need to “top dress” to replenish it.
-
Step 1: Gently pull back any mulch on the surface of your pot.
-
Step 2: Sprinkle the recommended dose of granular fertilizer evenly across the top of the soil.
-
Step 3: Using a small hand fork or your fingers, lightly scratch the fertilizer into the top inch of the potting mix. Be incredibly gentle! Container plants often develop fine, shallow feeder roots right near the surface. You do not want to tear them.
-
Step 4: Water deeply. Granular fertilizers only begin breaking down when activated by moisture.
3 Common Container Fertilizing Mistakes Killing Your Harvest 🛑
Even with the best intentions, it is easy to make mistakes when growing food in tight spaces. Avoid these three common pitfalls to keep your harvest on track.
-
Over-fertilizing (The “More is Better” Myth): It is tempting to think that doubling the fertilizer dose will double the tomatoes. In reality, excess nitrogen forces the plant to prioritize leaf growth over fruit production. Even worse, too much fertilizer can create toxic salt buildups in a small pot, severely stunting the plant. Always follow the package instructions! 📉
-
Fertilizing Bone-Dry Soil: Never pour liquid fertilizer directly onto completely dry potting soil. Dry roots are incredibly sensitive and can easily suffer from “fertilizer burn.” Always give your pots a light watering with plain water first to hydrate the roots, then apply your liquid feed. 🔥
-
Ignoring Calcium Needs: As mentioned earlier, potting soils do not naturally replenish calcium. If you are growing tomatoes, peppers, or zucchini in pots and skip the calcium (found in tomato-specific granular feeds or bone meal), you are almost guaranteeing Blossom End Rot when the summer heat kicks in.
Frequently Asked Questions (FAQs) ❓
How often should I fertilize vegetables in pots? As a general rule, container vegetables need a liquid fertilizer every 10 to 14 days, and a fresh application of granular slow-release fertilizer every 4 to 6 weeks. Heavy feeders like tomatoes and cucumbers may need more frequent feeding, while herbs like rosemary and thyme prefer leaner, less fertile soil.
Can I use fresh coffee grounds in my potted plants? This is a very common myth! While coffee grounds are a great source of nitrogen, they are highly acidic and un-composted. Adding fresh grounds directly to a small pot can lock up nutrients and throw off the pH of your soil. It is much better to put coffee grounds in a compost bin first, and then use the finished compost for your pots. ☕
Is it too late to fertilize my potted tomatoes if they already have fruit? Absolutely not! In fact, when tomatoes are actively setting and ripening fruit, they require significant energy. Switch to a fertilizer lower in nitrogen and higher in phosphorus and potassium (like a liquid kelp or bone meal) to support fruit development without encouraging unnecessary leaf growth.
Conclusion: Ready for Your Biggest Container Harvest Yet? ✨
Growing vegetables in containers does not mean you have to settle for a small, underwhelming harvest. By understanding the unique challenge of nutrient washout and utilizing the best organic fertilizers for container veggies, you can cultivate a thriving, heavy-yielding patio garden.
Remember, consistency is key. Set a schedule to apply your granular base and your liquid boosts, keep your soil evenly moist, and watch as your potted plants explode with healthy, vigorous growth.
Now, I would love to hear from you! Which of these organic fertilizers are you going to try on your balcony or patio this season? Are you team Fish Emulsion or team Liquid Kelp? Let me know in the comments below, and happy gardening! 💬🌿











