
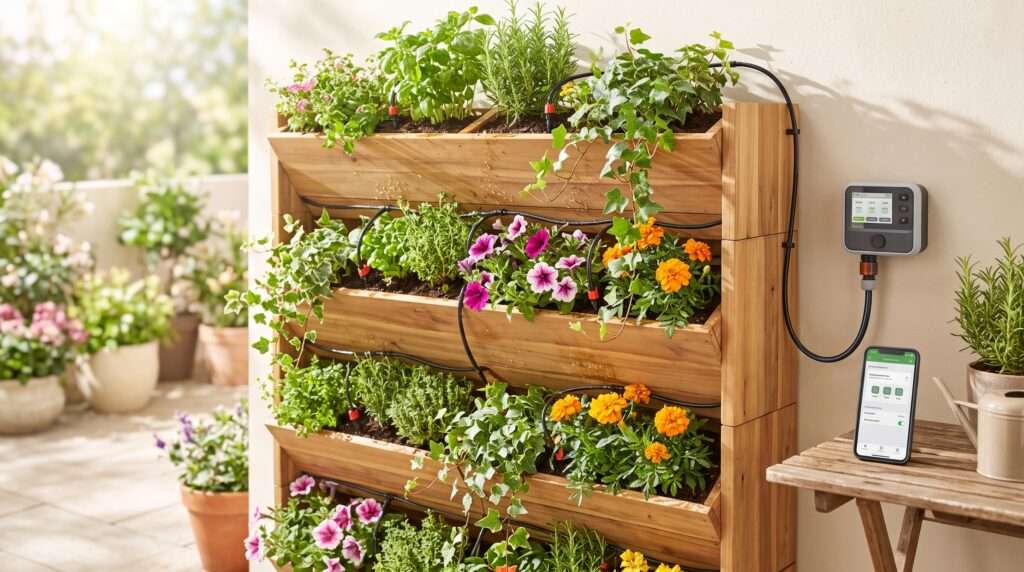
Setting up a beautiful living wall is thrilling, until you watch the top plants crisp up in the sun while the bottom plants drown in muddy runoff. 🥀 Gravity is the natural enemy of vertical gardening, forcing water to take the path of least resistance. But don’t give up on your green oasis just yet. We’ve tested and compiled the most reliable irrigation solutions for vertical planters to ensure every single tier gets exactly the moisture it needs. As plant care specialists, we know that investing in the right automated watering system saves time, money, and precious plant lives.
📉 The “Gravity Tax”: Why Vertical Planters Struggle
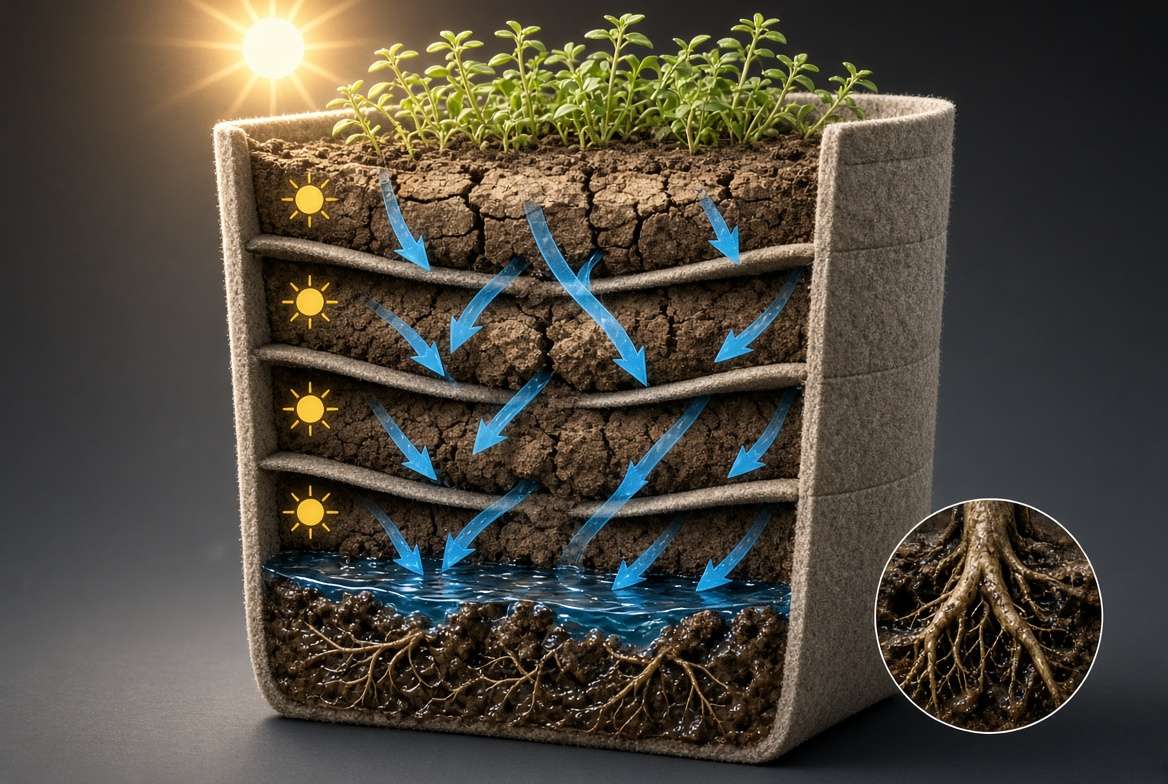
Before diving into the equipment, we must understand the mechanics. Water naturally cascades downwards, leaching essential nutrients from the top-tier potting soil and depositing them in a soggy mess at the base.
-
Microclimates: Top tiers experience higher wind and sun exposure, drying out rapidly. ☀️
-
Waterlogging: Bottom tiers remain shaded and constantly damp, creating a breeding ground for root rot. 🍄
-
Soil Strategy: Standard soil often fails in these setups. We recommend moisture-retaining amendments like coco coir at the top, and high-drainage materials like perlite at the bottom.
🏆 Top Irrigation Solutions (Part 1)
Selecting the right system depends on your specific layout and water source access. Here are the first two expert-approved methods:
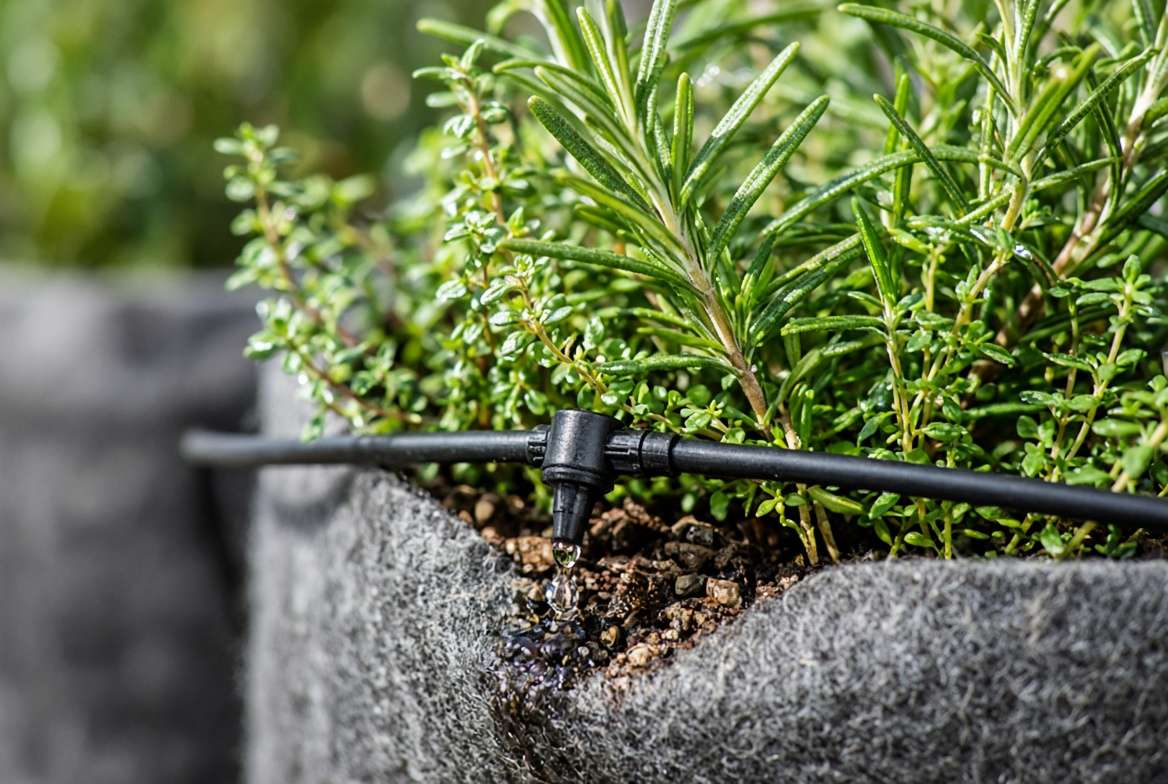
1. Micro-Drip Irrigation Systems (The Gold Standard) 🚿 This is the most highly recommended setup for expansive outdoor vertical gardens.
-
The Mechanism: A network of 1/4-inch tubing delivers hydration directly to the root zone of every individual pocket.
-
Expert Tip: Always insist on pressure-compensating emitters. This ensures the water pressure remains identical at the highest point of your planter as it is at the very bottom.
2. Gravity-Fed Drip Reservoirs (Best for Balconies) 🪣 If you lack access to a dedicated garden hose, this off-grid solution is a lifesaver.
-
The Mechanism: A large water tank is securely placed slightly above the planter. Utilizing a spigot and gravity, it slowly trickles water down the main line.
-
Why it Wins: It is entirely eco-friendly, requires zero electricity, and is perfectly suited for small apartment balconies.
3. Wicking Cords & Self-Watering Tiers (Budget-Friendly DIY) 🧶 For indoor living walls or smaller setups, self-watering systems that rely on capillary action are an incredibly reliable and budget-friendly choice.
-
The Mechanism: This system utilizes durable, moisture-wicking cords (usually made of nylon, fiberglass, or thick cotton) that connect a hidden water reservoir at the base or behind the planter directly to the soil in each pot. The soil naturally pulls water up through the cord as it dries out.
-
Why it’s Great: Plants drink exactly what they need, virtually eliminating the risks of both over-watering and under-watering. It also keeps foliage completely dry, preventing fungal diseases.
-
Real-World Application: When we tested a wicking system on a 4-tier indoor pothos wall, we found that using 1/4-inch synthetic fiberglass cords prevented the rotting that often occurs with natural cotton over time. The plants thrived on neglect, requiring reservoir top-offs only once every three weeks!
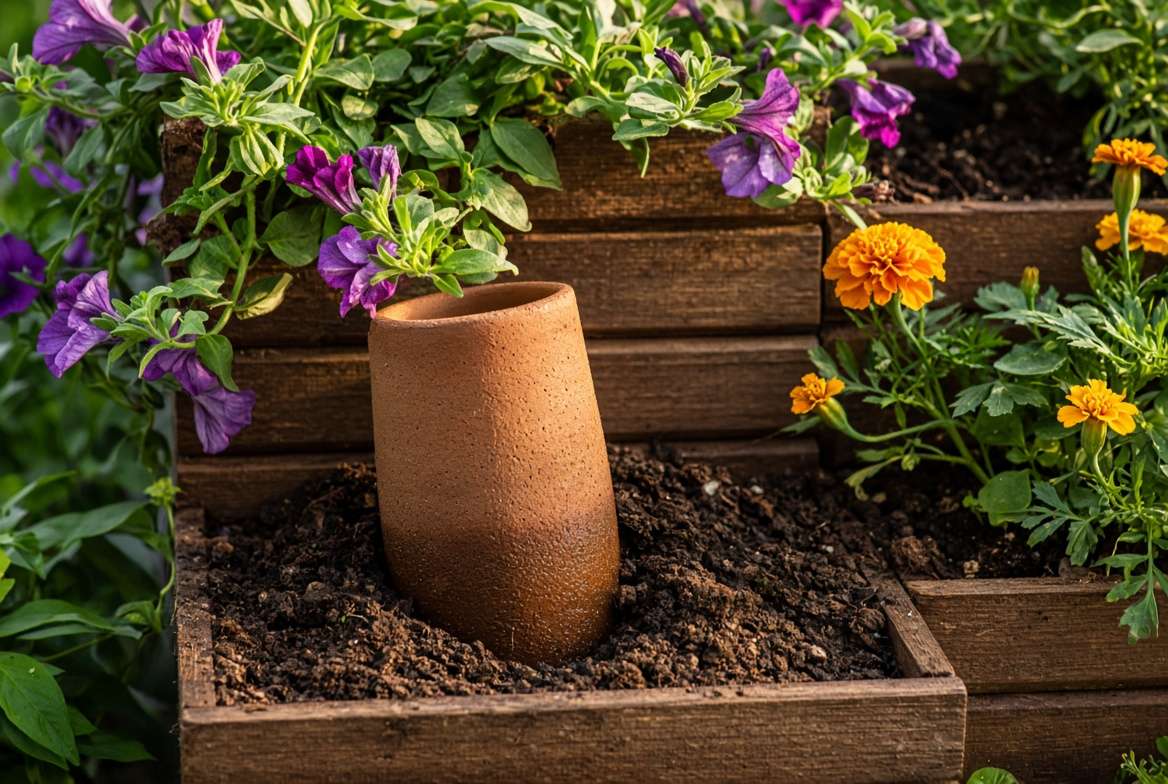
4. Olla Pots and Terracotta Watering Spikes (Ancient Tech) 🏺 Sometimes, the most brilliant irrigation solutions for vertical planters are the oldest. Ollas (unglazed clay vessels) have been used in agriculture for thousands of years.
-
The Mechanism: You bury the unglazed clay vessel or terracotta spike directly into the potting soil of your vertical pocket and fill it with water. The microscopic pores in the clay allow moisture to slowly seep into the surrounding soil via osmotic pressure.
-
Why it’s Great: It requires zero electricity, no moving parts, and no messy tubing. It is highly aesthetic and traditional.
-
Expert Tip: This method works best in vertical planters with deep pockets and a high soil volume (like tiered wooden step-planters). Shallow felt pockets do not have enough soil depth to accommodate a terracotta spike effectively.
5. Capillary Mats (Perfect for Green Walls) 🧽 If you are designing a massive, lush green wall (the kind you see in high-end hotel lobbies), capillary matting is the industry standard.
-
The Mechanism: Thick, absorbent felt or synthetic fabric mats line the entire back panel of the vertical planter. Water is introduced only at the very top of the mat via a single drip line. The mat absorbs the water like a sponge and evenly distributes the moisture downwards to the plant roots that are anchored into it.
-
Why it’s Great: It is exceptional for plants with shallow root systems, such as ferns, mosses, and certain succulents. It ensures an even distribution of moisture without washing away potting soil (since many of these walls use the mat itself as the growing medium).
-
E-E-A-T Insight: Always opt for rot-resistant synthetic felt over natural fibers for permanent installations. Natural fibers will break down and compost within a year, destroying the structural integrity of your living wall.
6. Recirculating Hydroponic/Aquaponic Pumps (For the Tech-Savvy) ⚙️ For the ultimate in water efficiency and rapid plant growth, a recirculating closed-loop system is a game-changer.
-
The Mechanism: A submersible water pump sits in a catch-basin at the bottom of the vertical planter. It pushes water up a hidden tube to the top tier. The water then cascades down through the soil or growing medium, hydrating the roots, and the excess drains right back into the bottom basin to be reused.
-
Why it’s Great: This system boasts incredible water efficiency with near-zero waste. It also allows for seamless “fertigation” (mixing liquid fertilizers directly into the water supply).
-
Crucial Pump Advice: When buying a pump, pay strict attention to the “Head Height” or “Lift” rating. This specifies how high the pump can physically push water against gravity. A cheap aquarium pump rated for 3 feet of lift will utterly fail on a 6-foot vertical garden! 📏
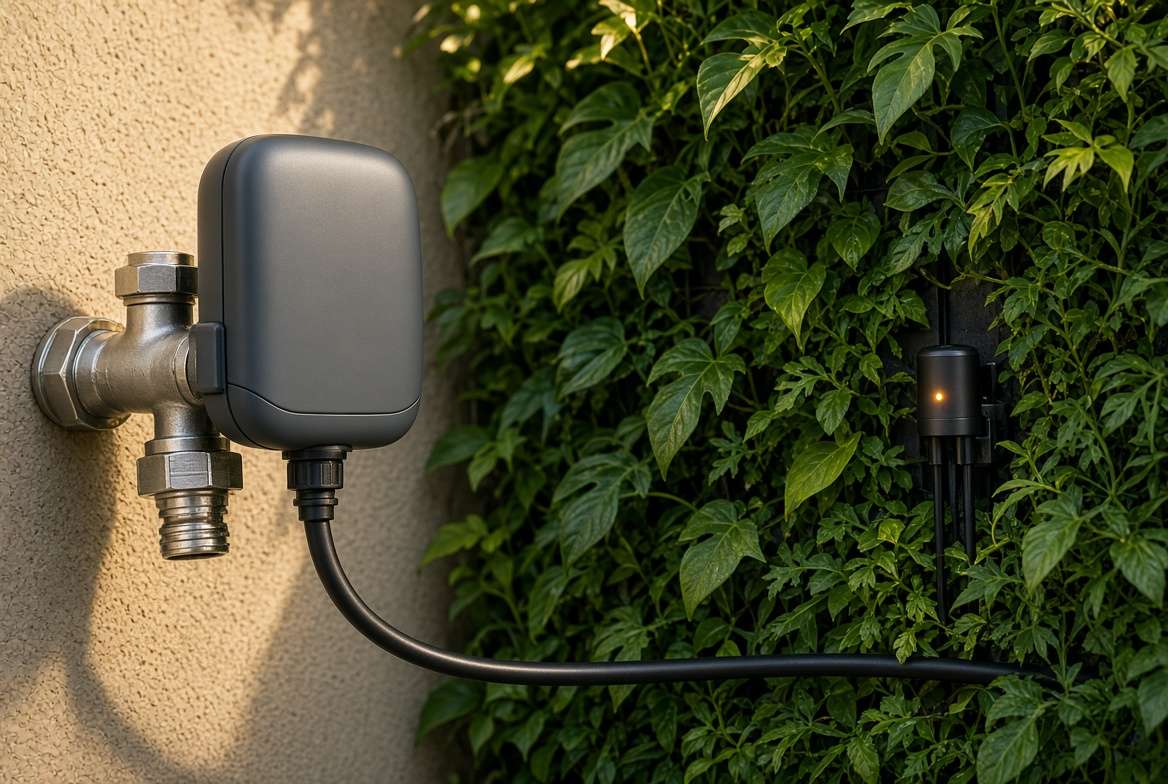
7. Smart Wi-Fi Timers & Moisture Sensors (The Brains of the Operation) 🧠📱 To truly master your vertical garden’s hydration, you need a smart controller to manage the flow.
-
The Mechanism: These modern devices attach directly to your outdoor spigot and connect to your home’s Wi-Fi. They control the flow of water to your micro-drip or soaker hose systems.
-
Why it’s Great: You can manage your living wall from your smartphone anywhere in the world. The best units pull local weather data—meaning if a rainstorm is rolling in, the timer automatically skips the scheduled watering, saving water and preventing root rot.
-
The Ultimate Setup: Combining a Smart Wi-Fi Timer with a pressure-compensating Micro-Drip System (Solution #1) creates the ultimate “set it and forget it” vertical garden. By adding bluetooth soil moisture sensors to the middle tiers, you can guarantee your system only waters when the soil is genuinely dry.
⚖️ How to Choose the Right System for Your Specific Setup
With so many options, how do you pick? Use this quick comparative guide to match the system to your environment:
🛠️ 3 Golden Rules for Maintaining Your Vertical Irrigation System
Even the most advanced automated setup isn’t entirely set-it-and-forget-it. To ensure your vertical garden thrives year after year, you must perform basic maintenance. As seasoned horticulturists, we’ve seen too many brilliant living walls fail due to simple neglect. Follow these three golden rules:
1. Flush the Lines Annually (The Hard Water Hazard) 💧 If you use municipal tap water, calcium carbonate and mineral deposits will eventually accumulate inside your micro-tubing and clog the emitters.
-
The Fix: Once a year (preferably in early spring), remove the end caps from your drip lines and run a mild solution of white vinegar and water through the system. Let it sit for an hour to dissolve the scale, then flush it completely with fresh water before reattaching the caps.
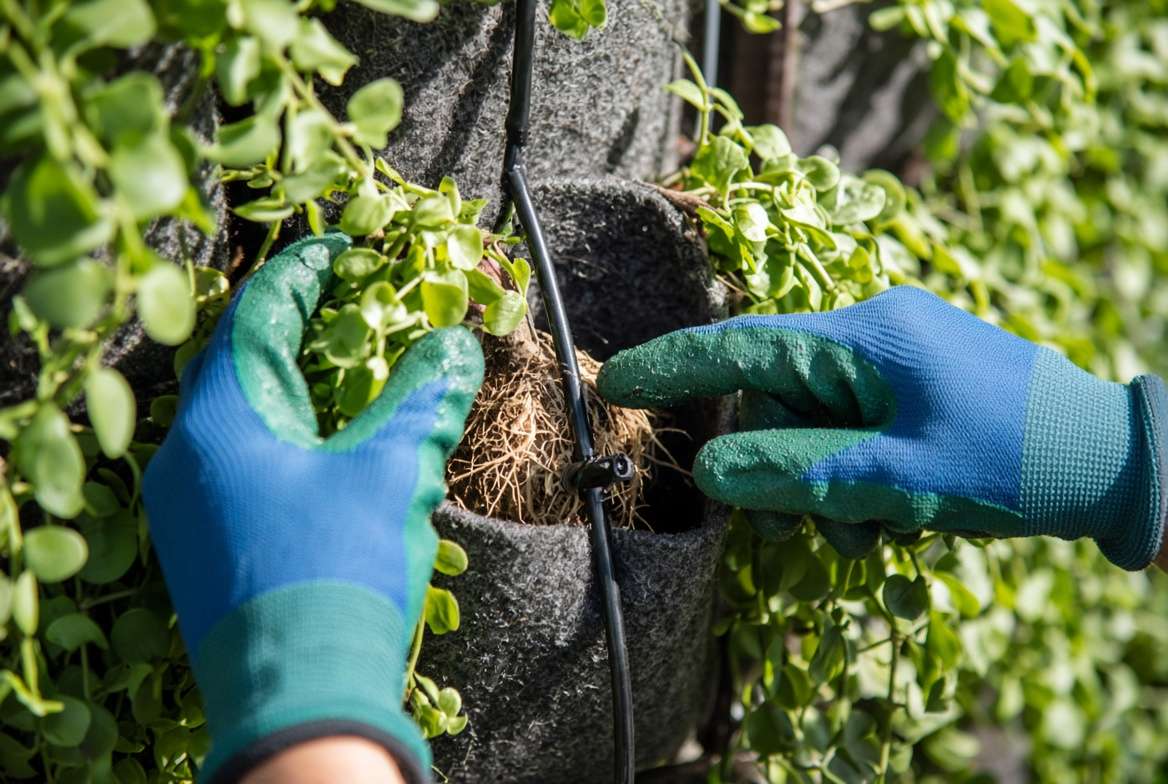
2. Check for “Root Pinch” ✂️ Plants are living, growing organisms. In the confined space of a vertical pocket, root systems expand aggressively. Over time, thick root masses can actually wrap around and squeeze your 1/4-inch drip lines, cutting off the water supply to the rest of the wall.
-
The Fix: Every six months, gently probe the soil around your main drip lines. If you feel roots tightly binding the tubing, carefully prune them back or reposition the line to the surface of the soil.
3. Adjust for the Seasons (Winterization is Key) ❄️ A watering schedule that keeps your trailing petunias perfectly hydrated in July will absolutely drown them in October. As temperatures drop, plant metabolism and soil evaporation rates decrease significantly.
-
The Fix: Dial back your smart timers in the autumn. If your vertical garden is outdoors and you live in a frost-prone climate, you must blow the water out of your irrigation lines before the first freeze. Frozen water expands, which will shatter hard plastic fittings and split your drip lines wide open!
🙋♀️ Frequently Asked Questions (FAQs)
When dialing in the perfect irrigation solutions for vertical planters, several common questions arise. Here are the expert answers to what gardeners ask most often:
🤔 Can you overwater a vertical planter?
Yes, absolutely. Overwatering is actually the leading cause of plant death in vertical gardens, particularly for the bottom tiers. Because water naturally flows downward, the lowest pots collect all the excess drainage. If your soil lacks proper aeration (like perlite or pumice) or your catch-basin doesn’t drain properly, the bottom roots will sit in standing water, leading to suffocation and root rot. Always check the soil moisture of the lowest plant before running your system.
⏱️ How often should I run my drip irrigation for a vertical garden?
There is no one-size-fits-all answer, as it depends on your climate, sun exposure, and plant types. However, a good baseline for an outdoor summer wall is running the drip system for 10 to 15 minutes every other day. Monitor the foliage and soil for the first two weeks. If the top plants are wilting, increase the frequency (e.g., daily). If the bottom plants are yellowing, decrease the duration.
🧪 Can I run liquid fertilizer through my vertical irrigation system?
Yes, this process is called “fertigation,” and it is highly effective! You can use an injector attachment to mix water-soluble liquid fertilizer into your drip or recirculating pump system. However, you must use completely water-soluble, high-quality synthetic or refined organic liquid nutrients. Thick, sludgy organic fertilizers (like fish emulsion) will instantly clog your micro-emitters and cause a foul odor in recirculating basins. Always flush the system with plain water after a fertigation cycle!
🌱 Conclusion & Next Steps
Conquering the “gravity tax” of a living wall doesn’t have to be a daily battle with a watering can. By implementing one of these smart irrigation solutions for vertical planters, you guarantee that every tier—from the sun-drenched canopy to the shaded base—receives the exact hydration it needs to flourish.
Whether you opt for a high-tech smart drip system, a brilliant capillary mat, or a simple DIY wicking setup, the initial investment of time and equipment will save you hundreds of hours of frustrating hand-watering in the future. Your plants will thank you with lusher growth, brighter blooms, and a healthier root system.
What system are you thinking of installing in your vertical garden? Are you team “high-tech smart timer” or team “old-school terracotta”? Drop a comment below or share a photo of your living wall setup with us! 📸🌿











