
Picture this: it’s a crisp fall evening, and you’re savoring a warm bowl of creamy butternut squash soup, made from vibrant, golden squashes you grew yourself in your backyard. The satisfaction of harvesting your own butternut squash plant is unmatched—nutritious, delicious, and oh-so-rewarding! But growing a thriving butternut squash plant can feel daunting if you’re battling poor yields, pests, or unpredictable weather. Fear not! As a horticulturist with over a decade of experience in vegetable gardening, I’ve crafted this comprehensive guide to help beginners and seasoned gardeners alike cultivate healthy, productive butternut squash plants. From choosing the perfect spot to harvesting and storing your bounty, this article covers everything you need for a bountiful harvest. Let’s dig in! 🌿
Section 1: Understanding the Butternut Squash Plant 🌿
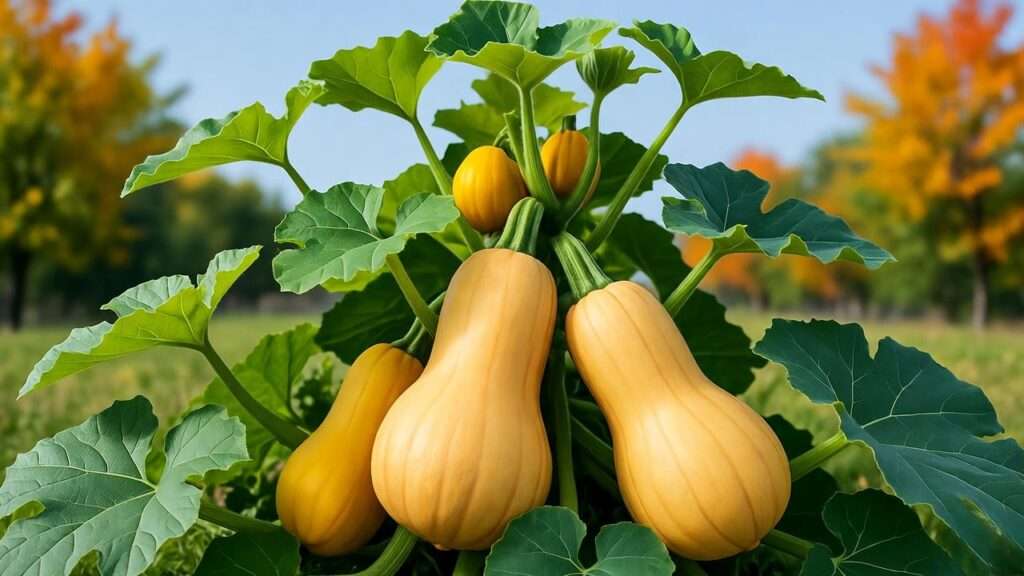
What Is a Butternut Squash Plant? 🎃
The butternut squash plant (Cucurbita moschata) is a warm-season vining crop from the Cucurbitaceae family, known for its sprawling vines and sweet, nutty fruits. Native to Central and South America, it’s a favorite among home gardeners for its versatility in soups, roasts, and even desserts. These plants require a long growing season—typically 100–120 days—and produce tan, bell-shaped fruits with dense, orange flesh. Historically, indigenous cultures prized butternut squash for its nutritional value and storage potential, a tradition that continues today.
Nutritional Benefits of Butternut Squash 🥗
Butternut squash is a powerhouse of nutrition, packed with vitamins A, C, and E, plus fiber and antioxidants like beta-carotene. A single cup provides over 400% of your daily vitamin A needs, supporting eye health and immunity. Homegrown squash often tastes sweeter and fresher than store-bought, elevating dishes like risottos or pies. Pro tip: Check out our butternut squash soup recipe for a cozy way to enjoy your harvest!
Section 2: Preparing to Grow Your Butternut Squash Plant 🌞
Choosing the Right Location and Timing 📍
To grow a thriving butternut squash plant, start with the right environment. These plants crave warmth (70–85°F) and at least 6–8 hours of direct sunlight daily. Choose a spot with ample space for vines to sprawl, as they can spread up to 10–15 feet. Timing is critical: plant after the last frost when soil temperatures reach at least 60°F. For most USDA hardiness zones (3–10), this means late spring to early summer. Check your zone on the USDA Plant Hardiness Zone Map for precision. Expert insight: Use a soil thermometer to confirm optimal germination conditions.
Soil Requirements for a Thriving Crop 🌍
Butternut squash thrives in well-draining, fertile loam with a pH of 6.0–6.8. Test your soil using a kit (available at garden centers or online, like this one from Burpee). Amend poor soil with organic matter like compost or aged manure to boost fertility and drainage. Aim for a loose, airy texture to support strong root growth. Pro tip: Add a 2–3 inch layer of compost before planting to enrich the soil naturally.
Selecting the Best Butternut Squash Varieties 🧑🌾
Not all butternut squash plants are created equal! Popular varieties include:
- Waltham Butternut: The classic choice with large, uniform fruits (3–5 lbs) and excellent storage life.
- Honeynut: A compact, sweeter variety perfect for smaller gardens.
- Butterbush: Ideal for container or small-space gardening, producing smaller fruits.
Choose seeds from reputable suppliers like Johnny’s Selected Seeds or Baker Creek Heirloom Seeds for quality and reliability. Consider your garden size and climate when selecting a variety.
Section 3: Planting Your Butternut Squash 🌱
Step-by-Step Planting Guide 📋
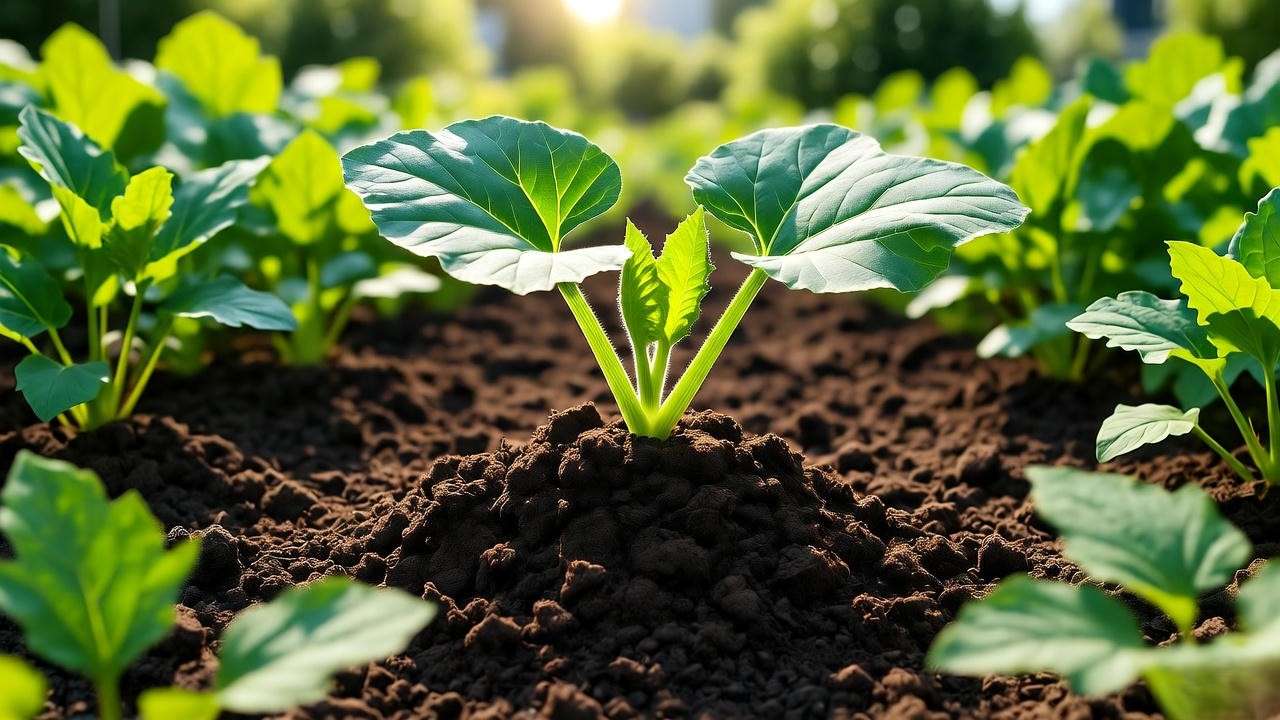
You can start butternut squash seeds indoors or sow them directly in the garden. Here’s how:
- Direct Sowing: After the last frost, plant seeds 1 inch deep in mounds (6–8 inches high) spaced 3–4 feet apart, with 6–8 feet between rows. Place 2–3 seeds per mound and thin to the strongest seedling.
- Starting Indoors: Begin 3–4 weeks before the last frost in biodegradable pots to minimize root disturbance. Transplant when seedlings have 2–3 true leaves.
Visual aid: A diagram showing mound spacing can help visualize this setup. Direct sowing is simpler for beginners, while starting indoors extends the growing season in cooler climates.
Watering and Mulching Tips 💧
Butternut squash plants need consistent moisture, especially during flowering and fruiting. Water deeply 1–2 times per week, delivering 1–2 inches of water to the root zone. Avoid wetting foliage to prevent fungal issues. Apply a 2–3 inch layer of organic mulch (straw, wood chips, or grass clippings) to retain moisture, suppress weeds, and regulate soil temperature. Expert advice: Mulch also reduces soil splash, which can spread diseases.
Section 4: Caring for Your Butternut Squash Plant 🌼
Watering and Fertilizing for Optimal Growth 🌿
Proper care ensures a thriving butternut squash plant. Water consistently, aiming for moist but not waterlogged soil. During hot spells, check soil moisture daily. Fertilize with a balanced NPK (10-10-10) at planting, then switch to a nitrogen-rich fertilizer (e.g., 5-3-3) during vegetative growth. Once flowers appear, reduce nitrogen to encourage fruit development. Organic gardeners can use compost tea or fish emulsion for eco-friendly nutrition. Common mistake: Over-fertilizing with nitrogen leads to lush vines but few fruits—stick to recommended doses.
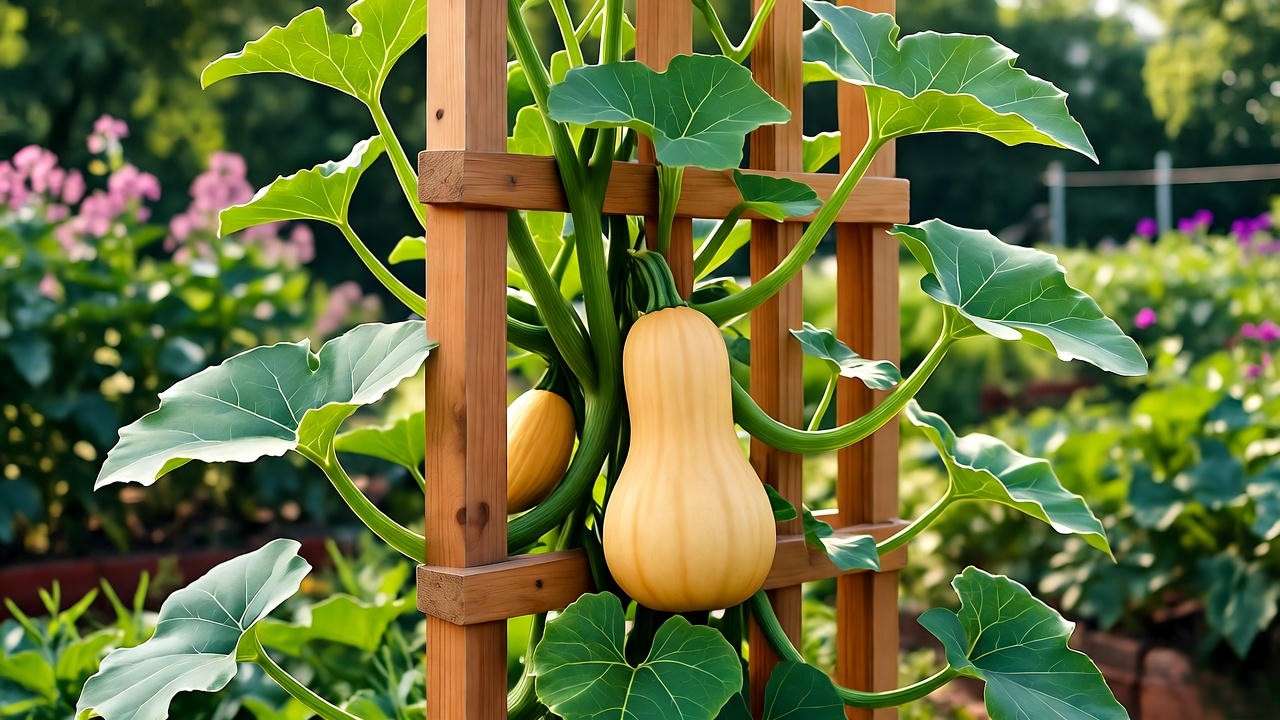
Managing Vines and Supporting Growth 🌱
Butternut squash vines can grow unruly, so manage them to save space and improve air circulation. Gently train vines to follow a path or wrap them around a trellis for vertical growth. Trellising works well for compact varieties like Butterbush, using sturdy A-frames or metal cages. Example: One gardener I advised trellised their Waltham Butternut, saving 50% of their garden space while doubling air flow, reducing disease risk.
Pollination for Better Yields 🐝
Pollination is key to fruit production. Butternut squash plants produce male and female flowers, relying on bees for natural pollination. To boost yields, plant companion flowers like marigolds or zinnias to attract pollinators. If bee activity is low, hand-pollinate by transferring pollen from male to female flowers using a small brush. Pro tip: Identify female flowers by the small fruit at their base.
Section 5: Protecting Your Butternut Squash Plant from Pests and Diseases 🐞
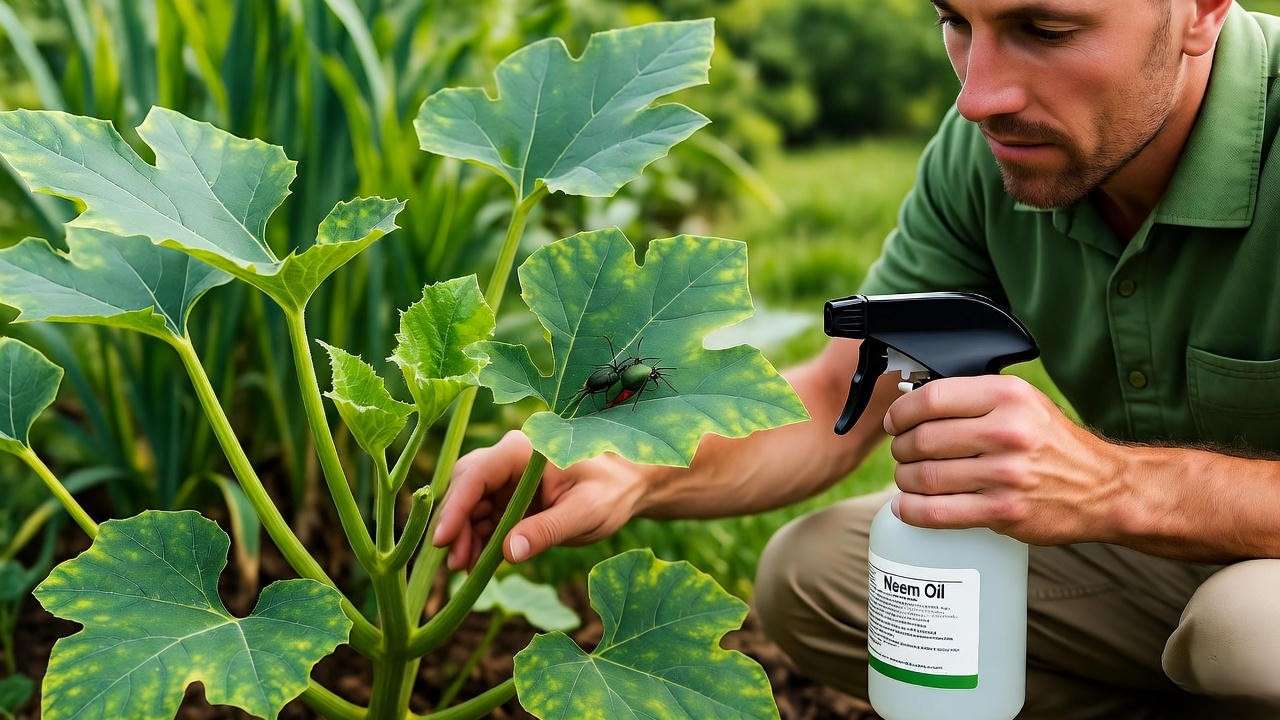
Common Pests and How to Control Them 🦟
Butternut squash plants are susceptible to pests that can derail your harvest. Here are the most common culprits and how to manage them:
- Squash Bugs: These grayish-brown insects suck sap from leaves, causing wilting. Hand-pick them early in the morning or use row covers until flowering. Organic solutions like neem oil or insecticidal soap work well.
- Vine Borers: Larvae tunnel into stems, causing sudden collapse. Look for sawdust-like frass at the stem base. Cut affected stems lengthwise to remove larvae, then cover with soil to encourage rooting.
- Aphids: These tiny pests cluster on leaves, spreading viruses. Blast them off with water or apply neem oil.
Real-world example: A gardener in my community saved their crop by using floating row covers early in the season, preventing squash bug infestations. For severe cases, consider diatomaceous earth or consult your local extension service for safe chemical options. Always follow safety guidelines when using pesticides.
Preventing and Treating Diseases 🩺
Diseases can devastate butternut squash plants, but proactive care minimizes risks. Key diseases include:
- Powdery Mildew: White, powdery spots on leaves, worsened by humidity. Improve air circulation by spacing plants properly and pruning excess foliage. Apply organic fungicides like sulfur or potassium bicarbonate early.
- Downy Mildew: Yellow spots on leaf tops with grayish mold underneath. Use resistant varieties and ensure good drainage. Remove and destroy affected leaves.
- Bacterial Wilt: Spread by cucumber beetles, causing sudden wilting. Control beetles with row covers and remove infected plants immediately.
Expert tip: Regular inspections catch issues early. Rotate crops every 2–3 years to prevent soil-borne diseases. For more details, check resources from Cornell University’s Vegetable MD Online.
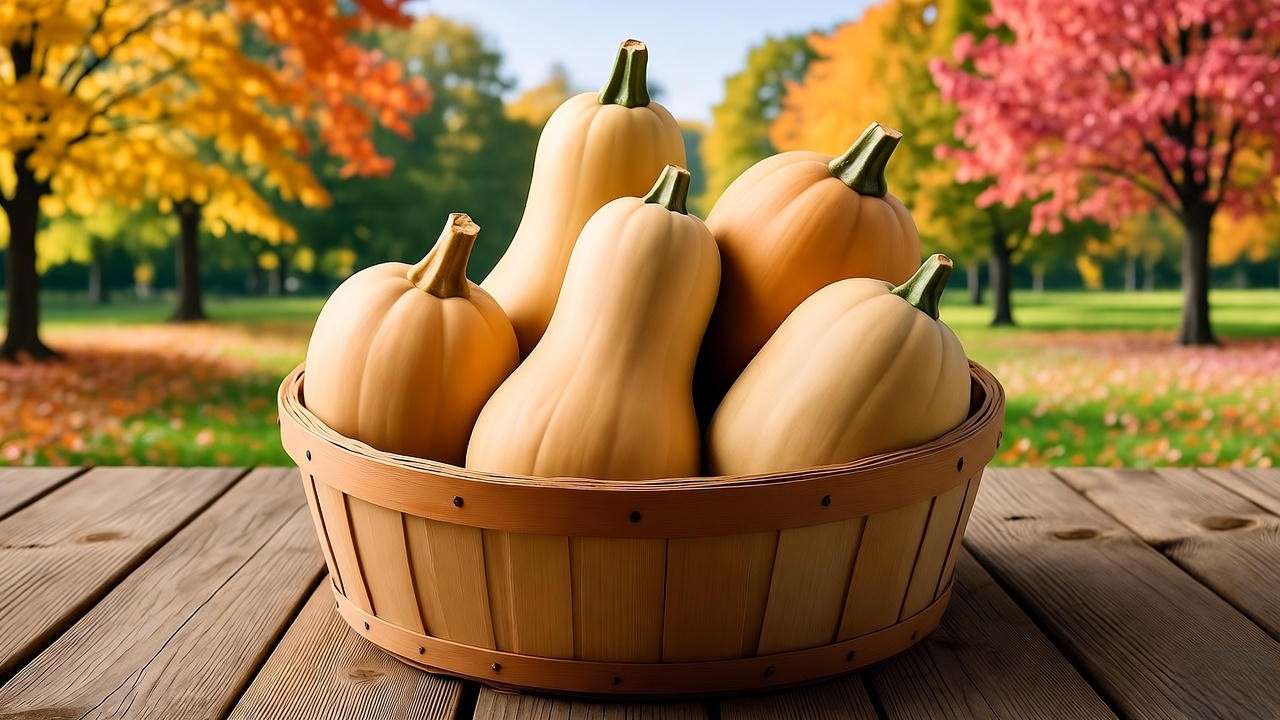
Section 6: Harvesting and Storing Your Butternut Squash 🍂
When and How to Harvest 🎃
Timing is everything for a perfect butternut squash harvest. Look for these signs of ripeness:
- Rind Color: A deep, uniform tan (no green streaks).
- Hardness: The rind resists scratching with a fingernail.
- Vine Condition: Drying or browning vines signal maturity.
Harvest before the first frost to avoid damage. Use sharp pruners to cut squashes from the vine, leaving 2–3 inches of stem attached to extend storage life. Handle gently to prevent bruising. Pro tip: Harvest on a dry day to reduce the risk of rot during storage.
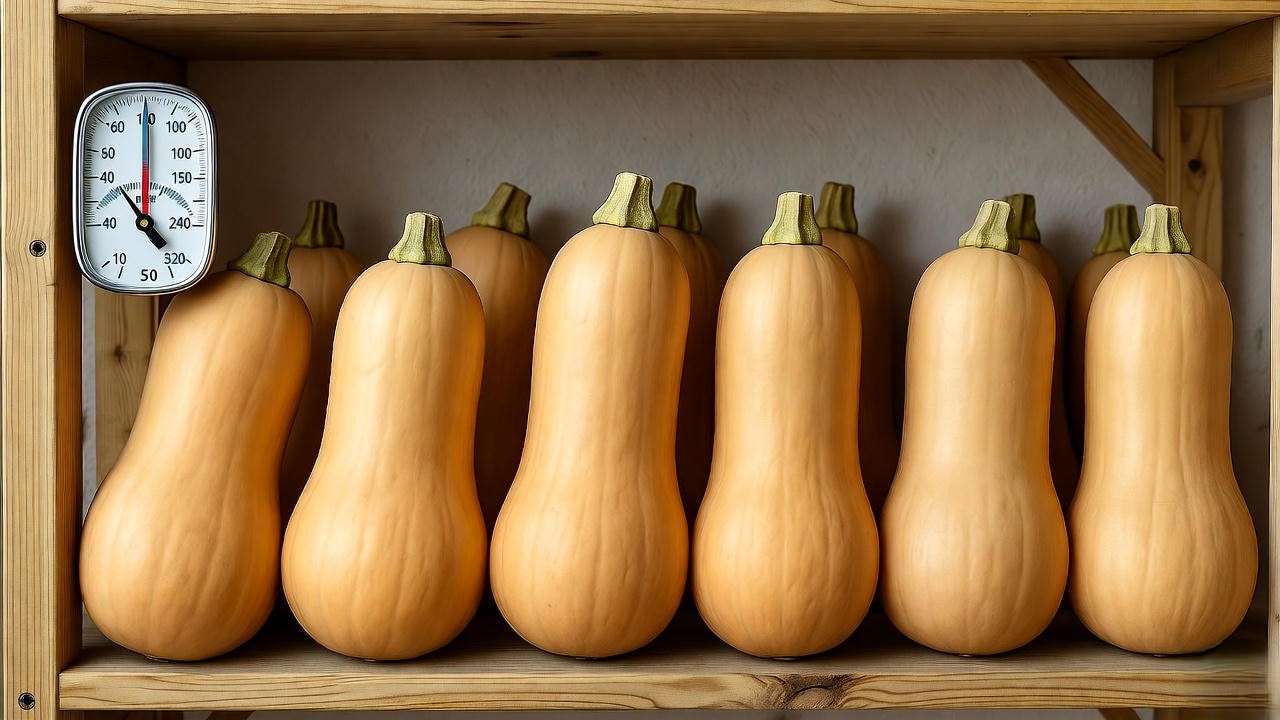
Storing for Long-Lasting Freshness 🗄️
Proper storage keeps your butternut squash fresh for months. After harvesting, cure squashes in a warm (75–85°F), dry, well-ventilated area for 10–14 days to harden the rind and enhance sweetness. Store in a cool (50–55°F), dry place with 50–70% humidity, such as a basement or pantry. Avoid stacking to prevent pressure damage. Under ideal conditions, butternut squash can last up to 6 months. Bonus tip: Check stored squashes weekly for soft spots or mold, and use any compromised fruits first.
Section 7: Troubleshooting Common Problems 🔧
Why Isn’t My Butternut Squash Plant Thriving? ❓
Even with the best care, issues can arise. Here’s how to diagnose and fix common problems:
- Poor Fruit Set: Likely due to inadequate pollination or nutrient imbalances. Ensure pollinator presence or hand-pollinate, and avoid excessive nitrogen fertilizer.
- Yellowing Leaves: Caused by overwatering, nutrient deficiency, or pests like aphids. Check soil moisture, test soil nutrients, and inspect for insects.
- Small or Misshapen Fruits: Often from inconsistent watering or poor soil fertility. Maintain steady moisture and amend soil with compost before planting.
Actionable steps: Keep a gardening journal to track watering, fertilizing, and pest activity. This helps identify patterns and solutions. If problems persist, contact your local cooperative extension for tailored advice.
Section 8: Expert Tips for Maximizing Your Harvest 🚀
To take your butternut squash game to the next level, try these advanced strategies:
- Companion Planting: Pair butternut squash with beans or corn in a “Three Sisters” garden to enhance soil nutrients and deter pests. Nasturtiums or marigolds nearby repel squash bugs.
- Crop Rotation: Rotate squash with unrelated crops (e.g., leafy greens) every 2–3 years to prevent soil depletion and disease buildup.
- Succession Planting: Sow a second batch 2–3 weeks after the first to extend your harvest window, especially in warmer climates.
Personal anecdote: Last season, I paired my Waltham Butternut with marigolds and saw a 30% increase in yield due to better pollination and fewer pests. Experiment with these techniques to find what works in your garden!
Conclusion: Your Path to a Bountiful Butternut Squash Harvest 🌟
Growing a thriving butternut squash plant is a rewarding journey that combines science, care, and a touch of patience. By choosing the right location, preparing fertile soil, nurturing your plants, and protecting them from pests and diseases, you’ll be rewarded with a bountiful harvest of sweet, golden squashes. Start planting today, and don’t forget to share your progress in the comments below! For more gardening inspiration, explore our articles on Top 10 Fall Vegetables to Grow or Organic Pest Control Strategies. Happy gardening! 🌱
FAQs ❓
Q1: How long does it take for a butternut squash plant to produce fruit?
A: Typically 100–120 days from planting to harvest, depending on the variety and climate.
Q2: Can I grow butternut squash in containers?
A: Yes, compact varieties like Butterbush thrive in large (15–20 gallon) containers with good drainage and trellising.
Q3: What’s the best way to save butternut squash seeds for next season?
A: Scoop seeds from fully ripe squash, rinse thoroughly, and dry for 1–2 weeks. Store in a cool, dry place in an airtight container.
Q4: Why are my butternut squash plants wilting?
A: Wilting can stem from overwatering, underwatering, or pests like vine borers. Check soil moisture and inspect stems for frass.
Q5: How do I know if my butternut squash is ripe?
A: Look for a hard, tan rind, drying vines, and a hollow sound when tapped.


