
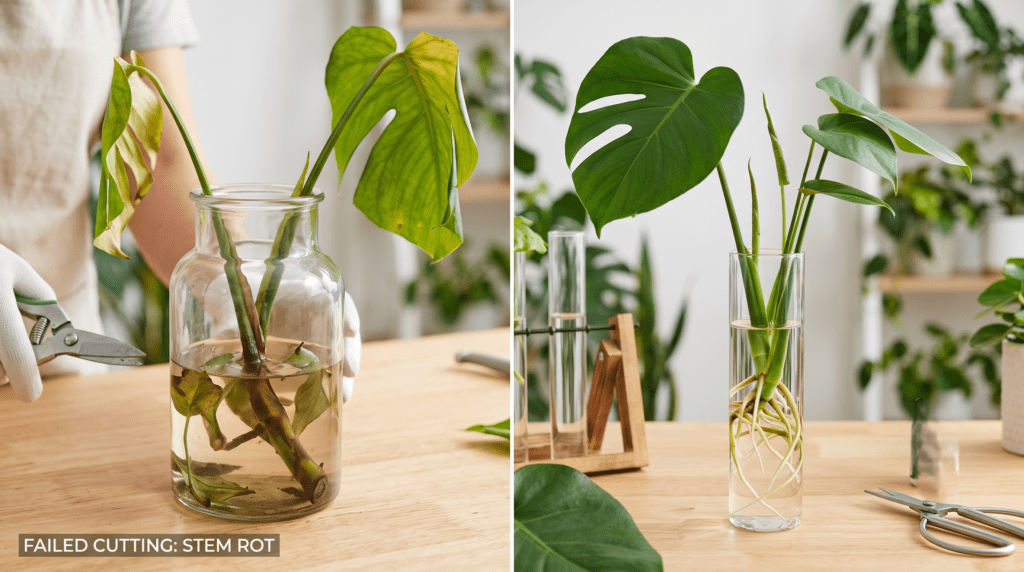
There is nothing quite as frustrating as taking a perfect cutting from a prized Monstera deliciosa or a beloved heirloom fruit tree, only to watch it turn to mush weeks later. You followed the tutorials, you bought the beautiful glass propagation station, yet instead of vigorous white roots, you are left with a rotting stem and wilted leaves. If you are tired of losing your precious plant babies, you are in the right place. Whether you are rooting a simple pothos in a jar of water or attempting to multiply a hardwood tree cutting in soil, this guide covers the most common propagation failures and fixes to save your next batch of cuttings.
Propagation is a delicate intersection of science and art. Even expert horticulturists and seasoned nursery growers experience failures. When a cutting is separated from its parent plant, it loses its root system and its primary life support. It is in a race against time to grow new roots before it starves or succumbs to bacterial infection. By understanding the biological “why” behind plant death, you can transition from simply guessing to scientifically growing. This comprehensive guide will help you diagnose exactly what went wrong and provide the exact actionable steps to fix it.
📐🌿 The Core Elements of Success: Mastering the “Propagation Triangle”
Before diagnosing specific failures, it is critical to understand the foundational elements of plant propagation. Plant experts often refer to a delicate balance required for successful rooting, which can be thought of as the “Propagation Triangle.” When cuttings fail, it is almost always because one of these three elements is severely out of sync.
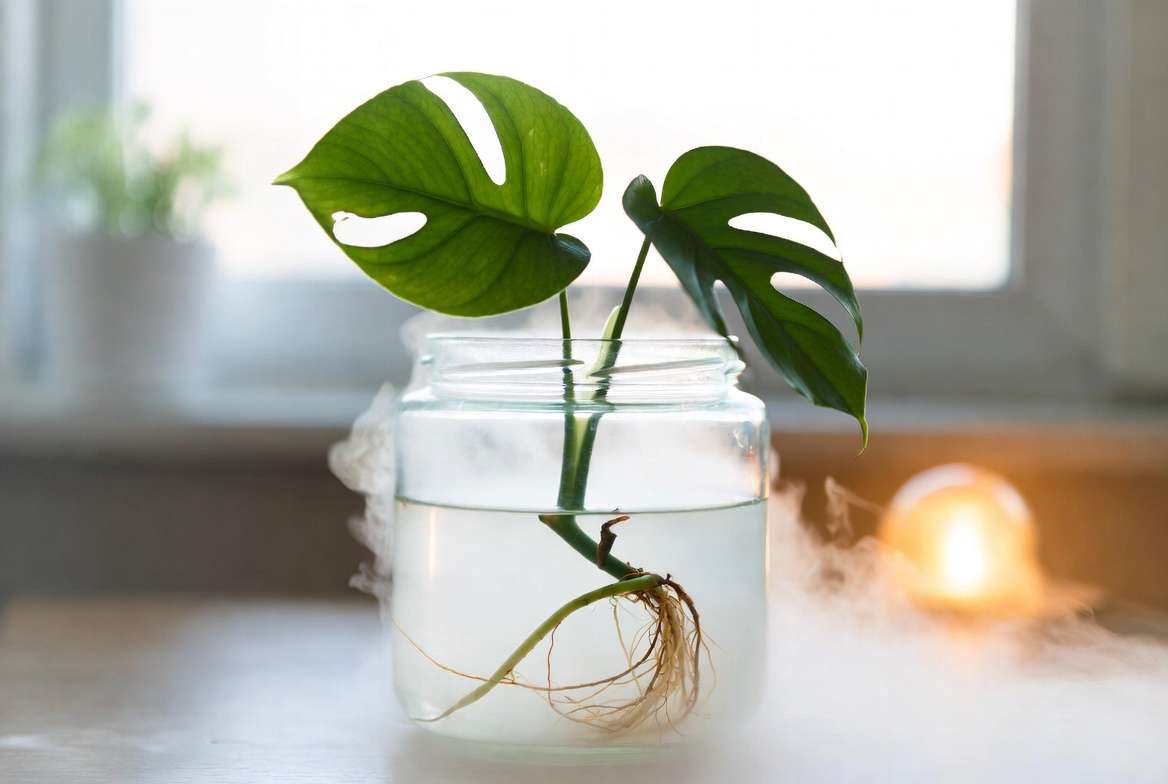
Moisture: The Line Between Hydration and Rot 💧
A cutting without roots cannot take up water efficiently, yet it continually loses water through its leaves via a process called transpiration. The goal is to keep the plant hydrated enough to survive without drowning the stem. If the environment is too dry, the cells collapse. If the environment is completely saturated without oxygen, anaerobic bacteria thrive, leading directly to stem rot.
Temperature: The Engine of Cellular Growth 🌡️
Cell division—the biological process required to push new root tissue out of a stem—requires energy and heat. Cuttings sitting on a cold, drafty windowsill will simply go dormant. Without warmth, the metabolic rate of the plant drops to near zero, significantly increasing the risk of the cutting rotting before it ever has a chance to root. Maintaining a consistent ambient temperature (usually between 70°F and 80°F) is essential for rapid root development.
Light: Energy Without Desiccation ☀️
Because cuttings have limited stored energy, they need light to photosynthesize and generate the sugars required to grow roots. However, placing an unrooted cutting in direct, intense sunlight will cause it to transpire moisture faster than it can replace it, baking the plant alive. The sweet spot is always bright, indirect light—bright enough to read a book by, but never with the sun’s rays directly hitting the foliage.
🥀 Diagnosing and Fixing 5 Common Propagation Failures
When propagation goes wrong, the plant usually gives you clear visual clues. By learning to read these symptoms, you can intervene before the cutting is entirely lost. Here is a deep dive into the most frequent issues and the exact horticultural fixes for each.
1. The Cutting Turns Mushy, Brown, and Slimy (Stem Rot) 🦠
The Symptoms: The submerged or buried portion of your stem turns black, dark brown, or yellow. The tissue feels squishy to the touch, the outer layer of the stem might peel off easily, and the water or soil emits a foul, swampy odor.
Why It Fails: Stem rot is the number one killer of cuttings. It is usually caused by an explosion of anaerobic bacteria or fungal pathogens. This happens for three primary reasons:
-
Dull or Dirty Shears: Using blunt, unsterilized scissors crushes the plant’s vascular tissue rather than cutting it cleanly. This creates jagged wounds that are a magnet for bacteria.
-
Skipping the Callus Phase: For fleshy plants (like succulents, snake plants, or thick-stemmed aroids), placing a fresh, weeping cut directly into water or wet soil invites rot.
-
Oxygen Depletion: In water propagation, stagnant water loses dissolved oxygen rapidly, creating the perfect breeding ground for rot-inducing bacteria.
The Fix:
-
Surgical Intervention: Pull the cutting out immediately. Using shears sterilized with 70% isopropyl alcohol, trim the stem back to firm, healthy, green tissue. You must remove every trace of rot, or it will continue to spread.
-
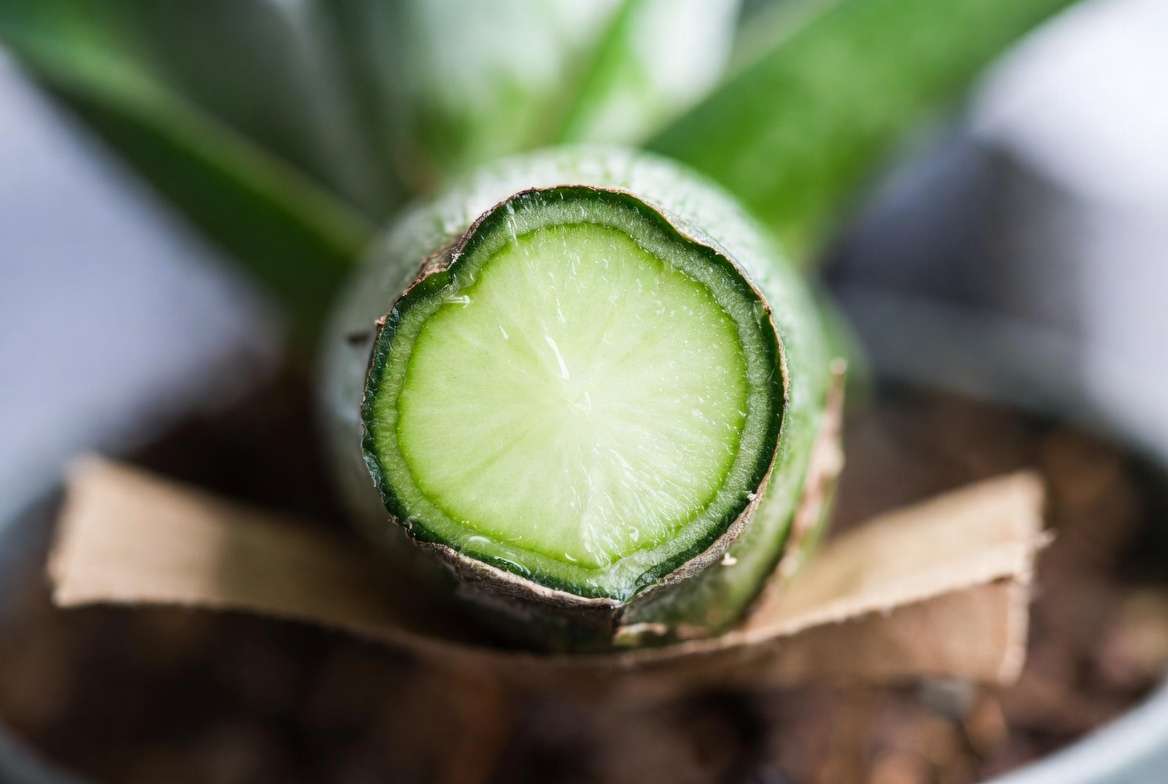
Allow for Callusing: Let the fresh cut air-dry on a paper towel for 2 to 24 hours (depending on stem thickness) until a dry seal forms over the wound.
-
Oxygenate the Water: Add a few drops of 3% hydrogen peroxide to your propagation vessel. Hydrogen peroxide () breaks down into water and extra oxygen, effectively killing anaerobic bacteria while oxygenating the environment for the plant.
2. The Cutting Shrivels and Dries Up (Desiccation) 🏜️
The Symptoms: The leaves turn crispy at the edges and curl inward. The stem looks shrunken, wrinkly, and dehydrated. The cutting feels lightweight and brittle.
Why It Fails: This is a classic case of transpiration outpacing water uptake. Because there are no roots to pull moisture from the environment, the cutting is bleeding out its stored moisture into the dry air around it. This is incredibly common during winter when indoor heating drops ambient household humidity to desert-like levels, or when a cutting is accidentally exposed to direct sunlight or a heating vent.
The Fix:
-
Create a Microclimate: You need to artificially trap ambient moisture around the leaves. Create a “humidity tent” by placing a clear plastic zip-top bag over the cutting and its container. Alternatively, use a glass cloche, an empty clear soda bottle with the bottom cut off, or a dedicated propagation box.
-
Relocate: Immediately move the plant away from any direct heat sources, drafts, or intense light.
-
Foliar Hydration: Lightly mist the inside of your humidity dome (not necessarily soaking the leaves themselves) to maintain a high humidity level, which signals to the plant’s stomata to close and conserve internal water.
3. Lower Leaves Turning Yellow and Dropping 🍂
The Symptoms: The cutting is slowly sacrificing its existing leaves. The bottom-most leaves turn pale, then yellow, and eventually fall off, even while you are waiting for roots to appear.
Why It Fails: This is an energy crisis. The cutting is in survival mode. Recognizing that it does not have the root infrastructure to support a massive canopy of leaves, it actively reabsorbs the nutrients from its older, lower leaves to fuel the energy-intensive process of creating new roots. A common mistake is taking a cutting that is far too large, leaving 6 or 7 massive leaves on a single stem.
The Fix:
-
Prune for Success: Before propagating, strip away all lower leaves. A cutting only requires 1 to 3 leaves to photosynthesize effectively.
-
Optimize Lighting: Ensure the cutting is receiving maximum bright, indirect light to help it generate its own energy, reducing the need to cannibalize its own foliage.
4. The “Zombie” Cutting: No Roots, No Death 🧟♂️
The Symptoms: Weeks or even months go by. The water is clean, the stem isn’t rotting, and the leaves look perfectly green—but the plant refuses to grow a single root. It simply sits there in suspended animation.
Why It Fails: Zombie cuttings are typically caused by environmental dormancy or a lack of natural growth hormones (auxins) concentrated at the cutting site. If ambient temperatures drop below 65°F, many tropical houseplants stop cellular division entirely. Additionally, if you took an internodal cut (cutting the stem too far away from a node), the plant may lack the necessary cellular blueprint to push roots.
The Fix:
-
Introduce Bottom Heat: Place your propagation station on a seedling heat mat. Raising the temperature of the water or soil by just 10 degrees is often enough to shock the cutting out of dormancy and trigger rapid cell division.
-
Apply Rooting Hormone: Dip the base of the cutting (specifically the node) in a high-quality commercial rooting hormone. These products contain synthetic auxins (like Indole-3-butyric acid) that mimic the plant’s natural root-triggering signals.
-
The Pothos Trick: If rooting in water, add a fresh cutting of a pothos (Epipremnum aureum) or a tradescantia to the same jar. These vigorous growers naturally exude massive amounts of rooting hormones into the water, acting as a natural catalyst for stubborn neighboring cuttings.
5. White Fuzz or Mold on the Soil/Stem 🍄
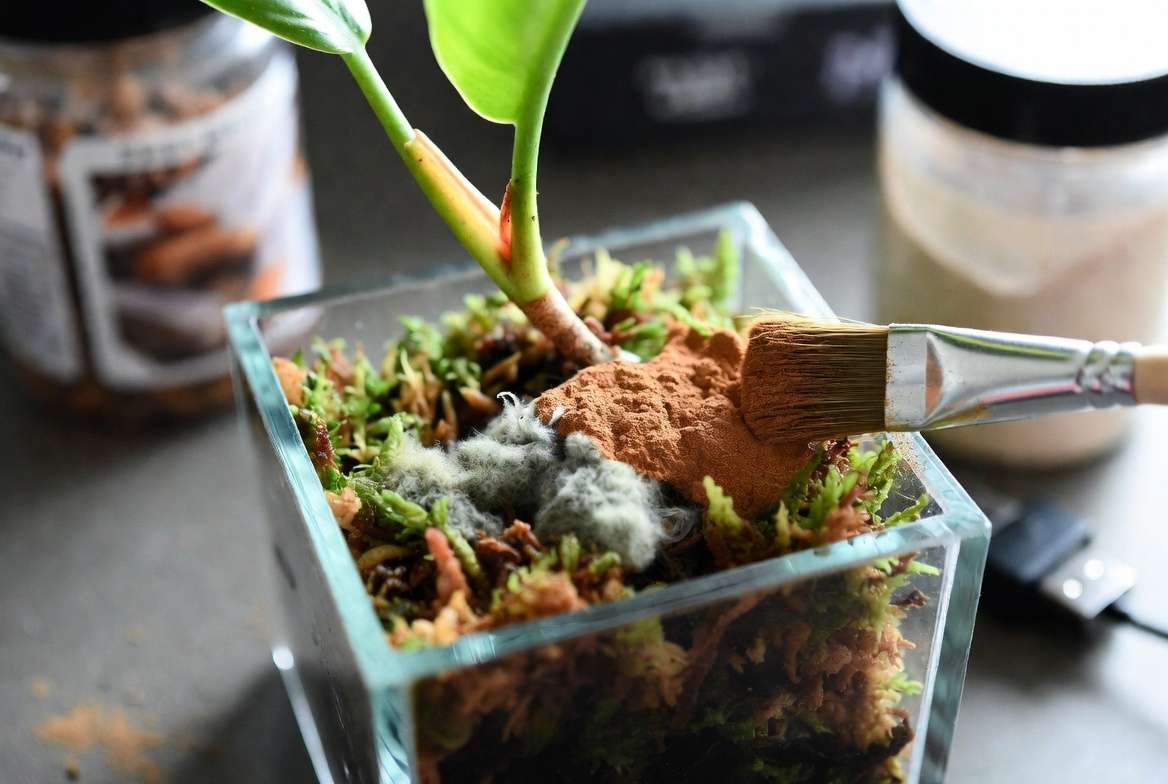
The Symptoms: A web-like, fuzzy white or grey mold begins to form on the surface of your potting soil, sphagnum moss, perlite, or right around the base of the stem where it meets the medium.
Why It Fails: Mold and fungal spores exist everywhere in the air. When you combine high humidity (from propagation tents) with excessively wet, stagnant substrate and poor airflow, you create a perfect incubator for fungal growth. While some saprophytic fungi only eat decaying organic matter and won’t harm the plant directly, their presence indicates an environment that will quickly lead to stem rot.
The Fix:
-
Air Circulation: Fungal spores despise moving air. Open your propagation boxes or humidity tents for 15 minutes a day to allow fresh air exchange, or place a very small, gentle fan in the room.
-
Adjust Moisture Levels: Let the top centimeter of the soil or moss dry out slightly between waterings.
-
The Cinnamon Hack: Lightly dust the surface of your soil or moss with standard household baking cinnamon. Cinnamon contains cinnamaldehyde, which acts as a powerful, all-natural fungicide and mild rooting stimulant.
💧🪴 Troubleshooting by Medium: Water vs. Soil vs. Sphagnum Moss
Different propagation substrates come with unique challenges. Choosing the right medium—and knowing how to manage it—is half the battle. Here is a breakdown of the most common mediums, their unique failure risks, and expert fixes.
| Propagation Medium | Common Failure Risk | The Expert Fix |
|---|---|---|
| Water | Oxygen depletion leading to severe bacterial rot. Algae blooms blocking light. | Change the water completely every 3 to 5 days to replenish dissolved oxygen. Use opaque vessels if algae is a recurring issue. |
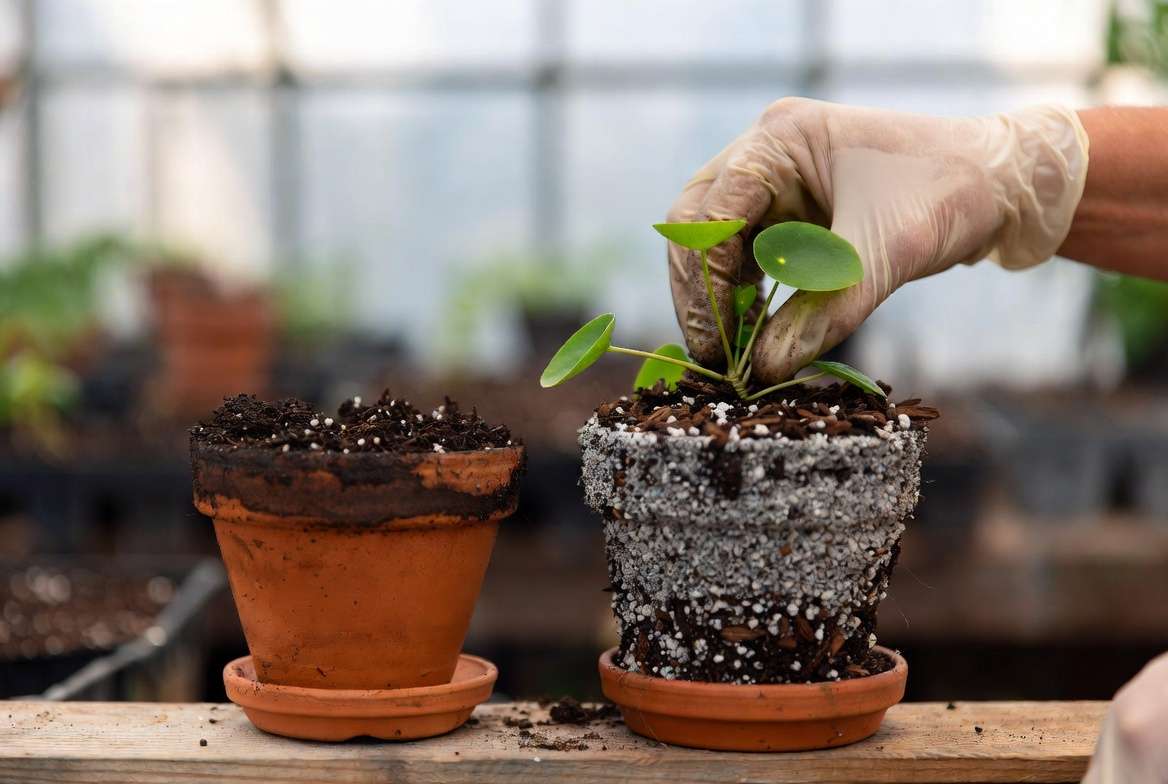
| Potting Soil | Overwatering leading to fungal gnat infestations and rapid suffocation of new roots. | Never use dense, straight potting soil. Mix your soil with at least 50% perlite or pumice to ensure massive aeration and rapid drainage. |
| Sphagnum Moss | The moss dries out completely and becomes hydrophobic, instantly killing fragile new root hairs. | Keep the moss feeling like a tightly “wrung-out sponge.” It should never be dripping wet, but it must never feel crispy to the touch. |
👩🌾 4 Golden Rules for a 100% Propagation Success Rate
If you want to move past trial and error and achieve consistent, expert-level results, memorize these four golden rules of plant propagation.
-
Always Sterilize Your Tools: Treat taking a cutting like surgery. Wipe your pruners, scissors, or scalpels with 70% isopropyl alcohol between every single cut. This prevents the transfer of invisible viral or bacterial pathogens from an old plant to an open wound on a new cutting.
-
Locate the Node: You cannot propagate a leaf without a node (with a few exceptions like Begonias or Sansevieria). The node is the bumpy joint on the stem where leaves emerge. This specific area contains the undifferentiated meristematic cells capable of transforming into roots. Always cut about half an inch below a node.
-
Size Matters (Keep it Small): A common beginner mistake is taking massive, three-foot cuttings. Large cuttings experience immense stress trying to keep massive amounts of foliage alive without roots. Smaller cuttings (3 to 6 inches long) root significantly faster and adapt to their new environments with much less shock.
-
Practice Patience and Stop Checking: Microscopic root hairs are incredibly fragile. Every time you pull a cutting out of its soil or moss to “check” if it has rooted, you are ripping off the microscopic root hairs it just spent a week building. Plant it, provide the right conditions, and leave it completely alone. Resistance to tugging is the best indicator of root growth.
❓ Frequently Asked Questions (FAQs)
Can a rotting cutting be saved? Yes, but you must act quickly. If you catch the rot early, pull the cutting out of its medium and use sterilized shears to cut roughly an inch above the highest point of rot. You must cut into pure, firm, green tissue. If any brown or squishy tissue remains, the rot will continue. Let the new cut callus over before attempting to propagate again.
Should I use liquid, gel, or powder rooting hormone? The choice depends largely on your medium and plant type.
-
Powder: Excellent for fleshy, soft-stemmed houseplants and succulents. It adheres well to sap and offers some fungicidal properties.
-
Gel: The gold standard for hardwood and semi-hardwood tree cuttings. It creates a thick, protective seal over the wound that doesn’t wash off easily when pushed into soil or moss.
-
Liquid: Best for creating large batches of diluted rooting solutions, often used in commercial nurseries or hydroponic setups.
Does propagation water need fertilizer? No. Unrooted cuttings do not have the vascular infrastructure (roots) to absorb heavy macronutrients like nitrogen, phosphorus, and potassium. Adding fertilizer to a propagation jar will not feed the plant; it will only feed algae and bacteria, rapidly accelerating the timeline to stem rot. Wait to fertilize until the plant is transferred to soil and has an established root system.
💚 Conclusion: Don’t Give Up on Your Green Friends!
Every plant enthusiast has lost a cutting. It is an unavoidable part of the learning curve. However, by mastering the Propagation Triangle—balancing moisture, temperature, and light—you can dramatically tilt the odds in your favor.
Diagnosing common propagation failures and fixes isn’t about having a magical “green thumb”; it is simply about observing the symptoms, understanding the biology, and adjusting the environment. Remember to sterilize your tools, locate those crucial nodes, and have patience while nature does its work.
Your next batch of cuttings is waiting! Every dead cutting is just a stepping stone on the path to building a thriving indoor jungle or an abundant garden. Keep experimenting, keep observing, and keep growing! 🌱✨











