
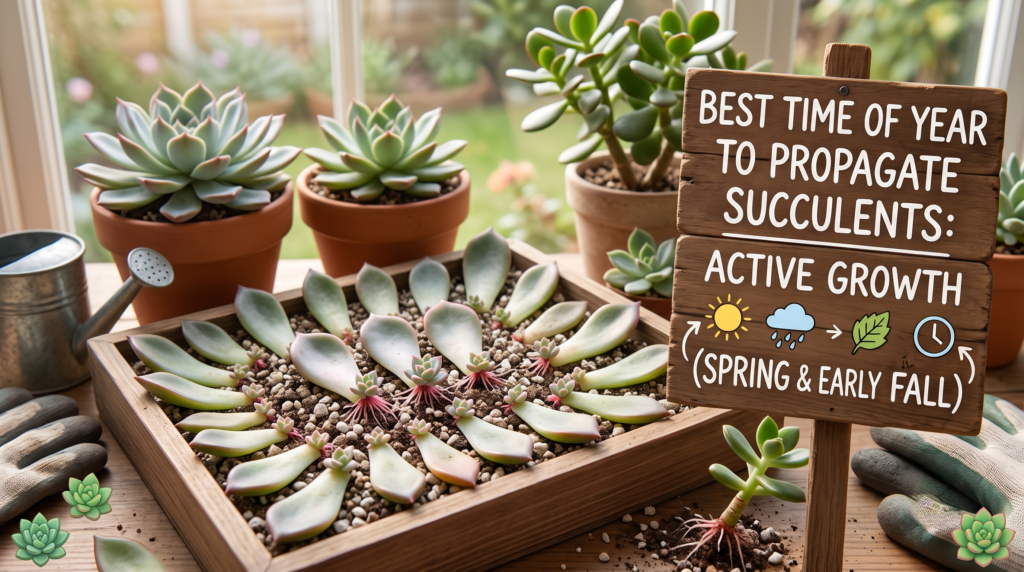
We’ve all been there: you accidentally knock a perfectly plump leaf off your favorite Echeveria, or your leggy succulent desperately needs to be beheaded. You carefully set the succulent leaves aside, hoping to grow dozens of cute baby plants. But weeks later? You’re staring at mushy, black, rotting leaves or stem cuttings that sit for months without a single pink root in sight 🥺.
If this sounds familiar, don’t blame your skills. The secret to a 100% propagation success rate isn’t just about the soil mixture, rooting hormone, or sunlight. It all comes down to aligning with your plant’s natural biological rhythms. If you’re wondering about the best time of year to propagate succulents, you’re in the right place.
Timing is the ultimate secret weapon in plant care. In this comprehensive guide, we will break down exactly when to chop and prop for faster roots, zero rot, and explosive growth. We’ll also cover the crucial difference between summer and winter dormant varieties, and give you the exact step-by-step formula to multiply your collection like a seasoned expert 🚀.
II. Why Timing Matters: The Science of Succulent Propagation 🧬
When I first started multiplying my succulent collection, I treated propagation as a year-round activity. I would take cuttings in December and wonder why my success rate plummeted to 20%, with most leaves turning to mush.
To understand why timing is everything, we have to look at the biology of succulents. Plants are highly sensitive to day length (photoperiod) and ambient temperatures, which dictate their internal clocks.
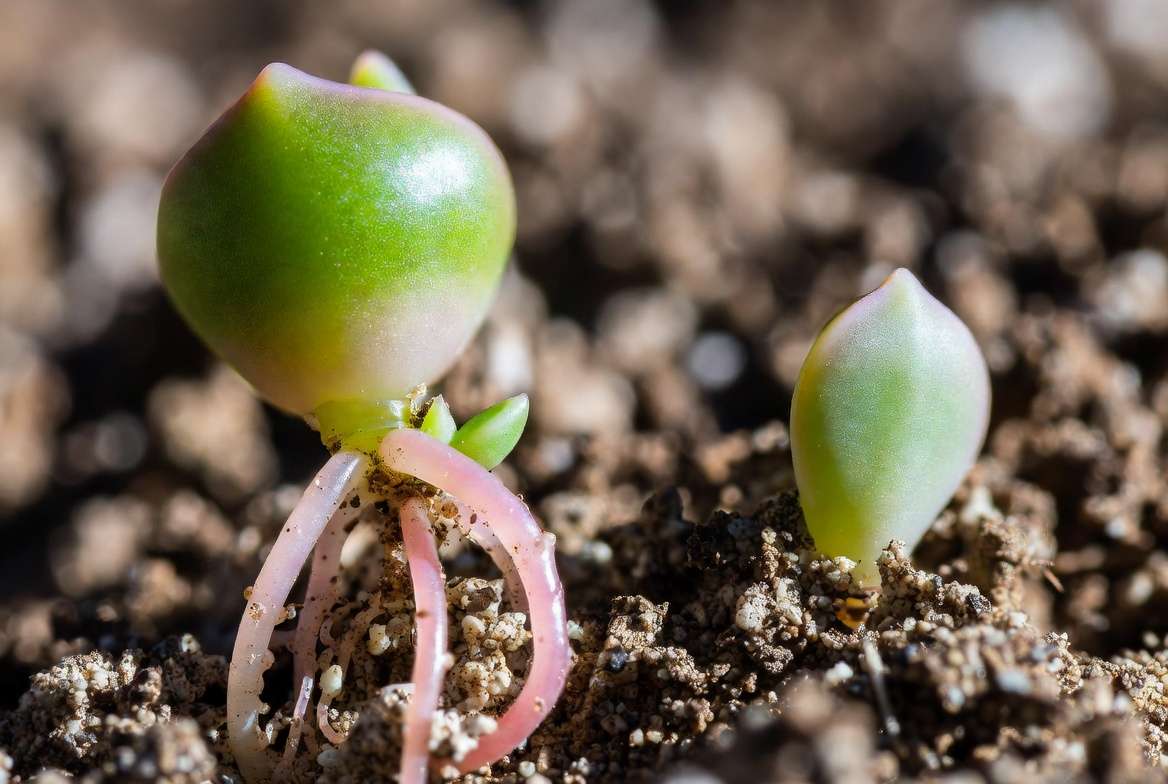
Active Growth vs. Dormancy 😴
Like bears hibernating in winter, succulents go through periods of dormancy—a survival mechanism designed to protect them from extreme weather (either freezing cold or scorching heat). During dormancy, a plant dramatically slows down its cellular activity. It stops producing new leaves, stops drinking as much water, and conserves its energy just to stay alive.
If you try to propagate a dormant plant, you are asking a sleeping organism to perform the most energy-intensive task possible: generating entirely new root systems and baby rosettes. The result? Stalled growth and a massively high risk of bacterial or fungal rot.
How Seasons Affect Callousing and Rooting ☀️❄️
When you take a cutting, you are essentially creating an open wound. The very first step of propagation is the “callousing” phase, where the cut end dries out and forms a protective scab.
The season dictates the temperature and humidity of your environment. In a warm, moderately dry spring, a leaf might callous beautifully in 24 to 48 hours. In the damp, cold depths of winter, that same wound stays wet for days, acting as a welcome mat for rot-causing pathogens.
💡 Expert Insight: The Stomata Secret Did you know that succulents undergo Crassulacean Acid Metabolism (CAM) photosynthesis? Unlike standard houseplants, succulents keep their stomata (tiny pores on their leaves) tightly closed during the hot day to prevent moisture loss. They only open them at night to breathe. This evolutionary quirk means that high humidity, misting, or wet soil on fresh wounds will suffocate the tissue and cause rapid bacterial rot before roots even have a chance to form!
III. What is the Best Time of Year to Propagate Succulents? 🗓️
The short answer: The best time of year to propagate succulents is at the very beginning of their active growing season.
However, not all succulents grow at the same time. Here is how to time your propagation perfectly based on the season.
Spring to Early Summer: The Golden Window for Most Succulents 🌸
For the vast majority of popular houseplants and succulents, spring is the undisputed champion of propagation. As winter fades, the days get longer, and temperatures rise into the comfortable 65°F–80°F (18°C–27°C) range.
These environmental cues trigger a massive surge in the plant’s hormones, specifically auxins (which promote root growth) and cytokinins (which promote shoot growth).
-
The Result: Leaves and cuttings taken in April or May can push out roots in as little as 10 to 14 days, growing 2 to 3 times faster than a cutting taken in November.
Early Fall: The Sweet Spot for Winter-Growers 🍂
Here is where many beginner plant parents stumble. Not all succulents love the summer heat! A large category of succulents are actually summer-dormant and winter-growing.
These fascinating plants go to sleep when temperatures soar above 85°F (29°C) and wake up when the cool, crisp air of autumn arrives. For these varieties, September and October is the perfect time to chop, prop, and repot. If you take cuttings right as they wake up from their summer slumber, they will root aggressively throughout the autumn and winter months.
Can You Propagate in Winter? (The Truth) ❄️
Let’s be realistic—sometimes an accident happens, a stem snaps, or you spot a dying plant in January that desperately needs to be saved via propagation. Can it be done?
Yes, but you have to artificially trick the plant into thinking it is spring. To successfully propagate in winter, you will need to bypass nature using two key tools:
-
Full-Spectrum LED Grow Lights: To simulate the 12–14 hours of intense daylight found in spring.
-
Seedling Heat Mats: Placed under your propagation trays to warm the soil to around 70°F (21°C), signaling to the cuttings that the ground has thawed and it’s safe to push out roots.
IV. The Ultimate Succulent Propagation Cheat Sheet 📝
To make sure you never propagate in the wrong season again, I’ve broken down the most common succulents by their active growing season. Pin this cheat sheet to your plant care board or screenshot it for your next propagation day!
Spring/Summer Growers (Propagate in Spring) ☀️
These plants love warmth and long days. Take cuttings from March through June for the best results:
-
Echeveria: (The classic rosette succulents)
-
Sedum: (Burro’s Tail, Jelly Beans)
-
Crassula: (Jade Plants, String of Buttons)
-
Agave: (Century plants, Victoria-reginae)
-
Euphorbia: (Crown of Thorns, African Milk Tree)
-
Kalanchoe: (Panda Plant, Mother of Thousands)
Winter Growers (Propagate in Fall) ❄️
These plants prefer cool weather and will actively rot or shrivel if you try to propagate them during a July heatwave. Propagate these from September through November:
-
Aeonium: (Tree Houseleek, Kiwi Aeonium)
-
Haworthia: (Zebra Plant, Cooperi)
-
Senecio: (String of Pearls, String of Dolphins, String of Bananas)
-
Aloe: (Aloe Vera, Lace Aloe)
-
Cotyledon: (Bear’s Paw)
V. 5 Foolproof Steps for Faster, Rot-Free Roots 🌱
Now that you know the best time of year to propagate succulents based on their specific dormancy periods, it’s time to perfect the physical technique. Even if you propagate in the perfect season, sloppy technique can still lead to failure.
To create a skyscraper-level success rate, follow these five essential steps to ensure your cuttings thrive.
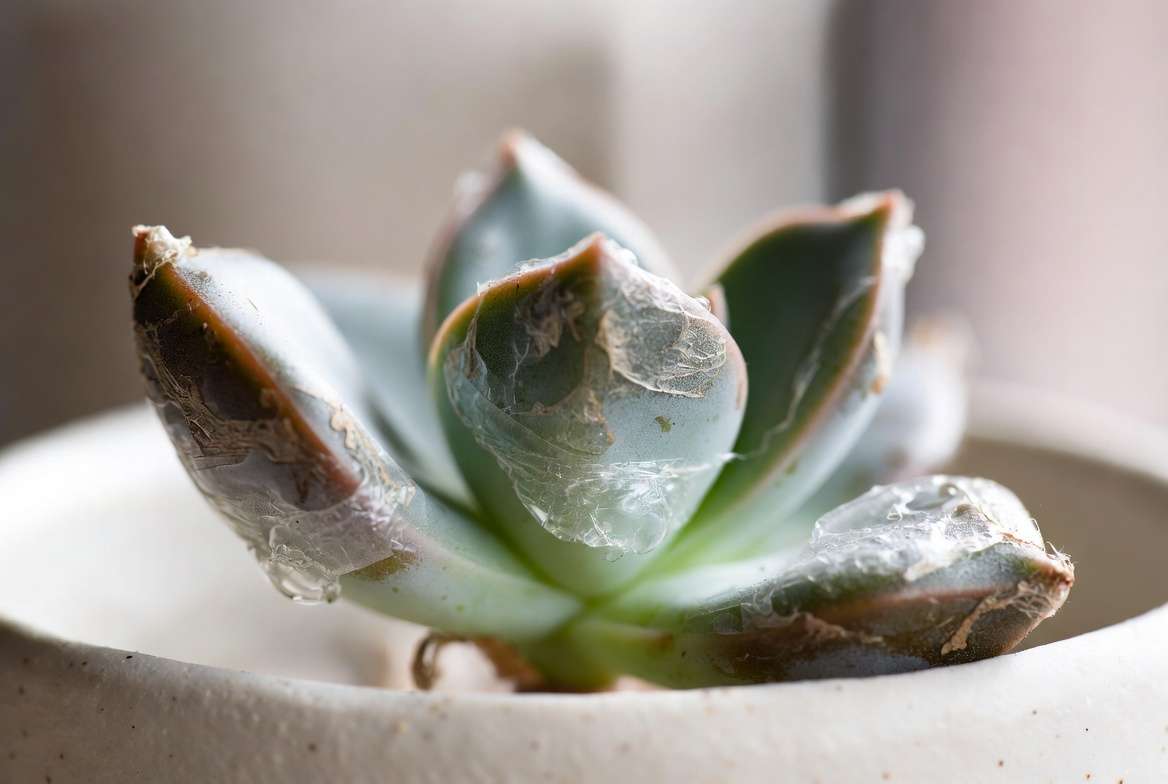
Step 1: The Perfect Cut (Sterility is Key) ✂️
Whether you are taking a leaf cutting or decapitating a stem, your first priority is a clean break.
-
For Leaf Cuttings: Gently hold the leaf close to the stem and wiggle it side to side with a gentle twisting motion. You need the entire base of the leaf to detach intact. If it tears and leaves a piece of tissue on the stem, discard the leaf—it will rot, guaranteed, because the meristematic tissue (where new cells grow) has been damaged.
-
For Stem Cuttings: Always use rubbing alcohol to sterilize your pruning shears or sharp knife before making a cut. Fungal spores are invisible and easily transferred from a dirty blade directly into your plant’s vascular system.
Step 2: The Callousing Phase (Never Skip This!) ⏳
If there is one cardinal rule in succulent propagation, it is this: Never place a fresh, wet cut directly into the soil.
When you remove a leaf or stem, it has an open wound. You must let the cutting rest in a dry, shaded area until that wound forms a protective scab, known as a callus. Depending on the seasonal humidity and the thickness of the stem, this can take anywhere from 1 to 5 days.
-
Expert Tip: If you took cuttings during the humid summer months, give them an extra day or two to dry out. The callus acts as a shield against soil-borne bacteria.
Step 3: Dry Propagation vs. Soil Propagation 🏜️
Once calloused, it’s time to set up your propagation station.
-
For Stem Cuttings: You can plant the calloused stem directly into a dry, fast-draining cactus and succulent soil mix. Make sure the pot has drainage holes!
-
For Leaf Cuttings: I highly recommend the “dry propagation” method. Simply lay your calloused leaves flat on top of a tray filled with dry, gritty soil. Do not bury the ends! The roots will naturally seek out the dark and push their way downward into the soil.
Step 4: The Golden Rule of Watering 🚫💧
This is where I take a controversial, yet expert stance: Stop misting your fresh succulent leaves every day.
It is one of the most widespread myths on the internet. Here is the scientific truth: A leaf or stem without roots has absolutely zero physical mechanism to absorb water. Spraying a rootless cutting with water does nothing but create a damp environment that invites fungal rot.
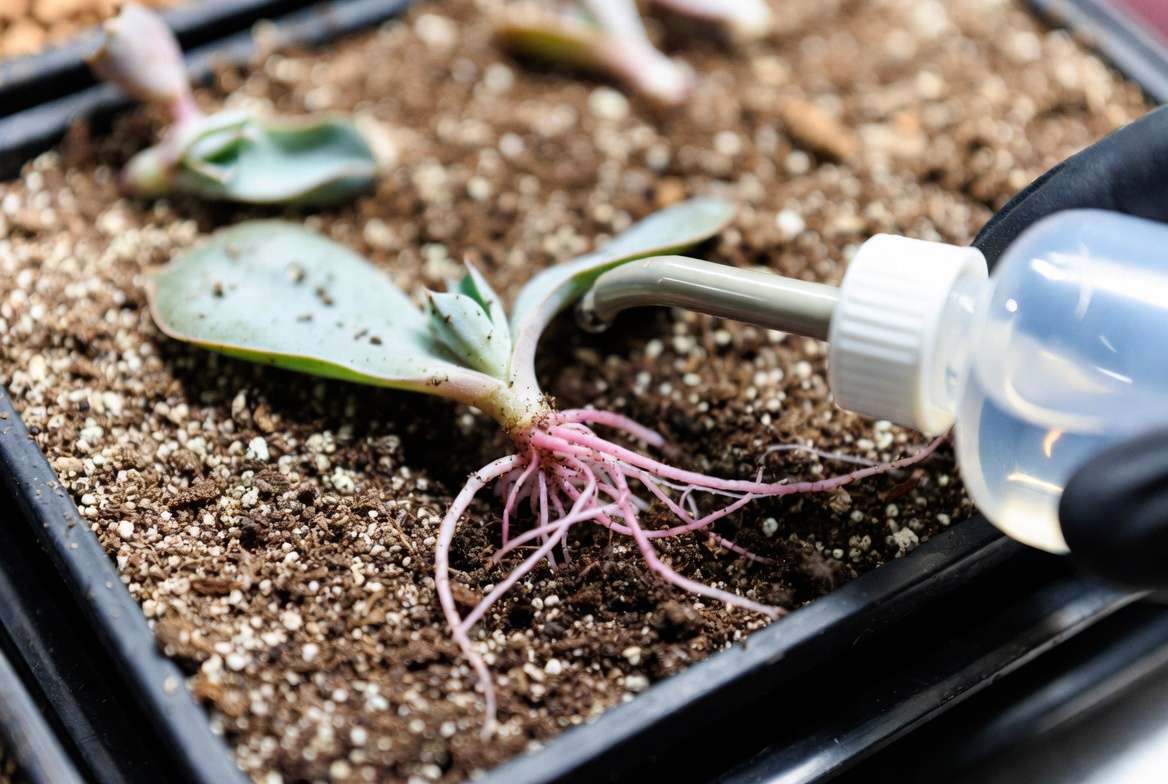
When should you water? Wait patiently. Do not introduce a single drop of water until you see tiny pink or white roots sprouting from the end of the leaf. Once roots appear, you can use a squeeze bottle to lightly moisten the soil right where the roots are touching.
Step 5: Nailing the Lighting 🌤️
Your delicate new cuttings do not have the root systems or the water reserves to handle the harsh afternoon sun. Placing a propagation tray in direct sunlight will scorch the leaves and dehydrate them before they can reproduce.
-
Keep your trays in bright, indirect sunlight. A spot near an east-facing window, or under a sheer curtain by a south-facing window, provides the perfect amount of energy for photosynthesis without the risk of sunburn.
VI. Troubleshooting Common Propagation Fails 🛑
Even experts lose a few leaves here and there. Plant propagation is a numbers game, but understanding why a failure happened is key to improving your skills. Here is how to diagnose the most common propagation problems.
Help, My Leaves are Turning Black and Mushy! 🧟♀️
-
The Diagnosis: Rot.
-
The Cause: This is the most common issue, and it usually stems from three things:
-
You tried to propagate a dormant plant in the wrong season.
-
You skipped the callousing phase and planted a wet wound.
-
You overwatered or misted a rootless cutting.
-
-
The Fix: Immediately remove the rotting leaves from the tray so the bacteria doesn’t spread to your healthy cuttings.
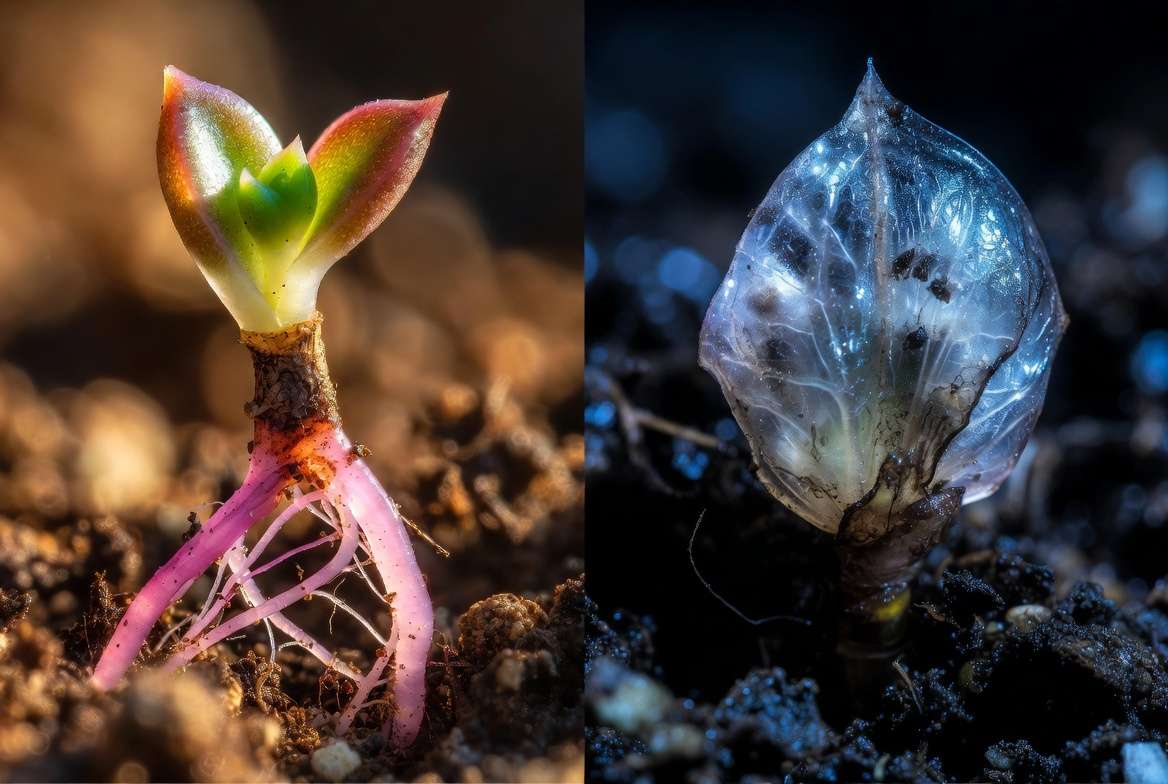
The Leaf is Shriveling Before Roots Appear 🍂
-
The Diagnosis: Severe dehydration.
-
The Cause: Either the propagation tray is receiving too much direct, hot sunlight, or the “mother leaf” you picked was already wrinkled and dehydrated before you removed it. A leaf needs a plump reserve of water to survive the rooting process.
-
The Fix: Move the tray to a shadier, cooler spot. Always choose the plumpest, healthiest leaves from the bottom of the mother plant for propagation.
I Have Roots, But No Baby Plant (Or Vice Versa) 🤔
-
The Diagnosis: Genetic luck of the draw.
-
The Cause: Sometimes a leaf will push out an incredibly massive root system but refuse to grow a baby rosette. Other times, a tiny baby rosette will appear without a single root to support it!
-
The Fix: Be patient. In 90% of cases, the missing component will eventually show up. If a baby plant grows without roots, carefully leave it alone; it is surviving off the mother leaf’s water and will eventually root once the mother leaf dries up.
VII. Frequently Asked Questions (FAQs) 🙋♀️
To ensure we cover every angle of succulent propagation, here are the answers to the most common questions plant parents ask.
Does the time of year matter if I propagate indoors? 🏠
Yes, absolutely! Unless you are growing your plants inside a heavily controlled indoor greenhouse tent with strict temperature and light-timer regulations, your houseplants still sense the seasons. They detect the changing angle of the sun through the windows, the shorter daylight hours, and the ambient temperature drops in your home. Always respect their natural seasonality.
How long does it actually take for succulent cuttings to root? ⏱️
If you propagate during the optimal active growing season (spring for Echeverias, fall for Aeoniums), you will typically see roots in 2 to 3 weeks. However, if you attempt propagation during dormancy, cuttings can stubbornly sit there doing nothing for up to 2 or 3 months before finally rotting or rooting.
Should I propagate my succulents in water? 💧
Water propagation has become very trendy on social media. While it can work well for stem cuttings (like a stretched-out Jade plant or String of Pearls), I strongly advise against it for leaf cuttings. Leaf cuttings are highly susceptible to rot, and suspending them over water often leads to mushy disasters. Dry soil propagation is infinitely safer and yields stronger soil-adapted roots.
Can I propagate a succulent while it’s blooming? 🌼
It is highly discouraged. When a succulent sends up a flower stalk, it is redirecting massive amounts of its stored energy away from root and leaf production and into reproduction (the flowers). If you take cuttings during this time, the plant lacks the reserve energy to heal wounds and push out new roots efficiently. Wait until the bloom fades, snip the flower stalk off, and then take your cuttings!
VIII. Conclusion & Next Steps 🌿✨
The journey to multiplying your plant collection doesn’t have to end in frustration, mushy leaves, and wasted time. By understanding your plant’s biology and honoring the best time of year to propagate succulents, you are setting yourself up for unprecedented success.
Remember the golden rules: match your propagation schedule to the plant’s active growing season (Spring for summer-growers, Fall for winter-growers), always let your cuttings callous, and step away from the spray bottle until those beautiful pink roots appear!
Now it’s your turn! 👇 What succulent are you trying to propagate right now? Did you find a surprise winter-grower on our cheat sheet? Drop a comment below, and don’t forget to pin this guide to your favorite Pinterest plant board so you never miss a propagation window again!











