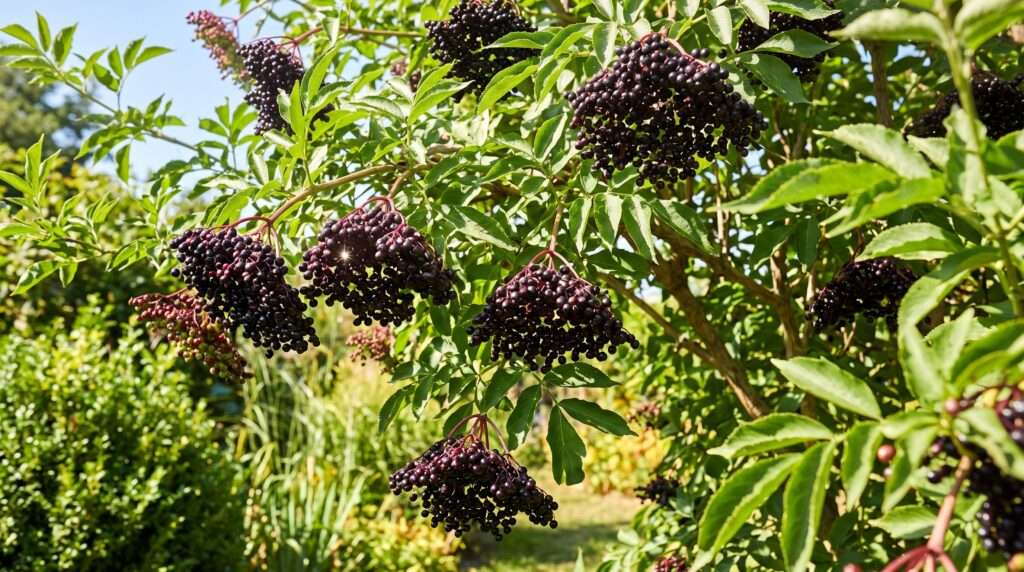
Picture your garden in late summer: the air is humming with native pollinators, and right in the center stands a magnificent plant heavy with cascading, deep purple clusters. Whether you are aiming to brew immune-boosting syrups, bake rich rustic pies, or simply cultivate a striking landscape centerpiece, growing an elderberry tree is an incredibly rewarding endeavor. Yet, despite their reputation for vigorous growth, these native beauties are often misunderstood. Without the right foundations, a promising sapling can quickly devolve into an overgrown, leggy thicket with disappointing, sparse berry yields.
Drawing on years of arboriculture, horticultural troubleshooting, and hands-on orchard management, this comprehensive guide cuts through the noise. We are going to transform how you approach Sambucus cultivation. By mastering site selection, strategic cross-pollination, and aggressive renewal pruning, you will learn exactly how to train a basic sapling into a heavy-producing, beautifully shaped focal point. Let’s dig into the science and practical steps of cultivating an abundant, thriving harvest. 🌱
1. Getting to Know Your Elderberry Tree (Sambucus) 🌿
Before putting a shovel into the earth, it is crucial to understand exactly what you are planting. The term “elderberry” refers to several species within the Sambucus genus, and choosing the right one dictates how your plant will behave, bloom, and yield fruit over the next decade.
European vs. American Elderberry: Which is Right for You? 🌎
The two most common powerhouses in home gardens are the American Elderberry (Sambucus canadensis) and the European Elderberry (Sambucus nigra).
-
American Elderberry (S. canadensis): Native to North America, this species is incredibly cold-hardy and naturally grows as a dense, multi-stemmed shrub reaching 10 to 12 feet tall. Its berries are slightly sweeter, making them a favorite for culinary use. Popular cultivars include ‘Adams’, ‘Johns’, and ‘Wyldewood’.
-
European Elderberry (S. nigra): Often growing larger—sometimes up to 20 feet—this species naturally takes on a more tree-like form. The European varieties, such as ‘Haschberg’, produce larger berries with a more complex, tart flavor profile prized by herbalists for syrups and tinctures.
Pro Tip: If you want a literal “tree” silhouette rather than a sprawling bush, Sambucus nigra is structurally easier to prune into a single-trunk specimen.
The Cross-Pollination Secret for Massive Yields 🐝
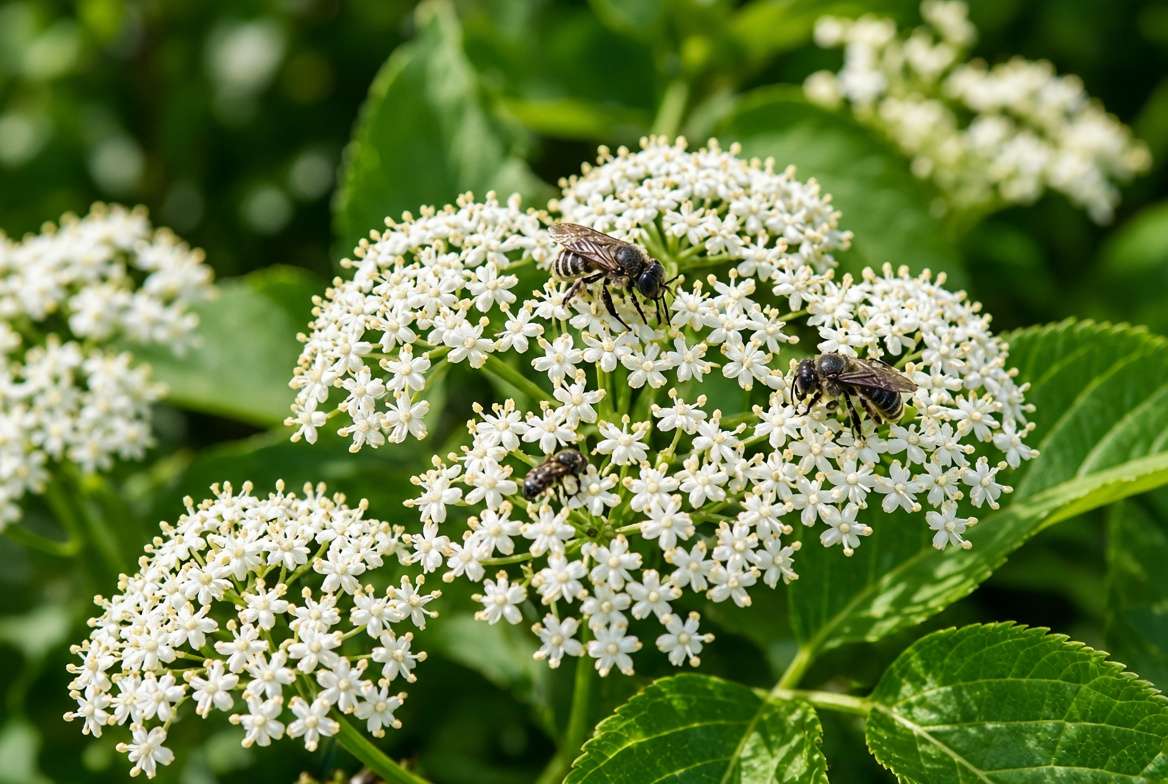
One of the most common mistakes novice growers make is planting a single, isolated elderberry. While some cultivars are technically self-fruitful (meaning they can pollinate themselves), their yields will be dramatically reduced.
Elderberries thrive on cross-pollination. To achieve those heavy, drooping umbels of fruit you see in professional orchards, you must plant at least two different cultivars of the same species within 60 feet of each other. For example, pairing an ‘Adams’ with a ‘Johns’ ensures that native bees and wind can freely mix their genetics during the blooming window, resulting in exponentially higher berry production and larger fruit set.
Expert Insight: Genetically, elderberries are classified as large, multi-stemmed deciduous shrubs. However, through deliberate pruning—specifically selecting a dominant central leader and stripping lower lateral branches—they can be expertly trained into a “standard” tree form. This not only enhances their ornamental appeal in formal landscapes but makes harvesting and mowing underneath significantly easier. ✂️
2. Setting the Stage: Ideal Growing Conditions ☀️
Elderberries are notorious survivors, often found growing wild in roadside ditches and woodland edges. But survival is not the same as thriving. To maximize your harvest, you need to mimic their ideal natural habitats.
Sunlight Requirements for Optimal Flowering 🌞
Sunlight is the engine that drives flowering and fruiting. For peak berry production, your elderberry tree requires full sun, defined as at least 6 to 8 hours of direct, unobstructed sunlight per day.
While they will tolerate partial shade (and even appreciate dappled afternoon shade in extremely hot southern climates), a lack of adequate sunlight is the leading cause of “blind wood”—branches that produce lush green foliage but fail to develop flower buds. If your goal is a massive harvest, prioritize your sunniest available planting site.
Soil Preferences & pH Levels 🪱
Wild elderberries are often found near streams and wetlands, giving us a major clue about their soil preferences. They crave rich, loamy, well-draining soil that retains consistent moisture.
-
Soil Texture: If you have heavy clay soil that stays waterlogged, amend your planting site heavily with aged compost, or consider planting on a raised berm to prevent root rot. If you have sandy soil that drains too fast, top-dressing with organic matter will help retain vital moisture.
-
Optimal pH: Elderberries prefer slightly acidic to neutral soil, with a pH range sitting comfortably between 5.5 and 6.5. A simple soil test prior to planting can save you years of nutrient lockout troubleshooting.
Hardiness Zones & Climate Tolerance 🌡️
Elderberries are exceptionally adaptable, typically thriving across USDA Hardiness Zones 3 through 9.
A critical biological requirement for these trees is chill hours (cold stratification). They need a sustained period of winter dormancy (temperatures below 45°F / 7°C) to reset their internal clocks and trigger the spring blooming cycle. This is why growers in deeply tropical climates struggle to produce fruit, while those in temperate and cold-winter regions see spectacular spring floral displays.
3. How to Plant an Elderberry Tree the Right Way 🪴
Proper planting technique is the foundation of a resilient, disease-free tree. Rushing this step often leads to stunted root systems and failure to establish.
When to Plant (Spring vs. Fall) 🗓️
-
Early Spring (Bare-Root): The absolute best time to plant bare-root elderberries is in early spring, just as the soil becomes workable but before the plant breaks dormancy. This allows the roots to settle and establish before the stress of summer heat arrives.
-
Early Fall (Potted): If you are purchasing established nursery plants in containers, early fall planting is excellent. The warm soil and cool autumn air encourage rapid root growth without the demand of supporting new foliage.
Step-by-Step Planting Guide 🛠️
-
Hydrate the Roots: If planting bare-root, soak the roots in a bucket of water for 2–4 hours prior to planting to rehydrate the tissue.
-
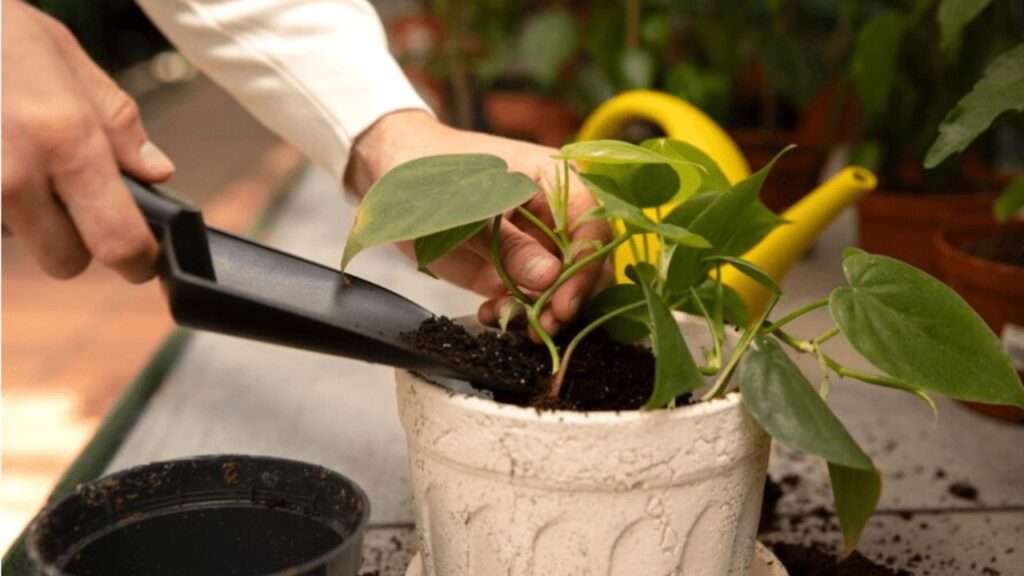
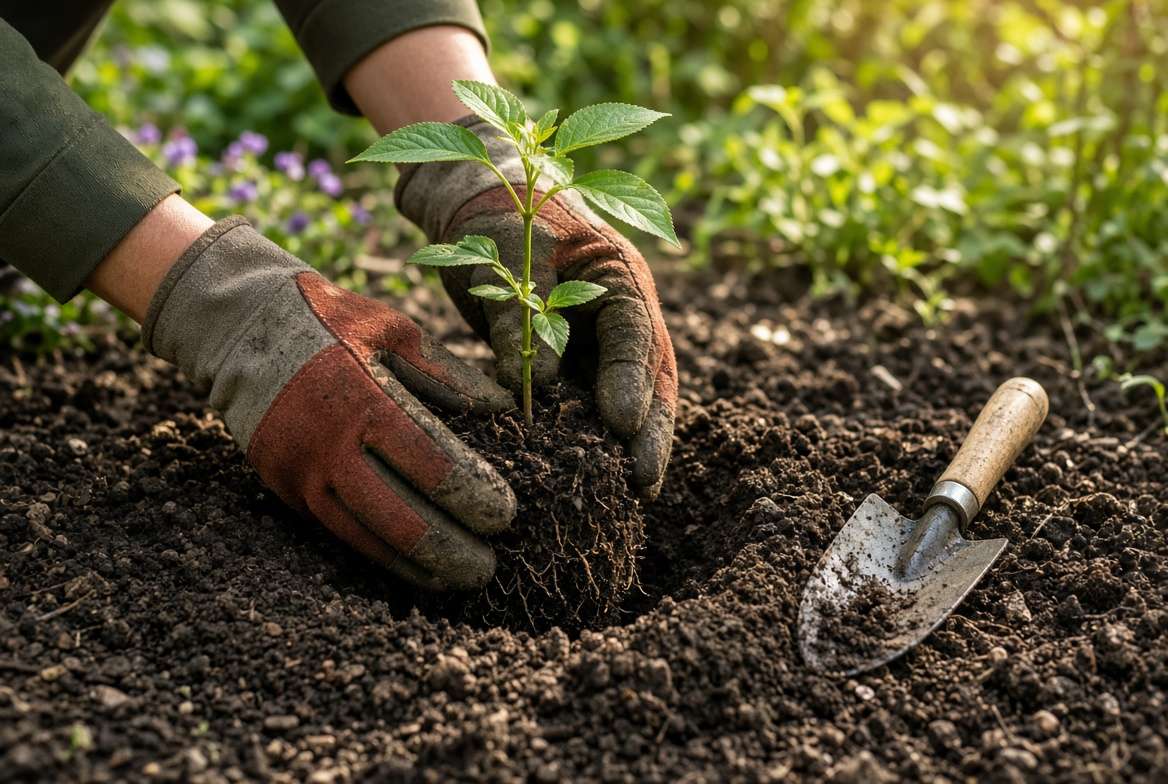
Dig the Perfect Hole: Dig a hole twice as wide as the root system, but no deeper. The crown of the plant (where the roots meet the stem) must sit perfectly level with the surrounding soil. Burying the crown too deep invites stem rot.
-
Tease and Set: If planting from a pot, gently tease the outer roots apart to prevent girdling. Set the tree into the hole, ensuring the central leader is standing completely vertically.
-
The “Water-In” Technique: Fill the hole halfway with your native soil (amended with a shovel of compost). Stop, and flood the hole with water. This forces air pockets out of the soil and establishes immediate root-to-soil contact. Once drained, fill the remaining soil, tamp gently, and water thoroughly again. 💦
Spacing Your Trees 📏
Because they require cross-pollination and robust airflow to prevent fungal diseases, proper spacing is non-negotiable. Space your elderberry plants 6 to 10 feet apart in rows, with 10 to 12 feet between the rows themselves. This might look excessively sparse on planting day, but within three years, the expansive canopies will gracefully touch, creating a lush, productive hedgerow while still allowing sunlight to penetrate the lower branches.
4. Fundamental Elderberry Care & Maintenance 💧
Once your elderberry tree is safely in the ground, the real work of cultivation begins. Because these plants are incredibly fast growers—often shooting up multiple feet in a single season—they have specific metabolic demands. Mastering their watering and nutritional needs is the difference between a mediocre bush and a show-stopping, heavy-yielding tree.
Watering Protocols for the First Year vs. Mature Trees 🚿
Elderberries possess shallow, fibrous root systems. Because their roots sit so close to the soil surface, they are highly susceptible to drying out during the hot summer months.
-
Year One (Establishment Phase): During its first growing season, your primary goal is root establishment. The soil must remain consistently moist (but never waterlogged). Provide 1 to 2 inches of water per week, applying it deeply at the base of the plant. A drip irrigation system is highly recommended here, as it delivers water directly to the root zone without wetting the foliage, which helps prevent fungal diseases.
-
Mature Trees: Once established (typically by year three), elderberries become surprisingly drought-tolerant. However, “tolerant” does not mean “productive.” If a mature tree experiences severe water stress during the critical fruiting window (mid-summer when the green berries are swelling), it will drop its fruit prematurely to save energy. During fruit set, ensure they receive a deep soak during extended dry spells.
Feeding and Fertilizing for Heavy Blooms 🌱
It is a common misconception that more fertilizer equals more fruit. With elderberries, the wrong type of fertilizer will actually ruin your harvest.
If you apply a high-nitrogen lawn fertilizer near your elderberry tree, the plant will dedicate all its energy to pushing out massive amounts of lush, green vegetative growth—completely ignoring flower and fruit production.
Instead, feed your trees in early spring just as the buds begin to swell. Apply a balanced, slow-release organic fertilizer (such as a 10-10-10) or, ideally, top-dress the root zone with a thick layer of rich, aged compost. You want to prioritize phosphorus and potassium, the essential macronutrients responsible for explosive root development and prolific elderflower blooms. 🌸
Mulching Magic 🍂
Because elderberry roots are so shallow, they despise competition. Grass and invasive weeds will easily outcompete your young tree for water and nutrients.
Applying a 2- to 3-inch layer of organic mulch (like shredded hardwood, pine bark, or straw) around the drip line of the tree is mandatory. Mulch acts as an insulating blanket, keeping the shallow roots cool during scorching August heat, retaining critical soil moisture, and naturally suppressing weeds.
-
Crucial Rule: Never let the mulch touch the actual trunk of the tree. Leave a 2-inch “donut hole” around the base to prevent the bark from rotting and to deter wood-boring pests from making a home against the damp wood. 🪵
5. Masterful Pruning: The Secret to an Abundant Harvest ✂️🫐
If there is one section of this guide to memorize, it is this one. Proper pruning is the ultimate secret to elderberry success. Left completely unpruned, an elderberry tree will quickly turn into a chaotic, tangled mess of dead wood and weak, unproductive canes.
Why Pruning is Non-Negotiable 📉
Understanding the biology of the elderberry is key: Elderberries produce their heaviest and largest fruit clusters on two-year-old wood.
Canes that are three years or older become woody, brittle, and significantly less productive. Furthermore, dense, unpruned canopies restrict airflow and block sunlight from reaching the interior branches, creating a damp environment where pests and fungal diseases thrive. Aggressive pruning forces the plant to constantly generate vigorous new fruiting wood.
The Best Time to Prune ❄️
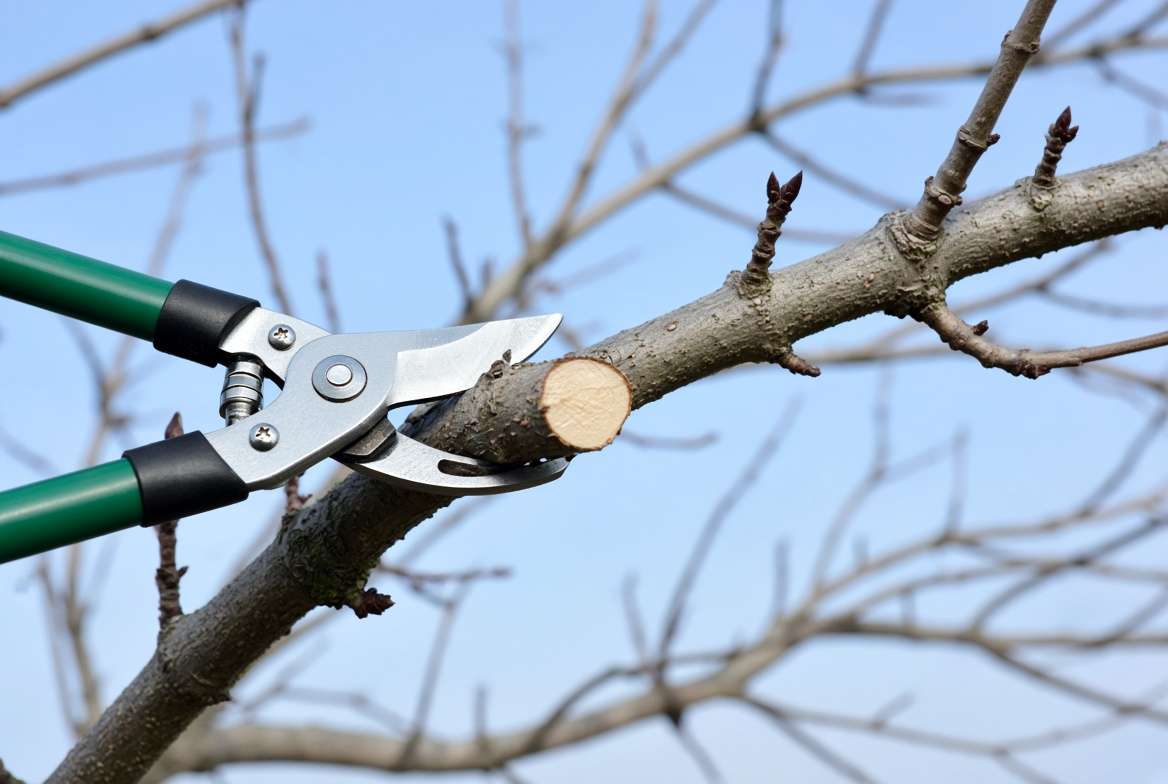
Always prune your elderberry tree during late winter or early spring (February or March), while the plant is fully dormant and before the new buds begin to break. Pruning during dormancy minimizes sap loss and stress, and the lack of foliage allows you to clearly see the architectural structure of the tree.
The 3-Year Pruning Strategy (Step-by-Step) 📋
To maintain a perpetual cycle of high-yielding branches, employ the “Renewal Pruning Method”:
-
Year 1: Do practically nothing. Let the plant grow wild to establish a massive root system. Only prune away broken or diseased branches.
-
Year 2: In late winter, evaluate the new canes. Keep the 5 or 6 strongest, thickest, most upright canes and completely remove any spindly, weak suckers right at the soil line.
-
Year 3 & Beyond (The Renewal Cycle): Now the real strategy begins. Identify any wood that is three years old or older (it will look gray, deeply deeply furrowed, and thick). Cut these old canes completely down to the ground. Leave an equal mix of first-year canes (which will fruit next year) and second-year canes (which will bear your heaviest harvest this year).
By strictly removing anything older than three years, you constantly regenerate the tree.
Training a Shrub into a “Tree” Form 🌳
If you prefer the aesthetic of a traditional tree rather than a multi-stemmed shrub, you can force Sambucus into a “standard” form.
-
In year two, select the single thickest, most vigorous, and straightest cane to act as your “central leader” (the trunk).
-
Prune away all other stems at the ground level.
-
As your central leader grows taller, carefully prune away the lower lateral branches, forcing the plant to bush out only at the top canopy.
-
Note: You will need to continuously prune away ground suckers every spring to maintain this single-trunk look, but the visual reward in a curated landscape is truly stunning! ✨
6. Troubleshooting: Common Pests & Diseases 🐛🥀
Even the healthiest gardens encounter pests. The key to organic management is early identification and swift intervention before an infestation compromises your harvest.
Identifying and Defeating Pests 🕷️
-
Elder Shoot Borer (Achatodes zeae): This is the most notorious elderberry pest. The larvae bore directly into the soft pith of the stems, causing the entire branch to suddenly wilt and die back. Solution: There is no chemical spray for borers once they are inside. You must immediately prune the wilted cane below the point of entry and burn or destroy it to kill the larvae.
-
Aphids and Spider Mites: These tiny vampires cluster on new growth and the undersides of leaves, sucking out the sap and leaving behind a sticky “honeydew.” Solution: A strong blast of water from the hose is often enough to dislodge them. For stubborn infestations, apply organic Neem oil or insecticidal soap during the cool evening hours. 🐞
Fungal and Disease Management 🍄
-
Powdery Mildew: Appearing as a white, dusty coating on the leaves, this fungus thrives in humid, stagnant air.
-
Verticillium Wilt: A severe soil-borne fungus that causes leaves to curl, yellow, and drop.
-
Solution: Prevention is your best weapon. Proper spacing (10 feet apart) and aggressive renewal pruning ensure sunlight and wind can pass right through the canopy, rapidly drying the leaves after morning dew or rain. Avoid overhead watering.
The Bird Problem 🐦
You are not the only one eagerly awaiting the harvest! Birds will aggressively strip an elderberry tree of its fruit the moment it ripens—often completely clearing a tree in a single afternoon. To protect your crop, drape the canopy with specialized, fine-mesh bird netting just as the green berries begin to blush purple. Ensure the netting is securely tied at the base of the trunk so clever birds cannot fly up underneath it.
7. Harvesting, Safety & Enjoying the Bounty 🧺🍓
After months of careful watering, pruning, and warding off opportunistic birds, the moment of harvest arrives. Harvesting elderberries is a deeply satisfying process, but it requires precision and a strict adherence to safety protocols.
How to Tell When Elderberries are Ripe ⏱️
Elderberries do not ripen evenly; a single tree may have both green and fully ripe clusters simultaneously. Because of this, you will need to harvest continuously over a two-to-three-week window, usually in late August through September.
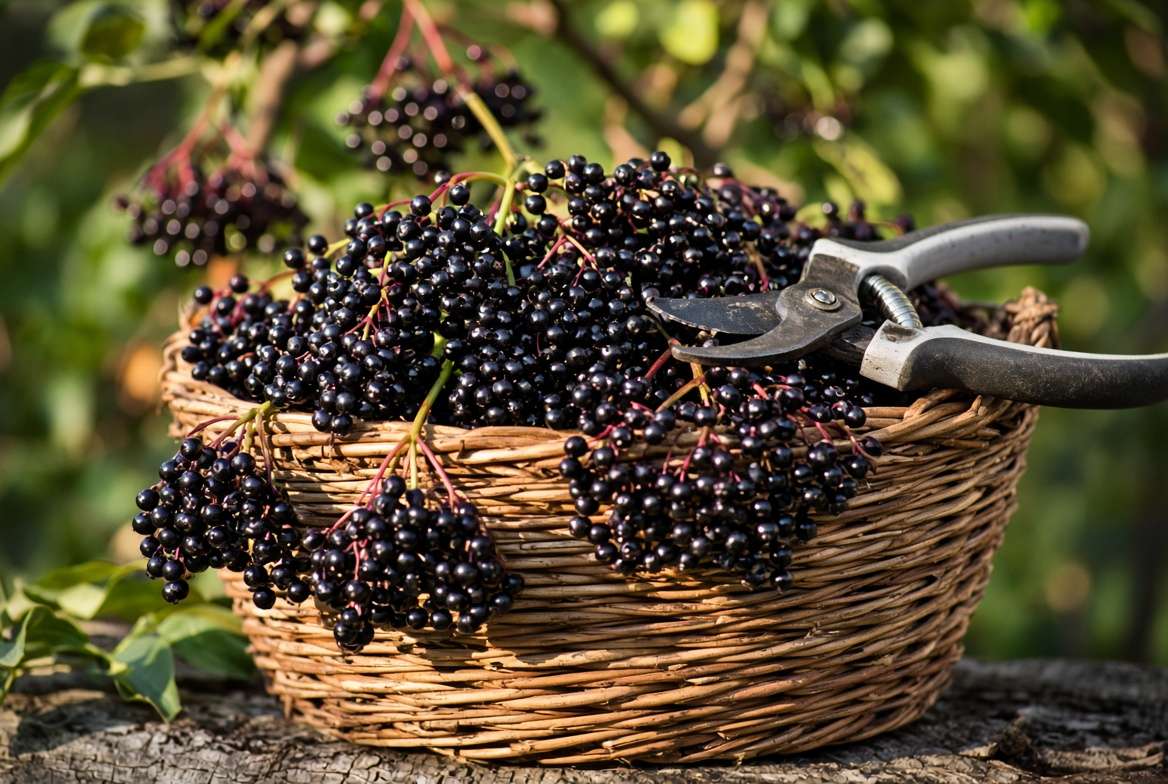
Do not rely on a calendar—rely on visual cues. Unripe elderberries are hard and green, eventually blushing to a pale red. They are only fully ripe when they turn a deep, glossy, purplish-black and are soft to the touch. Another excellent indicator of ripeness is the posture of the cluster (called an umbel). When fully loaded with juicy, ripe fruit, the heavy umbel will invert and hang upside down.
The “Fork Method” for Easy Harvesting 🍴
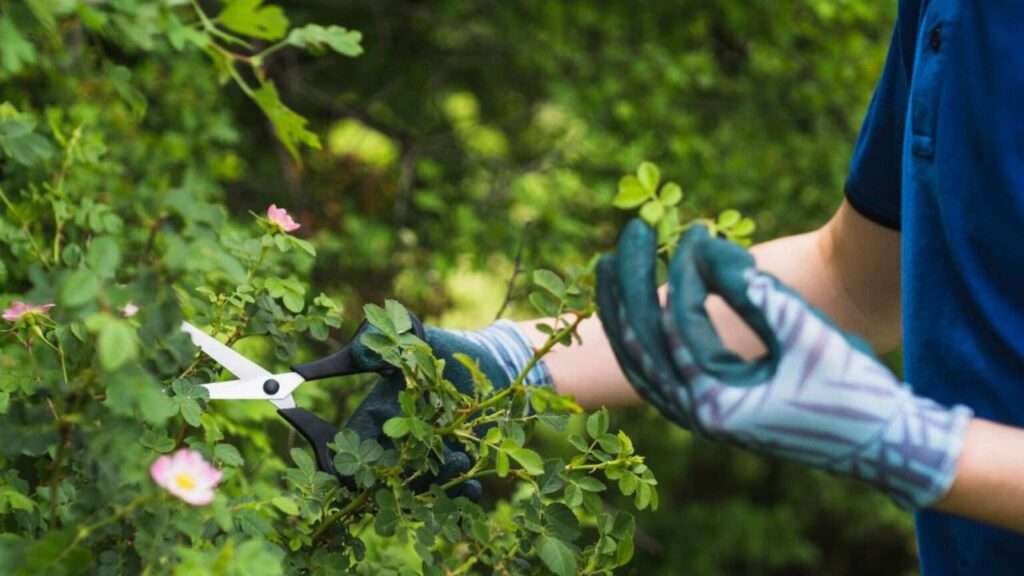
Attempting to pick individual elderberries off the tree by hand will result in crushed fruit and stained fingers. Instead, take a pair of sharp secateurs (pruning shears) and snip the entire umbel off the tree where the main stem meets the branch. Place the whole clusters into a basket.
Once indoors, you face the tedious task of separating the tiny berries from the stems. Here is the ultimate grower’s trick:
-
Place the entire unwashed clusters in a paper bag and pop them into the freezer for 2 to 3 hours.
-
Once the berries are semi-frozen and firm, take a standard dinner fork and gently comb it through the stems.
-
The firm berries will pop off effortlessly into your bowl, leaving the stems completely intact.
⚠️ Crucial Safety Warning: The Toxicity of Raw Elderberries ☠️
As an expert in tree care and plant biology, I cannot stress this enough: Never consume raw elderberries, stems, or leaves.
The Sambucus genus naturally contains chemical compounds known as cyanogenic glycosides (specifically sambunigrin). When ingested, these compounds release hydrogen cyanide in the digestive tract, causing severe nausea, vomiting, abdominal cramps, and diarrhea.
-
The stems, bark, and leaves are highly toxic and must be completely discarded. (This is why the “fork method” above is so vital for cleanly removing stems).
-
Unripe green or red berries are also toxic.
-
Fully ripe, raw berries still contain trace amounts of these compounds and will cause stomach upset if eaten by the handful.
The Solution: Heat completely destroys cyanogenic glycosides. You must cook, boil, or properly ferment your elderberries before consumption. Once simmered for 20 to 30 minutes to make syrups, jams, jellies, or teas, elderberries are 100% safe, delicious, and packed with incredible immune-boosting antioxidants! 🍯
8. Frequently Asked Questions (FAQ) ❓
Even with a comprehensive guide, specific questions often pop up for home growers. Here are the most common inquiries we receive regarding elderberry tree cultivation:
How fast do elderberry trees grow? 📈 Elderberries are incredibly vigorous growers. Once their root system is established (usually by year two), they can easily put on 6 to 8 feet of new growth in a single season. This rapid growth rate is exactly why aggressive annual pruning is so critical.
Can I grow an elderberry tree in a container? 🪴 Standard American and European elderberries grow too large and possess root systems that are too expansive for standard containers. However, if you are limited to patio gardening, look for dwarf ornamental cultivars like ‘Lemony Lace’ or ‘Black Lace’. While these are bred more for their stunning foliage than their berry yields, they can thrive in a large, half-whiskey barrel planter provided they receive consistent moisture.
Why isn’t my elderberry tree producing fruit? 🥀 If you have lush green foliage but no berries, the culprit is usually one of three things:
-
Lack of a pollinator: You only planted one variety, or your second variety blooms at a completely different time.
-
Improper pruning: You accidentally pruned away all the two-year-old wood, which is the wood responsible for producing fruit.
-
Inadequate sunlight: The tree is shaded by a larger structure and isn’t generating enough energy to set buds.
Are elderberry roots invasive? 🪱 Elderberry roots are shallow and fibrous. While they will not destroy your home’s foundation or crack a driveway like a weeping willow might, they do have a habit of “suckering.” The parent plant will send underground runners that pop up as new mini-plants a few feet away. If you don’t want a thicket, simply mow over these suckers in your lawn or snip them at the soil level with garden shears to keep the plant contained.
9. Conclusion: Start Growing Your Elderberry Legacy Today 🌿
Transforming a bare-root sapling into a thriving, heavy-producing elderberry tree is not a matter of luck—it is a matter of applying the right horticultural science. By prioritizing full sun, pairing compatible cultivars for robust cross-pollination, and committing to a rigorous three-year renewal pruning cycle, you will unlock the true potential of this incredible plant.
The days of overgrown, unproductive thickets are behind you. Now, you have the expert knowledge required to cultivate an abundant harvest of dark, antioxidant-rich berries year after year.
Are you ready to elevate your landscape? Start by sourcing two compatible bare-root elderberry varieties this planting season! If you found this masterclass helpful, be sure to bookmark this page for your late-winter pruning reference, drop your planting progress in the comments below, and explore our other deep-dive guides on expert fruit tree care and garden troubleshooting. Happy planting! 🌳✨