
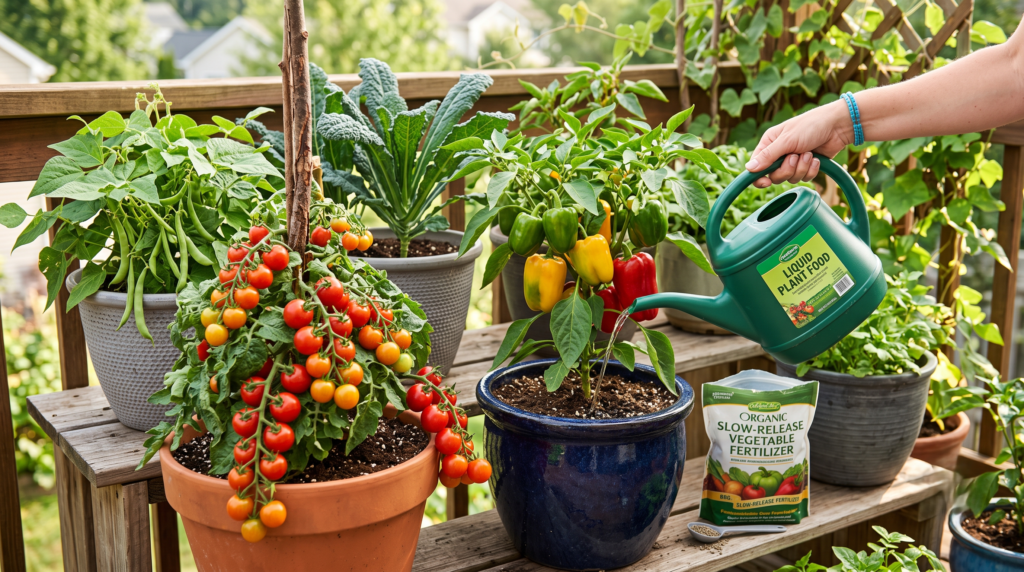
We have all been there. You buy a beautiful tomato seedling, plant it in a large pot on your sunny balcony, water it diligently, and wait for the magic to happen. But a few weeks later, the leaves are turning a sad shade of yellow, the growth has completely stalled, and your dream of fresh, homegrown food is fading fast. 🥺
The culprit is almost always starvation. Mastering the art of fertilizing container-grown vegetables is the single most important skill you can learn to transform a basic patio setup into a highly productive mini-farm.
As a horticulturist who has spent years testing soil dynamics and growing food in confined spaces, I can tell you that potted plants play by entirely different rules than those planted directly in garden beds. This guide is rooted in proven plant science and years of hands-on experience. By the end of this article, you will know exactly how to feed your potted veggies for maximum growth, incredible flavor, and massive harvests. 🧑🌾
Why Fertilizing Potted Plants is Completely Different from Garden Beds 🏡
Many beginner gardeners assume that potting soil is just like garden dirt, only fluffier. This misconception leads to stunted, underperforming plants. To understand why we must feed potted vegetables so aggressively, we have to look at the unique environment inside a container.
The Nutrient Leaching Dilemma 💦
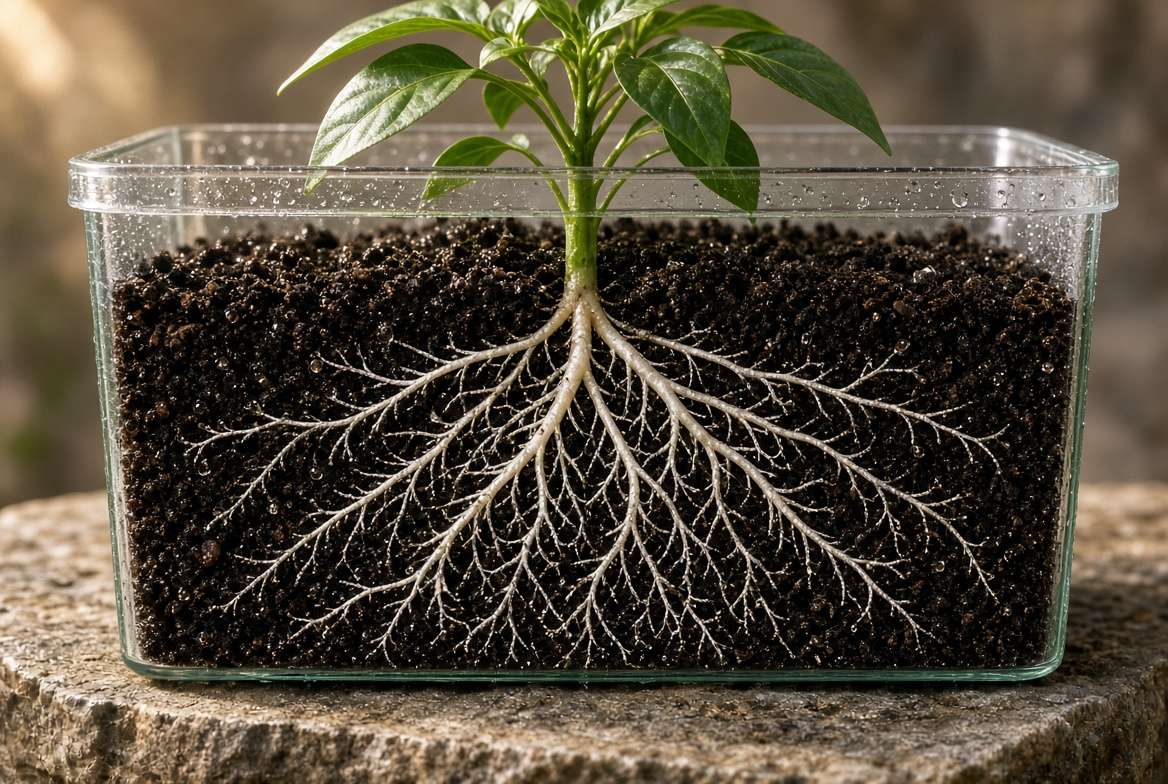
When you water a vegetable plant in a traditional garden bed, the water pushes nutrients deeper into the earth, where the plant’s expansive root system can eventually reach them. In a container, however, the root zone is strictly limited.
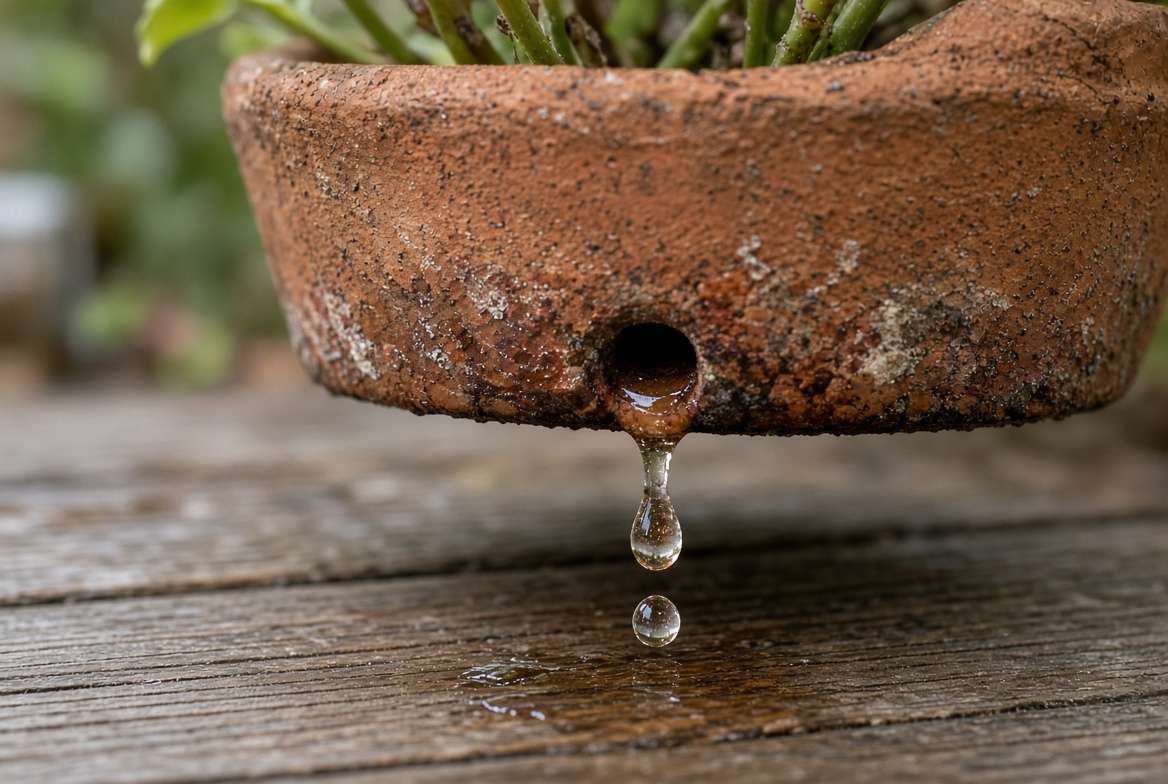
Every time you water your potted peppers or cucumbers, the excess water drains out of the bottom holes. While this drainage is essential to prevent root rot, it creates a massive problem: nutrient leaching. With every watering cycle, essential water-soluble nutrients are washed right out of the pot. Even if you started with a premium, nutrient-rich potting mix, the “built-in” fertilizer is typically depleted within four to six weeks. After that, your plant is relying entirely on you for survival.
The Sterile Soil Reality 🪱
Another major difference is the soil ecosystem. A healthy backyard garden is teeming with earthworms, beneficial fungi, and complex soil microbes. This living web constantly breaks down organic matter, turning it into a steady buffet of bio-available plant food.
Potting mixes, on the other hand, are mostly sterile. They are usually composed of peat moss, coco coir, perlite, and vermiculite. These ingredients provide excellent drainage and aeration, but they hold virtually zero nutritional value. Because the natural soil food web does not exist inside your plastic or terracotta pots, you have to manually supply all the essential elements your vegetables need to thrive.
The N-P-K Code: What Potted Veggies Actually Need 🧪
If you have ever looked at a bag of fertilizer, you have likely noticed three numbers stamped on the front (for example, 5-5-5 or 10-4-3). This is the N-P-K ratio, representing the percentage of Nitrogen, Phosphorus, and Potassium in the mix. Understanding this code is your secret weapon for fertilizing container-grown vegetables effectively.
Nitrogen (N) for Leafy Vigor 🥬
Nitrogen is the engine of plant growth. It is responsible for creating lush, dark green foliage and strong stems.
-
Best for: Leafy greens like spinach, lettuce, Swiss chard, and kale.
-
When to use: Nitrogen is crucial during the early vegetative stage of all plants. However, if you give a tomato plant too much nitrogen late in the season, you will end up with a massive, bushy green plant with absolutely no tomatoes.
Phosphorus (P) for Roots and Fruits 🌶️
Phosphorus is the energy transfer element. It encourages vigorous root development and is the primary nutrient responsible for triggering blossoms and setting fruit.
-
Best for: Fruiting vegetables like tomatoes, eggplants, peppers, and squash.
-
When to use: You will want to switch to a fertilizer with a higher middle number (Phosphorus) right as your plants begin to form flower buds.
Potassium (K) for Disease Resistance and Health 💪
Potassium acts as the plant’s immune system and regulator. It helps the plant manage water efficiently, which is incredibly important for container plants baking in the hot summer sun. It also improves the overall quality, color, and flavor of your vegetables.
-
Best for: All container plants, especially during periods of high heat or drought stress.
💡 Expert Insight: Don’t Forget Micronutrients! While N-P-K gets all the glory, container vegetables desperately need micronutrients like Calcium, Magnesium, and Iron. Because potting soil is sterile, a lack of Calcium is the primary reason potted tomatoes suffer from Blossom End Rot (those ugly black spots on the bottom of the fruit). Always choose a fertilizer that explicitly states it contains micronutrients.
The Best Types of Fertilizers for Container Gardens 🛍️
Walk down the garden center aisle, and the options are overwhelming. Powders, liquids, spikes, and granules line the shelves. For container gardening, you only need to focus on two main types to create the perfect feeding system.
Granular Slow-Release Fertilizers (The Foundation) ⏳
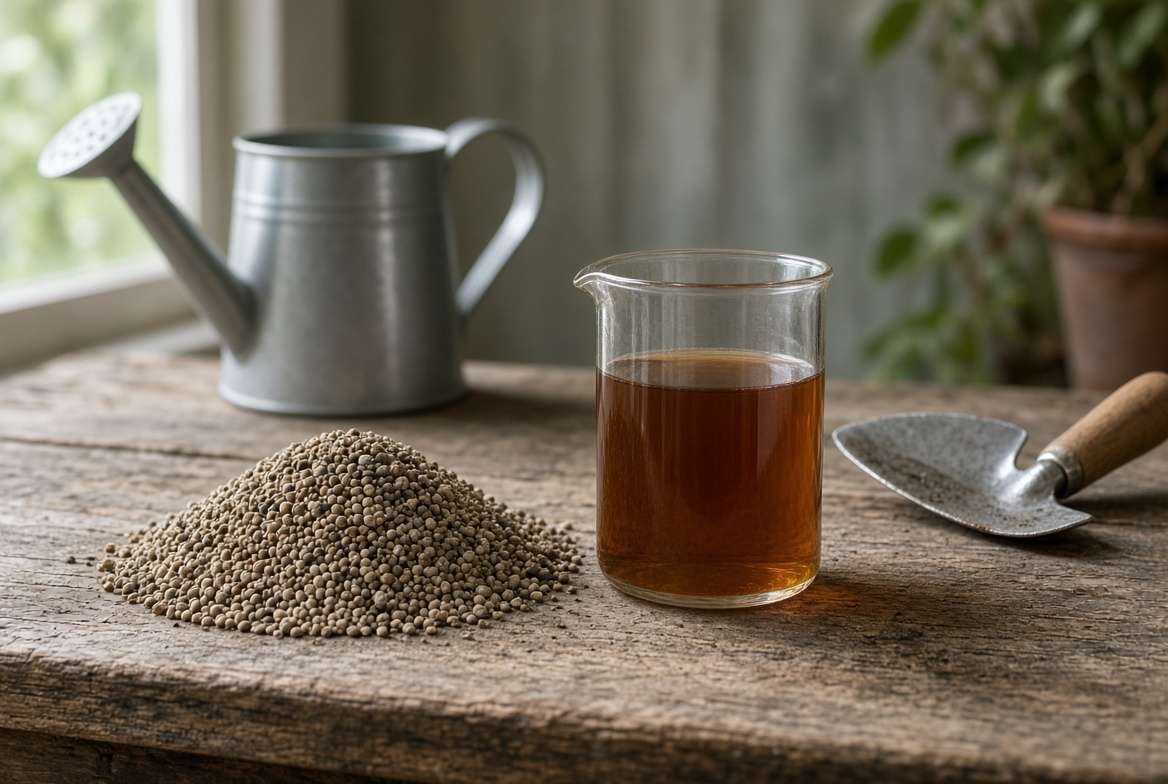
Granular fertilizers look like small pellets or coarse sand. They are designed to break down slowly over time, releasing a small amount of nutrition every time you water the plant.
-
How to use: The best method is to thoroughly mix granular fertilizer into your potting soil before you even plant your seedlings. If the plant is already growing, you can “top dress” by scratching a handful of granules into the top inch of the soil.
-
Why they matter: Slow-release granules act as a safety net. If you forget to feed your plants for a week or go on vacation, these granules ensure your vegetables will not starve.
Water-Soluble/Liquid Fertilizers (The Quick Boost) 💧
Liquid fertilizers (or powders that you dissolve in a watering can) are the true secret to massive potted harvests. Because the nutrients are already dissolved in water, they are instantly available to the plant’s roots.
-
How to use: Mix the liquid feed into your watering can according to the package directions and apply it directly to the soil.
-
Why they matter: As mentioned earlier, nutrient leaching happens rapidly in pots. Liquid feeding replaces those lost nutrients immediately, giving fruiting plants the massive energy boost they need to produce a heavy yield. Popular options include fish emulsion, kelp extract, or balanced synthetic liquids.
Organic vs. Synthetic: Which Wins in a Pot? ⚖️
-
Organic Fertilizers: Derived from natural sources (bone meal, kelp, worm castings). They are excellent for building long-term soil health and are very gentle, making it difficult to accidentally “burn” your plant’s roots. However, they take longer to break down.
-
Synthetic Fertilizers: Manufactured chemically. They deliver a massive, instant dose of targeted nutrients. While they don’t improve the soil’s organic structure, they are incredibly effective for fixing severe nutrient deficiencies fast.
The Expert Verdict: For the absolute best results in containers, use an organic granular slow-release fertilizer mixed into the soil at planting time, supplemented by an organic liquid fertilizer applied during the growing season.
The Ultimate Feeding Schedule for Container Vegetables 📅
Knowing what to use is only half the battle; knowing when to use it is where the real magic happens. By following this phased approach, you will perfectly align your feeding schedule with the natural life cycle of your vegetables.
Phase 1: Pre-Planting Preparation 🌱
Never put a plant into naked potting mix. Before you transplant your seedlings into their final containers, amend the soil.
-
Fill your container with a high-quality, well-draining potting mix.
-
Add a generous dose of organic slow-release granular fertilizer (follow the bag’s quantity recommendations for the volume of your pot).
-
Mix it thoroughly so the granules are evenly distributed throughout the root zone.
Phase 2: The Vegetative Stage (Weeks 1-4) 🌿
During the first month, your plant is focused on one thing: growing leaves and stems so it can photosynthesize efficiently.
-
The Routine: Allow the plant to settle in for a week. Then, begin applying a balanced liquid fertilizer (like a 5-5-5) or one slightly higher in Nitrogen.
-
Frequency: Feed once every two weeks during this stage. The slow-release granules are already doing a lot of the heavy lifting.
Phase 3: Flowering and Fruiting (Weeks 5+) 🍅
Once you see the first tiny flower buds form, your plant’s nutritional needs change drastically. It requires massive amounts of energy to turn those tiny flowers into heavy, ripe vegetables.
-
The Routine: Switch your liquid fertilizer to a “bloom booster” formula—one that is higher in Phosphorus and Potassium (for example, a 3-4-6 ratio).
-
The Golden Rule: Adopt the “Weekly, Weakly” method. Instead of giving your potted plants a massive, overwhelming dose of liquid fertilizer once a month, dilute the fertilizer to half-strength and apply it every single week. This provides a steady, continuous stream of nutrition that perfectly counteracts nutrient leaching without overwhelming the root system.
Crop-Specific Feeding Guides (Tailoring Your Approach) 🎯
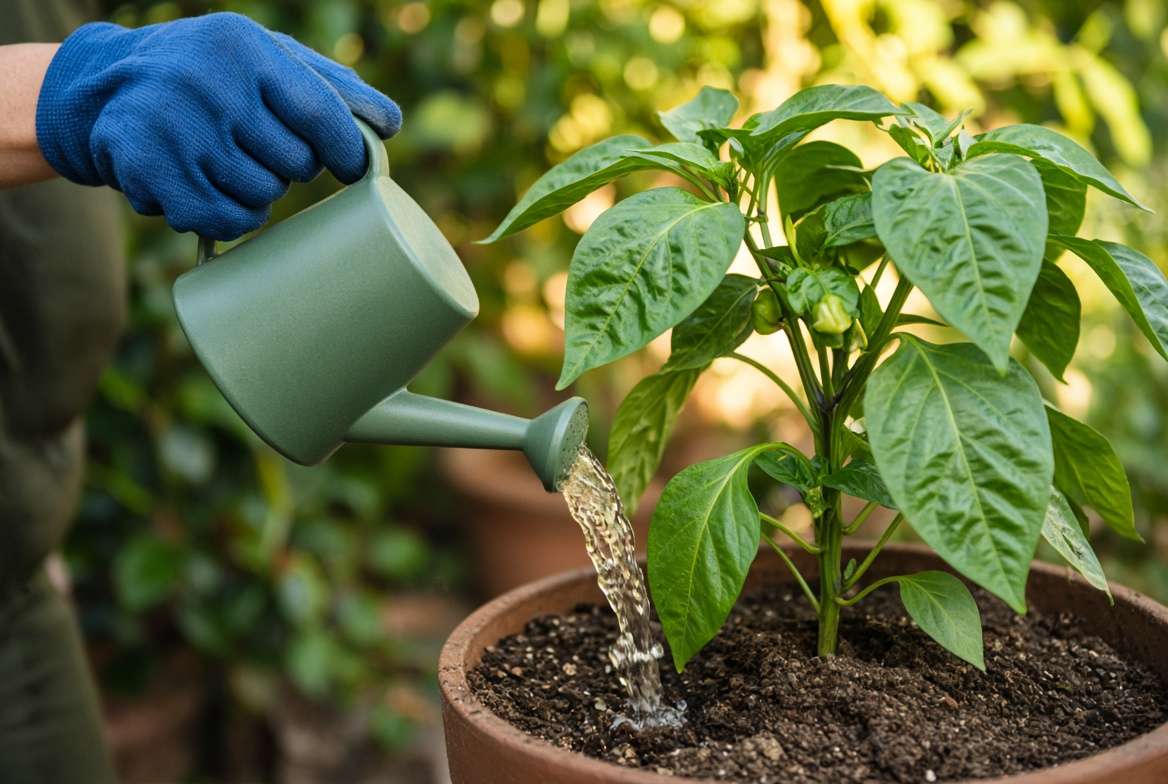
Treating every plant on your patio exactly the same is a recipe for mediocrity. Just as human athletes have different dietary needs than office workers, different vegetable families require vastly different nutritional profiles. To truly master fertilizing container-grown vegetables, you need to group them by their “appetite.”
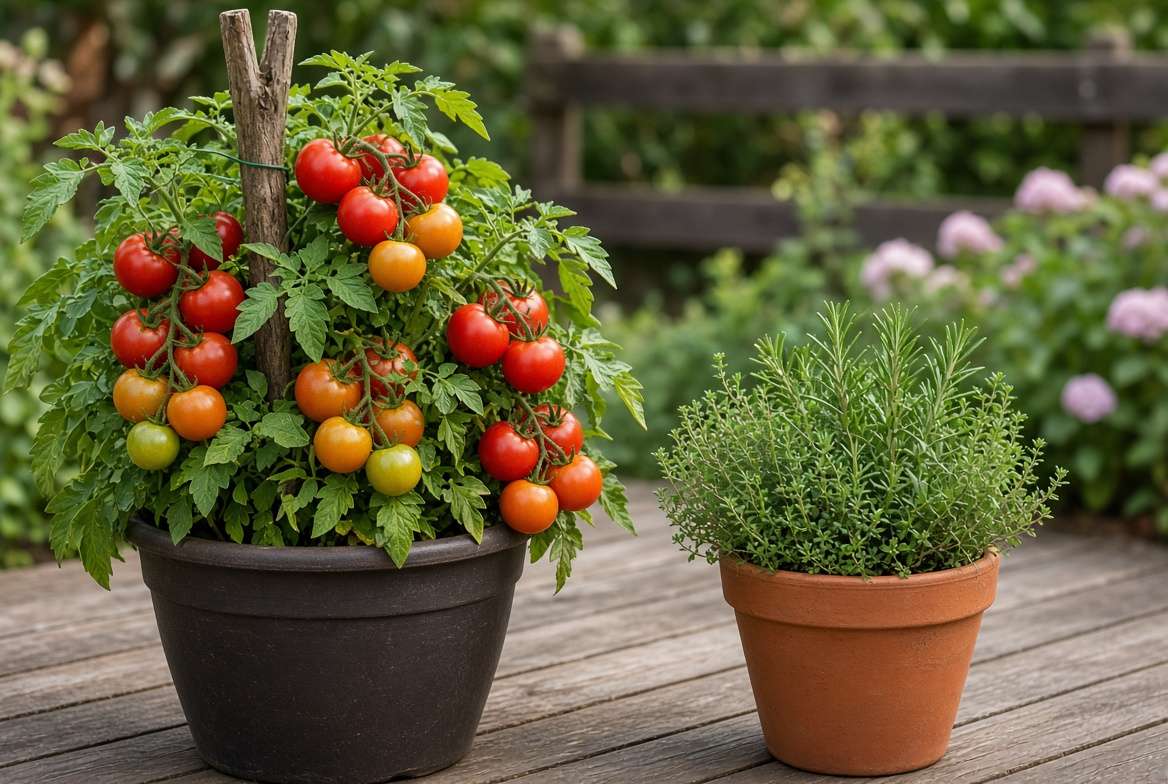
Heavy Feeders (Tomatoes, Peppers, Cucumbers) 🥒
These are the marathon runners of your container garden. Because they produce large, water-heavy, and seed-dense fruits, their nutritional demands are sky-high.
-
The Strategy: Heavy feeders absolutely require the dual-method approach: a rich base of granular slow-release fertilizer at planting, followed by the “weekly, weakly” liquid feeding routine once blossoms appear.
-
Special Requirements: Tomatoes and peppers are notorious for rapidly depleting Calcium and Magnesium in confined pots. Ensure your chosen fertilizer contains these micronutrients, or consider supplementing with a dedicated Cal-Mag liquid feed to keep the plants strong and the fruit pristine.
Moderate Feeders (Root Veggies, Leafy Greens) 🥕
This category requires a bit more finesse. Overfeeding these crops can actually ruin your harvest!
-
Root Vegetables (Carrots, Radishes, Beets): If you give a potted carrot too much Nitrogen, the plant will push all its energy into growing magnificent, giant green tops—leaving you with tiny, spindly carrots below the soil. Stick to a low-nitrogen, high-phosphorus and potassium blend (like a 3-4-4) to encourage strong root development.
-
Leafy Greens (Lettuce, Spinach, Kale): These crops are grown exclusively for their foliage. Therefore, a Nitrogen-dominant liquid fertilizer applied every 10 to 14 days will keep them producing crisp, tender leaves all season long.
Light Feeders (Herbs, Beans, Peas) 🌿
Sometimes, the best thing you can do for a potted plant is to back off.
-
Legumes (Beans and Peas): These incredible plants are “nitrogen fixers.” Through a symbiotic relationship with soil bacteria, they actually pull nitrogen out of the air and store it in their roots. Adding nitrogen fertilizer to potted beans will only result in massive vines and very few bean pods. A light application of compost or a low-dose organic bloom feed is all they need.
-
Culinary Herbs (Basil, Thyme, Rosemary): Herbs derive their intense aromas and flavors from essential oils. If you pump a potted basil plant full of synthetic fertilizer, it will grow incredibly fast, but the essential oils will be diluted, resulting in a bland, watery flavor. A single application of slow-release organic granules in the spring is usually plenty for herbs.
Troubleshooting: Common Fertilizing Mistakes in Pots ⚠️
Even experienced gardeners run into issues when cultivating crops in confined spaces. If your plants are looking sad, don’t just pour more fertilizer into the pot—diagnose the problem first.
Fertilizer Burn (The Salt Buildup Problem) 🔥
Synthetic fertilizers are essentially composed of mineral salts. Over time, or if you apply too strong of a dose, these salts accumulate in the potting soil. This toxic buildup actually draws moisture out of the plant’s roots, leading to a condition called fertilizer burn.
-
The Symptoms: The edges and tips of the leaves will turn brown, dry, and crispy, as if they have been scorched by fire. The plant may wilt even when the soil is damp.
-
The Solution: You need to “leach” or flush the pot. Take your container to a spot where it can drain freely. Slowly pour a large volume of plain, unfertilized water through the soil—roughly twice the volume of the pot itself. Allow the water to wash heavily out of the drainage holes, taking the excess salts with it.
Yellowing Leaves (Nitrogen vs. Magnesium Deficiencies) 🍂
Yellowing leaves (chlorosis) are the universal cry for help in a container garden, but the location of the yellowing tells you exactly what is missing.
-
Overall Pale/Yellowing Lower Leaves: This is a classic Nitrogen deficiency. The plant is starving and is pulling mobile nitrogen from its older, lower leaves to support new growth at the top. Fix it with a quick dose of water-soluble liquid fertilizer or fish emulsion.
-
Yellow Leaves with Green Veins: If the leaf turns yellow but the intricate network of veins remains starkly green, you are dealing with a Magnesium deficiency. Fix it by dissolving 1 tablespoon of Epsom salts in a gallon of water and applying it to the soil.
Blossom End Rot 🍅
You wait weeks for a beautiful tomato to ripen, only to turn it over and find a black, sunken, leathery patch on the bottom.
-
The Cause: Blossom End Rot (BER) is not a disease or a pest; it is a severe Calcium deficiency in the fruit. However, the soil often has enough calcium—the problem is that uneven watering (letting the pot bone dry, then flooding it) prevents the roots from transporting that calcium up to the fruit.
-
The Solution: Maintain strictly consistent soil moisture. Never let the pot dry out completely. Supplementing with a liquid calcium spray or adding crushed eggshells (which take months to break down, so do this early!) can also help buffer the soil.
Pro Tips for Maximizing Nutrient Absorption ✨
To get the absolute most out of your fertilizer and ensure you achieve those massive potted harvests, keep these advanced horticultural tips in mind.
Mastering Watering Techniques 🚿
How you water directly impacts how well your fertilizer works. When you water your containers, apply the water slowly. Let it soak into the peat moss or coir, and stop watering the moment you see a gentle trickle coming from the drainage holes.
If you blast the soil with a high-pressure hose until water pours heavily out the bottom, you are aggressively washing away the liquid fertilizer you just applied. Water smartly to keep the nutrients in the root zone where they belong.
The Role of Soil pH in Pots 🧪
You can pump the most expensive, high-quality fertilizer into your containers, but if the soil pH is wrong, the plant will still starve. This phenomenon is called nutrient lockout. If the soil is too acidic (pH below 6.0) or too alkaline (pH above 7.0), the chemical structure of the nutrients binds to the soil particles, making them physically impossible for the roots to absorb.
Most vegetable crops thrive in a slightly acidic pH of 6.0 to 6.8. If you are reusing old potting soil (which tends to become highly acidic over time), consider picking up a cheap soil pH test kit. If the soil is too acidic, a handful of agricultural lime can bring it back into the perfect range for nutrient uptake.
Frequently Asked Questions (FAQs) ❓
Can I use leftover lawn fertilizer on my potted vegetables? No! Lawn fertilizers are engineered almost entirely for leafy grass growth, meaning they have a massively high Nitrogen number (e.g., 30-0-4). Applying this to potted tomatoes or peppers will result in a giant bush of foliage with zero blossoms or vegetables, and the harsh synthetics will likely burn the confined roots.
How often should I fertilize container-grown vegetables? For the best results, use a granular slow-release fertilizer mixed into the soil at planting time. Once the plant is established, supplement with a diluted (half-strength) water-soluble liquid fertilizer every 7 to 10 days.
Is it too late to fertilize if my plant is already fruiting? Absolutely not! In fact, the fruiting stage is when the plant is burning through its nutritional reserves the fastest. Switching to a Phosphorus and Potassium-heavy fertilizer during fruiting is essential to sustain the harvest and prevent the plant from exhausting itself.
Can I reuse last year’s potting soil without fertilizing it? No, reusing old potting soil without amending it is a guaranteed path to failure. A mature vegetable plant will strip potting soil of virtually all its nutrients by the end of a single growing season. If you must reuse soil, you must heavily revitalize it with fresh compost and a heavy dose of slow-release granular fertilizer before planting anything new.
Conclusion 🌻
Transforming a simple patio or balcony into a lush, highly productive garden space is incredibly rewarding. While growing food in pots comes with unique challenges—namely limited root space and rapid nutrient leaching—the solutions are straightforward and highly effective once you understand the science behind them.
By mastering the core principles of fertilizing container-grown vegetables, you take total control over your harvest. Remember to start strong with a slow-release granular foundation, respect the specific dietary needs of your heavy vs. light feeders, and embrace the power of a “weekly, weakly” liquid feeding routine to sustain vigorous growth all season long.
Consistency is your ultimate secret weapon. Treat your potted vegetables like the high-performance food-producers they are, and they will reward you with a bounty of fresh, flavorful produce right outside your door.











