
Imagine biting into a fiery, homegrown Hawaiian chili pepper, its vibrant heat igniting your dishes with the bold flavors of the islands. Growing a Hawaiian chili pepper plant at home is not only rewarding but also surprisingly achievable, whether you’re a seasoned gardener or a spicy food enthusiast eager to cultivate your own peppers. These compact, fiery plants bring a taste of Hawaii’s culinary heritage to your garden or kitchen, delivering intense heat and fruity undertones perfect for salsas, hot sauces, and more. In this comprehensive guide, we’ll walk you through every step to grow a thriving Hawaiian chili pepper plant, from selecting seeds to harvesting a bountiful crop. Backed by years of plant care expertise and insights from Hawaiian agricultural practices, this article will help you avoid common mistakes and achieve spicy success.
Understanding the Hawaiian Chili Pepper Plant 🌋
What Is the Hawaiian Chili Pepper? 🌶️
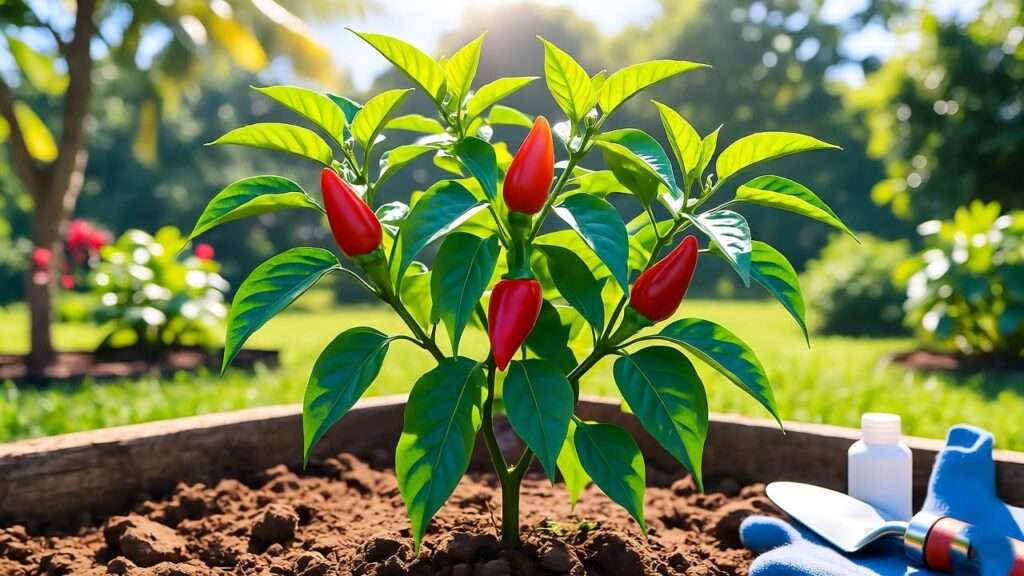
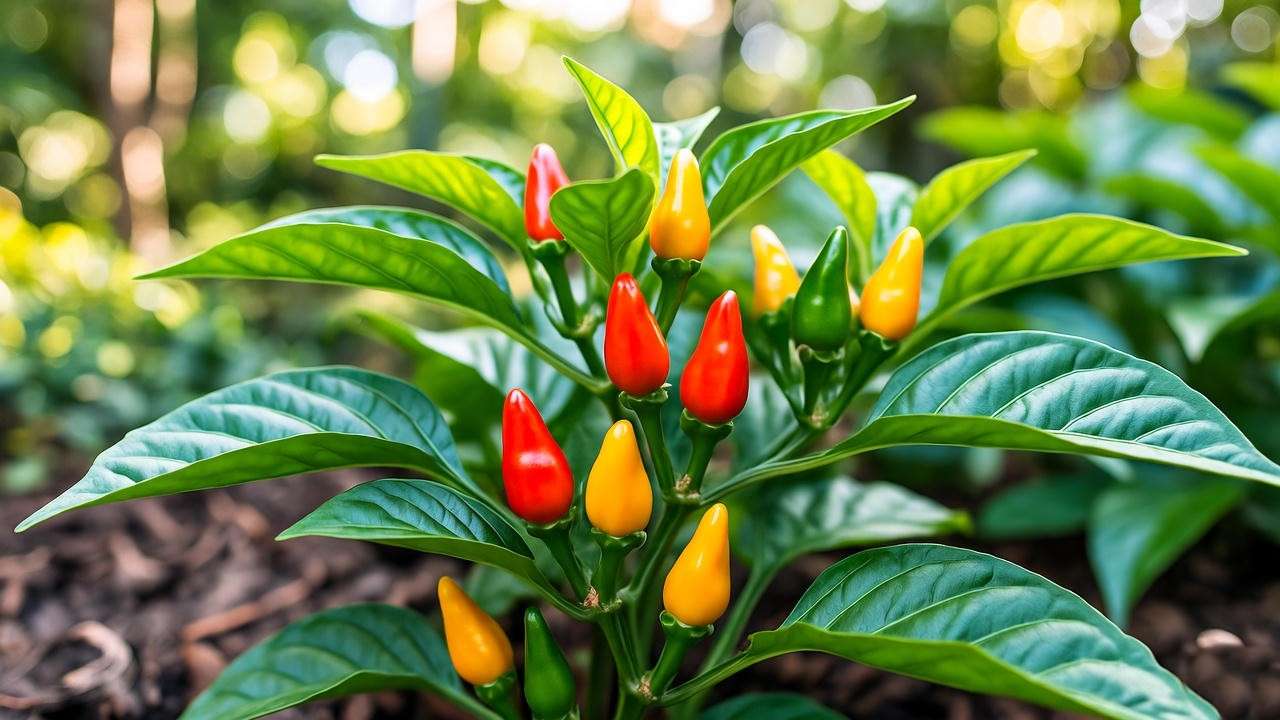
The Hawaiian chili pepper, scientifically known as Capsicum frutescens, is a small but mighty pepper native to the Hawaiian Islands. These peppers, often called “Hawaiian hot peppers” or “Kineo peppers,” grow to about 1-2 inches long, transitioning from green to vibrant red or orange as they ripen. Known for their intense heat—ranging from 50,000 to 100,000 Scoville Heat Units—they pack a punch comparable to a jalapeño but with a unique, fruity flavor that shines in Hawaiian dishes like poke, lomi salmon, and homemade chili sauces. In Hawaiian culture, these peppers symbolize bold flavors and are a staple in local cuisine, often dried or ground into chili powder.
Why Grow Hawaiian Chili Peppers? 🌟
Growing a Hawaiian chili pepper plant offers multiple benefits for home gardeners. Their compact size (2-3 feet tall) makes them ideal for small spaces, including patios, balconies, or indoor setups. They’re prolific producers, yielding dozens of peppers per plant, perfect for culinary enthusiasts who love experimenting with spicy recipes. Plus, their tropical aesthetic adds an exotic flair to any garden. These plants thrive in warm climates (USDA zones 9-11) but can be adapted to cooler regions with proper care, making them versatile for various environments. Whether you’re a chili lover or a gardener seeking a new challenge, these peppers deliver both flavor and satisfaction.
Getting Started: Planting Your Hawaiian Chili Pepper 🌼
Choosing the Right Seeds or Seedlings 🌱
The foundation of a thriving Hawaiian chili pepper plant starts with quality seeds or seedlings. Source authentic seeds from reputable nurseries or Hawaiian suppliers to ensure you’re growing true Capsicum frutescens. Heirloom or non-GMO seeds are preferred for their authentic flavor and genetic purity. When selecting seedlings, look for vibrant green leaves, sturdy stems, and no signs of pests or disease. Avoid leggy or yellowing plants, as these may struggle to thrive. Expert Tip: Check with local Hawaiian agricultural cooperatives or online retailers like Baker Creek Heirloom Seeds for authentic varieties.
Ideal Planting Time and Location ☀️
Timing and location are critical for success. In warm climates, plant in spring or early summer when temperatures consistently reach 70-85°F (21-29°C). For cooler regions, start seeds indoors 8-10 weeks before the last frost date and transplant once the weather warms. Choose a location with full sun (6-8 hours daily) and protection from strong winds, as Hawaiian chili peppers thrive in bright, warm conditions. A south-facing garden bed or a sunny patio works well. Example: A gardener in coastal California shared how their chili peppers flourished in a sunny, wind-sheltered corner of their backyard, producing over 50 peppers per plant.
Soil and Environment Setup 🏝️
Preparing the Perfect Soil 🪴
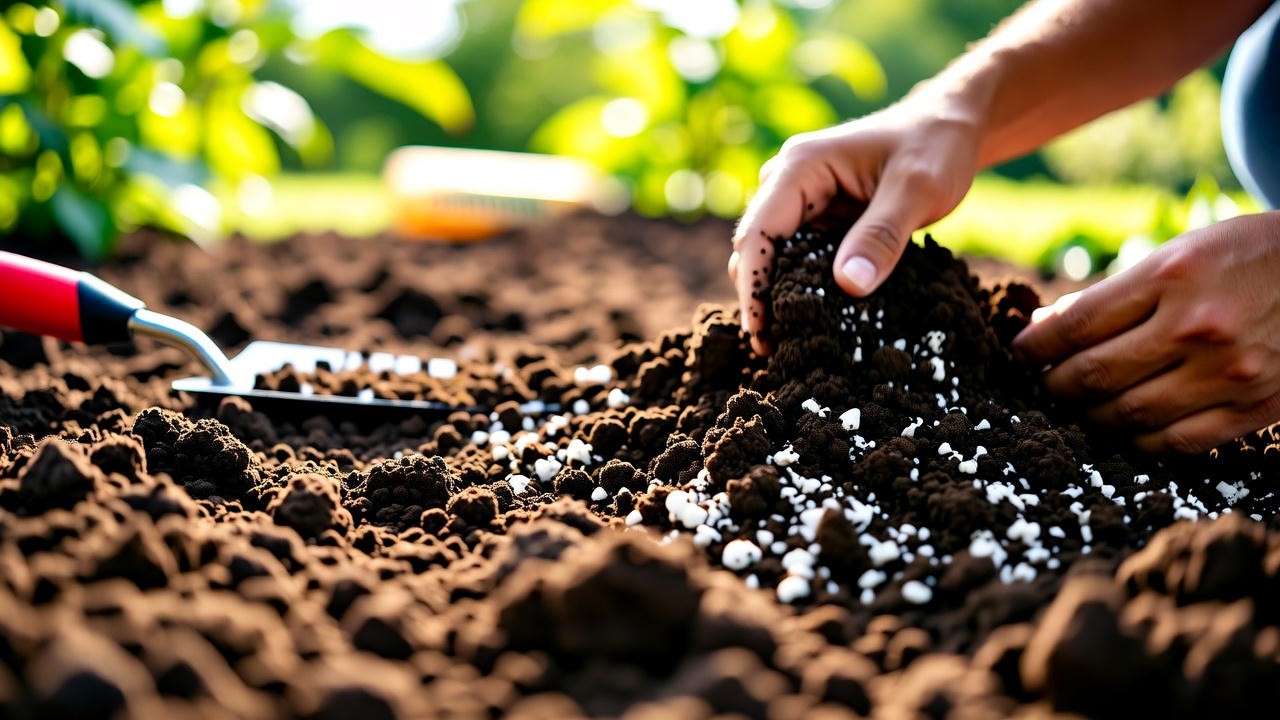
Hawaiian chili pepper plants demand well-draining, nutrient-rich soil to flourish. Aim for a loamy soil mix with a pH of 6.0-6.8, which supports optimal nutrient uptake. Mix in organic matter like compost or aged manure to boost fertility. If your soil is heavy clay or sandy, amend it with perlite or vermiculite for better drainage. Pro Tip: Test your soil pH with a home testing kit (available at garden centers) and adjust with lime to raise pH or sulfur to lower it. A well-prepared soil bed ensures your peppers grow strong roots and produce abundant fruit.
Temperature and Humidity Needs 🌡️
Mimicking Hawaii’s tropical climate is key. Hawaiian chili peppers thrive in temperatures between 70-85°F (21-29°C) during the day, with nighttime lows above 55°F (13°C). Frost is their enemy, so protect plants if temperatures dip. Moderate to high humidity (50-70%) supports healthy growth, as it replicates their native environment. In dry climates, use mulch (like straw or wood chips) to retain soil moisture and regulate temperature. Expert Insight: Hawaiian farmers often use black plastic mulch to warm soil and boost pepper yields in cooler seasons.
Planting and Germination Tips 🌿
Starting from Seeds 🌱
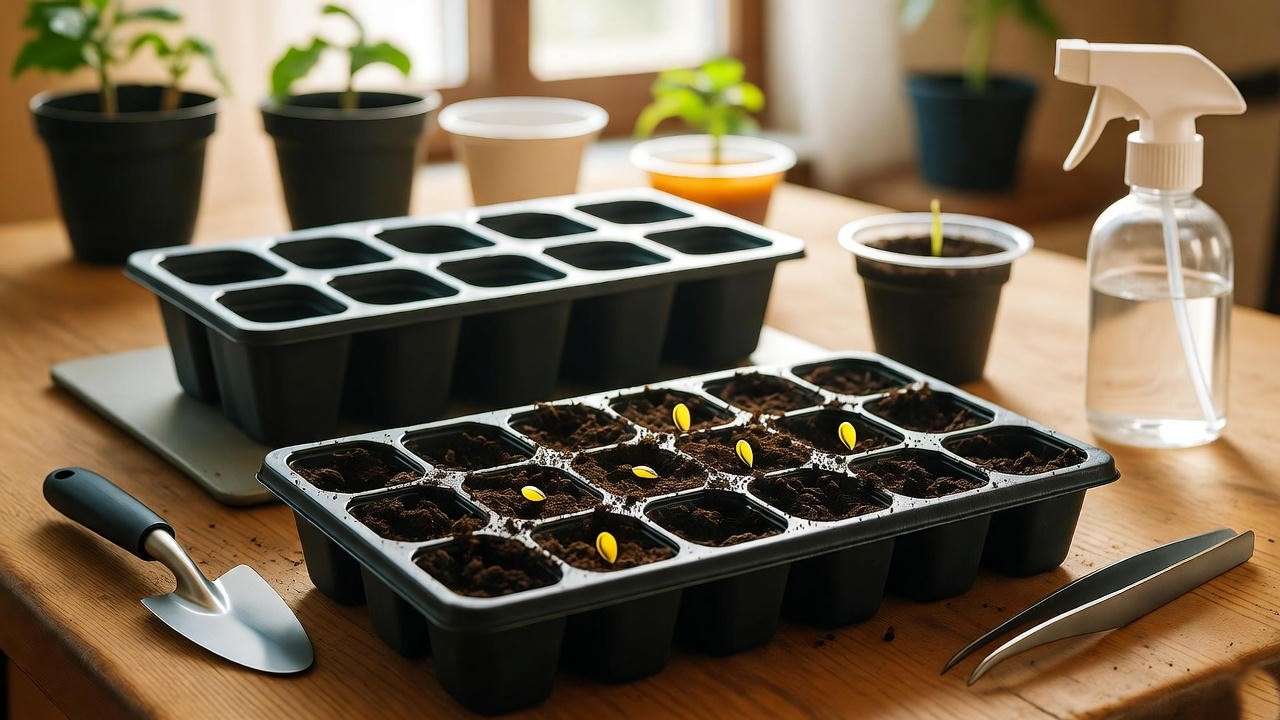
Starting from seeds allows you to control the growing process from the beginning. Soak seeds in warm water for 4-6 hours to speed germination, then plant them ¼ inch deep in seed trays filled with a sterile seed-starting mix. Maintain soil warmth (80-85°F) using a heat mat, as Hawaiian chili peppers need consistent warmth to sprout. Germination typically takes 7-14 days. Keep soil moist but not waterlogged to prevent damping-off, a common fungal issue. Common Mistake: Overwatering seeds can lead to rot, so use a spray bottle to mist the soil lightly.
Transplanting Seedlings 🌞
Transplant seedlings to their permanent home after 6-8 weeks, when they have 4-6 true leaves. Harden them off by gradually exposing them to outdoor conditions over 7-10 days—start with 1-2 hours of sunlight and increase daily. Dig a hole twice the size of the root ball, space plants 18-24 inches apart, and water thoroughly after planting. Checklist: Ensure proper spacing, enrich soil with compost, and stake plants if they’re tall or in a windy area. This process sets the stage for vigorous growth.
Caring for Your Hawaiian Chili Pepper Plant 🌞
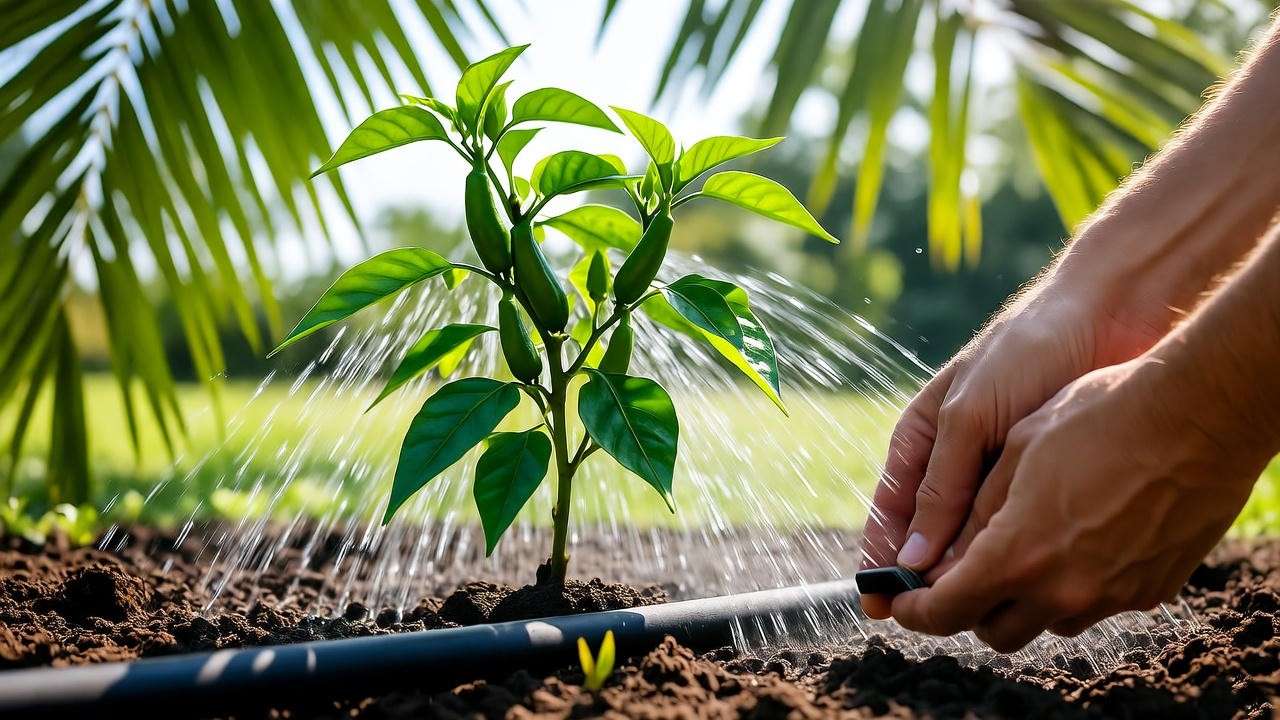
Watering Requirements 💧
Consistent moisture is essential, but overwatering can harm your plants. Water deeply 1-2 times per week, allowing the top inch of soil to dry out between sessions. In hot climates, you may need to water more frequently, especially during fruiting. Ensure pots or garden beds have excellent drainage to prevent root rot. Pro Tip: A drip irrigation system delivers water directly to the roots, saving time and reducing waste. Monitor weather conditions and adjust watering to avoid soggy soil.
Fertilizing for Optimal Growth 🌿
Feed your Hawaiian chili pepper plant with a balanced fertilizer (10-10-10 NPK) every 2-3 weeks during the growing season to support healthy foliage and fruit production. Once flowering begins, switch to a high-potassium formula (e.g., 5-10-10) to encourage abundant peppers. Organic options like fish emulsion or seaweed extract work well for eco-conscious gardeners. Expert Tip: Avoid over-fertilizing with nitrogen, as it can lead to lush leaves but fewer peppers. Always follow package instructions for application rates.
Pruning and Maintenance ✂️
Pruning promotes bushier growth and higher yields. Pinch off early flowers for the first 4-6 weeks to encourage stronger stems and roots. Remove dead or yellowing leaves regularly to improve air circulation. For tall plants, use stakes or cages to support branches heavy with peppers. Expert Insight: Hawaiian farmers often prune the lower leaves to prevent soil splash and reduce fungal risks, a technique that boosts plant health in humid climates.
Pest and Disease Management 🐞
Common Pests 🕷️
Hawaiian chili pepper plants, like other Capsicum varieties, can attract pests such as aphids, spider mites, and whiteflies. Aphids cluster on new growth, sucking sap and weakening plants, while spider mites cause stippling on leaves, often visible as tiny webs. Whiteflies, small white insects, can transmit plant viruses. Organic Solutions: Apply neem oil or insecticidal soap weekly until pests are controlled. Companion planting with marigolds or basil can deter pests naturally by releasing repellent compounds. Example: A home gardener in Oahu reported success by interplanting chili peppers with marigolds, reducing aphid infestations without chemicals. Regular inspection—checking the undersides of leaves—helps catch infestations early.
Preventing Diseases 🦠
Fungal diseases like root rot and powdery mildew are common threats, especially in humid or overwatered conditions. Root rot, caused by waterlogged soil, leads to wilting and yellowing. Powdery mildew appears as white patches on leaves, thriving in poor air circulation. Prevention Tips: Space plants 18-24 inches apart to improve airflow, avoid overhead watering, and ensure proper drainage. Crop rotation every 2-3 years prevents soil-borne pathogens. Pro Tip: Apply a preventative fungicide like sulfur-based sprays for high-humidity areas. Maintaining optimal growing conditions keeps your Hawaiian chili pepper plant resilient against diseases.
Harvesting and Using Your Hawaiian Chili Peppers 🔥
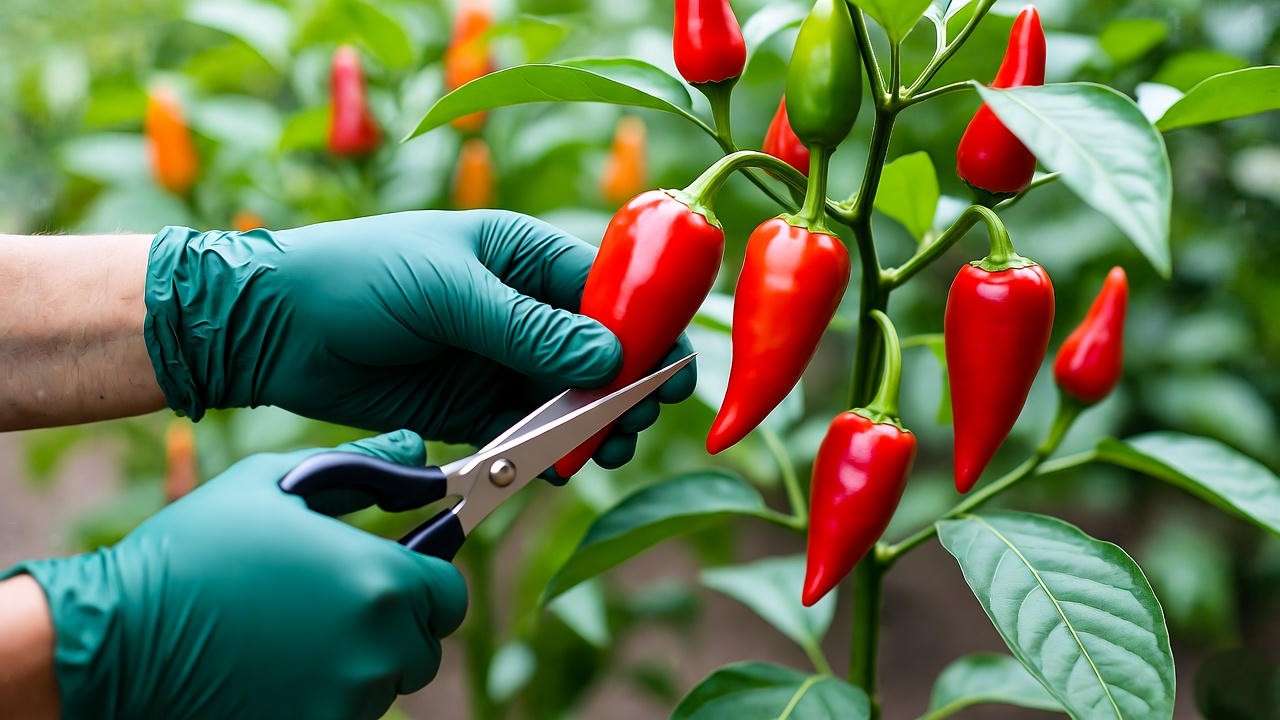
When and How to Harvest 🌶️
Hawaiian chili peppers are ready to harvest 70-90 days after planting, when they turn from green to bright red or orange, signaling peak flavor and heat. Use sharp scissors or pruning shears to cut peppers from the plant, leaving a short stem to avoid damaging branches. Safety Tip: Wear gloves when harvesting to protect your skin from capsaicin, which can cause burning or irritation. Harvest regularly to encourage continuous fruiting. Peppers can be picked green for a milder flavor, but red peppers offer the classic Hawaiian heat.
Storing and Preserving Peppers 🥫
To enjoy your Hawaiian chili peppers year-round, proper storage is key. Fresh peppers last 1-2 weeks in the refrigerator in a breathable bag. For long-term storage, dry peppers in a dehydrator or air-dry them in a warm, well-ventilated area, then store in airtight containers. Freezing is another option—wash, dry, and freeze whole peppers in freezer bags. Recipe Idea: Create a Hawaiian-style hot sauce by blending fresh peppers with vinegar, garlic, and salt, then bottling it. Expert Insight: Traditional Hawaiian methods include stringing peppers into ristras for drying, a decorative and practical preservation technique.
Troubleshooting Common Problems 🛠️
Why Isn’t My Plant Producing Peppers? ❓
If your Hawaiian chili pepper plant isn’t fruiting, several factors could be at play. Insufficient sunlight (less than 6 hours daily) can hinder flower and fruit development. Nutrient imbalances, like excess nitrogen, promote leafy growth over peppers. Temperature extremes—below 55°F or above 90°F—can cause flowers to drop. Solutions: Relocate plants to a sunnier spot, switch to a potassium-rich fertilizer, and protect plants from temperature swings using row covers or shade cloth. Regular monitoring and adjustments can restore fruit production.
Yellowing Leaves or Dropping Flowers 🍂
Yellowing leaves often indicate overwatering, nutrient deficiencies, or pest issues. Check soil moisture with your finger—if it’s consistently wet, reduce watering frequency. Test soil for nutrient levels, particularly nitrogen or magnesium, and apply a balanced fertilizer if needed. Dropping flowers can result from high temperatures or inconsistent watering. Fixes: Ensure proper drainage, fertilize appropriately, and maintain consistent moisture. Inspect for pests like aphids, which can stress plants. Example: A reader in Florida resolved yellowing leaves by improving drainage and applying Epsom salt for magnesium deficiency, boosting plant health within weeks.
Growing Hawaiian Chili Peppers Indoors or in Containers 🪴
Container Gardening Tips 🌿
Hawaiian chili pepper plants are perfect for container gardening, making them ideal for urban gardeners or those with limited space. Choose a 5-10-gallon pot with drainage holes to accommodate the plant’s root system. Fill with a well-draining soil mix, such as a blend of potting soil, perlite, and compost. Place pots in a sunny location, like a balcony or patio, and rotate them weekly to ensure even light exposure. Tip: Containers allow mobility, so move plants indoors during cold snaps to extend the growing season.
Indoor Growing Requirements 💡
For indoor growing, replicate the plant’s tropical needs. Provide 12-16 hours of bright light daily using full-spectrum grow lights positioned 6-12 inches above the plant. Maintain temperatures between 70-85°F with a heat mat if necessary. Indoor humidity can be low, so mist plants or use a humidifier to keep levels at 50-70%. Success Story: A gardener in Seattle grew thriving Hawaiian chili peppers on a sunny windowsill supplemented with grow lights, harvesting peppers year-round with careful attention to light and warmth.
Expert Tips for Maximizing Yield and Flavor 🌟
Boosting Pepper Heat 🔥
For spicier Hawaiian chili peppers, apply controlled stress during the fruiting stage. Slightly reduce watering (without letting the soil dry out completely) to concentrate capsaicin, the compound responsible for heat. Use a potassium-rich fertilizer to enhance flavor intensity. Expert Tip: Hawaiian farmers sometimes limit water during the final ripening phase to produce hotter peppers, a technique that balances stress with plant health. Monitor plants closely to avoid over-stressing, which can reduce yields.
Companion Planting 🌼
Companion planting boosts purus the growth and health of your Hawaiian chili pepper plant. Basil and onions repel pests like aphids and spider mites, while marigolds deter nematodes. Avoid planting near fennel or kohlrabi, which can compete for nutrients or attract similar pests. Expert Insight: Traditional Hawaiian gardens often pair chili peppers with native plants like ti leaves to enhance soil health and pest resistance, a practice worth trying for organic gardeners.
FAQs About Growing Hawaiian Chili Pepper Plants ❓
Q1: How long does it take for Hawaiian chili peppers to grow?
A: From seed to harvest, Hawaiian chili peppers take 70-90 days under optimal conditions. Seedlings may produce fruit slightly faster, around 60-75 days after transplanting.
Q2: Can I grow Hawaiian chili peppers in colder climates?
A: Yes, with proper care. Start seeds indoors early, use grow lights or a greenhouse, and move plants indoors during cold weather to maintain temperatures above 55°F.
Q3: Why are my peppers not spicy enough?
A: Less heat can result from overwatering, excessive nitrogen, or harvesting too early. Allow peppers to fully ripen to red for maximum heat and use potassium-rich fertilizers.
Q4: How do I save seeds for next season?
A: Select fully ripened red peppers, cut them open, and remove seeds. Dry them thoroughly on a paper towel for 1-2 weeks, then store in a cool, dry place in an airtight container.
Q5: What’s the best way to use Hawaiian chili peppers in cooking?
A: Use them fresh in salsas, poke, or stir-fries, or dry and grind them into chili powder. Try making a simple hot sauce with peppers, vinegar, garlic, and salt for a classic Hawaiian condiment.
Conclusion: Your Path to a Spicy Harvest 🎉
Growing a thriving Hawaiian chili pepper plant is an exciting journey that brings the fiery flavors of Hawaii to your home. By following this comprehensive guide—covering seed selection, soil preparation, watering, pest control, and harvesting—you’re equipped to cultivate a healthy, productive plant. Whether you’re growing in a garden, container, or indoors, these expert-backed tips ensure success. Start planting today and share your spicy harvest with friends and family! For more plant care advice, explore our blog for expert guides on growing hot peppers, herbs, and more. 🌶️


