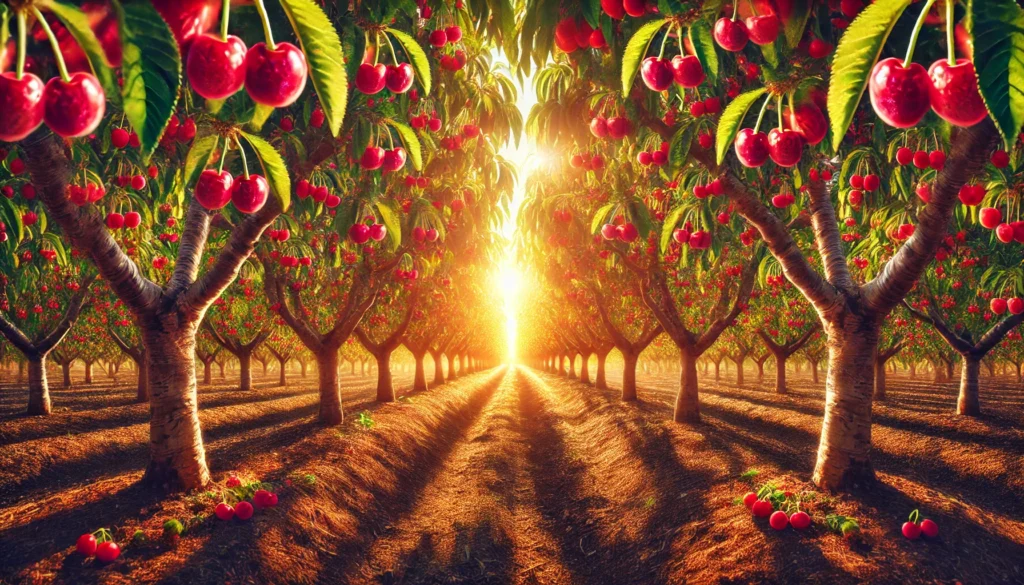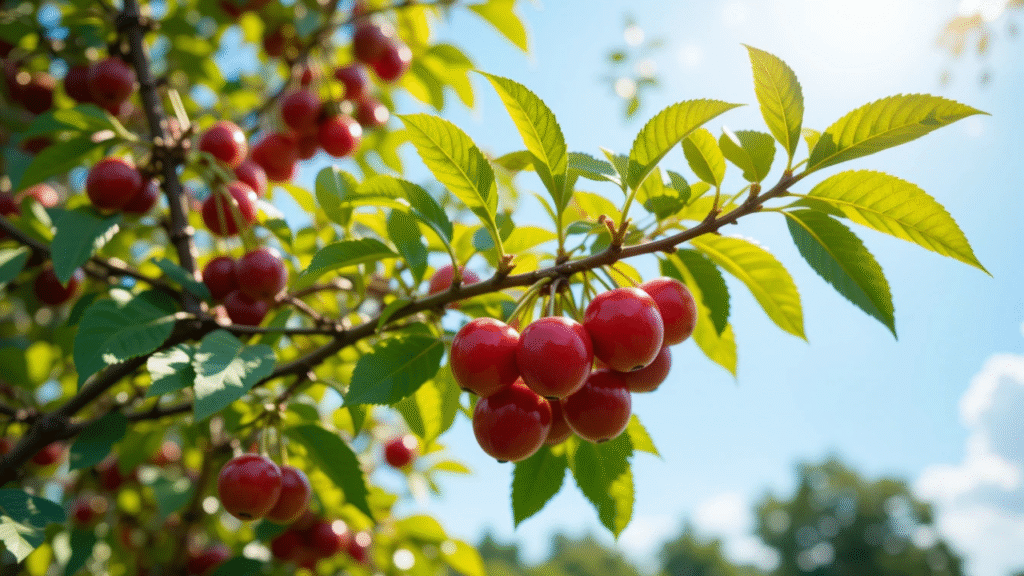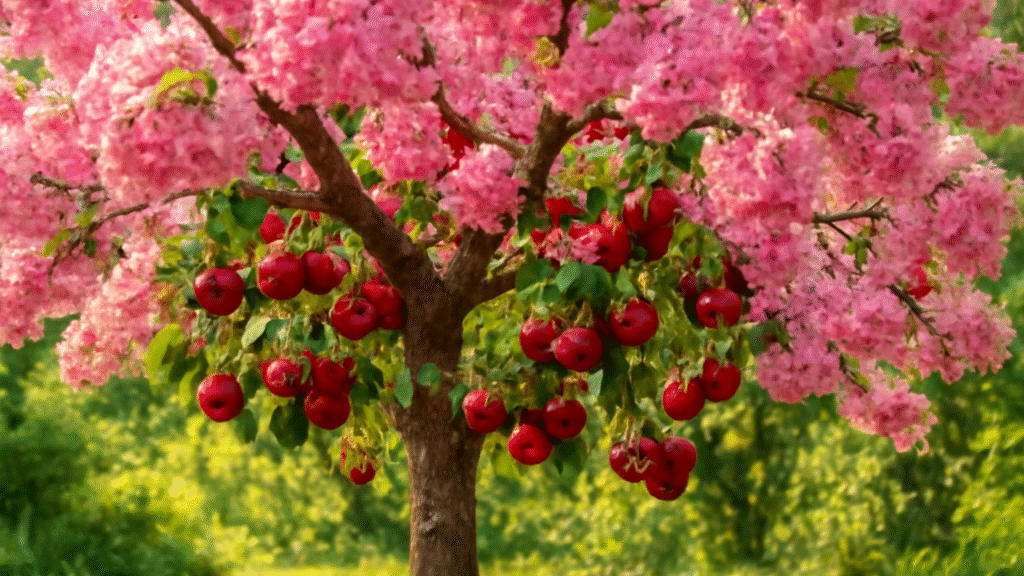
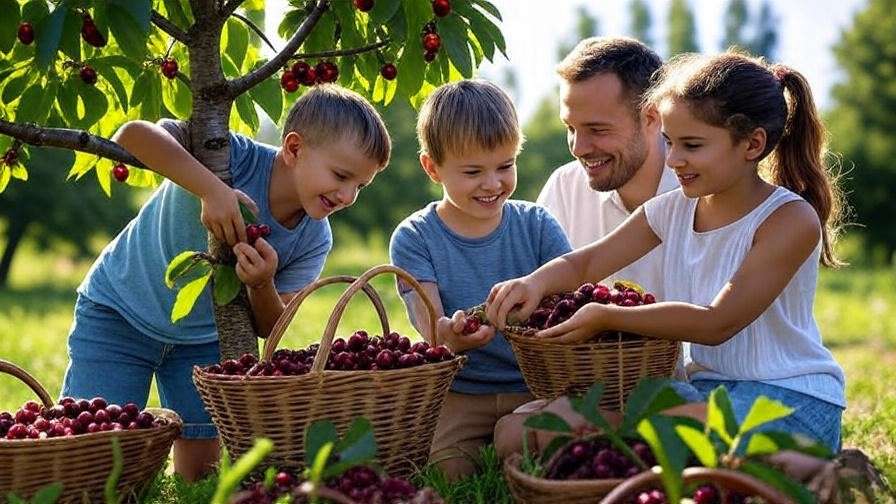
Picture this: you’re standing in your garden, savoring a plump, juicy cherry bursting with flavor, grown on a tree tailored to your exact preferences. Sounds like a dream? It’s not—it’s the magic of cherry tree grafting! Learning how to handle cherry tree grafting for better fruit production can transform your orchard, boosting yields, enhancing fruit quality, and even making your trees more resilient. As a horticulturist with over a decade of experience in tree care, I’ve seen firsthand how grafting unlocks a tree’s potential. In this guide, you’ll discover expert techniques, practical tips, and step-by-step instructions to graft cherry trees like a pro. Ready to grow your best harvest yet? Let’s dive in!
What Is Cherry Tree Grafting and Why Does It Matter? 🍎
Grafting is more than a gardening buzzword—it’s a time-tested technique that combines two parts of different cherry trees to create a single, thriving plant. By joining a scion (the fruit-producing upper part) with a rootstock (the root system), you can customize your cherry trees for better fruit production, disease resistance, and adaptability.
Understanding Grafting Basics
Grafting involves surgically attaching a scion from a desired cherry variety to a rootstock that provides stability and vigor. This union allows the scion to produce the fruit you love while the rootstock supports growth in your specific climate or soil. Benefits include:
- Improved Fruit Quality: Grafting can enhance flavor, size, and sweetness.
- Increased Yields: Studies from the University of California Cooperative Extension show grafted cherry trees can boost yields by up to 30%.
- Disease Resistance: Certain rootstocks resist common cherry tree ailments like bacterial canker.
- Example: Grafting a sweet Bing cherry scion onto a hardy Mazzard rootstock creates a tree that thrives in colder climates while producing delicious fruit.
Why Grafting Boosts Fruit Production
The science is simple yet powerful: grafting combines the best traits of two plants. The scion contributes the fruit’s characteristics, while the rootstock influences growth rate, tree size, and environmental adaptability. For instance, dwarfing rootstocks like Gisela produce smaller trees ideal for small gardens, yet they channel energy into fruit production rather than excessive foliage. Research from Oregon State University highlights that grafted trees often fruit earlier and more consistently than non-grafted ones. Real-world success stories, like orchards in Washington State doubling their cherry output through grafting, prove its value.
Choosing the Right Cherry Tree Varieties for Grafting 🌸
Selecting the perfect scion and rootstock is the foundation of successful grafting. Your choices determine fruit quality, tree health, and long-term productivity.
Selecting the Scion
The scion is the star of the show—it’s the part of the tree that produces your cherries. Choose a scion from a healthy, disease-free tree with traits you love, such as:
- Flavor: Varieties like Bing or Rainier for sweet cherries, or Montmorency for tart.
- Ripening Time: Early-ripening Lapins for quick harvests or late-ripening Sweetheart for extended seasons.
- Tip: Collect scions in late winter when the tree is dormant, ensuring they’re pencil-thick and have healthy buds.
Picking the Perfect Rootstock
The rootstock anchors your tree and influences its size, vigor, and resilience. Popular cherry rootstocks include:
- Mazzard: Hardy and adaptable, ideal for standard-sized trees in various soils.
- Gisela: Dwarfing rootstock for compact trees, perfect for small gardens or high-density orchards.
- Krymsk: Excellent for cold climates and disease resistance.
- Expert Insight: Match the rootstock to your local conditions. For example, Gisela thrives in well-drained soils, while Krymsk suits colder regions with heavy clay.
Compatibility Considerations
Not all cherry varieties play well together. Sweet cherries (Prunus avium) graft best with other sweet cherries, and tart cherries (Prunus cerasus) with tart varieties. Incompatible pairings can lead to weak graft unions or outright failure. Avoid common mistakes like using a rootstock with poor soil adaptability or mismatched growth rates. Check compatibility charts from sources like the Royal Horticultural Society to ensure success.
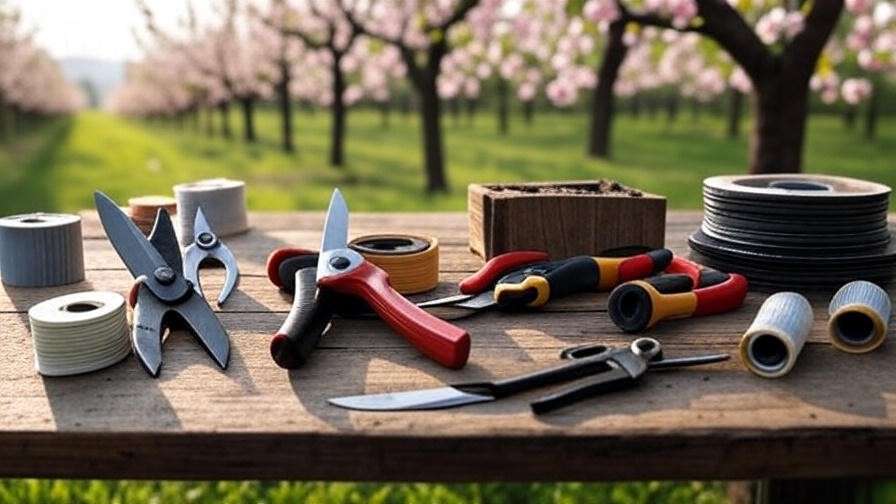
Essential Tools and Materials for Grafting Success 🛠️
Grafting is a precise craft, and the right tools make all the difference. Here’s what you need to set yourself up for success.
Must-Have Grafting Tools
- Grafting Knife: A sharp, specialized knife for clean, precise cuts.
- Pruning Shears: For trimming scions and rootstocks.
- Grafting Tape: Flexible tape to secure the graft union.
- Sealant: Grafting wax or paint to protect the graft from moisture and pathogens.
- Tip: Invest in high-quality tools—dull blades can damage tissue and reduce graft success.
Preparing Your Workspace
A clean, sterile environment is critical to prevent infections. Before starting:
- Sanitize tools with rubbing alcohol or a 10% bleach solution.
- Work in a shaded, wind-free area to avoid drying out the scion.
- Choose the right time: Late winter to early spring, when trees are dormant but sap is beginning to flow, is ideal.
- Checklist: Gather tools, prepare grafting materials, and check weather conditions (avoid grafting during frost).
Optional Extras for Better Results
- Grafting Wax: Seals the graft to prevent moisture loss and infection.
- Hormone Rooting Powder: Encourages faster healing in some grafts.
- Protective Wraps: Shields grafts from sun or pests.
- Example: Applying grafting wax over a whip-and-tongue graft creates a waterproof barrier, boosting success rates by up to 20%, according to Michigan State University research.
Step-by-Step Guide to Cherry Tree Grafting 🌿
Ready to graft? Follow these expert techniques to ensure a strong graft union and thriving cherry tree.
Timing Your Graft for Success
Timing is everything in grafting. The best window is late winter to early spring (February to March in most regions), when trees are dormant but sap flow is starting. This ensures the scion and rootstock heal together effectively. Grafting in summer (for bud grafting) is also possible but requires extra care. Timing matters because:
- Dormant trees heal better, reducing stress.
- Early spring sap flow promotes graft union strength.
Popular Grafting Techniques for Cherry Trees
Here are three proven methods for cherry tree grafting, each suited to different scenarios.
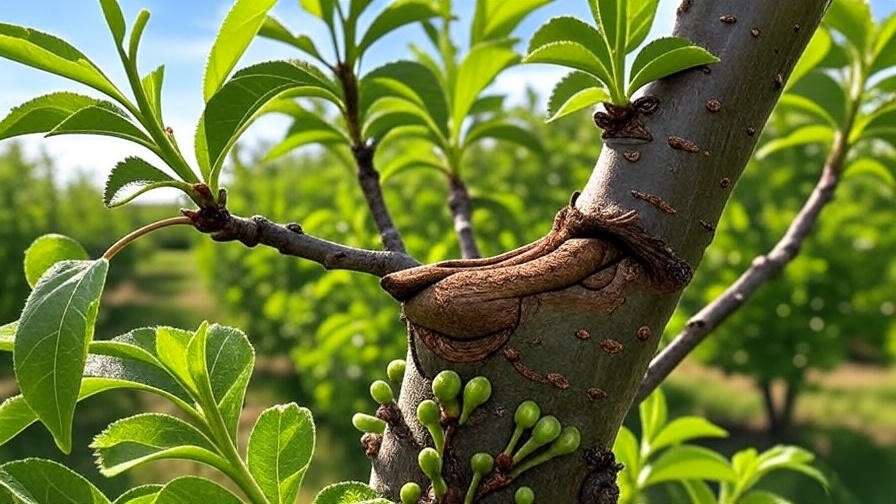
Whip-and-Tongue Graft
Best for young trees with scions and rootstocks of similar diameter (about ¼ to ½ inch).
- Prepare the Scion and Rootstock: Make a slanting cut (2–3 inches long) on both the scion and rootstock.
- Create the Tongue: Cut a small notch in each slanted surface to interlock them.
- Join the Pieces: Fit the scion and rootstock together so the cambium layers (just under the bark) align.
- Secure the Graft: Wrap tightly with grafting tape and apply sealant.
- Aftercare: Monitor for new growth within 4–6 weeks.
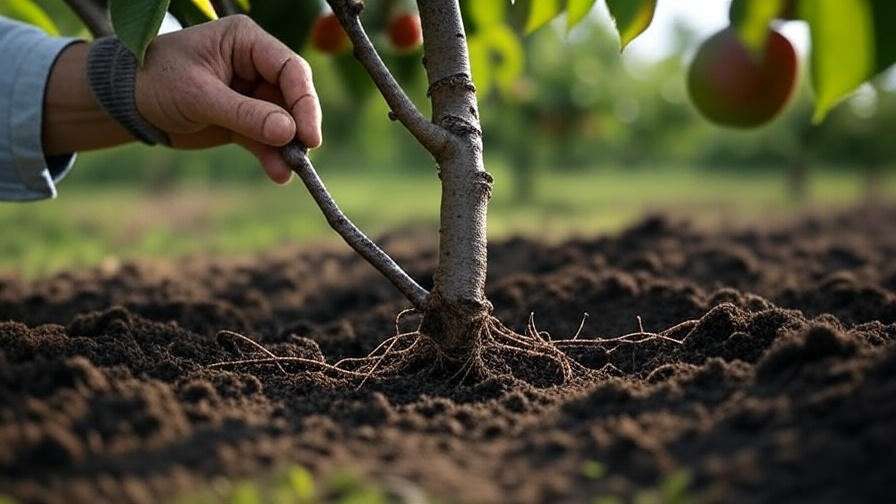
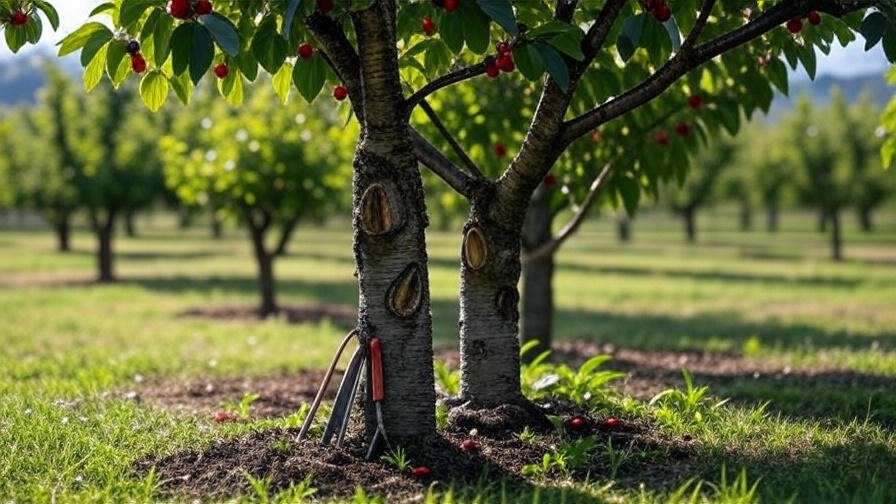
Cleft Graft
Ideal for older trees or larger rootstocks.
- Prepare the Rootstock: Cut the rootstock straight across and split the center to create a cleft.
- Shape the Scion: Trim the scion into a wedge shape to fit the cleft.
- Insert the Scion: Place the scion in the cleft, ensuring cambium alignment.
- Secure and Seal: Wrap with tape and seal with grafting wax.
- Aftercare: Protect from wind and check for union strength after 6–8 weeks.
Bud Grafting (Budding)
Great for summer grafting to propagate specific varieties.
- Select a Bud: Choose a healthy bud from the current season’s growth.
- Prepare the Rootstock: Make a T-shaped cut in the rootstock’s bark.
- Insert the Bud: Slip the bud under the bark flaps and secure with tape.
- Aftercare: Remove tape after 2–3 weeks and monitor bud growth.
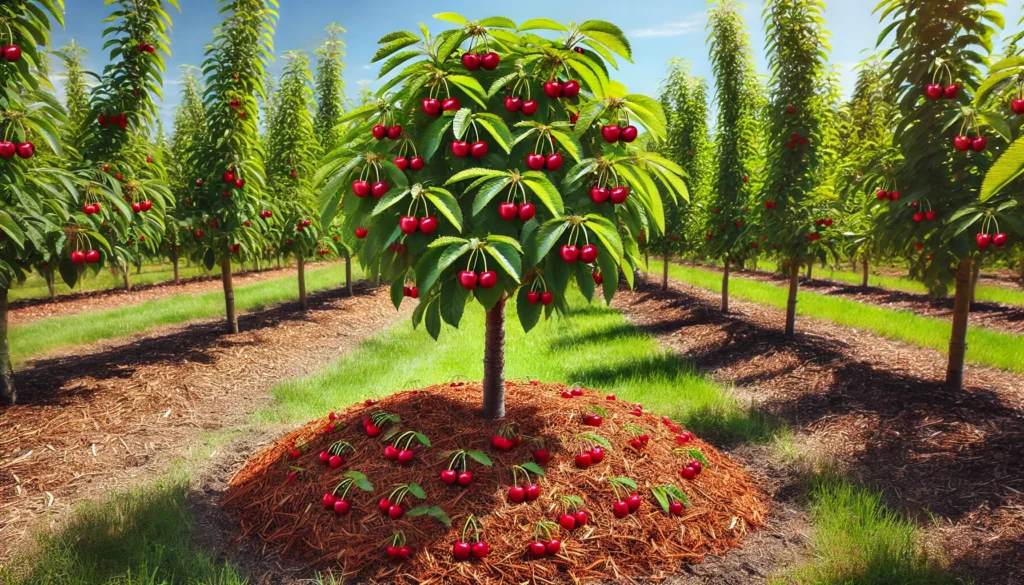
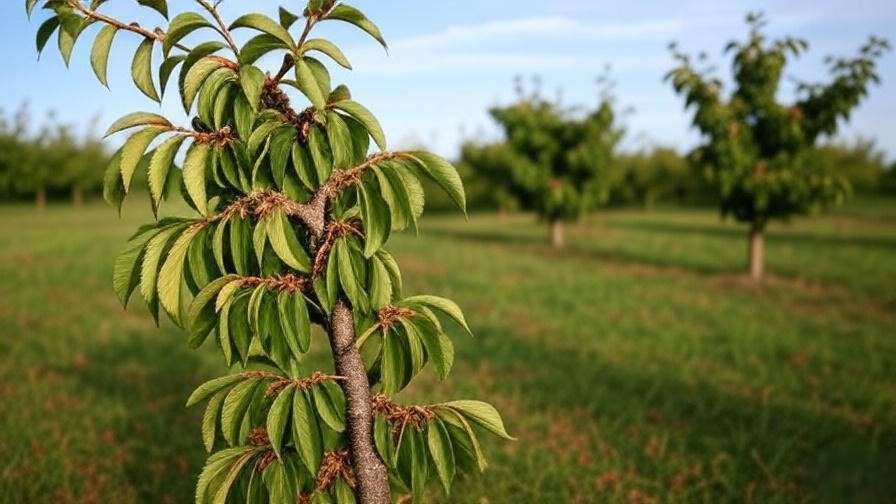
Aftercare for Grafted Trees
Proper care ensures your graft takes hold:
- Watering: Keep soil moist but not waterlogged.
- Mulching: Apply organic mulch to retain moisture and regulate soil temperature.
- Protection: Use staking to support young grafts against wind.
- Monitoring: Look for new growth as a sign of success; wilting or discoloration may indicate failure.
- Expert Tip: Stake grafts for the first year to prevent movement that could disrupt the union.
Common Challenges in Cherry Tree Grafting and How to Overcome Them 🚩
Grafting cherry trees can be a game-changer, but it’s not without challenges. Understanding potential pitfalls and how to address them will boost your success rate and ensure a thriving orchard.
Graft Failure and Its Causes
Graft failure is disheartening but often preventable. Common reasons include:
- Poor Alignment: The cambium layers of the scion and rootstock must align perfectly for a successful union. Misalignment prevents nutrient flow.
- Infections: Bacterial or fungal contamination can weaken or kill the graft.
- Incompatible Varieties: Pairing a sweet cherry scion with a tart cherry rootstock often leads to failure.
- Solutions:
- Double-check cambium alignment during grafting.
- Sterilize tools with a 10% bleach solution before each cut.
- Research scion-rootstock compatibility using resources like the Penn State Extension’s grafting guides.
- Example: A grower in Oregon failed to graft a Bing scion onto a Mahaleb rootstock due to incompatibility but succeeded after switching to a Mazzard rootstock.
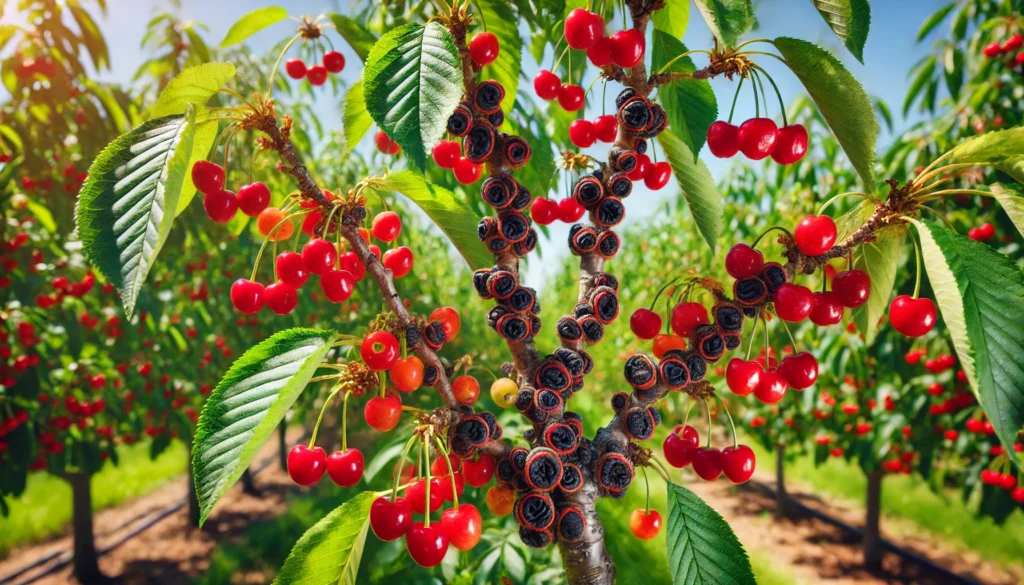
Pests and Diseases Post-Grafting
Newly grafted trees are vulnerable to pests and diseases, which can disrupt the healing process. Common issues include:
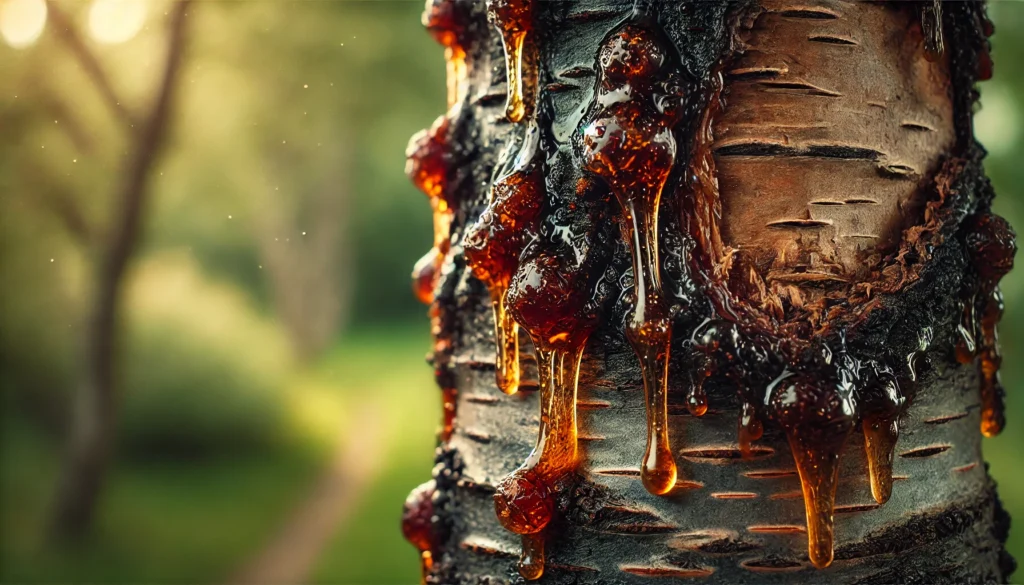
- Bacterial Canker: A bacterial infection that causes gummosis and dieback.
- Aphids: Sap-sucking pests that weaken young grafts.
- Fungal Infections: Wet conditions can lead to mold or rot at the graft union.
- Prevention:
- Apply organic neem oil sprays to deter aphids.
- Use grafting wax to seal the union and prevent moisture-related infections.
- Inspect grafts weekly for signs of disease, such as oozing sap or blackened tissue.
- Expert Tip: Prune surrounding branches to improve air circulation, reducing fungal risks.
Environmental Stressors
Weather and soil conditions can stress grafted trees, impacting success.
- Drought: Insufficient water slows healing and weakens the graft.
- Frost: Late frosts can damage new grafts, especially in early spring.
- Poor Soil: Nutrient-deficient or poorly drained soil hinders rootstock vigor.
- Mitigation:
- Water consistently, aiming for 1–2 inches per week during the first year.
- Cover grafts with breathable fabric during unexpected frosts.
- Test soil pH (ideal: 6.0–7.0) and amend with compost or sulfur as needed.
- Example: A Michigan orchardist protected grafts from frost using burlap wraps, improving survival rates by 15%.
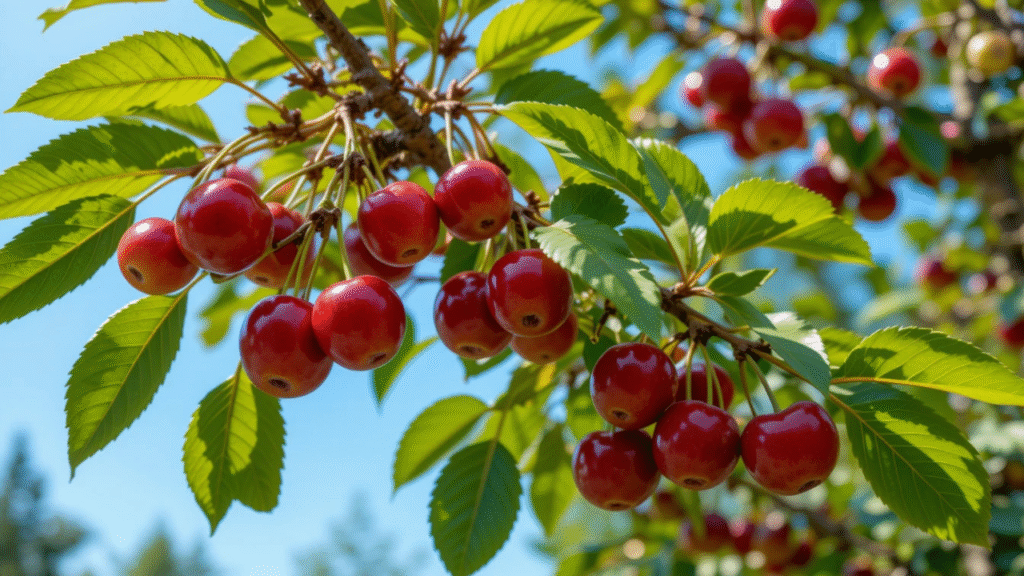
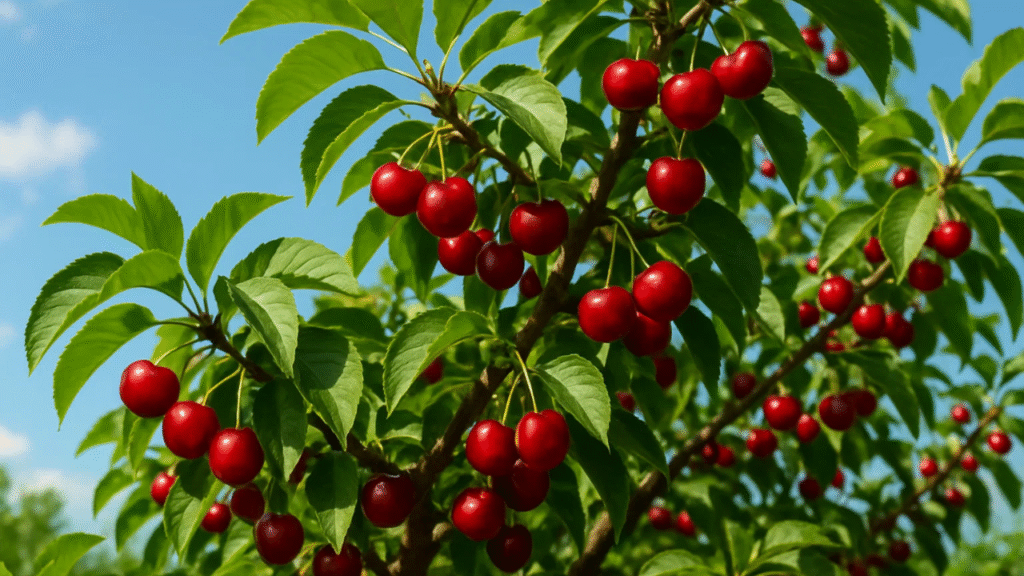
Maximizing Fruit Production After Grafting 🍒
Grafting sets the stage, but proper care post-grafting ensures your cherry trees reach their full potential. These strategies will help you maximize fruit yield and quality.
Pruning for Optimal Growth
Pruning shapes your tree and directs energy toward fruit production.
- When to Prune: Late winter, before bud break, is ideal to avoid stressing the tree.
- How to Prune: Remove dead or crossing branches, and thin the canopy to allow sunlight and air to reach fruiting branches.
- Grafted Tree Focus: Avoid cutting near the graft union to prevent damage.
- Tip: Use clean, sharp pruning shears and aim for an open-center shape to promote fruiting.

Fertilizing and Soil Care
Grafted cherry trees need balanced nutrition to thrive.
- Key Nutrients: Nitrogen for growth, potassium for fruit quality, and phosphorus for root development.
- Fertilizing Schedule: Apply a balanced fertilizer (e.g., 10-10-10) in early spring, followed by compost in late spring.
- Soil Care: Maintain organic matter with mulch or cover crops to improve soil structure.
- Organic Options: Composted manure or fish emulsion provides slow-release nutrients without chemical burn.
- Expert Insight: Soil tests from your local extension service can pinpoint deficiencies, ensuring precise fertilization.
Pollination Tips for Better Yields
Most cherry trees require cross-pollination to produce fruit, and grafted trees are no exception.
- Cross-Pollination Needs: Plant a compatible pollinator variety (e.g., Stella for Bing) within 50 feet.
- Attracting Pollinators: Add native plants like lavender or bee balm to draw bees.
- Beehives: Consider renting or maintaining a beehive for large orchards to boost pollination rates.
- Example: A Washington grower increased yields by 25% by planting Black Tartarian as a pollinator for Rainier cherries.
Expert Tips and Tricks for Grafting Success 🌟
Want to graft like a pro? These insider tips will elevate your skills:
- Practice First: Hone your grafting technique on less valuable trees, like ornamental plums, before tackling your prized cherries.
- Keep a Grafting Journal: Record scion-rootstock combinations, dates, and outcomes to refine your approach over time.
- Use Stretchy Grafting Tape: Opt for tape with slight elasticity for a snug fit without constricting growth.
- Expert Insight: Dr. Susan Brown, a horticulturist at Cornell University, notes that meticulous record-keeping can improve grafting success rates by up to 20% over time.
FAQs About Cherry Tree Grafting ❓
Here are answers to common questions to help you graft with confidence:
- How long does it take for a graft to take?
Typically 4–8 weeks for initial healing, with a full union forming in 1–2 years. Look for new growth as a positive sign. - Can I graft different cherry varieties together?
Yes, as long as they’re compatible (e.g., sweet cherries with sweet cherries). Check compatibility with your local extension service. - What’s the best time of year to graft cherry trees?
Late winter to early spring for whip-and-tongue or cleft grafts; summer for bud grafting. - How do I know if my graft was successful?
New growth, healthy leaves, and a firm graft union indicate success. Wilting or blackened tissue suggests failure.
Conclusion: Grow Your Best Cherry Harvest Yet! 🌞
Mastering how to handle cherry tree grafting for better fruit production is a rewarding journey that transforms your orchard. By choosing compatible varieties, using precise techniques, and providing diligent aftercare, you can enjoy juicier cherries, higher yields, and healthier trees. Start small, practice your skills, and soon you’ll be harvesting buckets of fruit tailored to your taste. Ready to get grafting? Share your experiences in the comments or explore our related guides on cherry tree pruning and pest control. With these expert strategies, your cherry trees will thrive like never before—happy grafting! 🍒