Picture this: your cherry tree, once bursting with vibrant blossoms, now looks droopy, with sparse leaves and lackluster fruit. The culprit? Hidden below the soil, problematic roots could be silently sabotaging your tree’s health. Knowing how to identify cherry tree problematic roots and fix them is crucial for any gardener or homeowner eager to save their beloved tree. Root issues can lead to declining health, structural damage, or even tree loss, but don’t worry—this guide has you covered! 🌿 Backed by arborist expertise and practical gardening experience, this comprehensive article offers actionable steps, real-world examples, and professional insights to help your cherry tree thrive for years to come. Let’s dig in! 🕊️
Understanding Cherry Tree Roots and Why They Matter 🌱
The Role of Roots in Cherry Tree Health
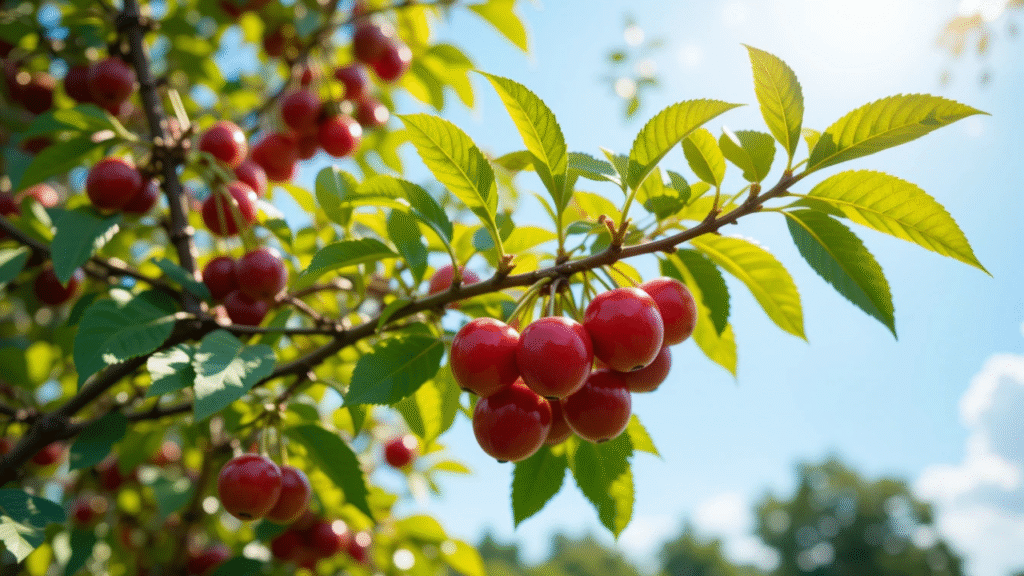
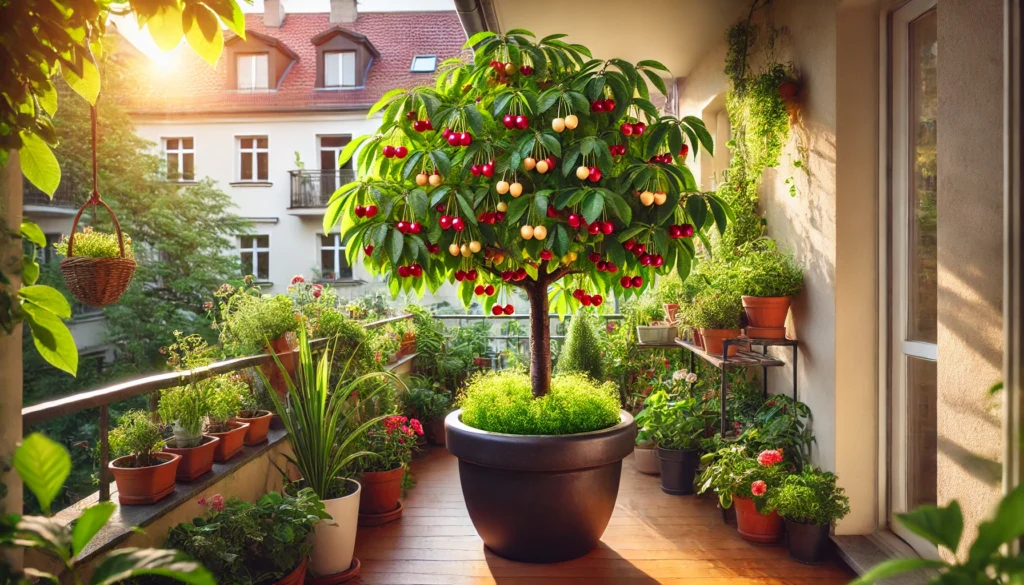
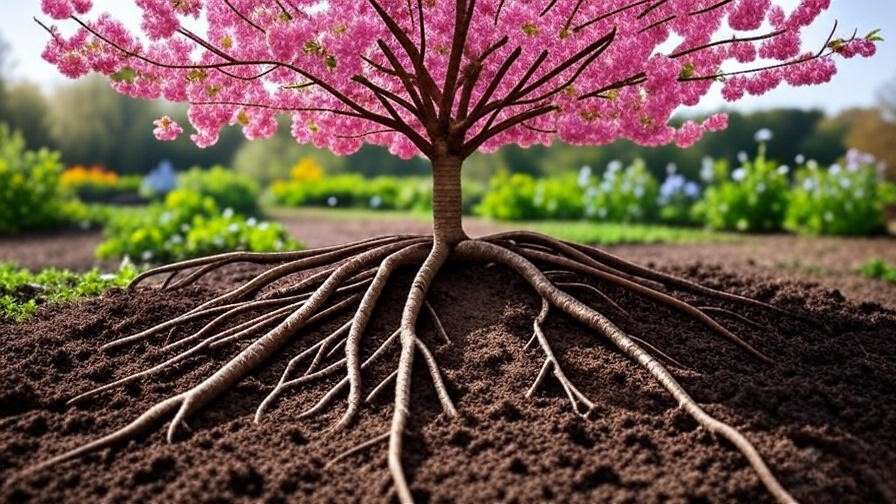
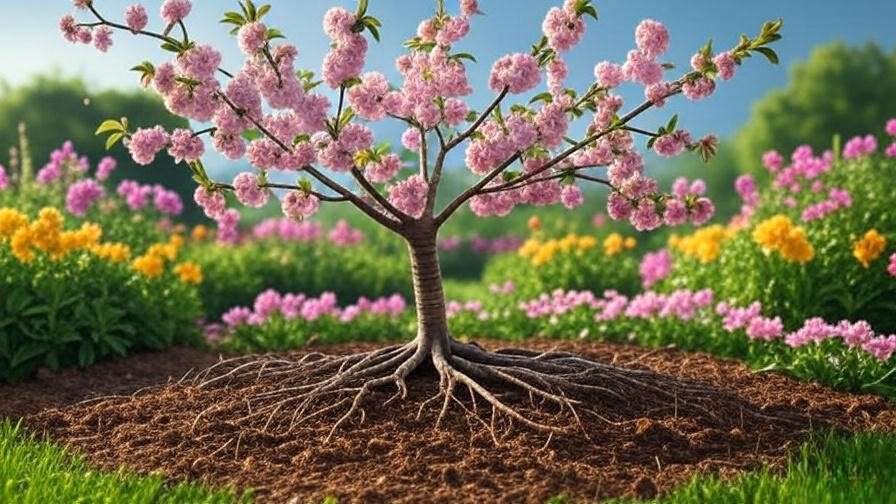
Cherry trees, whether sweet (Prunus avium) or sour (Prunus cerasus), rely on their roots for survival. Roots anchor the tree, absorb water and nutrients, and store energy for growth and fruit production. Unlike deep-rooted trees like oaks, cherry trees have shallow, fibrous root systems that spread widely, often extending beyond the canopy. This makes them prone to specific challenges, especially in urban or compacted soils. Healthy roots ensure vibrant blossoms, juicy cherries, and a sturdy structure, while problematic roots can spell disaster. 🌸
Why Root Problems Are a Big Deal
Root issues don’t just affect the tree—they can wreak havoc on your property and landscape. Compromised roots may cause stunted growth, reduced fruit yield, or even tree toppling during storms. Invasive roots can crack sidewalks, damage foundations, or invade plumbing systems. For example, a homeowner in Oregon discovered their cherry tree’s roots had infiltrated their septic line, costing thousands in repairs. Left unchecked, root problems like rot or girdling can also make trees vulnerable to diseases and pests, threatening their longevity. Addressing these issues early is key to preserving your tree’s beauty and functionality. 🛠️
How to Identify Cherry Tree Problematic Roots 🔍
Common Signs of Root Problems
Spotting root issues early can save your cherry tree. Look for these telltale signs:
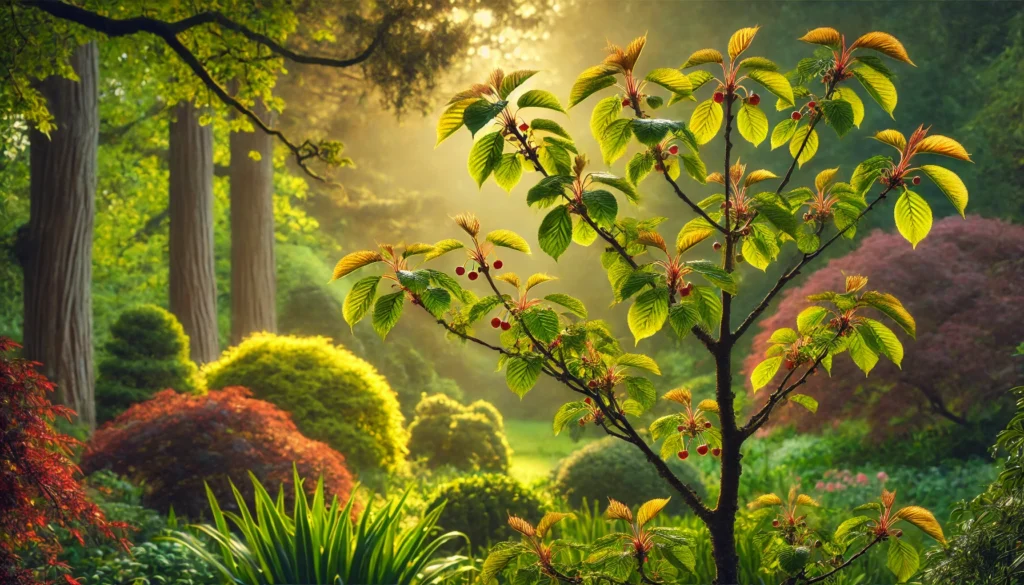
- Visual Cues: Yellowing or wilting leaves, sparse blossoms, or stunted growth despite proper care.
- Physical Signs: Exposed roots, cracked or raised soil near the trunk, or a leaning tree.
- Environmental Clues: Water pooling around the base, uneven lawn surfaces, or poor drainage.
If your cherry tree’s canopy looks lackluster or its trunk sways in light winds, it’s time to investigate below ground. These symptoms often point to root-related issues that need immediate attention.
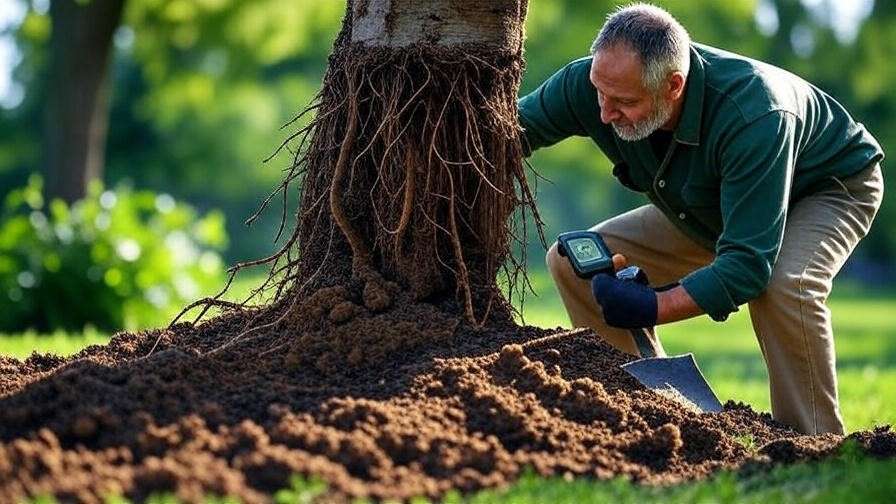
Diagnosing Specific Root Issues
Different root problems require unique solutions. Here’s how to identify the most common culprits:
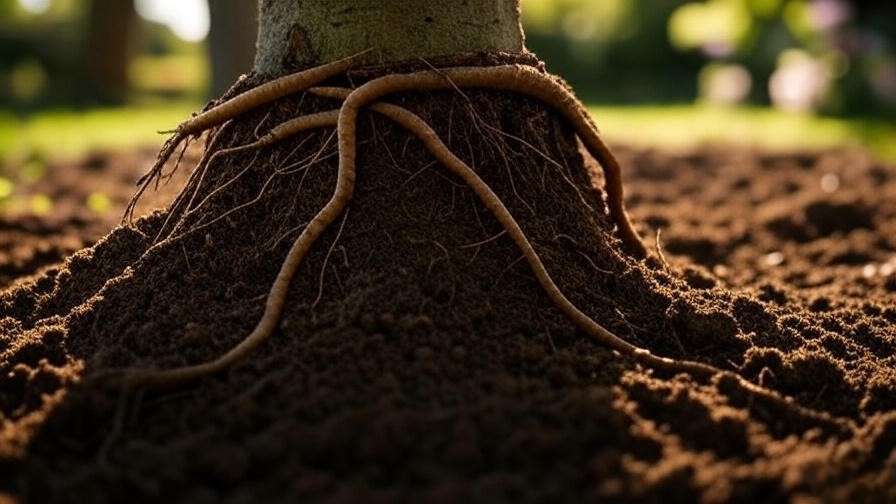
- Root Girdling: Girdling roots wrap around the trunk or other roots, choking the tree. Look for roots circling the base or a flattened trunk side. This often happens when trees are planted too deeply or in confined spaces.
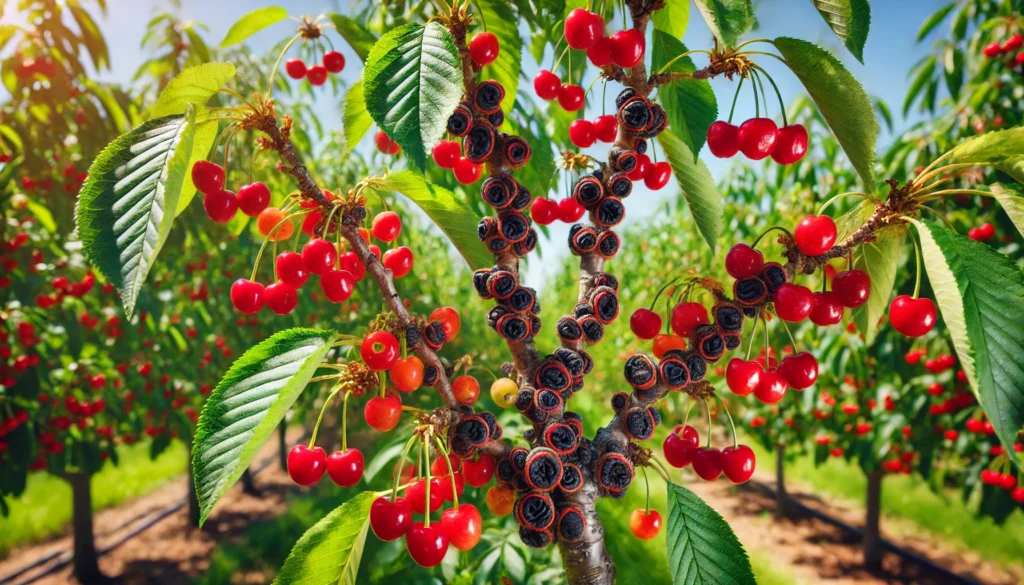
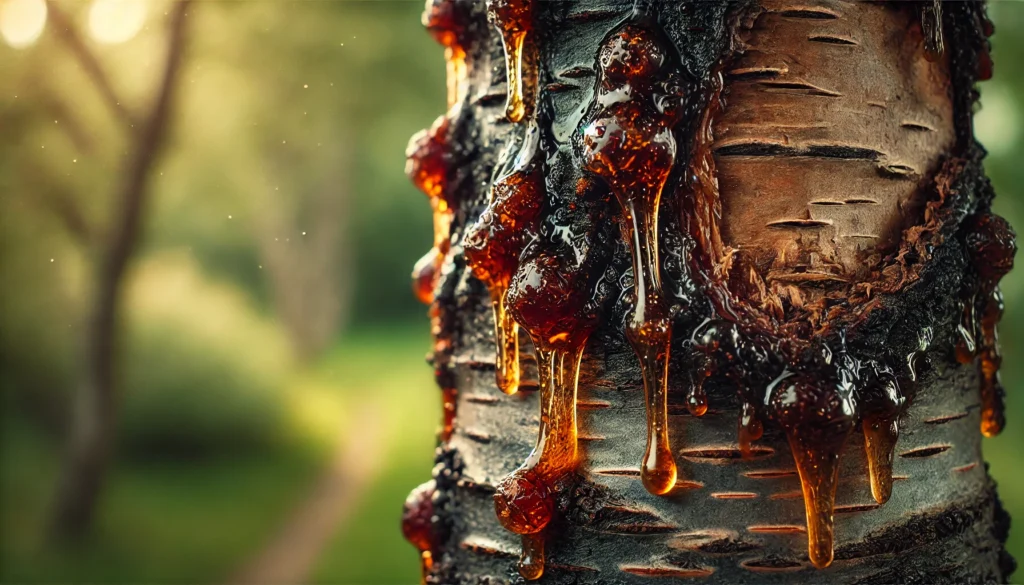
- Root Rot: Caused by fungi like Phytophthora or Armillaria, root rot turns roots mushy, discolored, or foul-smelling. Soggy soil or standing water near the tree is a red flag.
- Compacted Soil: Hard, dense soil restricts root growth and oxygen flow. If your lawn feels rock-hard or water doesn’t penetrate, compaction may be starving your tree’s roots.
- Invasive Roots: Cherry tree roots can spread 1.5 times the canopy width, invading nearby structures. Cracked driveways, lifted pavers, or damaged pipes near the tree suggest invasive growth.
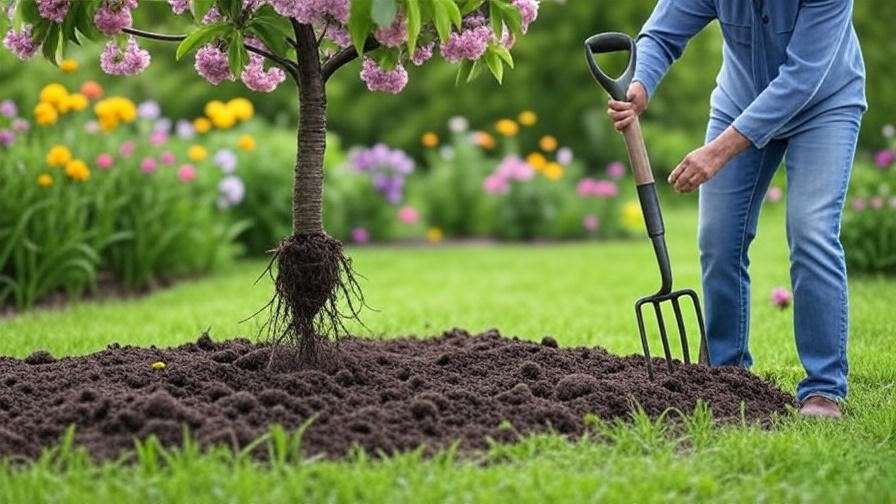
Tools and Techniques for Root Inspection
Inspecting roots safely requires the right tools and techniques. Here’s what you need:
- Tools: A shovel, trowel, soil probe, or moisture meter to assess soil conditions.
- Steps:
- Gently dig 6–12 inches deep, 1–2 feet from the trunk, to expose roots.
- Check for discoloration, mushiness, or circling patterns.
- Use a moisture meter to detect overly wet or dry soil.
- Expert Tip: Avoid excessive digging to prevent root damage. If you’re unsure, consult a certified arborist for professional diagnostics. 🧑🌾
Common Causes of Cherry Tree Root Problems ⚠️
Environmental Factors
Mother Nature can challenge cherry tree roots in several ways:
- Poor Soil Conditions: Clay-heavy or sandy soils limit root expansion and nutrient uptake. Cherry trees prefer well-draining, loamy soil with a pH of 6.0–7.0.
- Overwatering or Poor Drainage: Excess water suffocates roots, inviting fungal infections like root rot. Poorly drained yards or heavy rainfall exacerbate this issue.
- Drought Stress: In dry climates, cherry trees develop shallow roots to seek water, making them vulnerable to damage and instability.
Human-Related Causes
Sometimes, we unknowingly harm our cherry trees:
- Improper Planting: Planting too deep or in a small hole restricts root growth. Always plant so the root flare (where roots meet the trunk) is visible above soil.
- Construction Damage: Nearby landscaping, paving, or building projects can sever roots or compact soil, stressing the tree.
- Chemical Overuse: Excessive fertilizers or pesticides near the root zone can burn roots or disrupt soil microbiology.
Biological Threats
Pests and pathogens can devastate cherry tree roots:
- Fungal Infections: Armillaria root rot thrives in wet conditions, while Phytophthora attacks stressed trees. Infected roots appear dark, soft, or crumbly.
- Pest Infestations: Root-feeding insects like grubs or nematodes weaken roots, reducing nutrient uptake.
- Case Study: A Michigan cherry orchard lost 20% of its trees to Armillaria root rot. By improving drainage and applying targeted fungicides, the orchard recovered 80% of its yield within two years.
How to Fix Cherry Tree Problematic Roots 🛠️
Addressing Root Girdling
Girdling roots strangle your tree, but they can be fixed with care:
- Steps:
- Expose the girdling root by carefully removing soil around the trunk.
- Use clean pruning shears or a saw to cut the problematic root where it crosses others.
- Cover exposed roots with soil and mulch to protect them.
- Tools: Pruning shears, hand saw, gloves, and a trowel.
- Precaution: Cut only the girdling root to avoid stressing the tree further. If multiple roots are involved, consult an arborist.
Treating Root Rot
Root rot requires swift action to save your tree:
- Identify and Remove: Dig carefully to expose affected roots. Healthy roots are firm and white; rotten roots are soft, brown, or black. Cut away diseased sections with sterilized tools.
- Improve Drainage: Add organic matter like compost or peat moss to improve soil structure. Consider installing drainage tiles in waterlogged areas.
- Fungicides: Apply a fungicide labeled for root rot (e.g., fosetyl-Al) per manufacturer instructions. Always follow safety guidelines.
- Expert Tip: Test soil for fungal pathogens through a local extension service for precise treatment recommendations. 🌱
Relieving Soil Compaction
Compacted soil suffocates roots, but aeration can help:
- Aeration: Use a garden fork or mechanical aerator to loosen soil 6–12 inches deep around the drip line (the canopy’s edge).
- Vertical Mulching: Drill 2-inch-wide holes 12–18 inches deep around the drip line, filling them with compost or gravel to improve oxygen flow.
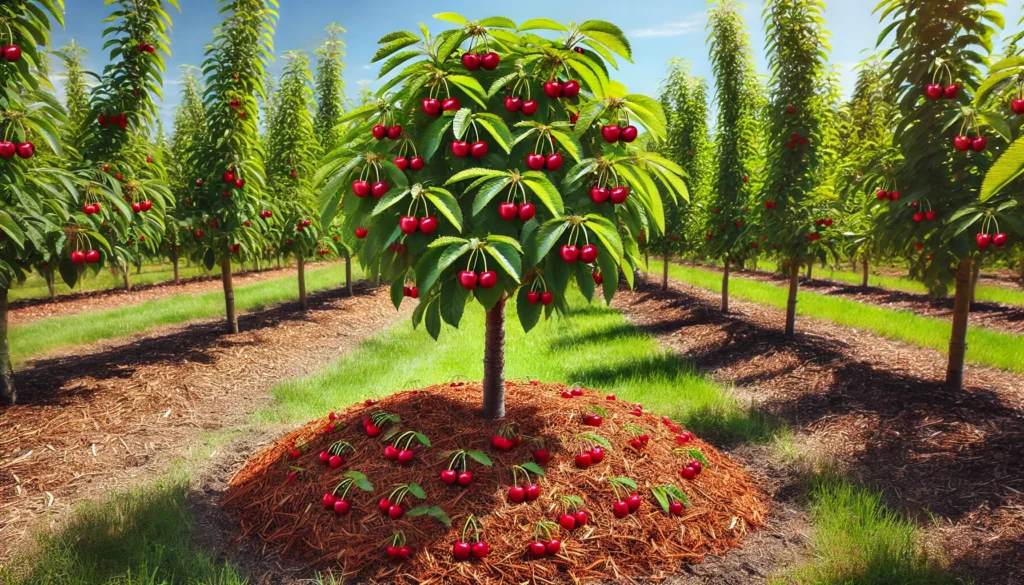
- Mulch Ring: Apply a 2–4-inch layer of organic mulch (e.g., wood chips) around the tree, keeping it 6 inches from the trunk to prevent rot.
- DIY Tip: Water slowly after aerating to encourage deep root growth. 💧
Managing Invasive Roots
Invasive roots can damage property but can be controlled:
- Root Barriers: Install a physical barrier (e.g., plastic or metal sheeting) 18–24 inches deep, 2–3 feet from the trunk, to redirect root growth.
- Pruning: Carefully trim invasive roots with a sharp spade, focusing on those farthest from the trunk. Limit pruning to 10–15% of the root system to avoid shock.
- Relocation or Removal: If roots threaten major structures, consult an arborist about relocating the tree or, as a last resort, removing it.
Long-Term Root Health Strategies
Keep roots healthy with these practices:
- Watering: Water deeply but infrequently, providing 1–2 inches weekly during dry periods. Use a soaker hose to target the drip line.
- Soil Testing: Test soil pH and nutrients every 2–3 years through a local extension service. Adjust with organic fertilizers as needed.
- Regular Inspections: Check roots annually for signs of girdling, rot, or compaction, especially after heavy rains or construction.
Preventing Future Root Problems 🌟
Best Practices for Planting Cherry Trees
Proper planting sets the stage for healthy roots and a thriving cherry tree. Follow these expert tips to get it right from the start:
- Choose the Right Location: Select a site with well-draining, loamy soil and full sun (6–8 hours daily). Avoid low-lying areas where water pools, as cherry trees hate “wet feet.” Test soil drainage by digging a 12-inch hole, filling it with water, and ensuring it drains within 4–6 hours.
- Dig the Perfect Hole: Make the planting hole 2–3 times wider than the root ball but no deeper than the root flare (where roots meet the trunk). A wide hole encourages lateral root growth, critical for cherry trees.
- Planting Technique: Position the tree so the root flare sits slightly above ground level. Backfill with native soil mixed with compost to boost nutrient availability. Water thoroughly to settle the soil.
- Expert Insight: Bare-root cherry trees often establish better than container-grown ones because their roots adapt more naturally to the soil. Source bare-root trees from reputable nurseries for best results. 🌱
Ongoing Care for Healthy Roots
Maintaining root health requires consistent care throughout the seasons:
- Mulching: Apply a 2–4-inch layer of organic mulch (e.g., wood chips, bark, or straw) around the tree’s drip line. Keep mulch 6 inches from the trunk to prevent rot. Mulch regulates soil temperature, retains moisture, and suppresses weeds that compete with roots.
- Fertilizing: Use a balanced, slow-release fertilizer (e.g., 10-10-10) in early spring, applying it around the drip line. Avoid over-fertilizing, which can burn roots or promote excessive foliage over fruit production.
- Watering: Provide 1–2 inches of water weekly during dry spells, using a soaker hose or drip irrigation to target roots. Adjust based on rainfall and soil type—sandy soils need more frequent watering than loamy ones.
- Seasonal Maintenance:
- Spring: Inspect roots for girdling or damage after winter thaw.
- Summer: Monitor soil moisture during heatwaves to prevent drought stress.
- Fall: Clear fallen leaves to reduce fungal spores near the root zone.
- Winter: Protect young trees with burlap wraps to shield roots from freezing temperatures.
- DIY Tip: Use a simple moisture meter to check soil conditions weekly, ensuring roots stay hydrated but not waterlogged. 💧
Working with Professionals
Some root issues require expert intervention. Here’s when and how to involve a professional:
- When to Hire an Arborist: If you suspect severe root rot, extensive girdling, or structural damage, consult a certified arborist. They can perform advanced diagnostics, like root collar excavation or soil pathogen testing.
- Questions to Ask:
- Are you certified by the International Society of Arboriculture (ISA) or Tree Care Industry Association (TCIA)?
- What diagnostic tools do you use for root assessments?
- Can you provide references from similar tree care projects?
- Resources: Find certified arborists through the ISA (www.isa-arbor.com) or TCIA (www.tcia.org). Local university extension services also offer soil testing and tree care advice.
- Expert Tip: A qualified arborist can save you time and money by addressing root problems before they escalate. Don’t hesitate to invest in professional care for valuable cherry trees. 🧑🌾
FAQs About Cherry Tree Root Problems ❓
Q1: Can I save a cherry tree with severe root damage?
Yes, but success depends on the extent of the damage. Remove diseased or girdling roots, improve soil conditions, and monitor recovery. If more than 50% of the root system is compromised, consult an arborist to assess viability.
Q2: How do I know if my cherry tree’s roots are invasive?
Look for cracked sidewalks, lifted pavers, or damaged pipes near the tree. Roots extending beyond the drip line (1.5 times the canopy width) are likely invasive. Install root barriers to mitigate damage.
Q3: What’s the best way to prevent root rot in cherry trees?
Ensure proper drainage by planting in well-draining soil and avoiding overwatering. Add organic matter to improve soil structure, and test for fungal pathogens if rot is suspected.
Q4: Should I use chemical treatments for root issues?
Use fungicides or pesticides only when necessary and as directed. Consult a professional for targeted treatments, and prioritize cultural practices like proper watering and mulching to prevent issues.
Q5: How often should I inspect my cherry tree’s roots?
Inspect annually in spring or fall, checking for exposed roots, girdling, or soil compaction. After heavy storms or construction, perform additional checks to catch damage early.
Conclusion: Save Your Cherry Tree Today! 🌸
Your cherry tree is more than just a plant—it’s a source of beauty, shade, and perhaps delicious fruit. By learning how to identify cherry tree problematic roots and fix them, you can protect your tree from hidden threats and ensure it thrives for decades. Start by inspecting for signs like yellowing leaves, cracked soil, or leaning trunks. Address issues like root girdling, rot, or compaction with targeted solutions, and adopt preventive practices like proper planting and regular care. If problems persist, don’t hesitate to call a certified arborist for expert help. 🌳
Have a cherry tree success story or a question about root care? Share it in the comments below—we’d love to hear from you! And don’t forget to download our free cherry tree root health checklist to keep your tree in top shape. 🌟