
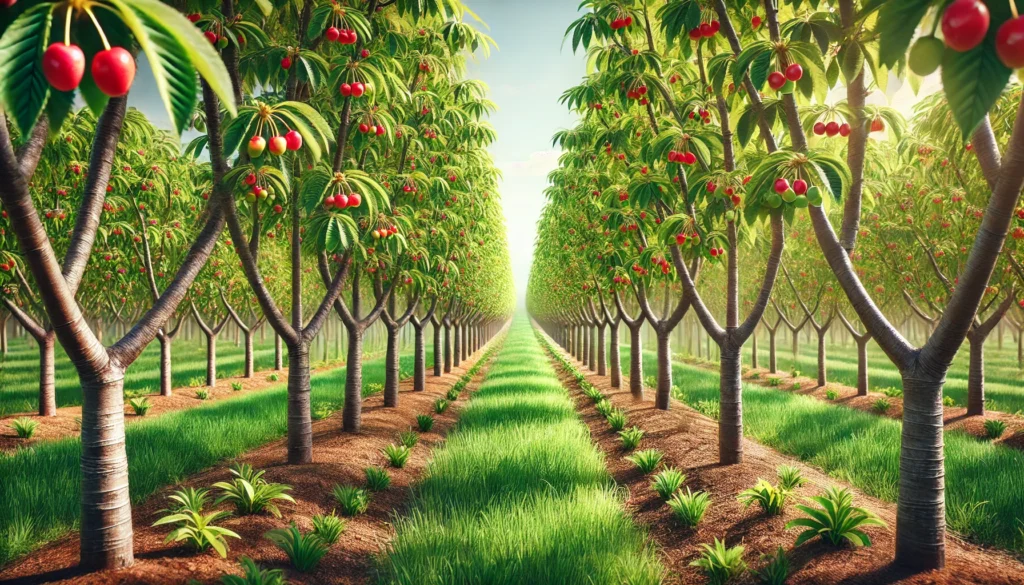
Dreaming of baskets overflowing with juicy cherries from your own backyard? With the right planting techniques, that vision can become a reality. Knowing how to plant cherry trees for maximum yield and longevity is essential if you want a thriving tree that produces sweet, abundant fruit year after year. Whether you’re a first-time gardener or looking to improve past results, planting cherry trees the right way—starting with the ideal location, soil preparation, and proper spacing—sets the foundation for long-term success. In this guide, we’ll walk you through expert tips to ensure your cherry trees not only grow but flourish for decades.
Choosing the Right Cherry Tree Variety 

Picking the right cherry tree variety is the first step toward a successful harvest. Not all cherry trees are the same, and choosing one that fits your space, climate, and taste preferences is key. Here’s what to know:
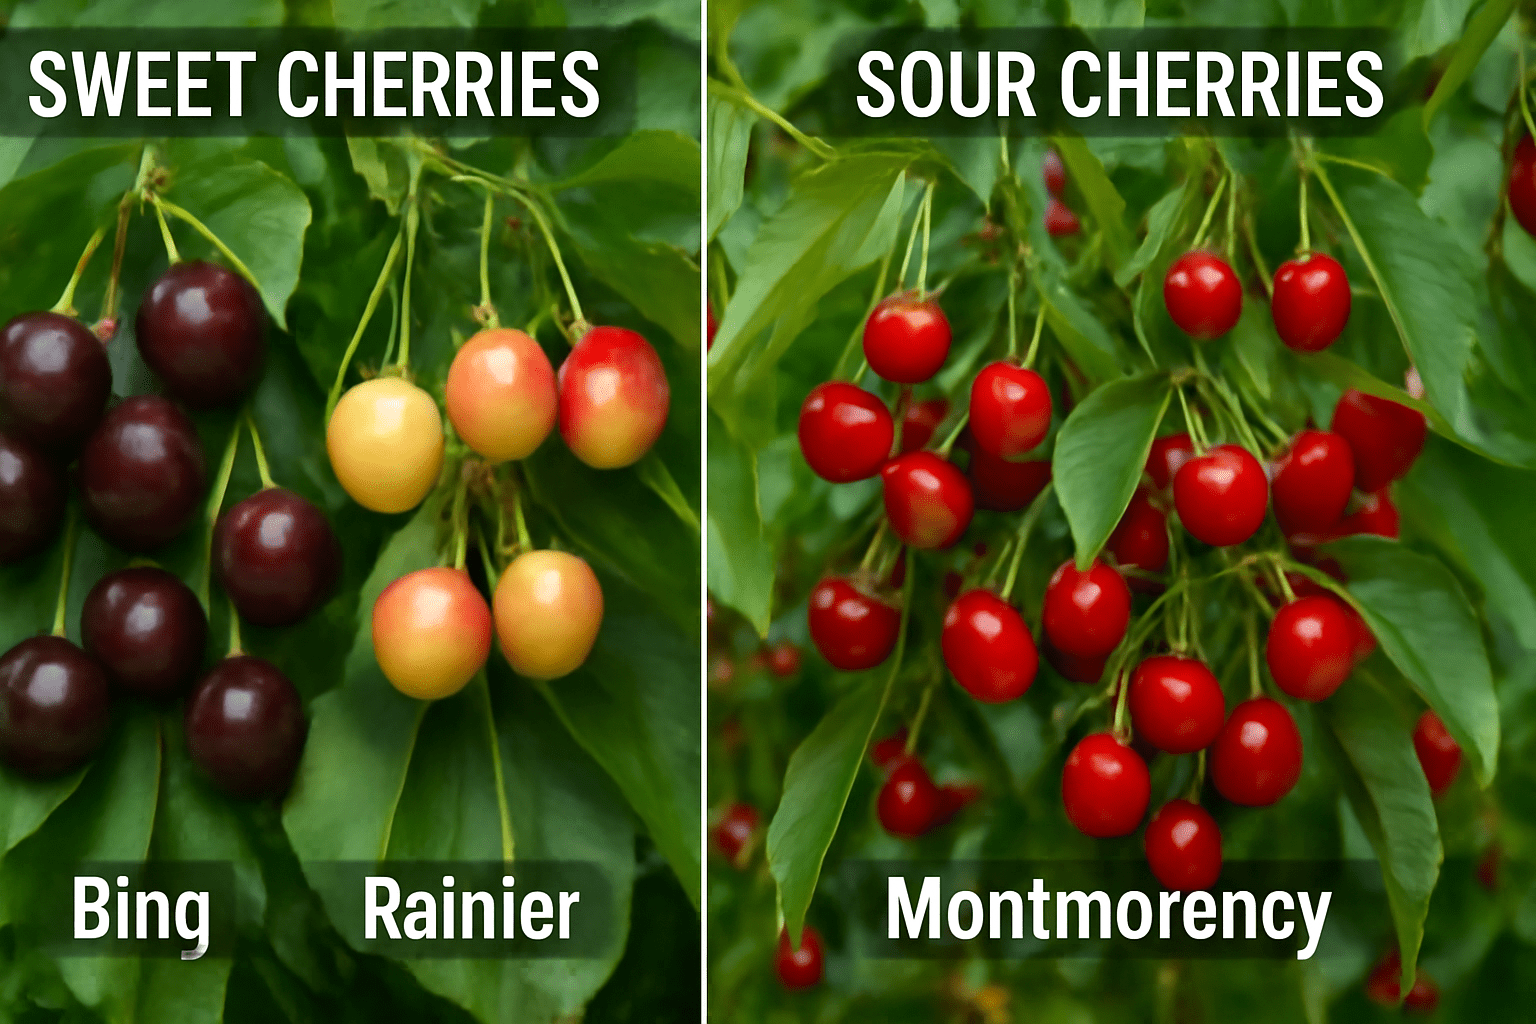
1. Sweet vs. Sour Cherries 

- Sweet cherries (like ‘Bing’ or ‘Rainier’) are perfect for fresh eating. They need mild winters and long, warm summers.
- Sour cherries (like ‘Montmorency’) are ideal for baking and preserves. They’re hardier and grow well in colder regions.
2. Check Your Climate Zone 
Cherry trees thrive in zones 4–9, depending on the variety.
- Cold zones (4–6): Go with sour cherries or cold-hardy sweet varieties like ‘Stella’.
- Mild zones (7–9): Most sweet cherries do well here.
3. Space & Size Matters 
- Standard trees grow up to 30 feet—great for large yards.
- Dwarf trees reach only 8–12 feet—perfect for small gardens or pots.
Choose based on how much room you have and how easy you want harvesting to be.
4. Pollination Needs 
- Some varieties are self-pollinating (e.g., ‘Stella’, ‘Lapins’).
- Others need a second tree for cross-pollination (e.g., ‘Bing’ needs a partner like ‘Rainier’).
Make sure to plant compatible pairs if needed.
5. Popular Varieties to Consider 
- ‘Bing’ – Classic sweet cherry, large and juicy.
- ‘Rainier’ – Yellow-red sweet cherry, mild flavor.
- ‘Montmorency’ – Tart cherry, great for pies.
- ‘Stella’ – Sweet, self-pollinating, and compact.
 Pro Tip: Always buy trees from reputable nurseries to ensure healthy, disease-resistant stock.
Selecting the Perfect Planting Site 
Choosing the right spot for planting is key to growing healthy and vibrant plants. Here’s what you need to know:
1. Sunlight Matters 
Most plants need at least 6 hours of direct sunlight daily.
 Flowering plants thrive in full sun.
 Leafy greens may prefer partial shade.
Tip: Observe your garden throughout the day to spot sunniest areas.
2. Check the Soil Quality 
Healthy soil = Healthy plants!
- Look for well-draining, loose soil.
- Avoid compact or waterlogged areas.
- Test your soil’s pH if possible (most plants prefer pH 6.0–7.0).
Tip: Mix compost or organic matter to improve poor soil.
3. Good Air Circulation 
Airflow prevents fungal diseases and pests.
- Avoid planting too close to walls or fences.
- Space plants well for proper breathing room.
4. Water Access 
Plant near a water source for easy care.
- Choose a spot where water drains well—no standing puddles.
- Dry zones? Consider using mulch to retain moisture.
5. Protection from Harsh Elements 

Avoid spots exposed to strong winds or heavy rain.
- Use natural barriers like hedges or fences for shelter.
- Raised beds help with drainage in rainy regions.
Quick Check Before Planting:
6+ hours of sun
Well-drained soil
Easy water access
Air circulation
Protection from extreme weather
Choose smart, and your plants will thank you with strong, healthy growth! 
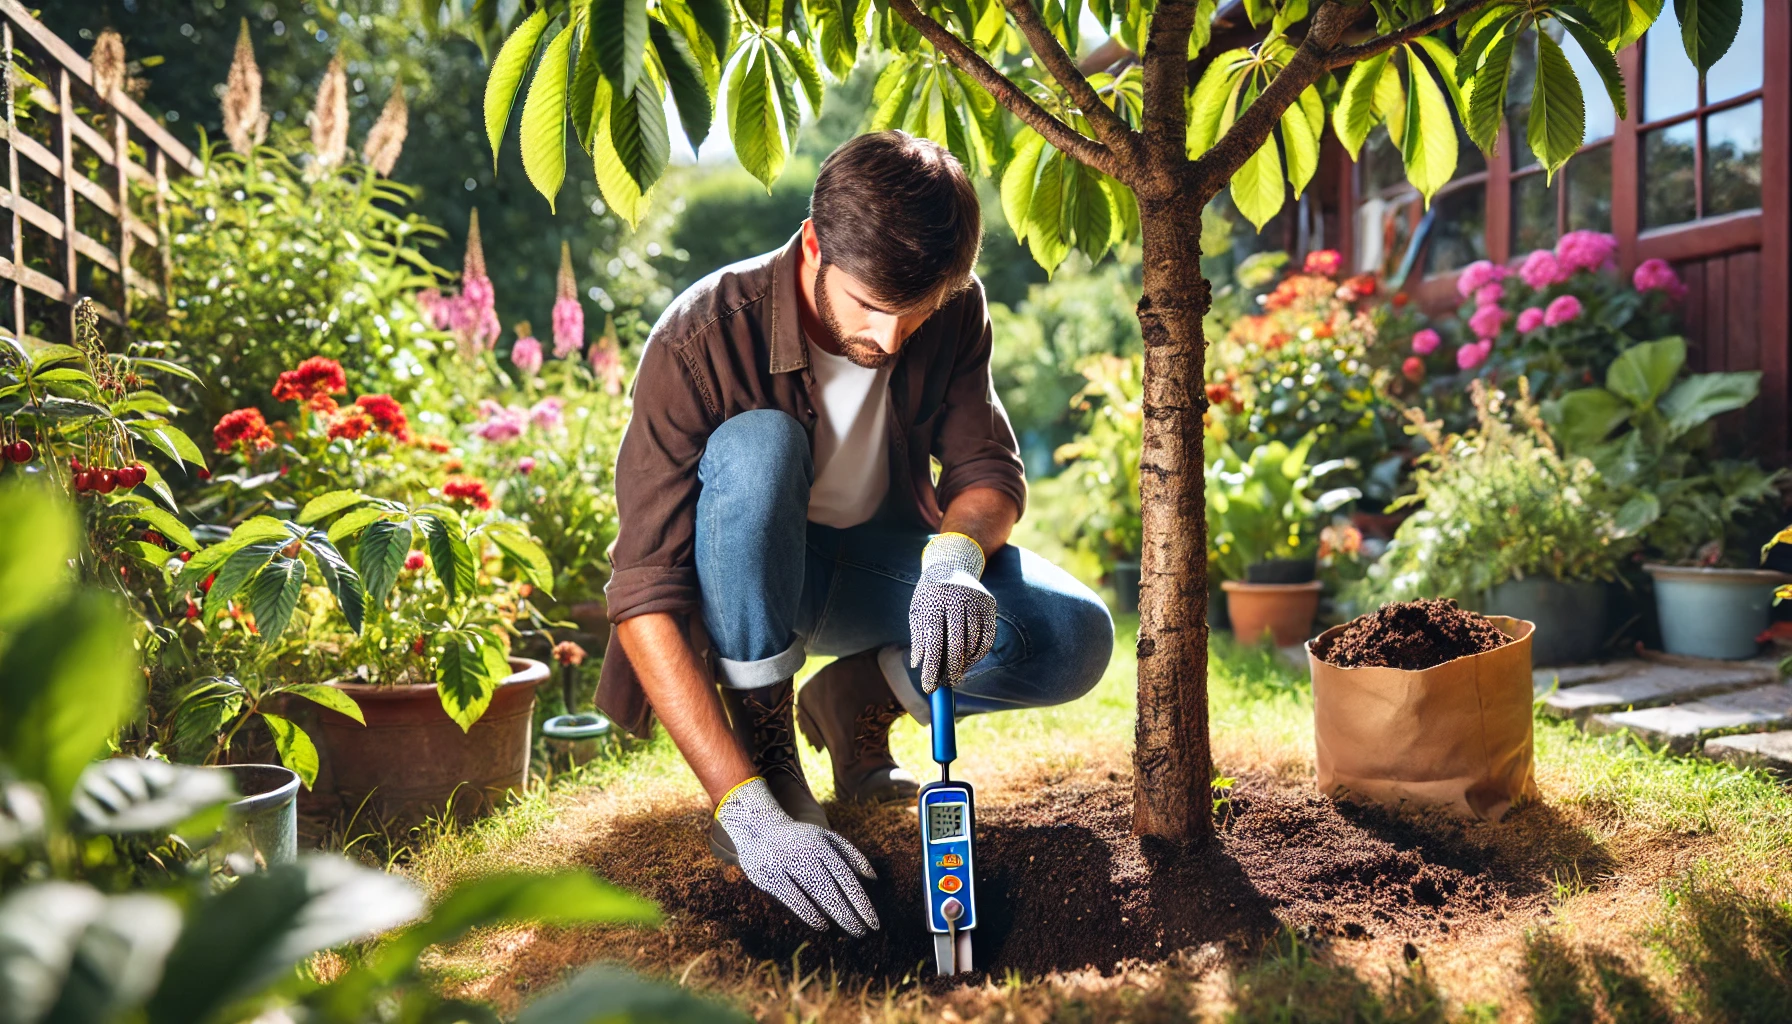
Preparing the Soil for Long-Term Success
Getting your soil right is the foundation for healthy, thriving plants . Whether you’re starting a garden bed or planting in pots, soil preparation sets the stage for long-term success. Here’s how to do it right:
1. Test Your Soil First 
Before planting, test your soil’s pH and nutrient levels. Most plants prefer a slightly acidic to neutral pH (6.0–7.0). A simple soil test kit from a garden center or local extension service can guide you in making adjustments.
2. Improve Drainage and Texture 
Good soil needs to hold moisture without becoming soggy. Mix in organic matter like compost, aged manure, or leaf mold to improve texture and drainage. For heavy clay soil, add sand and compost. For sandy soil, focus more on organic matter to retain water.
3. Feed the Soil, Not Just the Plant 
Healthy soil is alive with microbes and worms. Use organic compost, worm castings, or slow-release fertilizers to nourish the soil naturally. Avoid chemical fertilizers that can kill beneficial organisms over time.
4. Keep It Loose and Aerated 
Never plant in compacted soil. Use a garden fork or tiller to loosen the top 8–12 inches. This helps roots grow deeper and improves airflow and water absorption.
5. Mulch for Protection and Health 
Once planted, add a 2–3 inch layer of organic mulch (like wood chips, straw, or shredded leaves). Mulch conserves moisture, controls weeds, and breaks down to enrich the soil over time.
Pro Tip: Always work the soil when it’s slightly moist—not too dry or too wet—for best results and to avoid damaging its structure.
By investing time in soil prep now, you create the perfect environment for your plants to thrive year after year 
 .
.
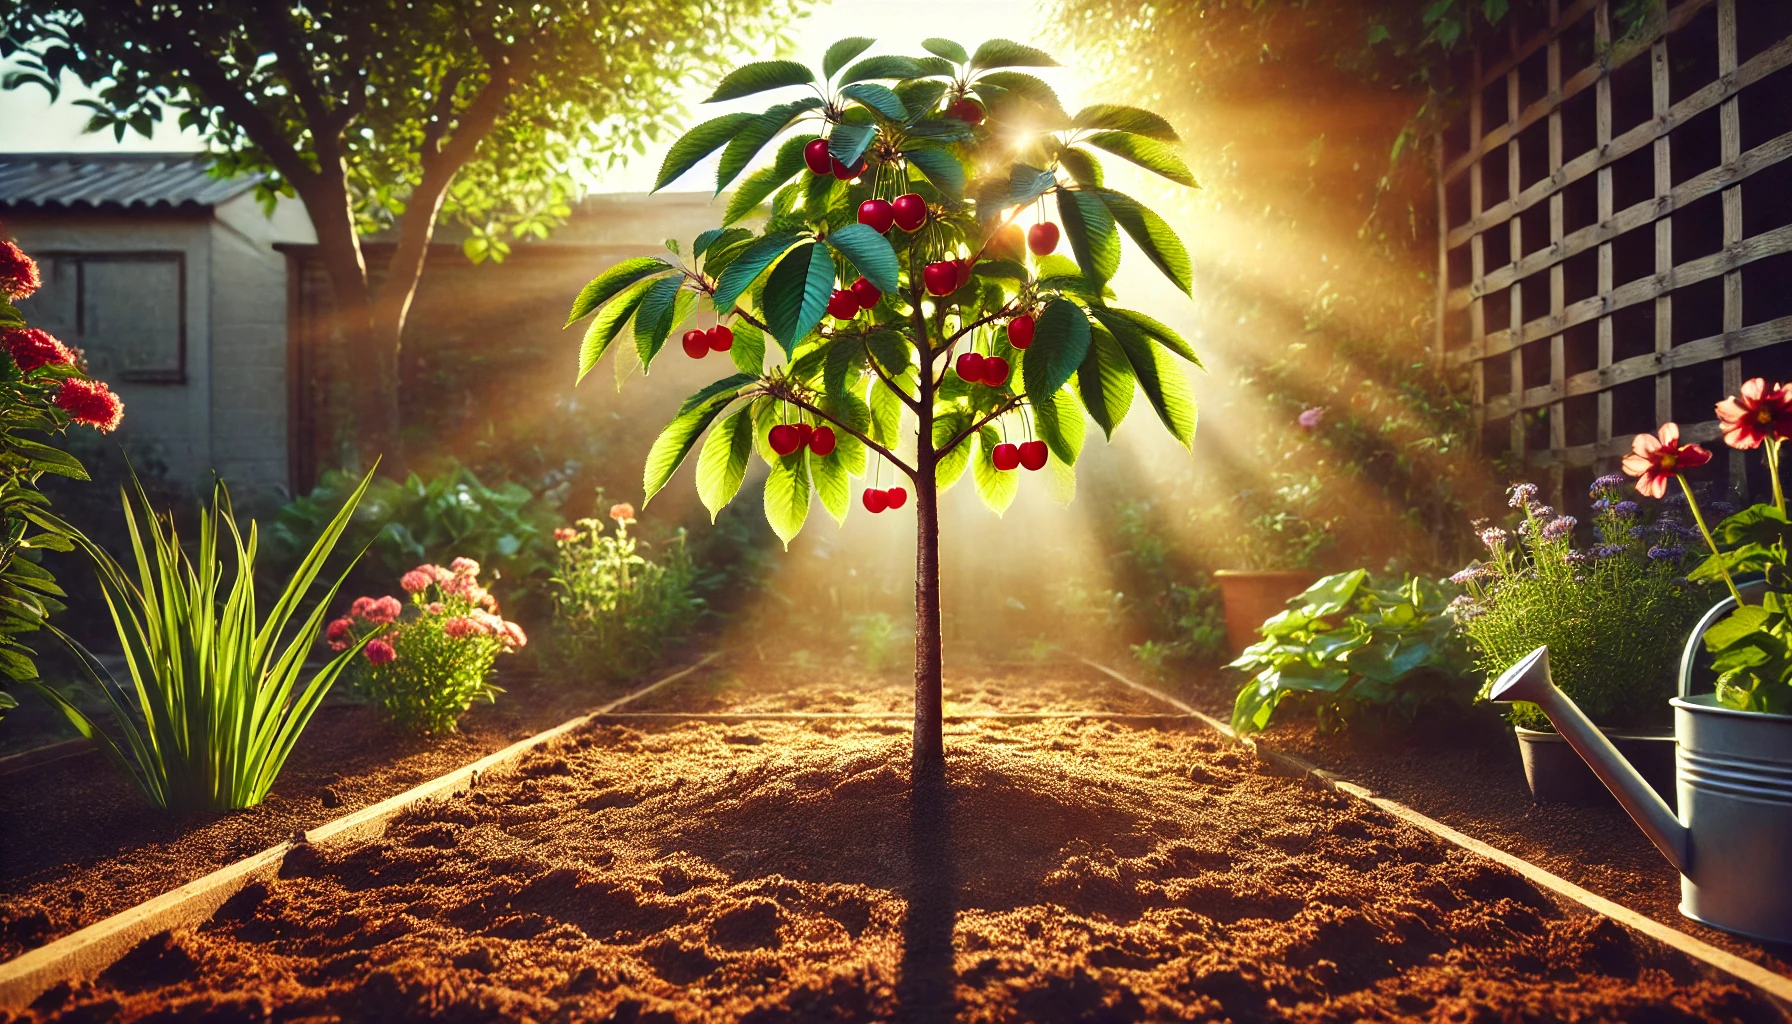
How to Plant Cherry Trees Step-by-Step
Planting cherry trees the right way sets the foundation for strong growth and juicy harvests. Follow this simple step-by-step guide to get started:
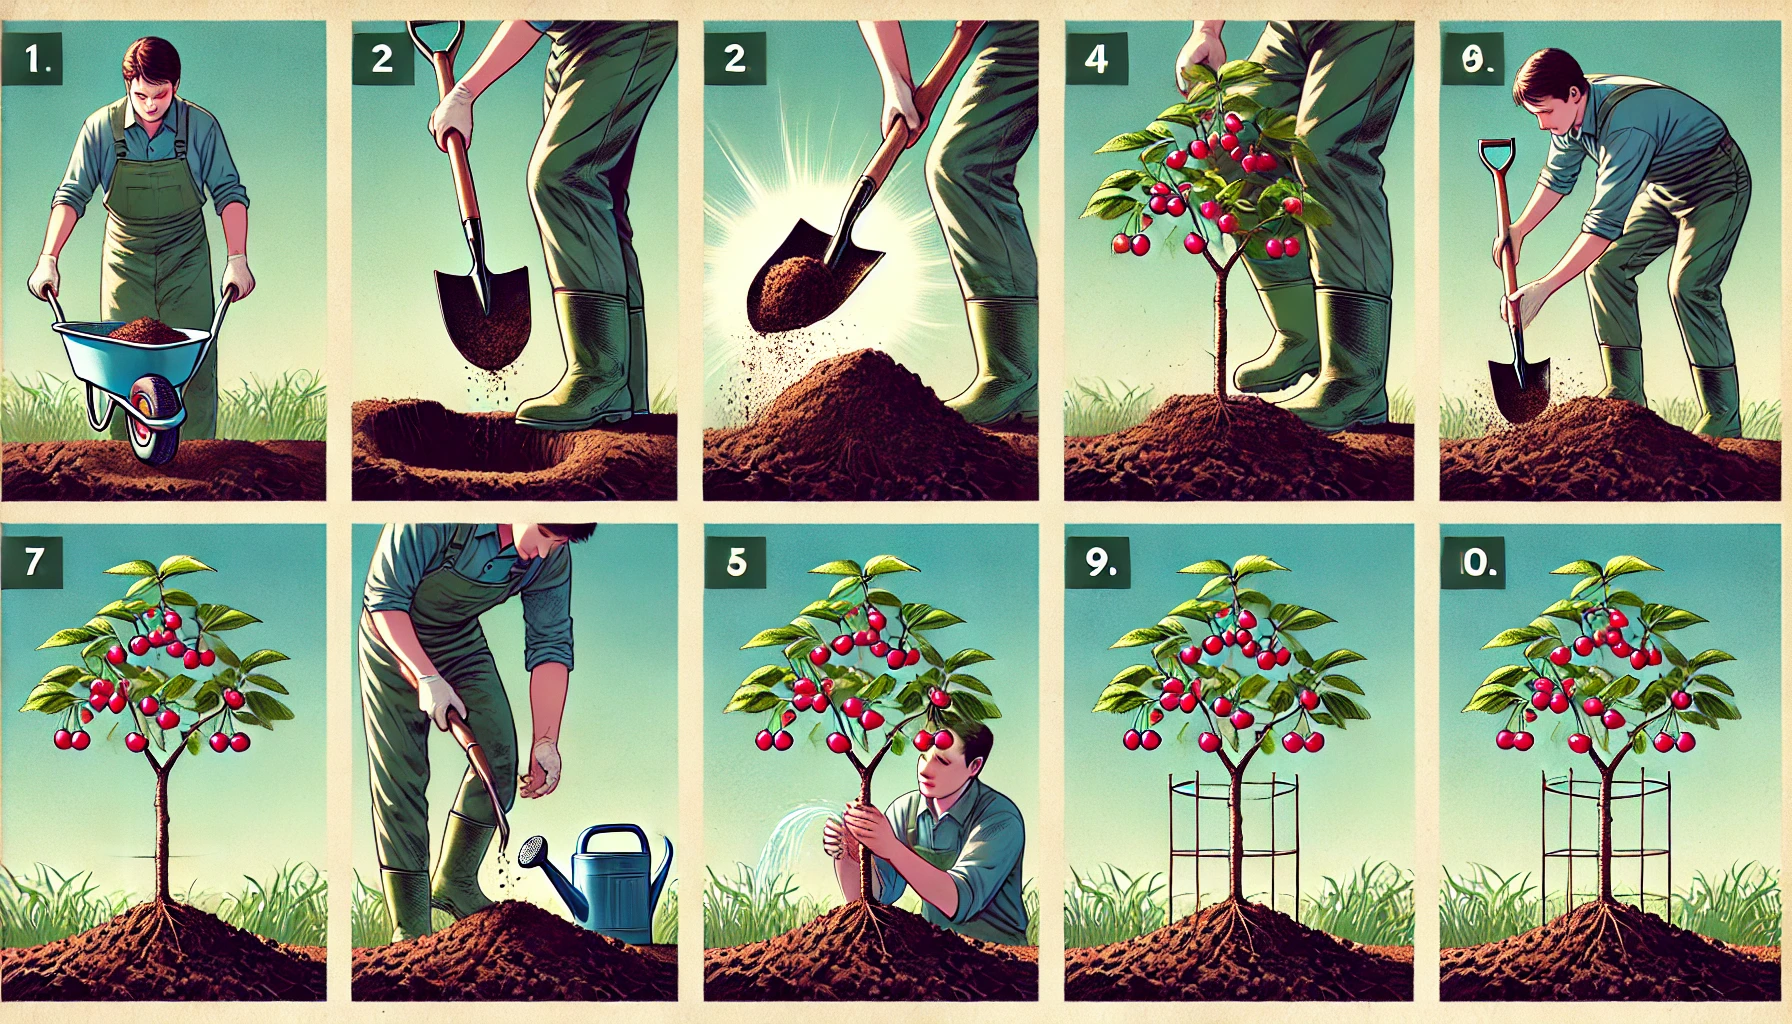
Step 1: Choose the Right Spot
Pick a sunny location that gets at least 6–8 hours of direct sunlight daily. Make sure the soil drains well — cherry trees don’t like wet roots!
 Step 2: Prepare the Soil
Loosen the soil 12–18 inches deep and mix in compost or organic matter. Ideal soil pH is between 6.0 and 6.8. A soil test can help you adjust if needed.
 Step 3: Dig the Planting Hole
Dig a hole twice as wide and as deep as the root ball. This gives roots room to spread and settle easily.
Step 4: Position the Tree
Place the cherry tree in the hole so that the graft union (a small bump near the base of the trunk) is 1–2 inches above soil level. This prevents rot and ensures proper growth.
 Step 5: Fill and Water
Backfill the hole with the soil you removed. Gently press it down to remove air pockets. Water deeply right after planting to help the roots settle.
Step 6: Mulch the Base
Add a 2–3 inch layer of mulch around the tree, keeping it a few inches away from the trunk. Mulch helps retain moisture and control weeds.
 Step 7: Protect Young Trees
Use a tree guard or fencing to protect against animals and wind damage. Cherry saplings can be vulnerable in their first year.
 Bonus Tip: Best Planting Time
Plant in early spring or fall when the tree is dormant. Avoid planting during extreme summer heat or winter frost.
Watering and Mulching for Healthy Growth
Keeping your plant properly watered and mulched is key to strong, vibrant growth. Here’s how to do it right:
Watering Tips for Healthy Roots
- Water deeply, not frequently: Give your plant a good soak so the water reaches deep roots. Shallow watering leads to weak root systems.
- Morning is best
 : Water early in the day to allow moisture to reach the roots before the sun evaporates it.
 - Check the soil first
 : Stick your finger 1–2 inches into the soil. If it feels dry, it’s time to water.
 - Avoid overwatering
 : Soggy soil can cause root rot. Ensure your plant’s container or ground has proper drainage.
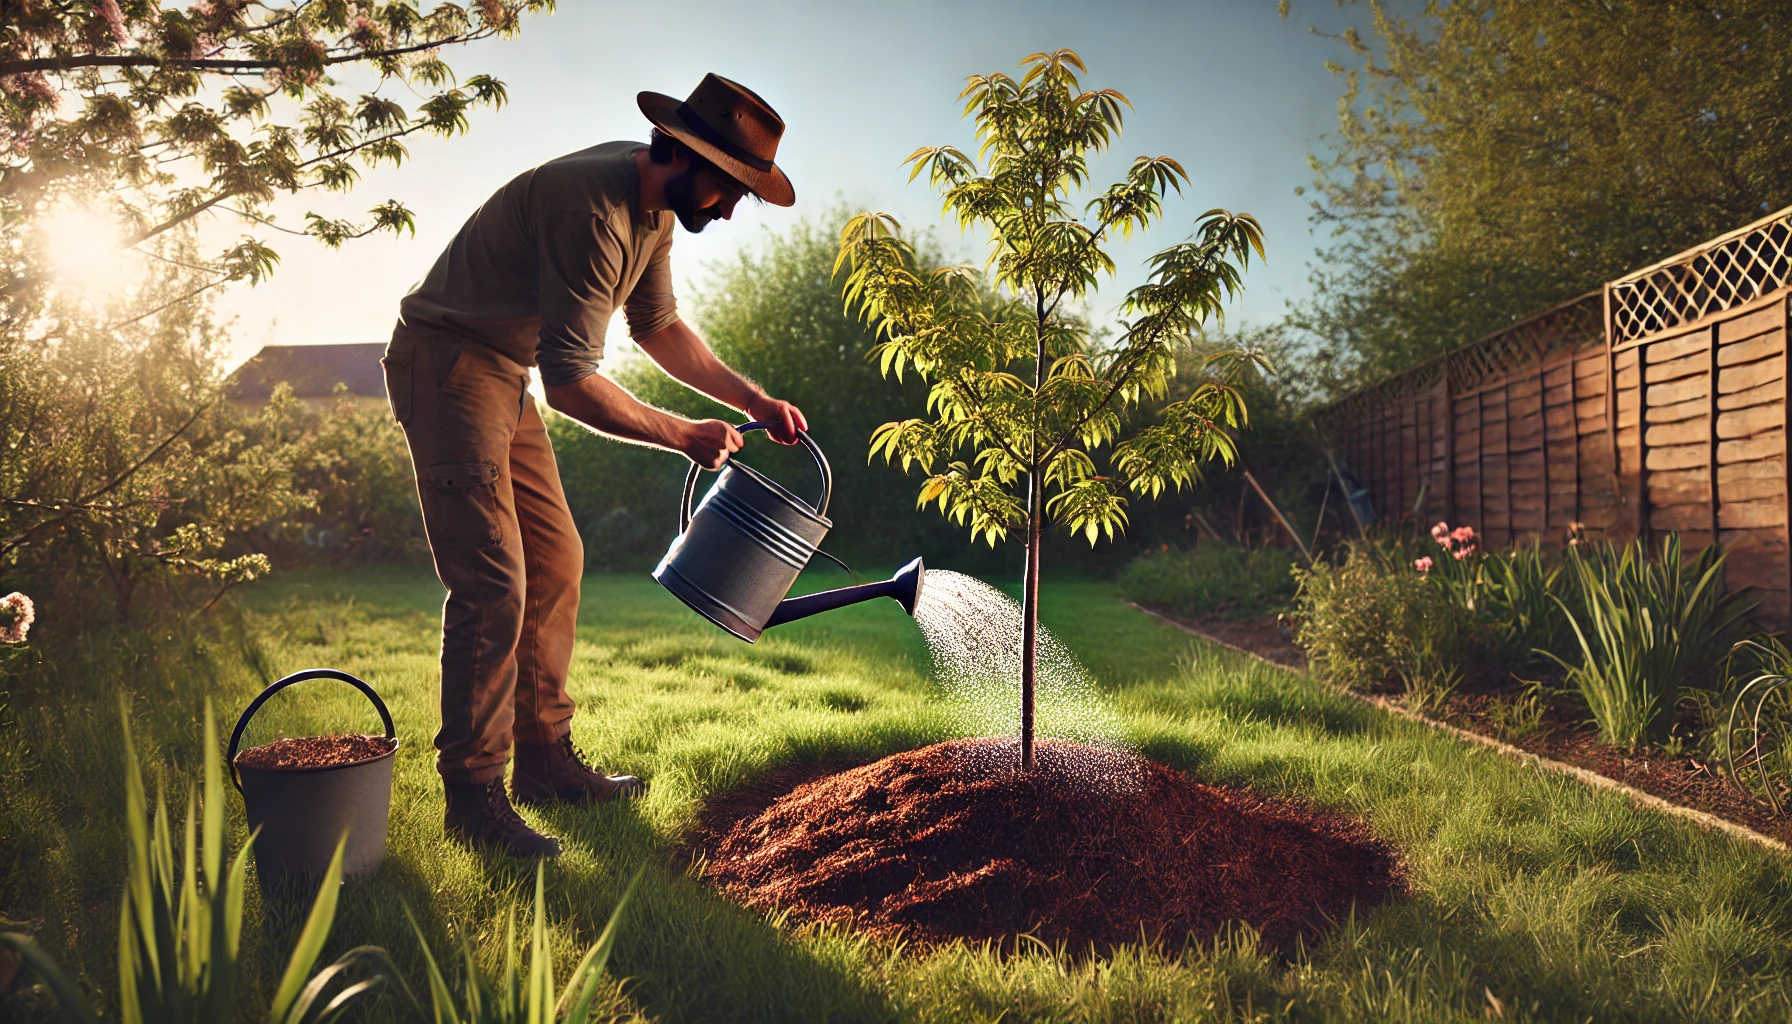
Mulching for Moisture and Health
- Add a 2–3 inch mulch layer: Use organic mulch like bark, straw, or compost. This helps lock in moisture and reduces the need for frequent watering.
- Mulch keeps weeds away
 : A good mulch barrier suppresses weed growth, giving your plant less competition.
 - Regulate soil temperature
 : Mulch keeps roots cooler in summer and warmer in winter.
Bonus Tip:
Refresh mulch every few months to maintain its effectiveness and keep your garden looking neat!
With the right balance of watering and mulching, your plant will thrive, grow strong, and stay healthy all season long. 
Pruning and Training Young Trees 
Proper pruning and training of young trees are key to growing strong, healthy, and well-shaped plants. Whether you’re planting a fruit tree or ornamental variety, the early years are crucial for setting a solid foundation.
Why Prune Young Trees? 
- Shape the tree early: It’s easier to guide a young tree than to fix problems later.
- Improve structure: Strong branch angles and spacing help prevent breakage.
- Promote airflow and sunlight: This reduces disease and encourages healthy growth.
- Remove weak or damaged limbs: Prevent energy loss and improve strength.
When to Start Pruning 
- Begin one year after planting (once the tree is established).
- Late winter or early spring is best—before new growth begins.
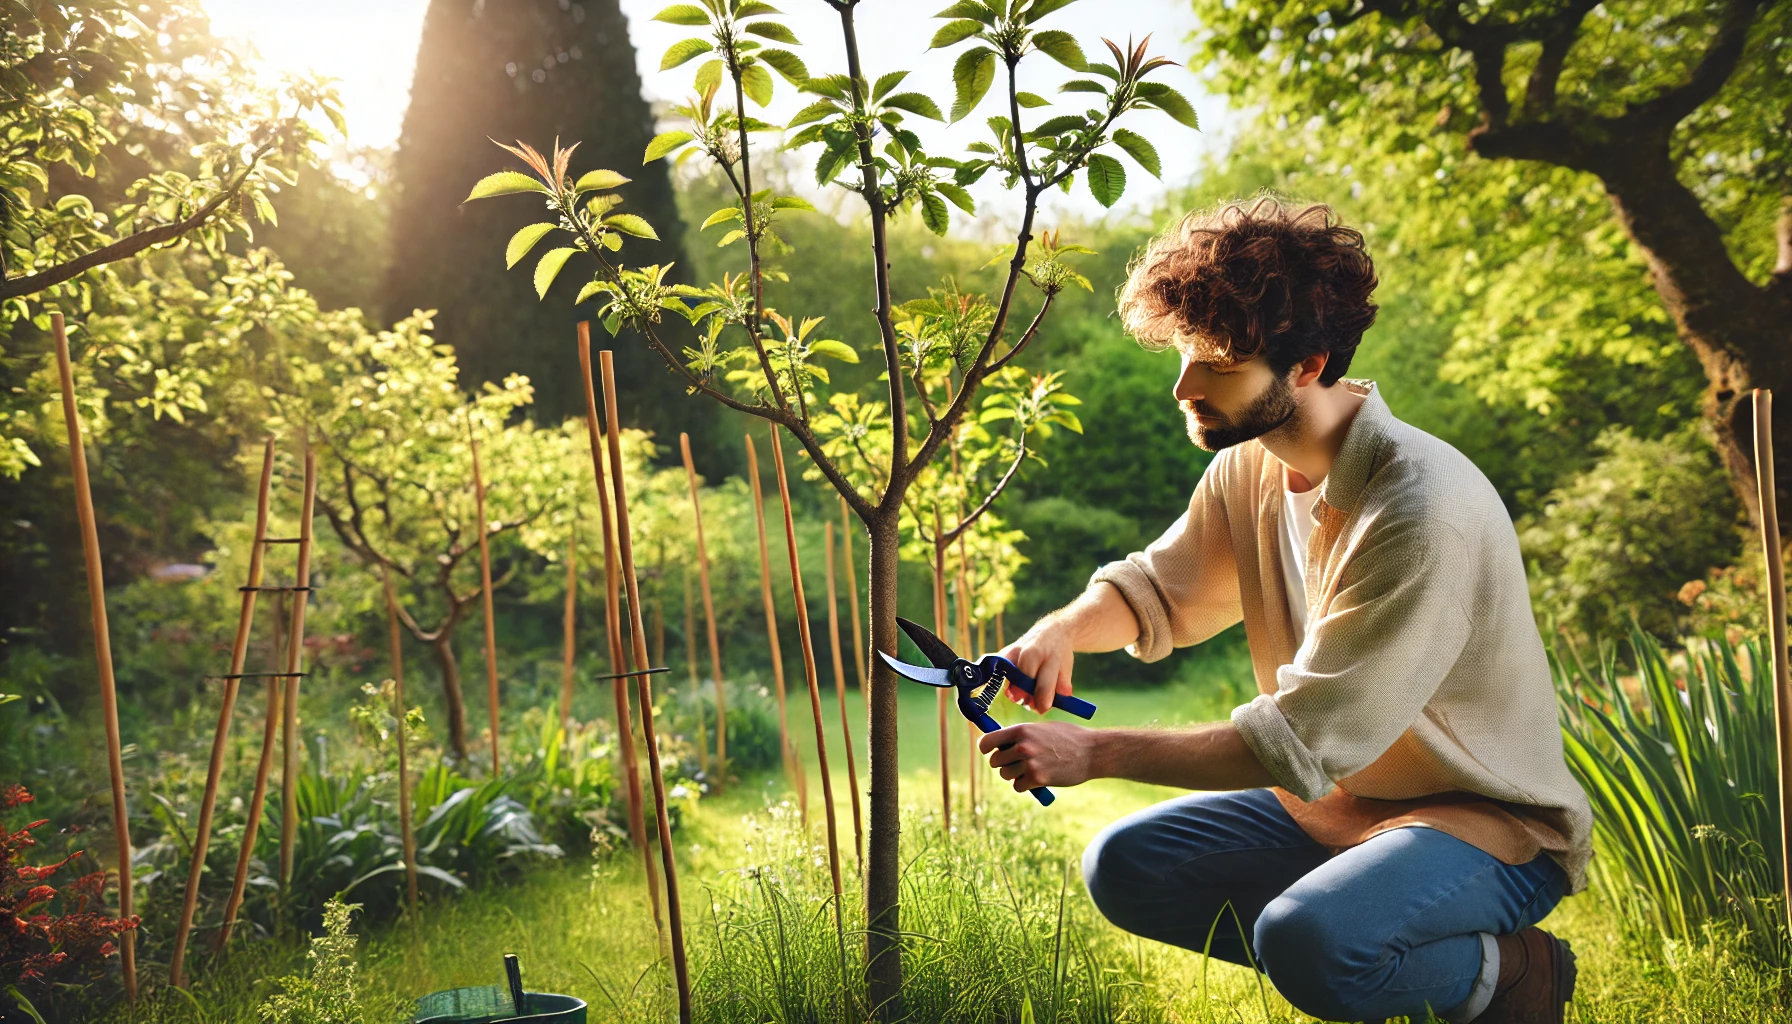
How to Prune Young Trees 
- Remove suckers: Cut off shoots growing from the base or roots.
- Trim competing leaders: Keep one strong central trunk.
- Thin crowded branches: Allow air and light to reach the center.
- Cut crossing or rubbing limbs: Prevent wounds and disease.
- Make clean cuts: Always prune just outside the branch collar.
Training Tips for Young Trees 
- Use stakes if needed: Support the tree in windy areas, but avoid over-reliance.
- Tie loosely: Give the tree room to sway and develop strength.
- Encourage balanced growth: Aim for an open, well-spaced canopy.
Quick Do’s and Don’ts
Do prune lightly and regularly.
Do use sharp, clean tools.
Don’t top your tree—it leads to weak growth.
Don’t remove more than 25% of the canopy at once.
Start early, prune wisely, and your young trees will reward you with strength, beauty, and long-lasting health!
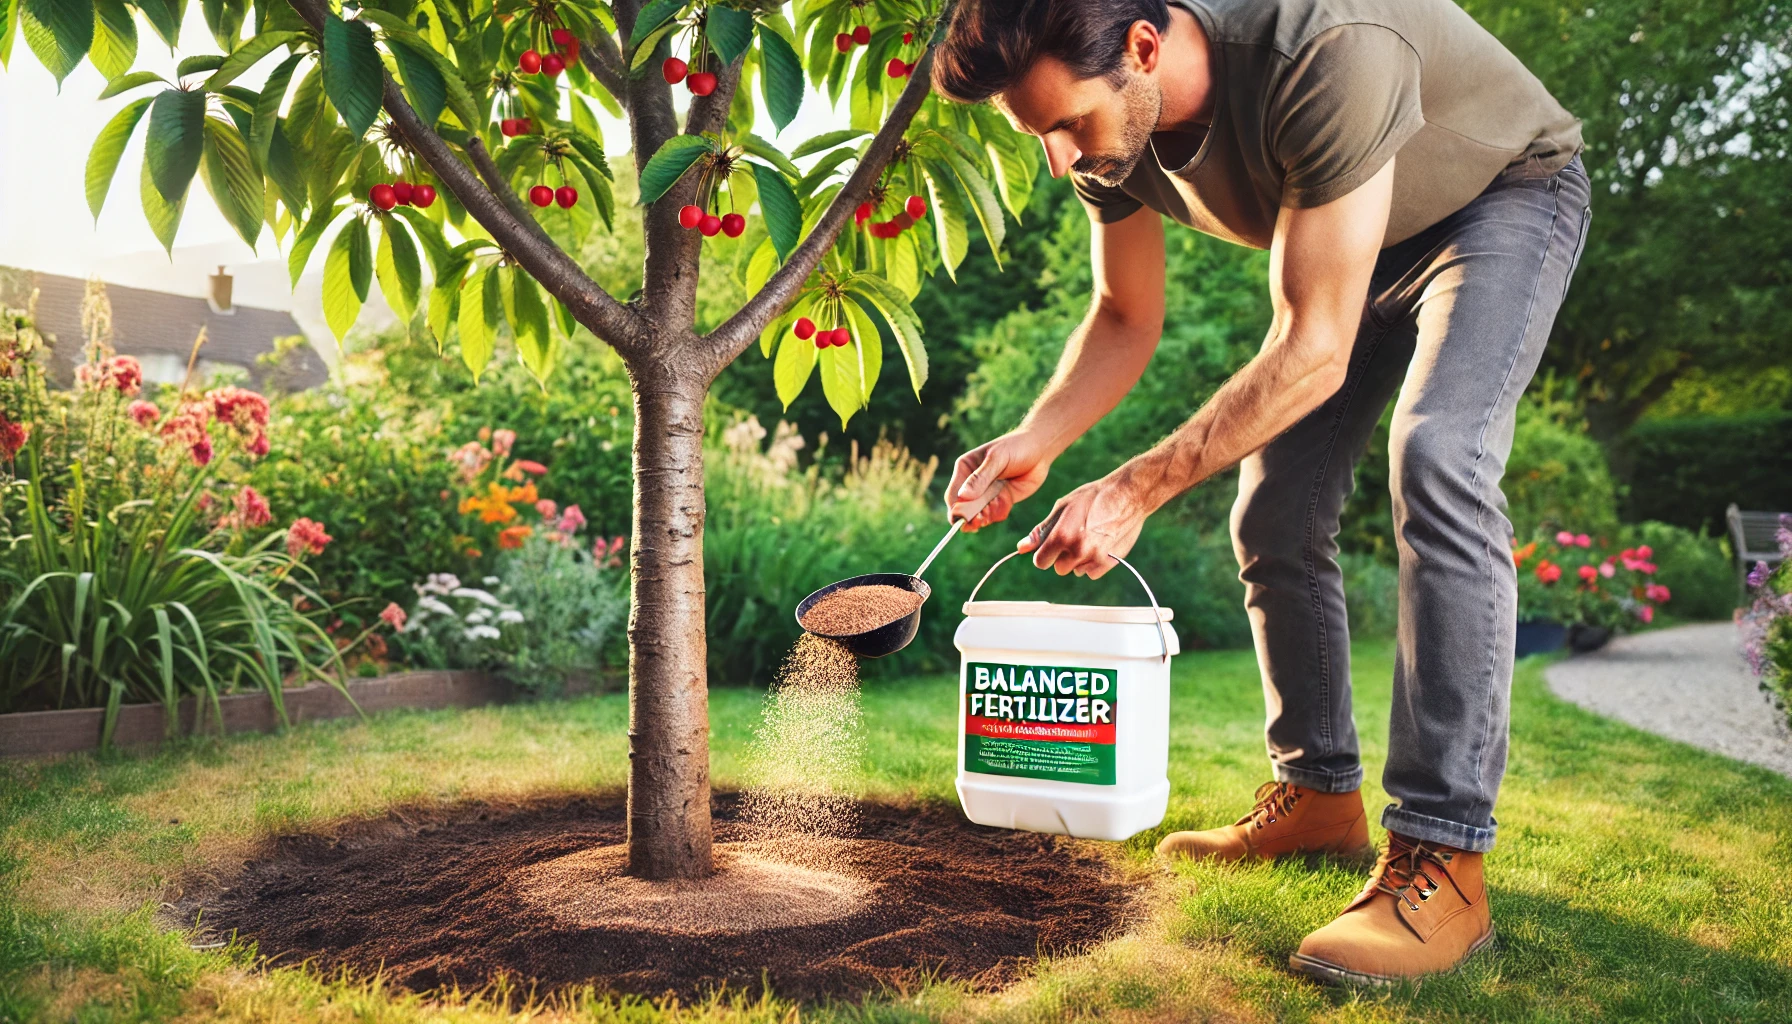
Fertilizing Cherry Trees the Right Way
Fertilizing cherry trees the right way is key to strong growth, healthy leaves, and sweet fruit. Here’s how to do it like a pro:
1. Know When to Fertilize
- Best time: Early spring, just before bud break.
- Avoid late fertilizing: Feeding too late (after July) can lead to weak growth and winter damage.
2. Pick the Right Fertilizer
- Use a balanced fertilizer like 10-10-10 (N-P-K).
- For fruit-heavy trees, you can choose low-nitrogen options to focus on fruit rather than leaves.
- Organic choices: compost, aged manure, or bone meal also work well.
3. How Much to Apply 
- A young tree (1–3 years): about 1/4 pound of nitrogen per year.
- Mature trees: around 1 pound of actual nitrogen per year.
- Always check your soil test first — too much fertilizer can do more harm than good!
4. Application Tips
- Spread it evenly under the canopy, staying 6–8 inches away from the trunk.
- Water it in well to help nutrients soak into the soil.
- Mulch lightly to hold moisture and protect the roots.
5. Signs of Over-Fertilizing
- Excessive leaf growth but few flowers or fruit
- Burnt leaf edges or yellowing
- Weak branches or pest problems
Keep it balanced, observe your tree, and adjust as needed. With the right care, your cherry tree will reward you with lush blooms and juicy harvests!
Pest and Disease Management Tips 
Proper pest and disease management is crucial to ensure your plants stay healthy and thrive. Here are practical tips to keep your garden pest- and disease-free:
- Regularly Inspect Your Plants
 : Check for early signs of pests or diseases. Look for discoloration, holes in leaves, or sticky residue. Catching issues early can save your plants from severe damage.
 - Use Organic Pesticides : Opt for natural solutions like neem oil or insecticidal soap. These are gentle on plants and safe for beneficial insects, like bees.

- Encourage Beneficial Insects : Ladybugs, predatory beetles, and lacewings can help control pests naturally. Attract them by planting a variety of flowers and herbs.
- Practice Crop Rotation
 : Avoid planting the same crops in the same spot year after year. This disrupts the life cycle of pests and reduces the spread of diseases.
 - Keep Your Garden Clean
 : Remove dead or diseased plants regularly. This prevents the spread of pathogens and pests to healthy plants.
 - Ensure Proper Air Circulation
 : Crowded plants can invite disease. Space your plants properly to allow airflow, which helps prevent fungal growth and mold.
 - Water Correctly : Overwatering can lead to root rot and fungal infections. Water at the base of the plant and ensure the soil drains well.
- Prune Damaged Leaves : Cut off leaves that are infected or infested to stop the problem from spreading. Always sterilize your tools before use.
By following these steps, you’ll minimize pest and disease risks, ensuring a healthier, more productive garden!
Boosting Yield Naturally
When it comes to increasing your garden’s yield, nature has plenty of tools to offer! By focusing on organic and sustainable practices, you can boost productivity without relying on harmful chemicals. Here are some expert tips to maximize your harvest:
1. Use Compost for Nutrient-Rich Soil
Composting is one of the best ways to improve soil health. Rich, well-draining soil encourages healthy root development and better plant growth. Simply add organic matter like kitchen scraps, yard waste, and plant trimmings to create nutrient-packed compost that nourishes your plants naturally.
2. Mulch to Conserve Moisture
Mulching helps retain moisture in the soil, preventing weeds and maintaining a stable environment for roots. Use organic mulch like straw, leaves, or grass clippings, which breaks down over time, enriching your soil and boosting plant growth.
3. Practice Companion Planting
Companion planting involves pairing plants that work well together, either by enhancing each other’s growth or deterring pests. For example, plant basil near tomatoes to enhance flavor and repel insects. This not only promotes a healthy ecosystem in your garden but also maximizes your yield.
4. Encourage Pollinators
Pollinators like bees and butterflies are essential for a fruitful garden. Planting flowers that attract pollinators and using natural pest control methods ensures that your crops thrive. Keep your garden diverse with plants that support these beneficial insects.
5. Crop Rotation for Healthier Soil 
Rotate your crops each season to prevent soil depletion and break pest cycles. Growing the same plants in the same spot year after year can lead to nutrient imbalances and an increased risk of pests and diseases. Rotation helps to restore soil health and increase your yield over time.
6. Natural Fertilizers for Sustainable Growth
Opt for organic fertilizers like fish emulsion, seaweed extract, or bone meal. These slow-release options provide steady nutrients to your plants without overwhelming them, ensuring stronger, healthier growth and higher yields.
Long-Term Care and Seasonal Maintenance
Maintaining a healthy and thriving plant requires consistent care throughout the year. Here’s how to ensure your plant stays strong, vibrant, and disease-free for the long haul.

1. Regular Watering
In the long run, consistent watering is key to plant health. Water your plant based on the season:
- Spring & Summer: Keep the soil moist but not soggy. Water deeply when the top inch of soil is dry.
- Fall & Winter: Reduce watering, allowing the soil to dry out a bit more between waterings to prevent root rot.
2. Fertilization
Feed your plant during its active growth period (spring and summer). Use a balanced, slow-release fertilizer to promote healthy roots and lush foliage. In fall and winter, cut back on fertilizing as the plant enters a dormant phase.
3. Pruning
Regular pruning encourages new growth and helps maintain the plant’s shape. Trim dead or yellowing leaves and spent flowers to prevent diseases. For most plants, pruning is best done in early spring or late fall when the plant is resting.
4. Pest and Disease Control 
Keep an eye out for common pests like aphids, spider mites, or fungal diseases. Treat problems promptly with eco-friendly solutions like neem oil or insecticidal soap. Regularly inspect the undersides of leaves and stems for signs of trouble.
5. Repotting 
As your plant grows, it may outgrow its pot. Repot every 1-2 years into a slightly larger container to ensure the roots have enough space to expand. Spring is the best time for repotting, as the plant is waking up from dormancy.
6. Mulching
Add a layer of mulch around the base of your plant to retain moisture, suppress weeds, and regulate soil temperature. This is especially helpful during hot summers and cold winters.
7. Protection During Winter 
For plants that are sensitive to cold, protect them from frost by bringing them indoors or using frost cloths. Avoid fertilizing during this time, as the plant’s growth slows.
Conclusion
Planting cherry trees for maximum yield and longevity isn’t just about choosing the right variety; it’s about providing the care and attention they need to thrive for years to come. By selecting the perfect site, preparing the soil properly, and following expert tips for watering, pruning, and pest management, you’ll be on your way to enjoying bountiful harvests of sweet, delicious cherries.

Remember, patience is key—cherry trees take time to establish, but with consistent care, you’ll be rewarded with healthy trees that provide beauty and fruit for generations. Whether you’re a seasoned gardener or a beginner, these steps will help you plant cherry trees that thrive, ensuring you get the most out of your investment for maximum yield and longevity. Happy planting, and may your cherry tree journey be fruitful!