
It’s a chilly February evening. You’ve just unboxed a fresh packet of tomato 🍅 or zinnia 🌼 seeds, heart full of spring dreams. But last year? Your seedlings came up leggy, weak, or never showed up at all. Sound familiar?
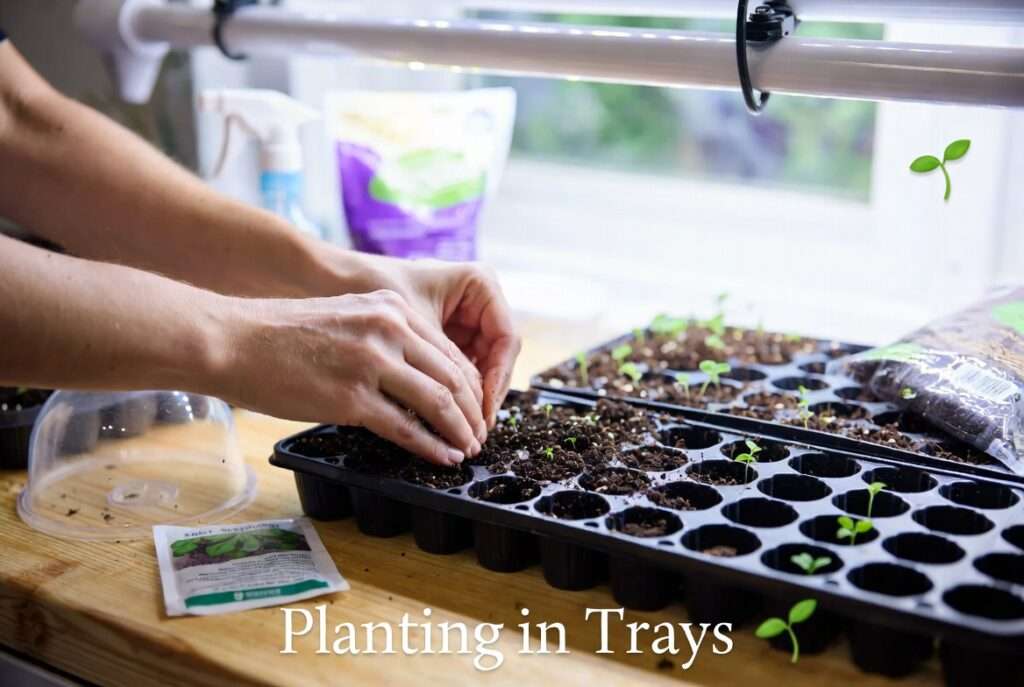
The game-changer most successful gardeners swear by is planting in trays — the simple, space-saving, beginner-friendly method that gives tiny seeds the perfect controlled environment to sprout strong and thrive.
In this ultimate 2,900+ word skyscraper guide, you’ll discover the exact step-by-step process for planting in trays, the best trays and soil mixes, lighting and watering secrets, common mistakes to avoid, and pro tips that deliver 90%+ germination rates even for first-timers. Whether you’re starting vegetables, herbs, or flowers on a balcony or in a sunny windowsill, this guide solves your biggest seed-starting headaches and turns “maybe next year” into “look at my lush seedlings!” 🌿
By the end you’ll have a clear 30-day action plan plus a free downloadable checklist. Ready to grow like a pro? Let’s get those trays planted!
1. Why Planting in Trays Beats Every Other Seed-Starting Method 🌿
1.1 The Real Benefits for Home Gardeners
Planting in trays gives you total control over temperature, moisture, and light — something direct sowing in the garden simply can’t match. You’ll enjoy:
- Higher germination rates (often 80-95% vs. 30-50% outdoors)
- Space-saving — one tray fits on a shelf or windowsill
- Stronger seedlings ready for transplant in 4-8 weeks
- Cost savings — one $8 tray can produce dozens of plants worth $50+ at the nursery
As a certified horticulturist with 18+ years helping beginners master indoor seed starting, I’ve seen these benefits transform countless struggling gardeners into confident growers.
1.2 When to Start Seeds Indoors vs. Direct Sowing
Use this simple rule: start cool-season crops (lettuce, broccoli) 6-8 weeks before last frost; warm-season crops (tomatoes, peppers) 8-10 weeks before. Check your USDA zone for exact timing.
1.3 Science Behind Successful Seed Starting
Seeds need three things to germinate: moisture, oxygen, and the right temperature. Planting in trays creates the ideal microclimate so every seed gets exactly what it needs.
2. Choosing the Right Trays & Supplies for Planting in Trays 🪴
2.1 Types of Seed Trays Explained
- 72-cell or 128-cell trays: Perfect for most vegetables and flowers
- Open flats: Great for microgreens or easy thinning
- Biodegradable peat trays: Eco-friendly but can dry out faster
- Self-watering trays: Ideal for busy beginners
2.2 Must-Have Tools & Accessories
Shopping list: seed-starting mix, labels, spray bottle, humidity dome, grow lights, and a heat mat (optional but magical). Budget version under $30, pro setup around $80.
2.3 Where to Buy Quality Supplies
Stick with proven brands like Bootstrap Farmer or Burpee. Avoid super-cheap trays that warp or harbor mold.
3. The Perfect Soil Mix for Planting in Trays (Never Use Garden Soil!) 🪨
3.1 Why Seed-Starting Mix Matters
Garden soil is too heavy, may contain diseases, and compacts easily — leading to damping-off and poor root growth.
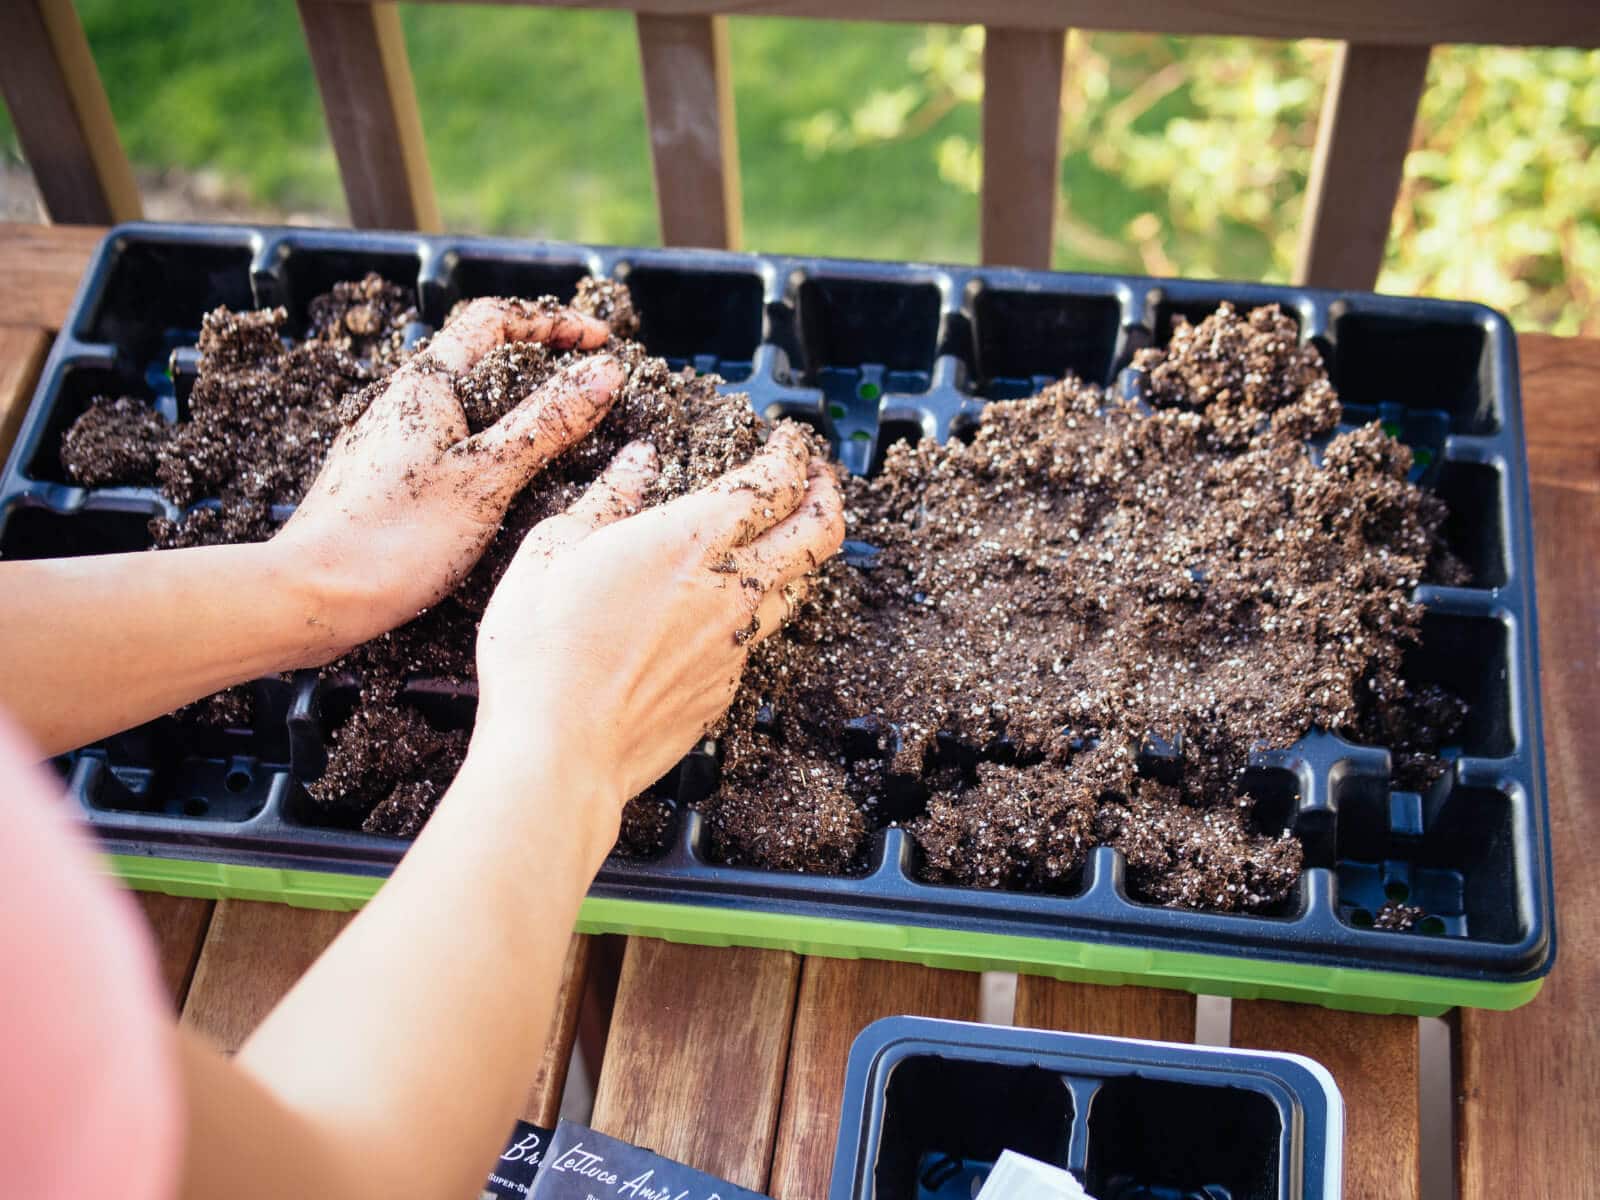
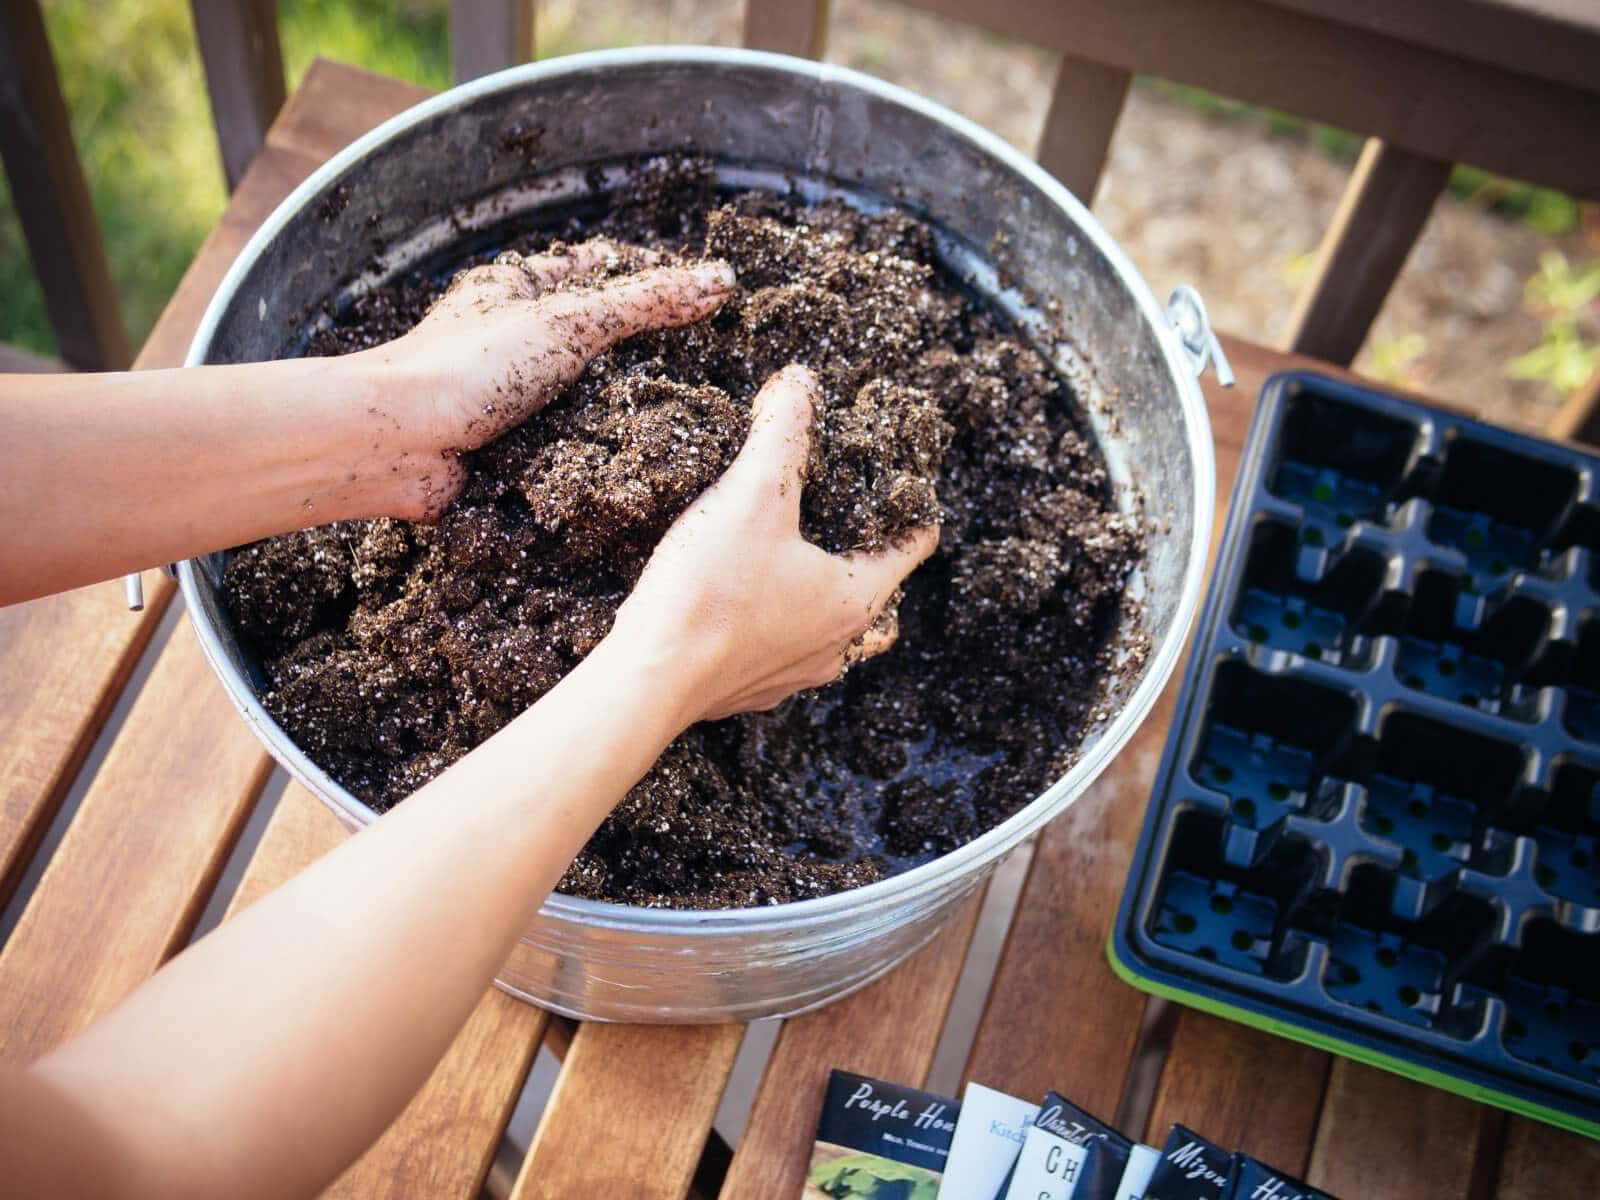
3.2 Easy DIY Soil Recipe
My go-to mix (makes enough for 4 trays):
- 50% coco coir or peat moss
- 30% perlite
- 20% vermiculite + a handful of compost Mix thoroughly and moisten until it feels like a wrung-out sponge.
3.3 Best Commercial Mixes Compared
| Mix | Pros | Cons | Best For |
|---|---|---|---|
| Espoma Seed Starter | Lightweight, sterile | Slightly pricier | Beginners |
| FoxFarm Light Warrior | Excellent drainage | Needs more perlite | Veggies & herbs |
| DIY Mix | Cheapest long-term | Takes 5 minutes to make | Budget gardeners |
4. Step-by-Step Guide: How to Do Planting in Trays Like a Pro
4.1 Preparing Your Trays & Seeds
Clean trays with 10% bleach solution. Soak large seeds (peas, beans) overnight. Label everything!
4.2 Exact Planting Depth & Spacing
Rule of thumb: plant seeds twice as deep as their width. Quick chart:
- Tomatoes/peppers: ¼ inch deep, 2 seeds per cell
- Lettuce/herbs: surface-sow, barely cover
- Flowers: follow packet (most ⅛–¼ inch)
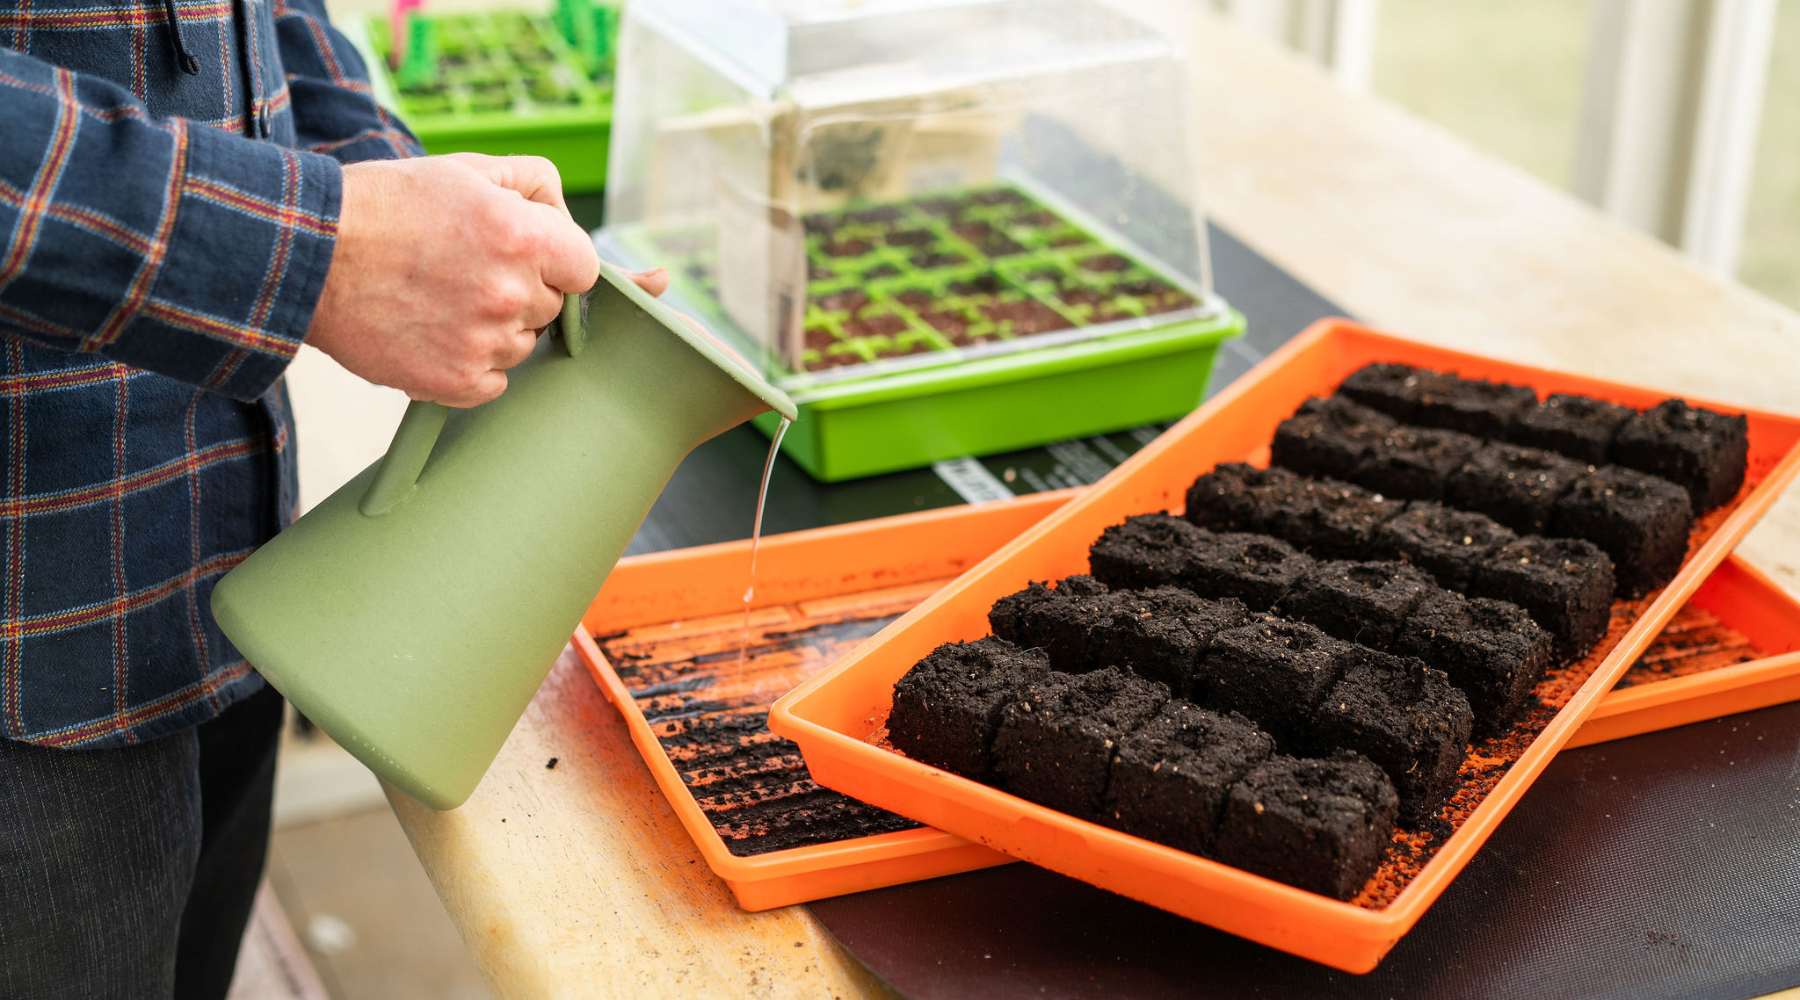
4.3 Watering & Covering Techniques
Bottom watering is king — it prevents mold and damping-off. Fill the tray base with ½ inch water and let soil soak it up. Cover with a clear humidity dome until sprouts appear.
4.4 Ideal Temperature & Light Setup
Germination sweet spot: 70–80°F (use a heat mat if needed). Once sprouted, move under full-spectrum grow lights for 14–16 hours daily, 2–4 inches above seedlings.

5. Daily Care Routine After Planting in Trays 🌞
5.1 Watering Schedule That Prevents Damping-Off
Keep soil moist but never soggy. Bottom water every 2–3 days once the dome comes off.
5.2 Lighting & Rotation Tips
Rotate trays daily so seedlings grow straight.
5.3 Thinning Seedlings the Right Way
When true leaves appear, snip the weakest seedlings at soil level. Keep the strongest one per cell.

6. Common Mistakes in Planting in Trays (And How to Fix Them) ❌
- Using garden soil → Switch to sterile mix
- Overwatering → Bottom water only
- Insufficient light → Leggy seedlings (add grow lights ASAP)
- Skipping labels → Chaos at transplant time
- Forgetting to harden off → Shocked plants
Avoid these and you’ll skip 90% of beginner frustration!
7. Transplanting Seedlings from Trays to Pots or Garden 🏡
7.1 When & How to Harden Off
7–10 days before transplant: move trays outside for increasing hours each day. Start in shade, end in full sun.
7.2 Gentle Transplanting Technique
Water tray well, gently pop out seedlings by pushing from the bottom. Plant at same depth, water deeply.
7.3 Post-Transplant Care
Shade for 3–5 days, mulch, and water consistently.
8. Advanced Tips & Pro Secrets for 90%+ Success Rate 🌟
After helping hundreds of gardeners through their first successful seed-starting season, I’ve collected these game-changing techniques that separate good results from outstanding ones.
8.1 Bottom Heat Mats & Grow Lights Hacks
A seedling heat mat can cut germination time by 3–7 days and dramatically improve rates for warm-season crops like peppers and eggplants. Place the tray directly on the mat and keep soil temperature around 75–80°F (24–27°C).
For lighting, invest in full-spectrum LED grow lights (6500K color temperature). Position lights just 2–4 inches above the seedlings and run them for 14–16 hours daily. A simple timer makes this effortless. Pro hack: Use a reflective mylar sheet or white walls to bounce light back onto the plants for even growth.
8.2 Organic Fertilizer Timing
Seedlings don’t need fertilizer for the first 2–3 weeks while they live off the seed’s stored energy. Once the first set of true leaves appears, start with a very dilute organic fertilizer — I recommend fish emulsion or liquid kelp at ¼ strength every 7–10 days. Over-fertilizing is one of the fastest ways to burn tender roots, so less is always more at this stage.
8.3 Companion Planting in Trays
Save space and naturally protect your seedlings by planting compatible companions in the same tray. Marigolds with tomatoes help deter aphids later in the season. Basil and peppers grow beautifully together. Just keep similar germination times and light needs in mind when pairing.
8.4 Seasonal & Climate-Specific Adjustments
- Hot climates (USDA zones 8–11): Start seeds earlier indoors to beat the intense summer heat. Use extra perlite in the mix for better drainage.
- Cold climates (zones 3–6): Rely heavily on grow lights and heat mats. Consider starting brassicas and lettuce even earlier.
- Humid areas: Improve airflow with a small fan on low to prevent fungal issues.
- Dry regions: Add a humidity dome for longer and mist lightly if edges start drying.
These small adjustments tailored to your local conditions can boost success from “pretty good” to “wow, everything came up!”
9. Real-Life Success Stories & Beginner Case Studies 🌱
Nothing builds confidence like seeing real people just like you succeed with planting in trays.
Urban Balcony Victory – Sarah from Dhaka Living in a small apartment with only a sunny balcony, Sarah thought gardening was impossible. Using 72-cell trays and the DIY soil mix from this guide, she started tomatoes, chilies, and marigolds. Within 6 weeks she had 42 strong seedlings ready for pots. Her first harvest gave her fresh tomatoes for 4 months straight — all from a space smaller than a dining table!
First-Time Vegetable Gardener – Rahul’s Story Rahul had never grown anything before. He followed the step-by-step planting in trays method exactly, including bottom watering and proper lighting. His lettuce and spinach trays produced enough greens for his family of four for weeks. “I went from killing every plant to feeling like a pro,” he shared. The key? Thinning early and hardening off properly.
Flower Enthusiast Glow-Up – Priya’s Zinnia Success Priya wanted cut flowers for her home. Her first attempt with direct sowing failed completely. After switching to planting in trays with a humidity dome and consistent grow lights, every single zinnia seed germinated. She ended up with dozens of vibrant blooms that lasted all summer and brought joy to her entire neighborhood.
These stories prove that with the right technique, anyone — regardless of experience or space — can master planting in trays and enjoy a thriving garden. Your success story could be next!
10. Frequently Asked Questions (FAQs) ❓
How deep should I plant seeds when planting in trays? The golden rule is twice the width of the seed. Tiny seeds like lettuce can be surface-sown and barely covered with a light dusting of mix, while larger seeds like beans go about ½ inch deep.
Can I reuse seed trays year after year? Absolutely! Wash them thoroughly with a 10% bleach solution (1 part bleach to 9 parts water), rinse well, and let them dry completely in the sun. This prevents disease carryover.
What should I do if my seedlings become leggy? Leggy seedlings are crying for more light. Move them closer to stronger grow lights immediately and lower the temperature slightly (65–70°F during the day). Good lighting from the start prevents this problem entirely.
Which trays are best for tomatoes and peppers? 72-cell plastic trays with a matching humidity dome work wonderfully. They give each plant enough root space while still being efficient.
How long after planting in trays can I transplant outdoors? Most vegetables are ready in 4–8 weeks. Wait until seedlings have 2–4 true leaves and all danger of frost has passed. Always harden them off first.
Do I need a heat mat for every type of seed? Not necessary for cool-season crops like lettuce or kale, but highly recommended for tomatoes, peppers, eggplant, and many flowers.
Is it okay to use tap water for watering seedlings? Yes, but let it sit out overnight so chlorine can evaporate. Rainwater or distilled water is even better if you have it.
11. Conclusion & Your 30-Day Seed-Starting Action Plan
Planting in trays is truly the smartest, most reliable way for beginners to get a massive head start on a beautiful, productive garden. You no longer have to rely on expensive nursery seedlings or disappointing direct sowing results.
With the complete system you’ve just learned — from choosing the right trays and perfect soil mix to daily care, transplanting, and advanced pro tips — you now hold everything needed for consistent success.
Your Simple 30-Day Action Plan
- Days 1–2: Gather supplies and prepare your soil mix
- Day 3: Plant your first tray using the step-by-step method
- Days 4–21: Follow the daily care routine (watering, lighting, monitoring)
- Week 4: Begin hardening off your healthy seedlings
- Week 5–6: Transplant into pots or garden beds with confidence
Download the free printable checklist from the resources section below to keep everything organized.
Your garden is waiting — lush green seedlings, vibrant flowers, and homegrown vegetables are closer than you think. Start your first tray this weekend and watch the magic happen! 🌱
Share your planting in trays journey in the comments. Which seeds are you starting first? I personally reply to every comment and love celebrating your wins with you.


