
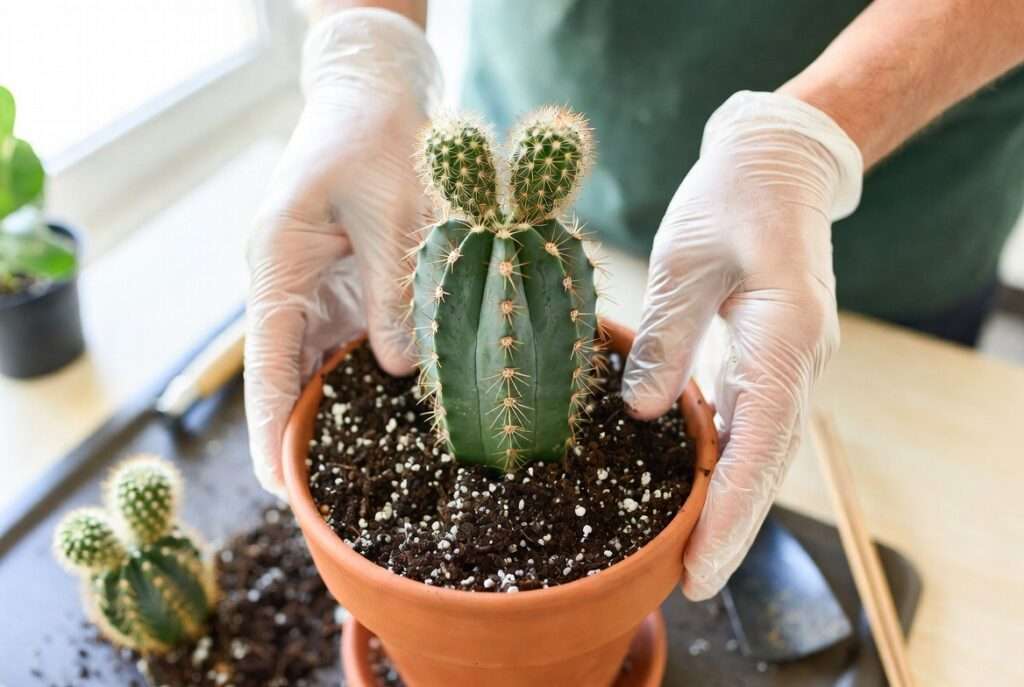
Imagine your favorite cactus sitting sadly in the same pot for years — its vibrant green color fading, growth stalled, and roots desperately circling for space. You’re not alone. Many plant lovers hesitate when it comes to repotting cactus plants, worried about their spines, delicate roots, or triggering rot. The good news? With the right technique, repotting cactus plants is straightforward, rewarding, and one of the best things you can do for their long-term health and beauty.
As a plant care specialist with over 12 years of hands-on experience growing and nurturing hundreds of cactus species — from hardy barrel cacti to delicate holiday varieties — I’ve perfected the art of successful repotting. This comprehensive guide will walk you through everything you need to know, from timing and tools to expert soil recipes and troubleshooting. By the end, you’ll feel confident giving your cacti the fresh start they deserve for stronger roots and thriving growth. Let’s dig in! 🌱
Why Repotting Cactus Plants Matters for Their Longevity
Repotting cactus plants isn’t just about aesthetics — it’s a vital part of proper cactus care that directly impacts their survival and vitality. In their natural arid environments, cacti have evolved to thrive in well-draining, nutrient-appropriate conditions. Over time, however, the soil in containers breaks down, loses aeration, and becomes compacted, restricting root expansion and nutrient absorption.
Key benefits of timely repotting include:
- Improved root health: Fresh soil provides better oxygen flow and prevents root-binding, where roots choke themselves in a too-small space.
- Better drainage and reduced rot risk: Old soil often retains too much moisture, leading to dreaded root rot — a common killer of indoor cacti.
- Enhanced growth and flowering: Healthy roots mean more energy for new pads, offsets (pups), and even blooms in many species.
- Prevention of nutrient deficiencies: Over time, minerals leach out or build up as salts, stressing your plants. 🌵
Signs Your Cactus Needs Repotting Look for these clear indicators:
- Roots emerging from the bottom drainage holes or circling visibly when you gently lift the plant.
- Slowed or completely stalled growth during the active season.
- Soil that dries out extremely quickly (within a day) or stays wet for days.
- The plant becoming top-heavy and unstable.
- White crusty buildup on the soil surface (mineral salts).
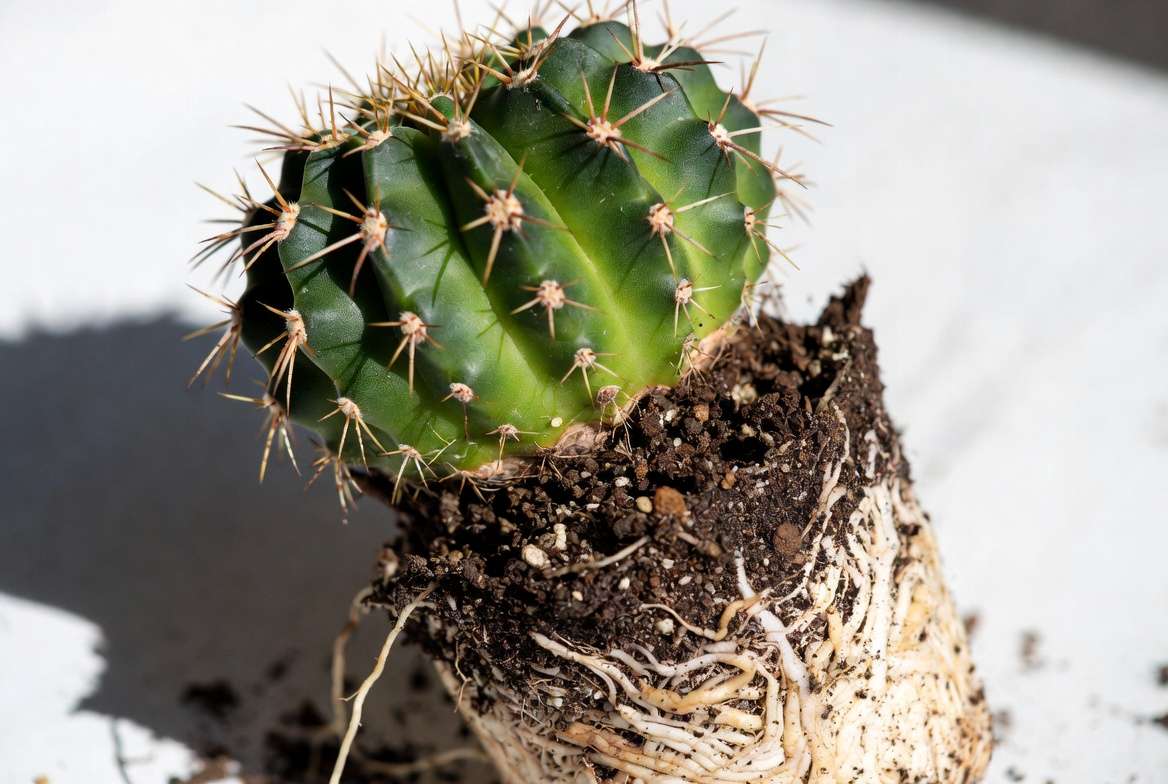
In my experience, most cacti benefit from repotting every 2–4 years, depending on their growth rate and pot size. Ignoring these signs often leads to weak, etiolated (stretched) plants that struggle to recover.
When Is the Best Time for Repotting Cactus Plants?
Timing is everything in cactus care. The ideal window for repotting cactus plants is during their active growing season — typically spring through early summer. This allows the plant to quickly establish in its new home before the cooler, dormant months arrive.
Avoid repotting during:
- Winter dormancy (most desert cacti slow down dramatically).
- Extreme heat waves or right after a major temperature shift.
- When the plant is flowering or producing new buds.
Species-Specific Timing Tips
- Desert cacti (like Echinocactus or Ferocactus): Late spring is perfect.
- Forest/Christmas cacti (Schlumbergera): Early spring or right after blooming.
- Young or fast-growing varieties may need annual repotting, while mature specimens can go longer. ⏰
Pro tip: Check your local climate. In warmer zones, you may have a longer repotting window.
Essential Tools and Materials You’ll Need
Gathering the right supplies before starting makes repotting cactus plants smooth and stress-free for both you and your plant.
Must-Have Items:
- Protective gear: Thick gardening gloves, newspaper, or folded towels to handle spiny varieties safely. 🛡️
- Pots: New terracotta or ceramic pots with excellent drainage holes. Terracotta is often best as it wicks away excess moisture.
- Cactus soil mix (more on this below).
- Tools: Sterilized sharp knife or scissors, chopsticks or a wooden dowel for settling soil, and tongs for prickly species.
- Extras: Perlite, pumice, coarse sand, activated charcoal, and a watering can with a gentle spout.
Invest in quality materials once, and they’ll serve you for years. I recommend avoiding cheap plastic nursery pots long-term, as they can retain too much heat and moisture.
Choosing the Right Pot for Your Cactus
Selecting the correct pot is crucial for preventing common issues like overwatering. Choose a pot only 1–2 inches larger in diameter than the current one. Going too big can lead to excess soil that stays wet and causes rot.
Material Comparison:
| Material | Pros | Cons | Best For |
|---|---|---|---|
| Terracotta | Excellent airflow, wicks moisture | Can dry out faster, heavier | Most desert cacti |
| Plastic | Lightweight, retains moisture evenly | Less breathable | Young or moisture-loving varieties |
| Glazed Ceramic | Beautiful, decorative | Can be expensive, less breathable | Indoor display plants |
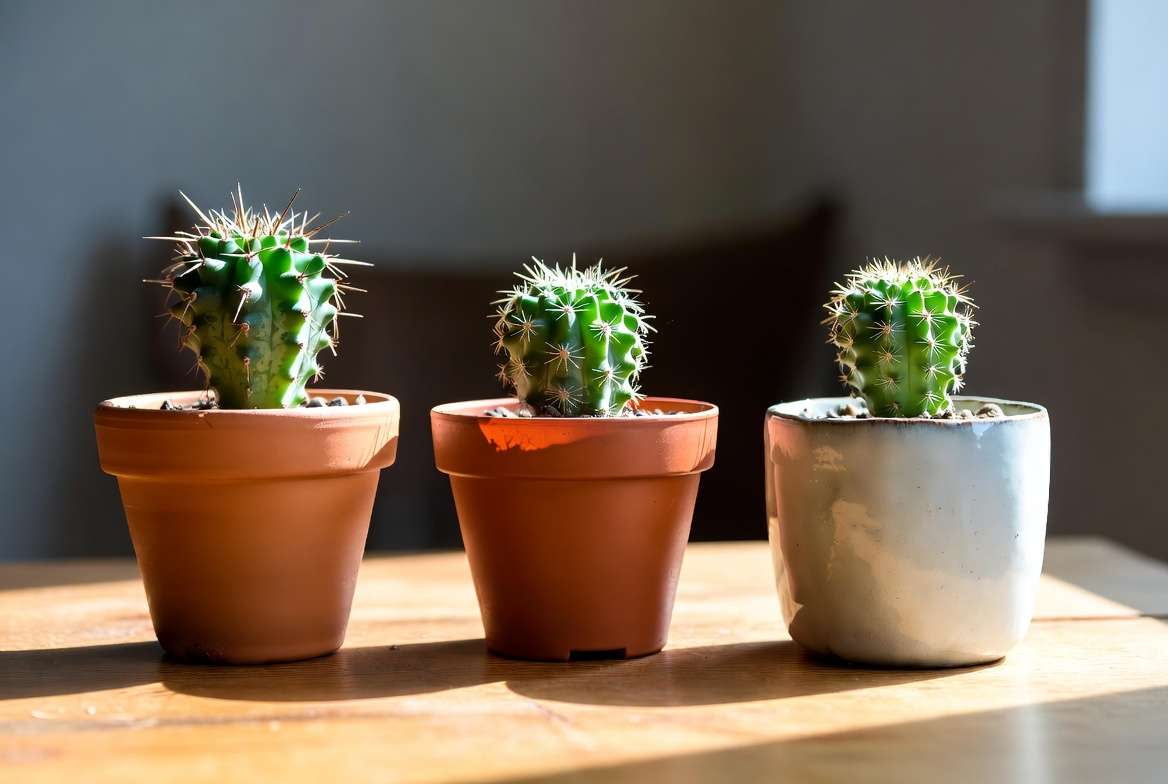
Always ensure multiple drainage holes. If your decorative pot lacks them, use it as a cachepot (outer pot) with a functional inner pot.
The Perfect Soil Mix for Repotting Cactus Plants
Standard potting soil is a big no-no for cacti. They need a fast-draining, gritty mix that mimics their native rocky, sandy habitats.
My Expert DIY Cactus Soil Recipe (makes enough for several plants):
- 50% high-quality cactus/succulent mix (or plain potting soil as base)
- 20% perlite or pumice
- 20% coarse sand or gravel
- 10% activated charcoal or small orchid bark
Variations by Type:
- Extra gritty for barrel and columnar cacti.
- Slightly more organic for epiphytic/forest cacti like Christmas cactus.
Mix thoroughly and let it sit for a day before using. This recipe has helped my collection thrive even in humid climates. Test drainage by watering a sample — it should drain completely within minutes. 🌱
Step-by-Step Guide to Repotting Cactus Plants
Here’s the heart of the guide — a foolproof, detailed process refined through years of trial and error.
Step 1: Prepare Your Workspace and Plant Choose a clean, well-lit area. Water your cactus lightly 1–2 days before repotting to make roots more pliable but not soggy. Gather all tools. Protect your hands and surfaces.
Step 2: Gently Remove the Cactus from Its Old Pot Turn the pot sideways and tap gently. If stuck, squeeze plastic pots or use a knife to loosen edges. For stubborn cases, carefully slide a chopstick through drainage holes. Never pull by the plant body — support from the base.
Step 3: Inspect and Prune Roots Shake off old soil carefully. Healthy roots are white or light tan; dark, mushy ones indicate rot and should be trimmed with sterilized tools. Prune no more than 1/3 of the root system. This is also a great time to check for pests. 🔍
Step 4: Add Fresh Soil and Position the Plant Add a layer of drainage material (pumice or gravel) at the bottom. Place the cactus at the same depth as before — burying too deep can cause stem rot. Center it nicely.
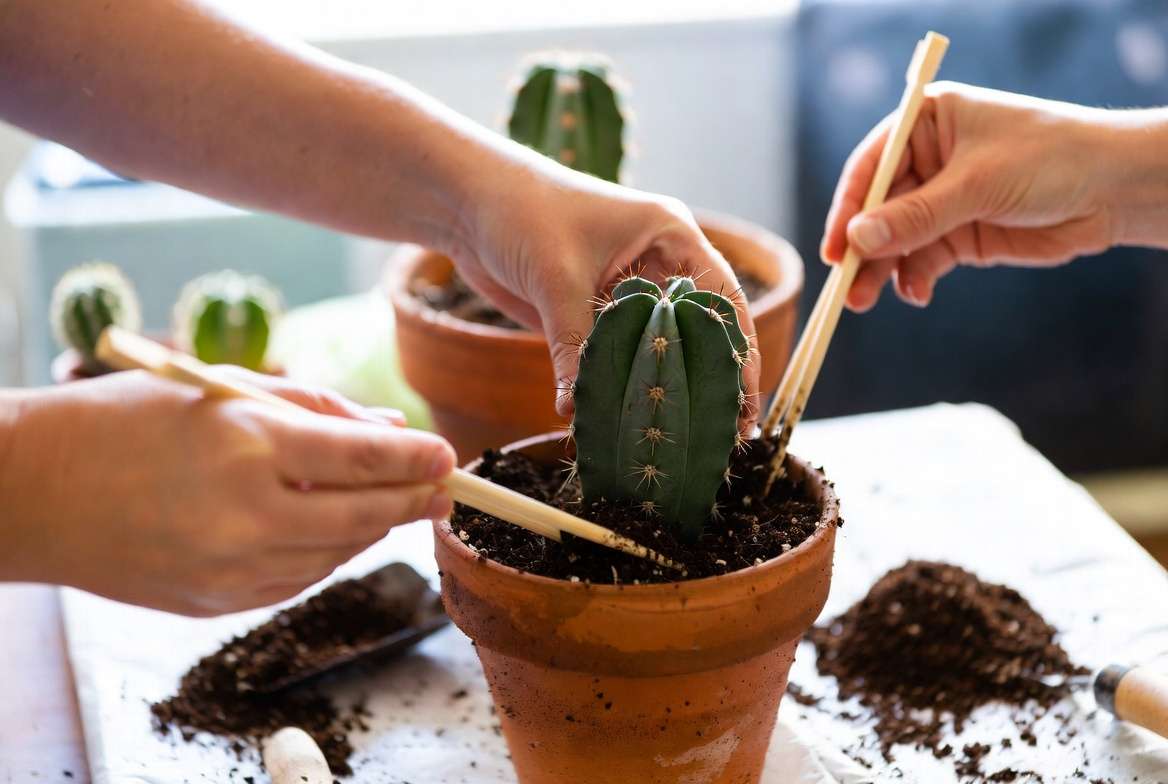
Step 5: Backfill and Settle the Soil Fill around the roots with your fresh mix, using chopsticks to eliminate air pockets. Gently press down — the soil should feel firm but not compacted. Leave a small space at the top for watering.
Step 6: Watering After Repotting (The Right Technique) Skip watering for 5–7 days (longer for very dry-climate species) to allow cut roots to callous. Then water thoroughly until it drains out the bottom, and empty the saucer immediately.
This methodical approach minimizes shock and sets your cactus up for success. Many of my readers report new growth within weeks after following these steps.
Aftercare: Helping Your Cactus Recover Successfully 🌞
The first few weeks after repotting cactus plants are critical. Your cactus has experienced some root disturbance, so gentle handling helps it settle in quickly.
- Light: Place it in bright, indirect light for the first 7–10 days, then gradually move it back to its normal full-sun spot (most desert cacti love 6+ hours of direct sun).
- Watering Schedule: Hold off on heavy watering for 5–10 days. When you do water, use the “soak and dry” method — water deeply until it drains freely, then allow the soil to dry out completely before the next watering.
- Temperature: Keep away from cold drafts or sudden heat sources. Ideal recovery range is 65–85°F (18–29°C).
- Fertilizing: Wait at least 3–4 weeks before applying a diluted, balanced cactus fertilizer. Over-fertilizing stressed plants can cause more harm than good.
- Monitoring: Watch for new growth at the top or sides — this is the best sign of successful repotting!
In my years of caring for large collections, plants that receive proper aftercare often show more vigorous growth in the following season than those left in old soil.
Common Repotting Mistakes and How to Avoid Them
Even experienced growers make occasional errors. Here are the top mistakes I see with repotting cactus plants and how to prevent them:
- Using Regular Potting Soil — It retains too much moisture. Solution: Always use a gritty, fast-draining mix.
- Choosing an Oversized Pot — Excess soil stays wet longer. Stick to 1–2 inches larger.
- Watering Immediately After Repotting — Wet soil + damaged roots = rot. Wait several days.
- Compacting the Soil Too Firmly — This reduces aeration. Gently settle instead.
- Exposing to Direct Sun Too Soon — Causes sunburn on sensitive areas. Acclimate gradually.
- Ignoring Drainage — One of the biggest killers. Always use pots with holes.
- Repotting During Dormancy — The plant can’t recover well. Time it for spring.
- Damaging the Stem or Roots Excessively — Work slowly and use proper tools.
Avoiding these pitfalls will dramatically increase your success rate.
Troubleshooting Problems After Repotting Cactus Plants 🔧
Even with careful technique, issues can arise. Here’s a quick diagnostic guide:
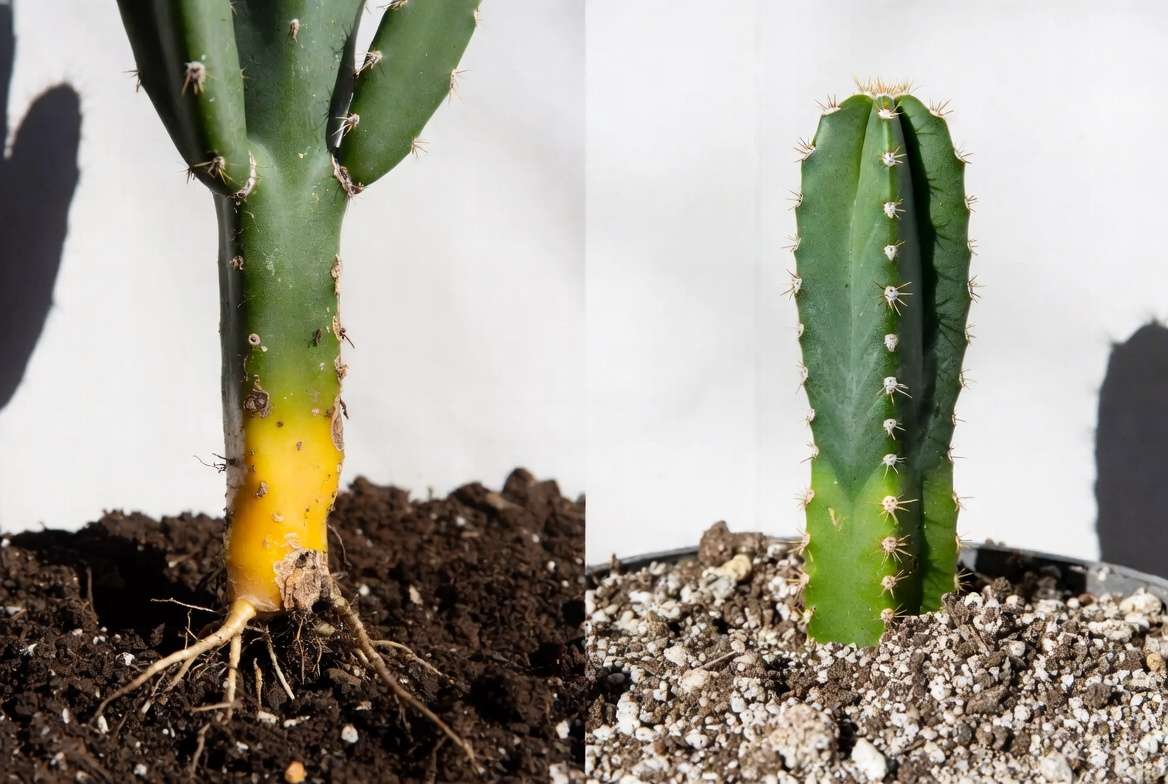
- Yellowing or Softening at the Base: Likely root rot from overwatering. Remove affected parts, let dry, and repot in fresh soil.
- Shriveling or Wrinkling: Underwatering or transplant shock. Increase watering frequency slightly after the initial recovery period.
- Stretched Growth (Etiolation): Insufficient light. Move to a brighter location.
- Brown Spots or Scarring: Sunburn or physical damage. Provide temporary shade.
- Pests (Mealybugs, Scale): Common after disturbing soil. Treat with neem oil or isopropyl alcohol.
Act quickly at the first signs, and most cacti bounce back remarkably well due to their resilient nature.
Expert Tips for Different Cactus Varieties
Not all cacti are the same! Tailor your approach:
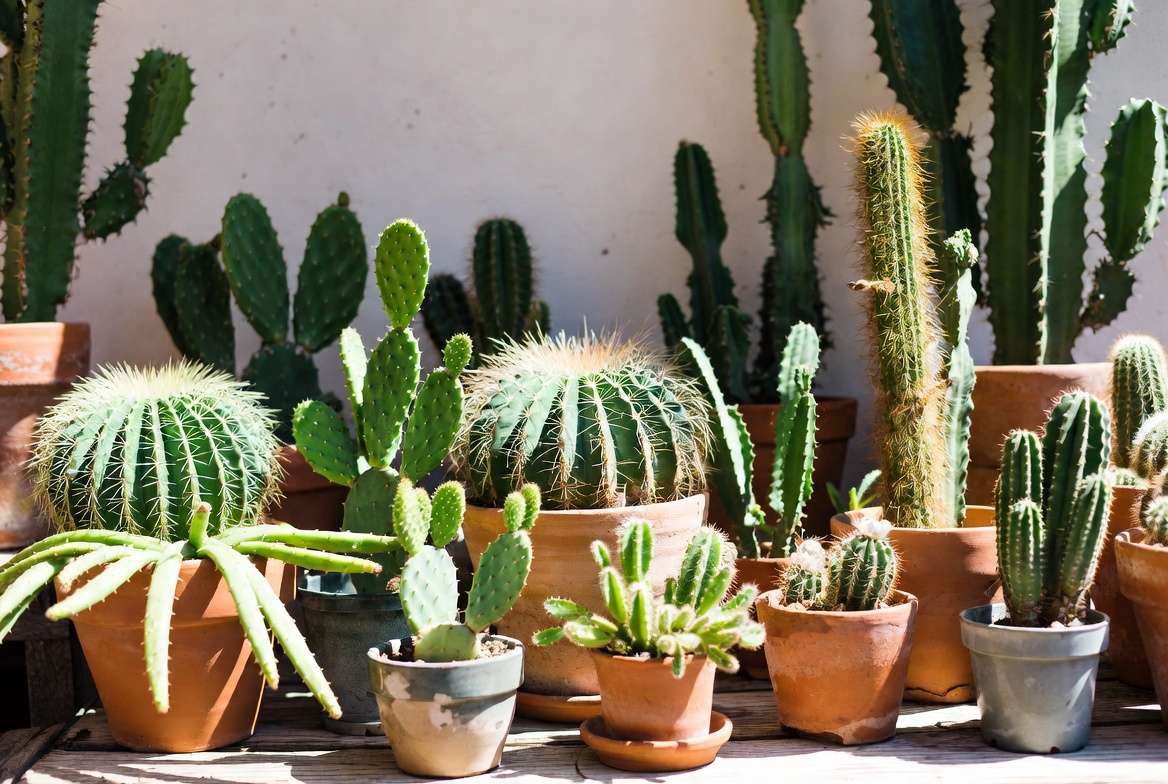
- Barrel Cacti (e.g., Golden Barrel): Very drought-tolerant. Use extra gritty mix and minimal watering.
- Bunny Ear / Prickly Pear (Opuntia): Handle pads carefully — they root easily. Great for propagation during repotting.
- Christmas / Thanksgiving Cactus: Prefer slightly more moisture and organic matter. Repot after blooming.
- Tall Columnar Cacti (e.g., San Pedro): May need staking temporarily for stability after repotting.
- Small Desk-Sized Varieties: Opt for shallow pots and check more frequently.
Advanced Technique: When repotting offsets (pups), you can separate them to create new plants. Let cut ends callous for a few days before planting.
Sustainable and Eco-Friendly Repotting Practices
Modern plant care also means thinking about the planet. Reuse old pots after thorough cleaning and sterilization. Source organic soil amendments and support brands using sustainable packaging. Compost healthy old soil in garden beds (avoid using it for other succulents to prevent disease spread). These small steps make your cactus hobby more environmentally responsible. ♻️
Conclusion
Repotting cactus plants doesn’t have to be intimidating. With the right timing, tools, soil mix, and gentle technique, you can give your spiny friends the healthy roots and thriving growth they deserve. Whether you’re rescuing a neglected plant or maintaining a thriving collection, these practices will help your cacti live longer, look better, and bring you years of joy.
Remember: patience and observation are your best tools in cactus care. Your plants will reward you with fresh growth, vibrant colors, and sometimes even beautiful flowers.
Have you repotted your cacti recently? Share your experiences, successes, or questions in the comments below! For more expert plant care advice, explore our guides on cactus watering, lighting, and propagation. Don’t forget to download your free Repotting Checklist PDF (link in sidebar).
Happy growing! 🌵✨
FAQ Section
How often should I repot cactus plants? Most cacti benefit from repotting every 2–4 years, or when you notice signs of being root-bound.
Can I repot a cactus in winter? It’s not recommended. Wait for spring when the plant is actively growing.
What’s the best soil for repotting cactus plants? A fast-draining mix with perlite, pumice, and coarse sand. Avoid regular potting soil.
Should I water right after repotting? Wait 5–10 days to allow roots to heal and callous.
How do I know if I damaged the roots? Some damage is normal. Trim mushy parts and monitor for recovery over the next weeks.
Is terracotta always better for cacti? It’s excellent for most desert varieties due to breathability, but any well-draining pot works if you adjust watering.
Can repotting save a dying cactus? Often yes — especially if root rot or poor soil is the issue. Combine with proper aftercare.
What should I do with the old soil? Discard if it shows signs of pests or disease. Otherwise, reuse in outdoor gardens











