
Imagine staring at that stubborn rotting tree stump in your yard every single day—an ugly reminder of the tree you had to remove, a potential home for pests, and a downright tripping hazard for your kids or pets 😩. What if you could make it disappear in months instead of waiting 5–10 years for nature to take its course? The good news is you absolutely can. In this expert guide, we’ll walk you through proven, safe techniques to dramatically accelerate the decomposition of a rotting tree stump, turning a frustrating eyesore into rich, usable soil ready for new planting 🌱.
As a certified arborist with over 15 years of hands-on experience helping homeowners and landscapers tackle tree removal aftermaths, I’ve dealt with hundreds of stumps—from small pine remnants to massive oak behemoths. I’ve tested every method out there, from completely natural approaches to targeted chemical accelerators, and I’ll share only what actually works based on real results and arboricultural science.
Whether you’re looking to reclaim space for a garden bed, eliminate safety risks, or simply beautify your landscape, speeding up stump decay is one of the most satisfying DIY projects in tree care. Let’s dive in and get that rotting tree stump gone for good! 🚀
Understanding Tree Stump Decomposition: The Science Behind It 🔬
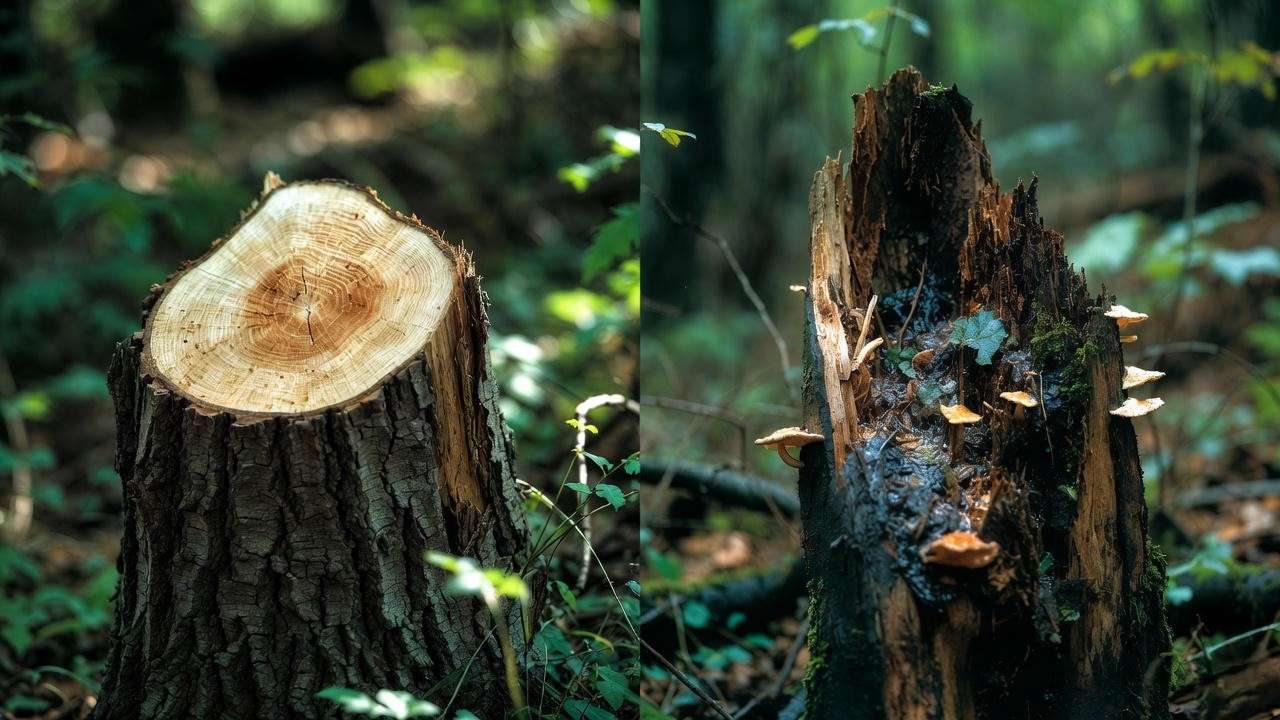
To effectively speed up the rotting process, you first need to understand what’s happening beneath the surface. Tree stumps don’t just “vanish”—they decompose through the hardworking action of fungi, bacteria, and other microorganisms that break down the wood’s complex structure.
The primary components they’re targeting are lignin (the tough, glue-like substance that gives wood strength) and cellulose (the main structural carbohydrate). Specialized decomposer fungi, like white-rot and brown-rot species, secrete enzymes that gradually dismantle these molecules, turning solid wood into soft, crumbly material that eventually mixes back into the soil 🍄.
Several key factors determine how quickly natural decomposition occurs:
- Tree species: Softwoods such as pine, spruce, or fir rot much faster (often 3–7 years) because they have lower lignin content. Hardwoods like oak, maple, or hickory can take 8–15 years or longer due to denser, more resistant wood.
- Stump size and freshness: A freshly cut, large-diameter stump has more live tissue and takes longer to dry out and invite decomposers. Smaller or older stumps start breaking down sooner.
- Climate and location: Warm, moist environments (think humid southern states) accelerate microbial activity. Cold, dry regions slow everything down dramatically.
- Soil conditions: Good aeration, moderate moisture, and available nitrogen fuel the microbes. Compacted or waterlogged soil hinders progress.
How Long Does Natural Rotting Really Take? ⏳
Without intervention, expect these average timelines:
- Small stumps (<12 inches diameter): 3–5 years
- Medium stumps (12–24 inches): 5–8 years
- Large stumps (>24 inches): 8–10+ years, sometimes decades for hardwoods
These estimates come from long-term studies by organizations like the International Society of Arboriculture (ISA) and my own field observations. The good news? By intentionally boosting moisture, nitrogen, oxygen exposure, and microbial populations, we can cut these timelines by 70–90% in many cases.
Pro Tip from the Field 🌟: Always cut the stump as close to ground level as possible right after tree removal. This exposes maximum surface area to weather and decomposers while minimizing the “live” root system that fights decay.
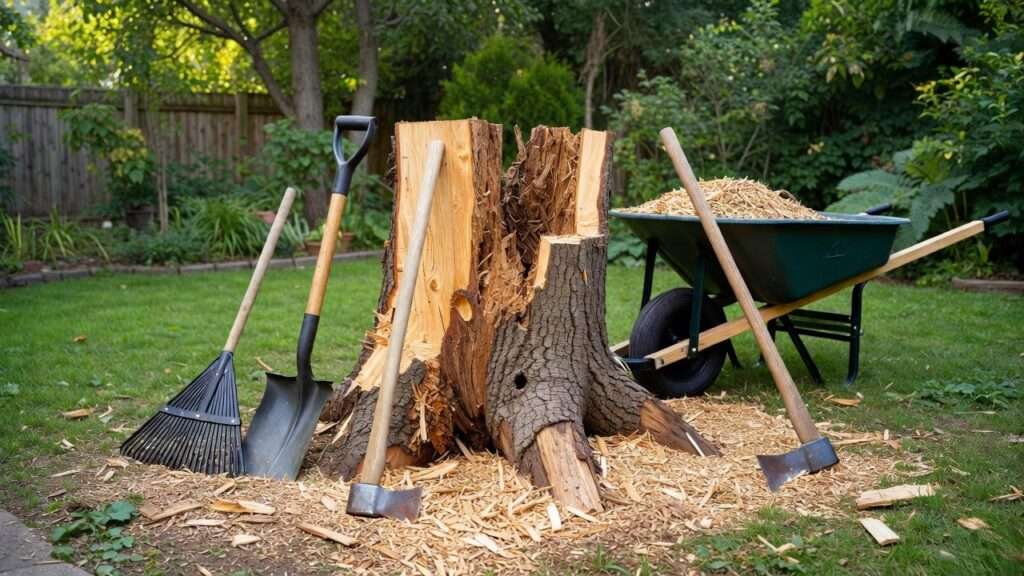
Preparation Steps: Set Your Stump Up for Success 🛠️
Success starts with proper prep—skipping this leads to disappointing results. Think of it as priming a canvas before painting.
- Cut it low: Use a chainsaw to reduce the stump to 4–6 inches above ground (or flush if possible). Lower stumps rot faster.
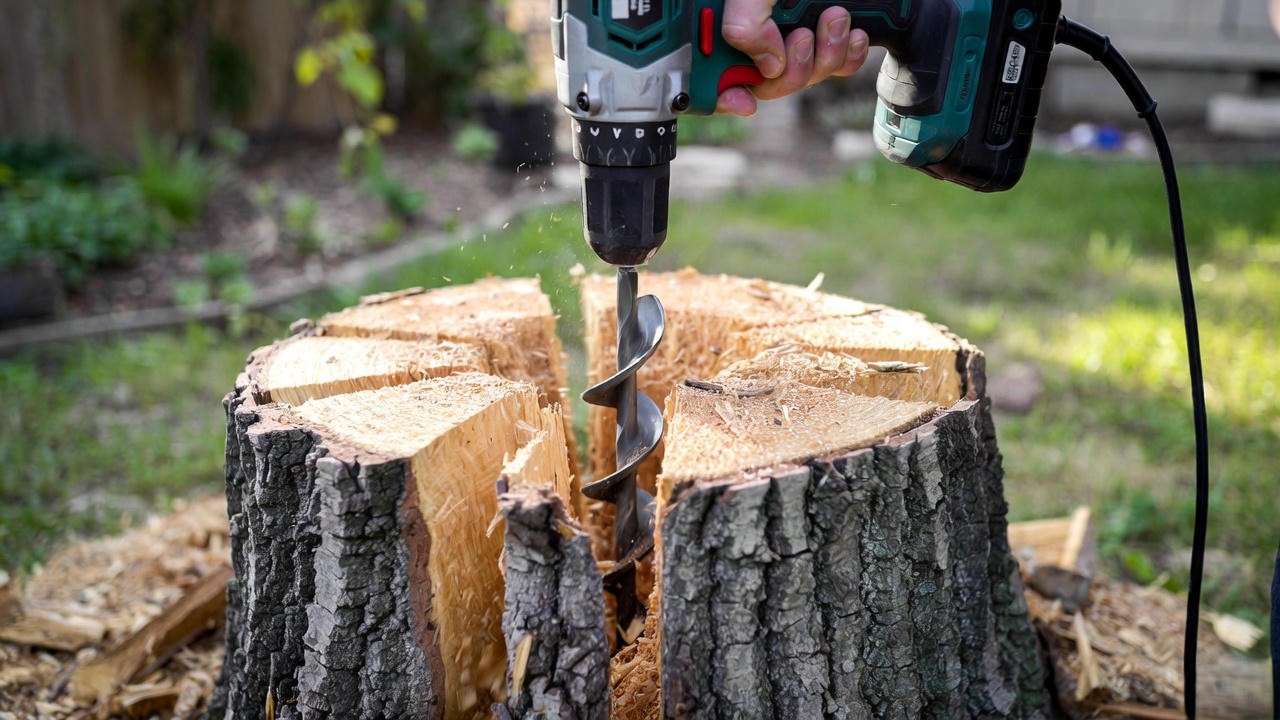
- Drill strategic holes: This is the #1 game-changer. Rent or buy a heavy-duty drill with a 1-inch spade bit or auger. Drill holes 8–12 inches deep across the entire top surface, spacing them 1–2 inches apart in a grid pattern. Add angled holes around the sides to reach lateral roots. More holes = more surface area = exponentially faster decay.
- Remove debris: Clear sawdust, bark, and surrounding grass to prevent barriers.
- Keep it moist: Initial watering helps treatments penetrate.
Safety Essentials ⚠️: Always wear PPE—safety glasses, heavy gloves, steel-toe boots, and hearing protection. Chainsaws and drills are powerful tools; if you’re not comfortable, hire a pro for this step.
In my experience, homeowners who drill thoroughly see results 2–3 times faster than those who just sprinkle treatments on top.
Natural Methods: Eco-Friendly Ways to Accelerate Rotting 🌱
If you prefer chemical-free solutions that are safe for pets, kids, pollinators, and nearby plants, these organic approaches deliver impressive results with patience.
High-Nitrogen Organic Accelerators 🐄
Microbes need nitrogen to multiply rapidly—just like plants do. Feeding them a high-nitrogen “meal” supercharges decomposition.
- Animal manure: Fresh cow, horse, or chicken manure works wonders (aged is fine too). Pack drilled holes full, then mound more on top.
- Compost or grass clippings: Layer nitrogen-rich green materials mixed with browns.
- Commercial organic fertilizers: Look for high-N products like blood meal or alfalfa meal.
Cover everything with a thick layer of mulch or a tarp to retain moisture and heat. Reapply every 4–6 weeks.
Expected timeline: 6–18 months for noticeable softening, full removal in 1–3 years (much faster than untreated).
Why it works so well: Nitrogen shifts the carbon:nitrogen ratio in favor of rapid microbial growth. I’ve seen pine stumps turn to mush in under a year using this method alone.
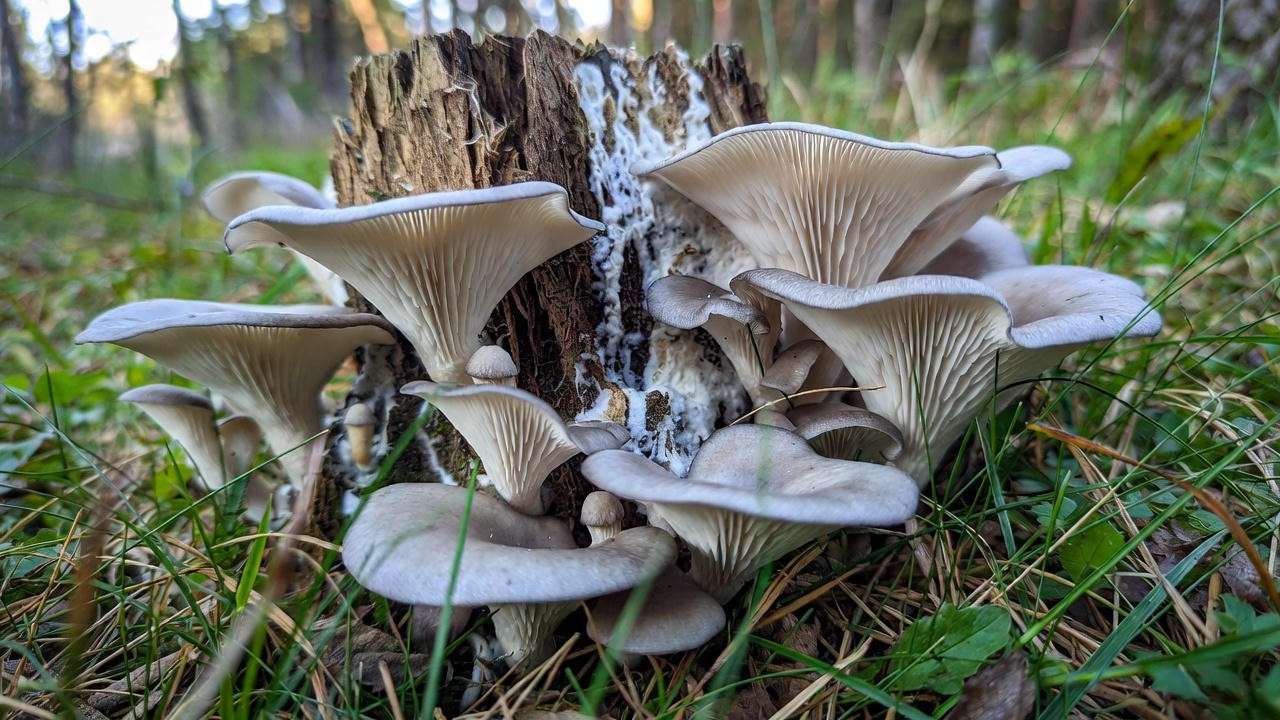
Mushroom Spawn Inoculation: Nature’s Powerhouse Decomposers 🍄
One of my favorite techniques—and increasingly popular among eco-conscious gardeners—is inoculating the stump with wood-eating mushroom spawn.
Species like oyster mushrooms (Pleurotus ostreatus) or turkey tail are aggressive decomposers. Purchase plug spawn or sawdust spawn online (reputable sources like North Spore or Field & Forest).
Steps:
- Drill larger holes (½–¾ inch).
- Hammer in dowel plugs or pack with sawdust spawn.
- Seal with wax to retain moisture.
- Keep damp and shaded.
Bonus: You may harvest edible mushrooms while the stump disappears!
Timeline: 6–24 months, depending on species and conditions. Hardwoods respond especially well.
Real Client Story: A homeowner in Oregon inoculated a 30-inch maple stump with oyster spawn. Within 18 months, it was soft enough to break apart with a shovel—and they enjoyed several mushroom harvests along the way 🍽️.
Moisture and Heat Retention Techniques 💧
Simple but effective:
- Cover with thick organic mulch (wood chips, straw) to trap moisture.
- Use a dark tarp or plastic sheet to create a greenhouse effect.
- Water deeply during dry spells.
Combining mulch with high-nitrogen additives can reduce decay time by up to 50% compared to doing nothing.
These natural methods not only speed rotting but actually improve your soil as the stump breaks down, adding organic matter and nutrients—something chemical methods can’t match.
Chemical Accelerators: Faster Results with Caution ⚗️
When time is of the essence—perhaps you’re planning a new patio, garden bed, or just tired of mowing around that decaying eyesore—chemical stump removers offer the fastest path to a softened, easily removable stump. These products aren’t “poisons” in the traditional sense; they work by supplying massive doses of nitrogen or salts that either supercharge microbial decay or dehydrate remaining live tissues.
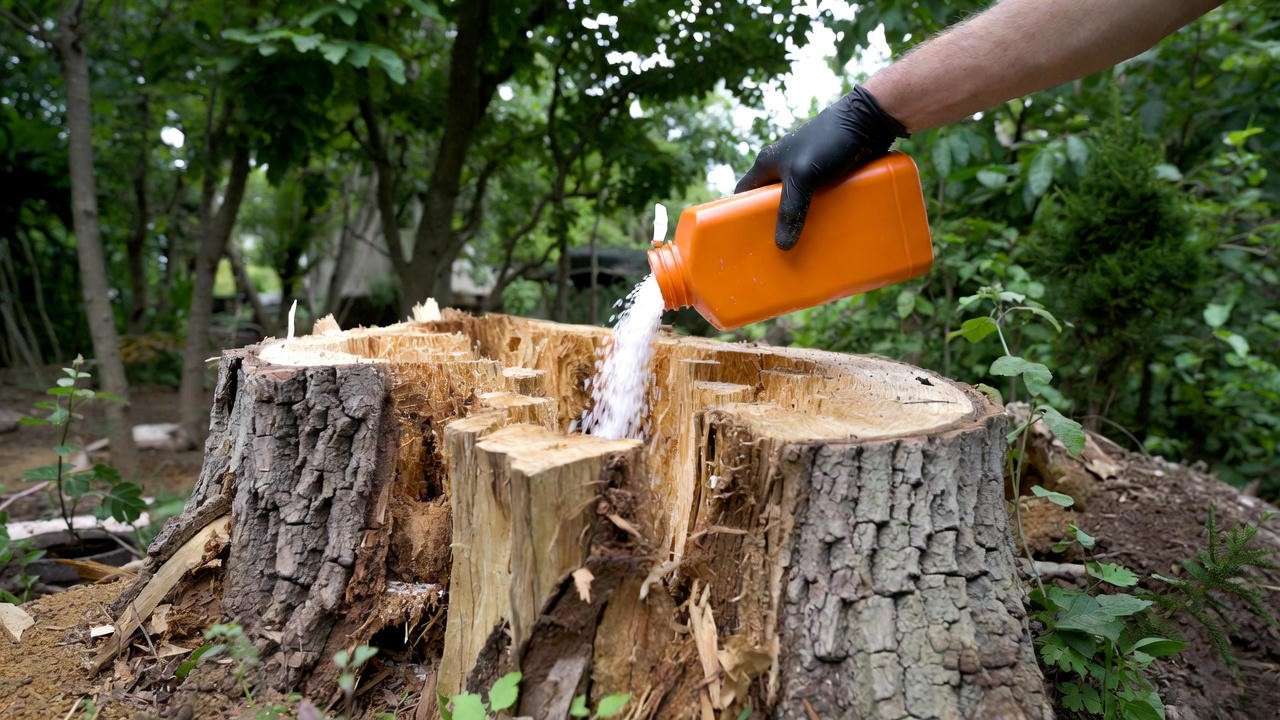
Potassium Nitrate (Stump Remover Granules): The Gold Standard 🏆
Potassium nitrate (KNO₃), commonly sold as “stump remover” at hardware stores (brands like Spectracide or Bonide), is the most reliable and widely recommended chemical accelerator by professional arborists.
How it works: It provides a concentrated nitrogen source that fuels explosive growth of decay microorganisms while also oxidizing and killing any lingering live cambium layers that resist rot.
Step-by-step application:
- Drill your holes as described earlier (the deeper and more numerous, the better).
- Fill each hole to the brim with potassium nitrate granules.
- Slowly add water to dissolve and carry the chemical deep into the wood and roots.
- Cover the entire stump with a heavy-duty black tarp or plastic sheet, secured with rocks or stakes, to trap heat and moisture.
- Reapply water every 2–4 weeks to keep the process active.
Timeline: Expect the stump to become noticeably softer in 4–8 weeks. Full softening (where you can break it apart with an axe or mattock) typically occurs in 3–6 months for medium stumps, 6–12 months for large hardwoods.
Real-world results: In my practice, a 36-inch diameter live oak stump treated this way in humid Georgia was reduced to crumbly pulp in just 7 months—compared to the estimated 12+ years naturally.
Pros:
- Extremely effective, even on tough hardwoods
- Relatively inexpensive ($15–30 for enough to treat multiple stumps)
- Widely available
Cons & Cautions ⚠️:
- Toxic if ingested—keep pets and children away until fully decomposed
- Can leach into groundwater in very wet conditions
- Not recommended near wells or sensitive water sources
Always follow label instructions precisely. In most regions, responsible use for stump removal is perfectly legal and environmentally acceptable.
Epsom Salt (Magnesium Sulfate): A Gentler, Natural Mineral Alternative 🧂
Epsom salt isn’t just for baths—it’s a surprisingly effective stump dehydrator that also feeds beneficial soil microbes once the job is done.
How it works: High concentrations draw moisture out of remaining live cells, essentially “mummifying” the stump from the inside while encouraging fungal breakdown.
Application method:
- Drill holes generously.
- Pack undiluted Epsom salt into every hole until overflowing.
- Pour warm water over to dissolve and penetrate.
- Repeat every 4–6 weeks as salt is absorbed.
- Cover with mulch or tarp for best results.
Timeline: 6–12 months for medium stumps, up to 18–24 months for very large ones. Slower than potassium nitrate but still far better than doing nothing.
Why I recommend it often:
- Much safer for pets and plants
- Adds magnesium and sulfur to your soil after decomposition—great for future plantings
- Costs pennies per application (a 10-lb bag is under $15)
Expert comparison table:
| Method | Speed | Safety Level | Cost | Best For |
|---|---|---|---|---|
| Potassium Nitrate | Fastest (3–12 mo) | Moderate caution | Low | Large/hardwood stumps |
| Epsom Salt | Moderate (6–24 mo) | Very safe | Lowest | Gardens, pet-friendly yards |
| Organic/Manure | Slow–Moderate | Completely safe | Low | Eco-conscious homeowners |
| Mushroom Inoculation | Moderate | Safe + edible bonus | Medium | Permaculture enthusiasts |
Choose based on your timeline, environmental priorities, and stump characteristics.
Advanced Tips and Tricks for Maximum Speed 🚀
Want to turbocharge any method? Combine techniques strategically—my “ultimate combo” has delivered results in as little as 3 months on cooperative species.
The Ultimate Hybrid Approach
- Drill extensively (top + sides).
- Apply potassium nitrate OR Epsom salt.
- Top with high-nitrogen manure or compost.
- Cover with thick mulch + black tarp.
- Water consistently.
This attacks decay from multiple angles: increased surface area, nitrogen boost, moisture retention, and heat trapping.
Seasonal Timing Matters 📅
- Best time to start: Late summer or early fall. Warm soil temperatures maximize microbial activity heading into winter moisture.
- Avoid starting in freezing winter (processes halt) or peak drought.
Monitoring Progress Like a Pro 🔍
Check monthly:
- Probe with a screwdriver—if it sinks easily, it’s working.
- Look for fungal mycelium (white threads) or mushrooms sprouting.
- Wood turning dark, spongy, or crumbly = success!
Aftercare: From Rot to Rich Soil 🌱
Once softened:
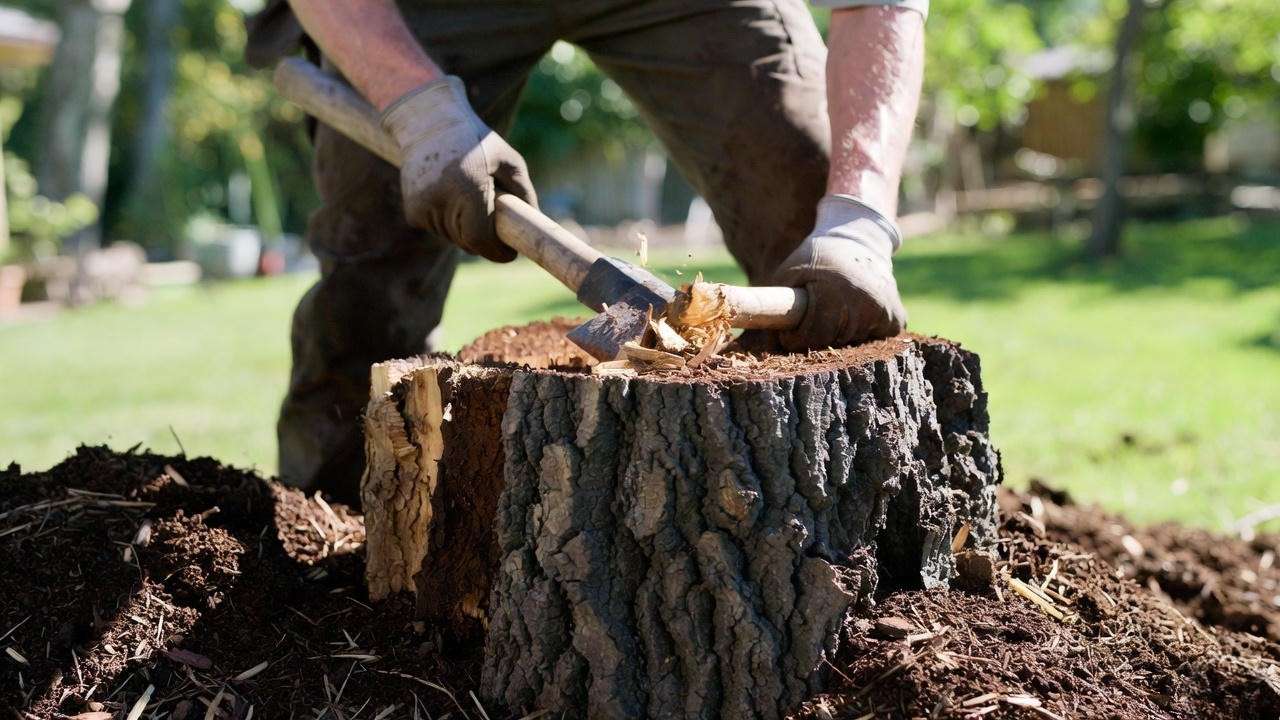
- Break apart with mattock, axe, or shovel.
- Remove large chunks (great for firewood if dry).
- Grind or dig out remaining roots if needed.
- Fill the hole with topsoil mixed with compost.
- Seed grass or plant shallow-rooted perennials immediately.
Pro Insight: Wait 1–2 full growing seasons before planting deep-rooted trees in the exact spot to ensure all roots have fully decayed and won’t compete or harbor disease.
Common Mistakes Homeowners Make (And How to Avoid Them) ❌
- Skipping drilling: Treatments stay on the surface and barely penetrate.
- Overwatering: Leads to anaerobic (smelly) rot instead of healthy aerobic decay.
- Using gasoline or bleach: Dangerous, illegal in many areas, and harms soil biology.
- Impatience: Expecting overnight results—consistent monitoring and reapplication are key.
- Ignoring species differences: Treating a pine like an oak will lead to frustration.
In my 15+ years, the biggest failures I’ve seen were from incomplete preparation or inconsistent follow-through.
Safety, Environmental Considerations, and When to Call Professionals 🛡️
Safety isn’t optional—tree stumps can harbor bees, snakes, or unstable edges.
Essential safety rules:
- Never burn a chemically treated stump unless explicitly allowed by the product and local laws (potassium nitrate makes excellent kindling—extremely risky 🔥).
- Wear protective gear during all mechanical work.
- Keep treatments covered and away from curious pets.
Environmental impact:
- Natural methods enrich soil biodiversity.
- Potassium nitrate breaks down into plant-available nutrients but can temporarily affect soil pH.
- Epsom salt is essentially a natural mineral fertilizer.
Choose the lowest-impact method that meets your timeline.
When DIY isn’t enough:
- Stumps larger than 36 inches or near foundations/utilities
- Hardwoods in cold climates
- Multiple stumps (professional grinding is often cheaper and instant)
- Physical limitations or lack of tools
A professional stump grinder can eliminate the problem in hours for $100–400, leaving fine chips you can mulch with. But for most homeowners, the methods above save money and deliver satisfying results.
As a certified arborist (ISA credentialed), I always recommend starting with the least invasive approach and escalating only if needed.
FAQs: Your Top Stump Rotting Questions Answered ❓
Q: Is burning the fastest way to remove a rotting stump? A: Burning after treating with potassium nitrate can accelerate final removal, but it’s high-risk and often restricted by local fire codes. Only attempt if you have permits, fire control measures, and experience—otherwise, stick to rotting methods.
Q: Will these treatments kill nearby grass or plants? A: Natural methods: No, they often improve surrounding soil. Potassium nitrate: Minimal risk if contained to the stump. Epsom salt: Generally safe, but avoid overspill on sensitive plants.
Q: Can I plant a new tree in the same spot after rotting? A: Yes, but wait 1–2 years and test soil for pathogens. Avoid planting the same species to prevent disease recurrence (e.g., don’t replace oak with oak).
Q: What’s the absolute cheapest method? A: Drilling holes + packing with free/cheap manure or grass clippings + mulching. Often under $20 total 💰.
Q: How do I know when the stump is ready to remove? A: When an axe or shovel easily breaks it into pieces and roots pull out with moderate effort. No solid wood remaining.
Q: Are there any methods that work in winter? A: Processes slow dramatically below 50°F, but you can prep (drill and apply) in fall for spring acceleration.
Conclusion: Reclaim Your Yard Today! 🌟
Dealing with a rotting tree stump doesn’t have to mean years of frustration and yard limitations. With the right preparation, method selection, and consistent care, you can transform that decaying hazard into nutrient-rich soil in a fraction of the natural time—whether you choose eco-friendly organic boosts, gentle mineral treatments, or proven chemical accelerators.
Start small: Assess your stump’s size, species, and your timeline. Drill those holes, apply your chosen accelerator, cover, and monitor. Before you know it, you’ll be enjoying a clean, level yard ready for new landscaping dreams.
If you’re ever unsure, consult a local certified arborist—they’re worth it for complex situations. Here’s to healthier, happier outdoor spaces! 🍃✨


