There is nothing quite like slicing into a crisp, sugary, homegrown watermelon on a blistering summer afternoon. But for countless backyard gardeners, this sweet dream ends before it even begins, thwarted by seeds that rot in the damp earth or sprout into weak, spindly vines. Successfully germinating a watermelon seed isn’t just about dropping it in the dirt and hoping for the best; it requires a specific balance of temperature, moisture, and soil biology.
Watermelons (Citrullus lanatus) are native to warm, arid climates, making them notoriously finicky about cool weather and heavy soils. A single misstep during the planting phase can delay your harvest by crucial weeks or ruin the crop entirely through fungal diseases.
However, mastering this process is entirely within your reach. This comprehensive guide reveals the exact science and horticultural techniques required to successfully grow watermelons from scratch. By applying these five expert secrets, you will achieve near-perfect germination rates, cultivate vigorous, disease-resistant vines, and set your garden up for a massive summer yield. Let’s dig into the science of growing your best melon crop yet! 🌻
II. The Anatomy of a Perfect Watermelon Seed 🔬
Before you even touch a trowel, your success is dictated by the quality of your genetic material. Not all seeds are created equal, and choosing the right one for your specific climate and garden setup is the first step toward a bountiful harvest.
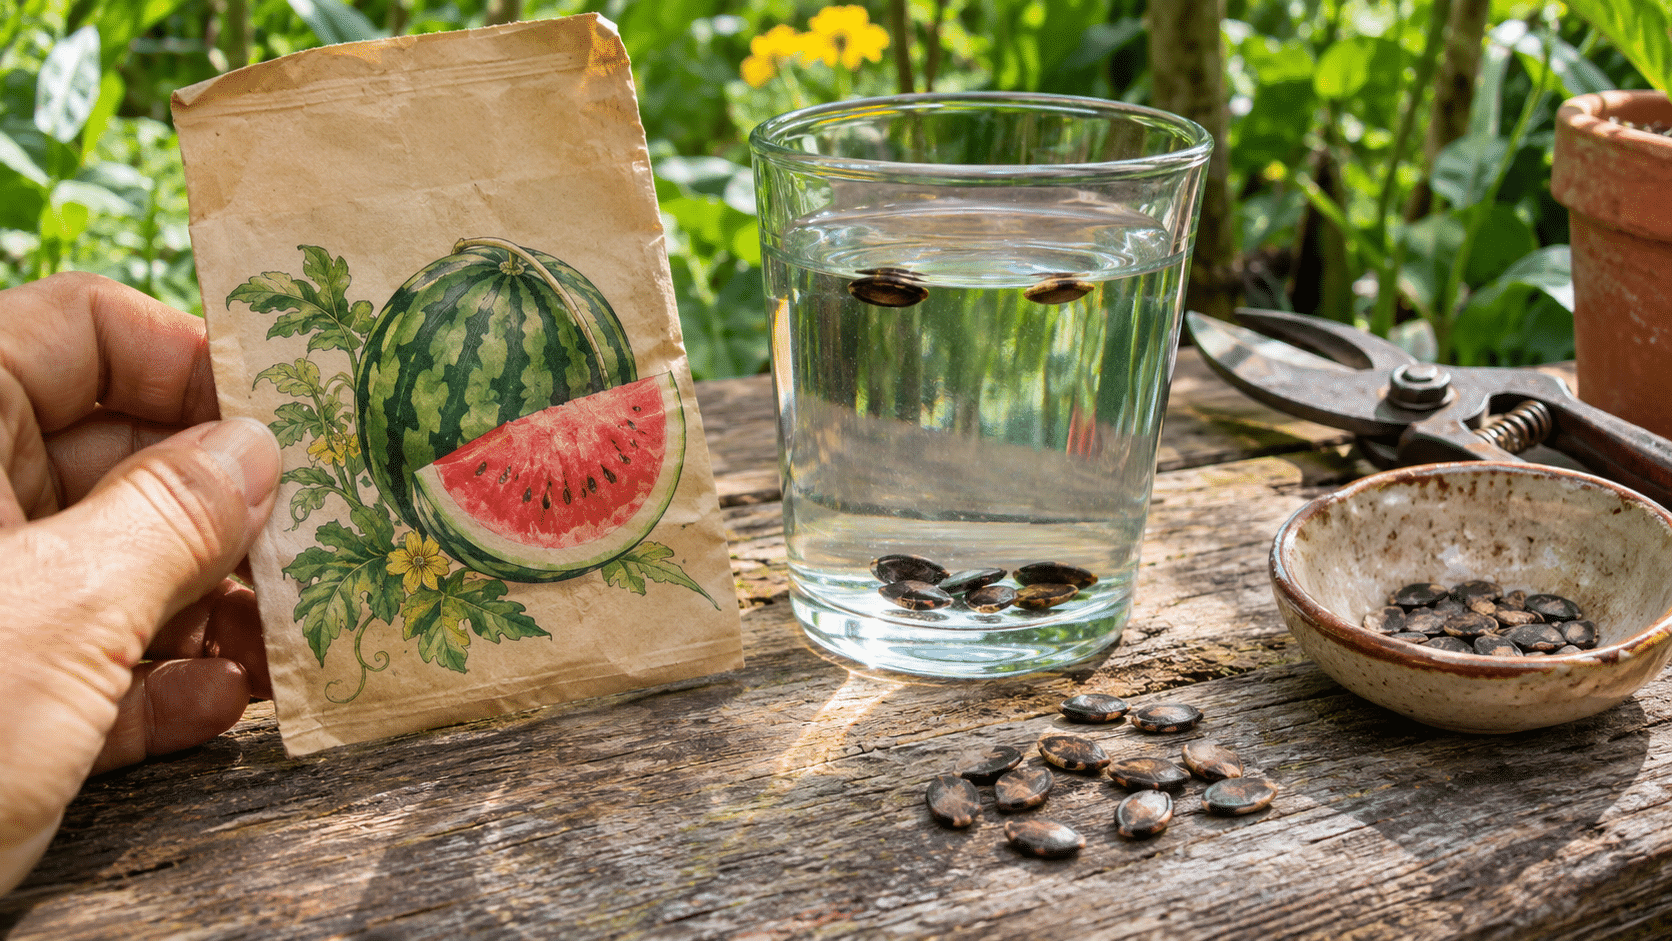
Understanding Seed Viability and The Float Test 💧
Older seeds lose their germination vigor over time. If you are using seeds saved from a previous season or a packet you found in the back of your shed, you must test their viability.
The Expert Trick: Drop your seeds into a glass of room-temperature water. Wait 15 minutes. The plump, viable seeds will sink to the bottom, heavy with the healthy endosperm needed for sprouting. The seeds that remain floating on the surface are hollow “blanks” or have dried out. Discard the floaters; plant the sinkers! 🧊
Heirloom vs. Hybrid vs. Seedless (Triploid) 🧬
Selecting your variety requires understanding the three main categories of watermelons:
-
Heirloom Varieties: These are open-pollinated seeds passed down through generations. They are prized for their incredible, complex flavors and allow you to save the seeds for next year. Top picks: Crimson Sweet, Moon and Stars, Sugar Baby.
-
Hybrid Varieties (F1): These are intentionally cross-pollinated by breeders to create vines with high disease resistance, uniform fruit size, and massive yields. You cannot reliably save seeds from hybrids.
-
Triploid (Seedless): Seedless watermelons are a marvel of modern breeding, but they are notoriously difficult to germinate. Their seed coats are incredibly thick, and they require much higher soil temperatures (85°F+) to sprout. Important note: Triploids cannot pollinate themselves; you must plant a standard seeded diploid variety nearby to act as a pollinator! 🐝
Expert Insight: Always source your seeds from reputable, certified organic seed banks or local nurseries. Regional seed companies often breed varieties specifically adapted to your local USDA Hardiness Zone, giving you a massive head start against local pests and weather fluctuations. 🗺️
III. The 5 Expert Secrets for Fast Germination 🚀
This is where the magic happens. While standard seed packets offer vague instructions like “plant after frost,” these five professional techniques will shave days off your germination time and produce incredibly robust seedlings.
Secret 1: The Magic of Soil Temperature (Not Air Temperature) 🌡️
The most common reason watermelon seeds rot in the ground is cold soil. Watermelons are heat-loving tropical vines. While the spring air might feel warm at 75°F, the soil below might still be a chilly 55°F.
Watermelon seeds require consistent soil temperatures between 70°F and 85°F (21°C – 29°C) to germinate properly. At 60°F, germination can take an agonizing 15 days, leaving the seed highly vulnerable to rot. At 85°F, it will sprout in just 3 to 4 days!
-
How to achieve this indoors: Invest in a seedling heat mat. Place it under your seed trays with a thermostat set to 80°F.
-
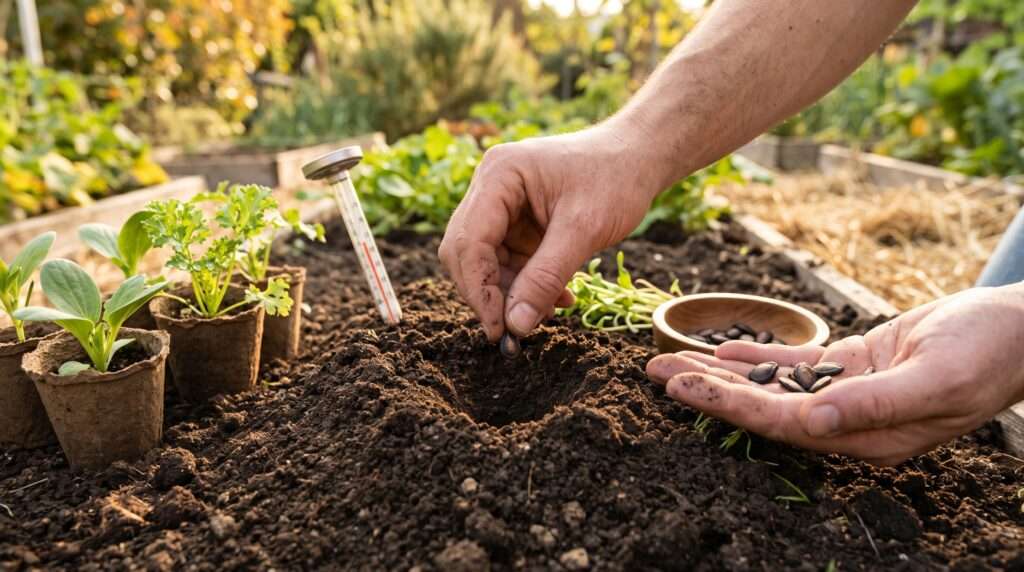
How to achieve this outdoors: Three weeks before your target planting date, lay black plastic mulch over your garden beds. The black plastic absorbs the sun’s rays, trapping the heat and artificially warming the soil profile. Use a probe soil thermometer to verify the temperature before planting. ☀️

Secret 2: Seed Scarification and Pre-Soaking Techniques 💦
Watermelon seeds have a tough, protective outer hull designed to survive harsh conditions. You can hack this natural dormancy through a process called scarification and soaking.
-
Scarification: Take a standard nail file or a piece of fine sandpaper. Gently scuff the pointed edge of the seed. You only want to scratch the dark outer coating until you see a tiny bit of the lighter layer beneath. Do not expose the inner embryo! This micro-abrasion allows moisture to penetrate instantly.
-
The Chamomile Tea Soak: Instead of plain water, soak your seeds in a cup of weak, lukewarm chamomile tea for 8 to 12 hours before planting. Chamomile contains natural anti-fungal properties that help prevent soil-borne diseases, while the warm moisture softens the hull. ☕
Secret 3: Formulating the Ultimate Germination Soil Mix 🪴
Never start your seeds in standard garden dirt or heavy potting soil. These mediums are too dense, suffocating the delicate new roots and holding excessive moisture that leads to “Damping Off”—a fatal fungal disease that causes seedlings to collapse at the stem.
The Professional Seed-Starting Recipe: Create a custom, sterile, well-aerated mix by combining:
-
50% Fine Seed Starting Peat or Coco Coir: For moisture retention.
-
25% Perlite: For supreme drainage and preventing compaction.
-
25% Fine Vermiculite: To hold nutrients and keep the mix fluffy.
This airy composition allows the radicle (the very first root) to push downward with zero resistance, establishing a strong anchor on day one. 🌿
Secret 4: The Rule of Depth and Orientation 📏
Planting depth is a Goldilocks scenario: too shallow, and the seed dries out; too deep, and the seedling exhausts its energy reserves before breaking the soil surface.
-
The Depth: Plant the seed at a depth of exactly 1/2 to 1 inch (about 1.5 to 2.5 cm).
-
The Orientation: Most gardeners drop seeds in randomly, but orientation matters. Plant the seed on its side, or ideally, with the pointed end facing downward. The radicle emerges from the pointed end and naturally wants to grow down. By pointing it downward, you save the seedling the energy of reorienting itself, resulting in faster emergence. ⬇️
Secret 5: The “Moist, Not Muddy” Watering Protocol 🚿
Water is life, but standing water is death to a melon seed. The goal is to maintain the consistency of a wrung-out sponge.
-
Avoid the Watering Can: Pouring water from above can dislodge the seed, wash away the soil, or compact the surface into a hard crust.
-
The Misting Method: Use a fine-mist spray bottle to moisten the top layer of the soil gently.
-
Bottom Watering (The Pro Method): If starting indoors, place your seed pots in a solid tray. Pour an inch of water into the tray and let the soil wick the moisture upward through the drainage holes for 20 minutes, then pour out the excess. This encourages the roots to grow deep in search of water, rather than staying shallow at the surface. 🧽
IV. Step-by-Step Guide: How to Plant a Watermelon Seed 📝
With the scientific secrets of germination mastered, it is time to put your hands in the dirt. Because watermelons have incredibly fragile root systems that despise being disturbed, your planting strategy will depend heavily on your local climate.
Phase A: Starting Indoors (Recommended for Cooler Climates) 🏠
If you live in a region with short summers or late spring frosts (USDA Zones 6 and below), starting your seeds indoors 3 to 4 weeks before your last frost date is essential.
-
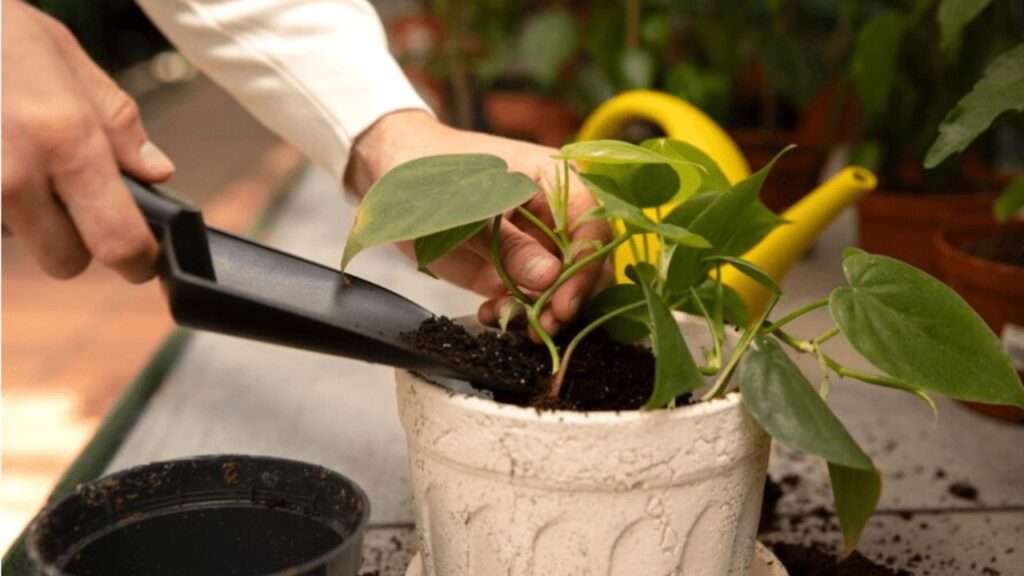
Select the Right Containers: Never use standard plastic seed cells for watermelons. Their taproots grow fast and resent transplanting. Instead, use 3-inch or 4-inch biodegradable peat pots or cow-manure pots. You will plant the entire pot directly into the ground later, avoiding any transplant shock. 🪴
-
Prepare the Medium: Fill your biodegradable pots with the custom seed-starting mix (discussed in Secret 3). Pre-moisten the soil with warm water until it feels like a damp sponge.
-
Sow the Seeds: Create a small 1/2-inch to 1-inch depression in the center of the pot. Drop in 2 to 3 seeds (for germination insurance), pointing the narrow ends downward. Backfill gently and press lightly to ensure good seed-to-soil contact.
-
Create a Mini-Greenhouse: Cover the pots with a plastic humidity dome or clear plastic wrap to trap the ambient moisture. Place the pots on a heat mat set to 80°F (27°C). 🌡️
-
Provide High-Intensity Light: The moment the first green loop breaks the surface, remove the humidity dome immediately to prevent rot. Place the seedlings under full-spectrum LED grow lights, keeping the lights just 2 to 3 inches above the leaves for 14 to 16 hours a day. 💡

Phase B: Direct Sowing (For Warm, Long-Summer Climates) ☀️
If you live in a region with long, hot summers (USDA Zones 7 and above), direct sowing in the garden is the preferred method, as it completely eliminates transplant shock.
-
Wait for the Right Weather: Do not rush! Wait until all danger of frost has passed, nighttime temperatures stay consistently above 60°F (15°C), and soil temperatures read at least 70°F (21°C).
-
Build the “Watermelon Hills”: Watermelons thrive on mounds or “hills.” Rake your garden soil into flat-topped mounds that are 8 to 12 inches high and 24 inches wide. This elevates the roots above standing water, improves drainage, and allows the soil to heat up faster in the sun. ⛰️
-
Amend the Soil: Work a generous shovelful of well-aged compost and a handful of organic, slow-release balanced fertilizer into each hill to feed the heavy-feeding vines.
-
Plant and Mulch: Poke 4 to 5 holes in a circle around the top of the mound, each about 1 inch deep. Drop one watermelon seed into each hole, cover gently, and water with a fine mist. Apply a light layer of straw mulch around the mound to suppress weeds and retain soil warmth. 🌾
V. Early Vine Care & The Thinning Process ✂️
Sprouting is only the first victory. How you treat your baby seedlings in their first three weeks dictates the ultimate size and health of your fruit.
The Crucial Cut: Thinning the Seedlings
Whether you started in pots or hills, you likely planted multiple seeds for insurance. Once the seedlings are 2 inches tall and have developed their first set of “true leaves” (the frilly leaves that appear after the initial oval cotyledons), you must thin them down to the single strongest plant per pot, or 2 to 3 plants per hill.
Expert Rule: Never pull the unwanted seedlings! Yanking them out will tear the intertwined roots of the seedling you want to keep. Instead, take a pair of sterile micro-snips or scissors and simply snip the weaker seedlings off right at the soil line. ✂️
The First Feeding 🐟
Watermelons are heavy feeders, but young roots are easily burned by synthetic fertilizers. Once the seedlings have two sets of true leaves, introduce a highly diluted, organic liquid fertilizer. A half-strength fish emulsion or kelp tea applied at the base of the plant provides a gentle nitrogen boost to kickstart rapid vine growth.

Hardening Off (For Indoor Seedlings) 🌬️
If you started your seeds indoors, you cannot simply carry them outside and plant them. The harsh UV rays and wind will instantly scorch and kill them. You must “harden them off” over a 7-day period:
-
Days 1-2: Place them outside in dappled shade for 2-3 hours, protected from wind.
-
Days 3-4: Increase to 4-5 hours, introducing gentle morning sun.
-
Days 5-6: Leave them out all day in full sun, bringing them in at night.
-
Day 7: Leave them out overnight (if temps are above 60°F). They are now ready for the garden! 🏡
VI. Common Germination Mistakes (And How to Fix Them) ⚠️
Even experienced gardeners occasionally struggle with melon seeds. Here is how to troubleshoot the most common pitfalls:
-
Mistake 1: Planting Too Early.
-
The Symptom: Seeds never emerge, or newly sprouted vines turn black and collapse.
-
The Fix: Patience. Frost and cold soil are the mortal enemies of watermelons. Always use a soil thermometer and rely on heat mats indoors or black plastic mulch outdoors to ensure proper temperatures before planting. ❄️
-
-
Mistake 2: Damping Off Fungal Disease.
-
The Symptom: Seedlings look healthy one day, then pinch at the base of the stem, topple over, and die the next.
-
The Fix: Damping off thrives in soggy, stagnant conditions. Ensure you are using a sterile seed-starting mix, provide gentle air circulation with a small oscillating fan, and lightly dust the soil surface with Ceylon cinnamon powder, which acts as a natural fungicide. 🍂
-
-
Mistake 3: Leggy, Stretching Seedlings.
-
The Symptom: Indoor seedlings grow tall, pale, and skinny, leaning desperately toward the window.
-
The Fix: Windowsill light is never strong enough for melons. You must use overhead LED grow lights, positioned intimately close (2-3 inches) to the canopy to encourage short, stocky, dark green stems. ☀️
-
VII. Frequently Asked Questions (FAQs) 🙋♂️
How long does it take a watermelon seed to sprout? Under optimal conditions (soil temperatures between 80°F – 85°F), you will see sprouts in just 4 to 6 days. If the soil is cooler (around 70°F), it may take 10 to 14 days. If it has been 15 days without a sprout, gently dig one up; if it is mushy, it has rotted, and you should start over in warmer soil. ⏳
Can I plant seeds directly from a store-bought watermelon? You can, but it is highly risky. Most grocery store watermelons are F1 hybrids. This means their seeds are genetically unstable and will not produce a melon identical to the one you ate. Often, they produce vines with small, flavorless, or deformed fruit. Always buy certified seed packets for reliable results. 🛒
Do I need to plant more than one watermelon seed? Yes! Watermelon vines produce both male and female flowers and rely heavily on bees to transfer pollen between them. Planting multiple seeds ensures you have several healthy vines cross-pollinating each other, which drastically increases your fruit yield. (Note: Seedless varieties absolutely require a seeded variety planted nearby to fruit). 🐝
Why are my watermelon seeds rotting in the dirt? Rot is caused by the deadly combination of cold soil and excessive moisture. If the soil is below 70°F and heavy with water, the seed cannot metabolize the moisture to sprout; instead, bacteria and fungi consume the seed. Improve your soil drainage with perlite and wait for warmer weather. 🛑
VIII. Final Thoughts for a Bountiful Harvest 🏆
Growing the ultimate summer melon is a deeply rewarding experience that bridges the gap between science and nature. By mastering the humble beginnings of the watermelon seed, you eliminate the guesswork and set the stage for an explosive, highly productive growing season.
Remember to prioritize your soil temperature above all else, utilize scarification for a quick start, mix an airy and sterile potting medium, plant at the perfect depth, and balance your moisture with a gentle hand. Nature wants to grow; your job is simply to provide the ideal environment. 🌱
Trust the process, be patient with the weather, and soon enough, you’ll be harvesting massive, sugar-sweet melons right from your own backyard.
Over to you! Are you attempting a massive heirloom variety this year, or sticking to a reliable sugar baby? Let us know your favorite watermelon varieties in the comments below, and don’t forget to tag us in your seedling success photos on social media! Happy gardening! 🍉✨