
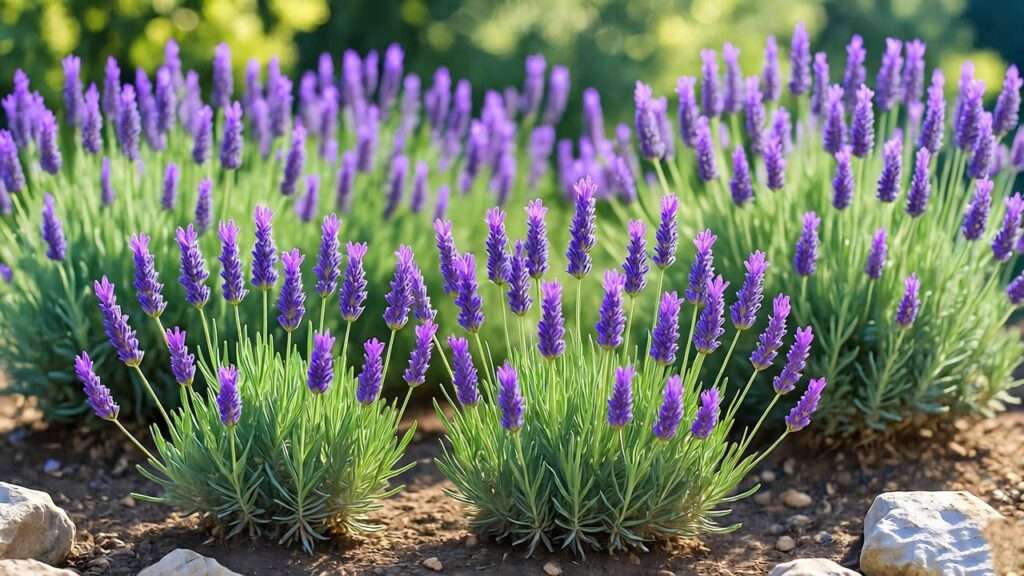
Picture this: you step outside into your garden, and a wave of calming lavender fragrance envelops you, with vibrant purple blooms swaying gently in the breeze. Planting lavender seeds can turn this vision into reality, transforming your backyard into a fragrant, pollinator-friendly haven. Whether you’re a beginner gardener or a seasoned plant enthusiast, growing lavender from seeds is a rewarding, cost-effective way to cultivate this versatile herb. In this comprehensive guide, I’ll walk you through every step of planting lavender seeds, from choosing the right variety to harvesting fragrant blooms. With over a decade of experience in herb gardening and insights from botanical research, this article will equip you with expert tips to ensure your lavender thrives, addressing common pitfalls and unlocking the secrets to a flourishing garden.
Understanding Lavender: The Basics of This Fragrant Herb 🌱
What Makes Lavender Special?
Lavender, a perennial herb from the mint family, is cherished for its aromatic foliage, vibrant flowers, and versatility. Its drought-tolerant nature makes it ideal for low-maintenance gardens, while its nectar-rich blooms attract bees and butterflies, supporting local ecosystems. Lavender’s uses extend beyond the garden: it’s a staple in aromatherapy, culinary recipes, and DIY crafts like sachets and candles. Growing lavender from seeds is a budget-friendly way to access unique varieties, offering a sense of accomplishment as you nurture tiny seeds into robust plants. Unlike buying mature plants, seeds allow you to experiment with diverse cultivars, tailoring your garden to your climate and aesthetic.
Types of Lavender to Grow from Seeds
Not all lavender varieties are created equal, and choosing the right one is key to success. Here are the most popular types for seed planting:
- English Lavender (Lavandula angustifolia): Hardy in USDA Zones 5–9, known for its sweet fragrance and compact growth. Popular varieties include ‘Hidcote’ and ‘Munstead.’
- French Lavender (Lavandula dentata): Thrives in warmer climates (Zones 8–10) with toothed leaves and a milder scent.
- Spanish Lavender (Lavandula stoechas): Features distinctive “rabbit ear” blooms, ideal for ornamental gardens in Zones 7–9. Each variety has unique growth habits and bloom times, so check your local climate and soil conditions before selecting. For example, English lavender is perfect for cooler regions, while French lavender excels in Mediterranean-like climates.
Expert Tip: Opt for a variety suited to your USDA Hardiness Zone to maximize growth. For instance, ‘Hidcote’ is a reliable choice for beginners in temperate climates due to its hardiness and compact size.
Preparing to Plant Lavender Seeds: Setting the Stage for Success 🛠️
When to Plant Lavender Seeds
Timing is critical when planting lavender seeds. For most regions, start seeds indoors 8–12 weeks before the last expected frost (typically late winter or early spring). This gives seedlings a head start before transplanting outdoors after the frost risk passes. In warmer climates (Zones 8–10), you can sow seeds directly in the ground in early fall for spring germination. Check your local frost dates using resources like the Old Farmer’s Almanac to plan accordingly. For example, a gardener in Zone 6 might start seeds indoors in February for a May transplant.
Choosing the Right Seeds
High-quality seeds are the foundation of a thriving lavender garden. Purchase from reputable sources like local nurseries, trusted online retailers (e.g., Johnny’s Selected Seeds), or botanical gardens. Look for fresh, non-GMO seeds with a high germination rate, ideally harvested within the past year. Avoid old or improperly stored seeds, as lavender’s germination rate declines with age. Check the seed packet for variety-specific details, such as stratification requirements or ideal growing conditions.
Essential Tools and Supplies
To plant lavender seeds successfully, gather these essentials:
- Seed trays or pots: Use cell trays with drainage holes for easy transplanting.
- Potting mix: A well-draining mix with perlite or vermiculite (e.g., a 1:1 blend of seed-starting mix and sand).
- Watering can or spray bottle: For gentle, even moisture.
- Grow lights: Provide 12–16 hours of light for indoor sowing.
- Labels: Track varieties and sowing dates.
- Optional: Plastic wrap or a humidity dome for germination. Lavender thrives in slightly alkaline soil (pH 6.5–7.5), so test your mix with a soil pH kit and amend with lime if needed.
Pro Insight: Invest in a seed-starting mix with excellent drainage to prevent soggy soil, which can kill delicate lavender seedlings.
Step-by-Step Guide to Planting Lavender Seeds 🌾
Step 1: Cold Stratification for Better Germination
Lavender seeds, especially English varieties, often require cold stratification to break dormancy and improve germination rates. This process mimics winter conditions, signaling seeds to sprout. Here’s how:
- Place seeds in a moist medium (e.g., damp paper towels or sand) inside a sealed plastic bag.
- Refrigerate at 35–40°F (2–4°C) for 3–6 weeks.
- Check weekly for mold and ensure the medium stays slightly moist. French and Spanish lavender varieties may skip stratification, but always check the seed packet. If you’re short on time, some hybrids like ‘Lady’ lavender germinate without this step.
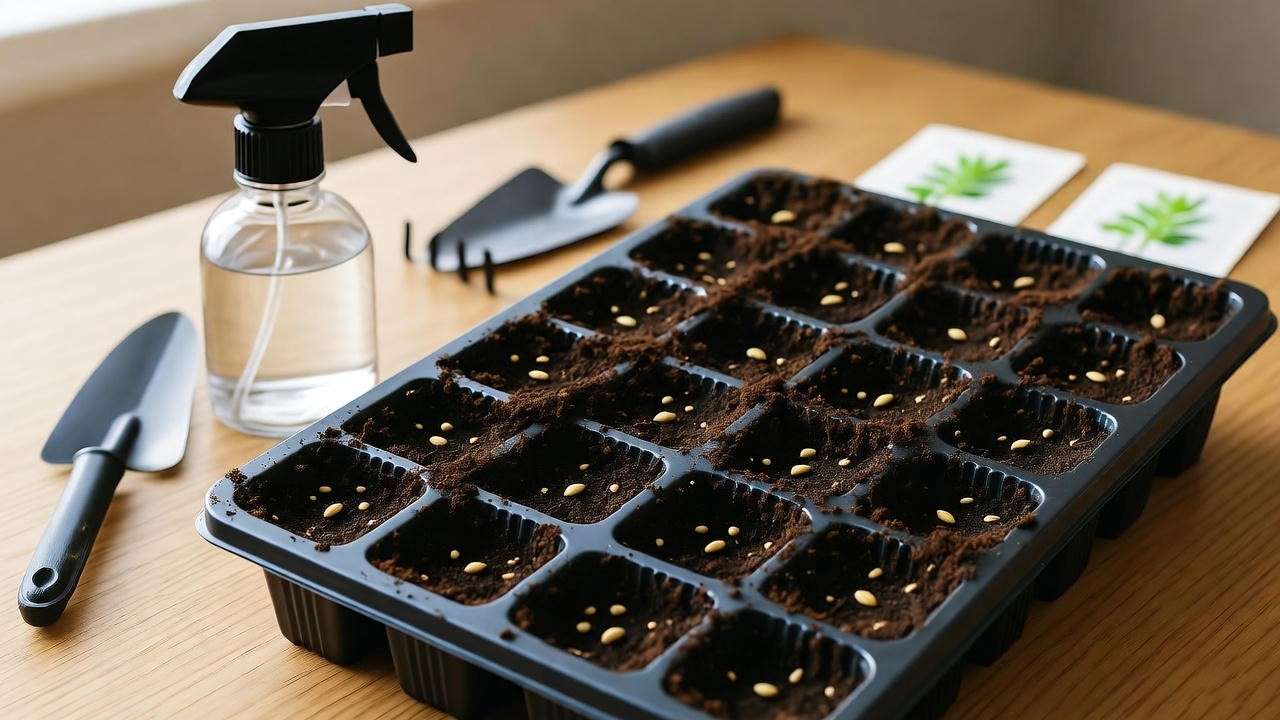
Step 2: Sowing the Seeds
Once stratified, it’s time to sow. You can start seeds indoors for better control or sow directly outdoors in warm climates. Follow these steps:
- Indoor Sowing: Fill seed trays with a well-draining mix. Sow 2–3 seeds per cell, ¼ inch deep, and lightly cover with soil.
- Outdoor Sowing: After the last frost, sow seeds in prepared garden beds with loose, well-drained soil, spacing them 1 inch apart.
- Labeling: Mark each tray or row with the variety and date to track progress. Mist the soil gently to keep it moist without disturbing the seeds.
Step 3: Creating the Perfect Growing Environment
Lavender seeds need specific conditions to germinate:
- Light: Provide 6–8 hours of direct sunlight or 12–16 hours under grow lights. Position lights 2–4 inches above trays to prevent leggy seedlings.
- Temperature: Maintain 65–75°F (18–24°C) for optimal germination. Use a heat mat if starting indoors in cooler climates.
- Watering: Keep soil consistently moist but not waterlogged. Use a spray bottle to avoid displacing seeds. Cover trays with plastic wrap or a humidity dome to retain moisture, but remove it once seedlings emerge to prevent mold.
Example: Jane, a Zone 6 gardener, started ‘Munstead’ lavender seeds indoors in February. Using grow lights and a heat mat, she achieved a 70% germination rate within three weeks, transplanting healthy seedlings in May.
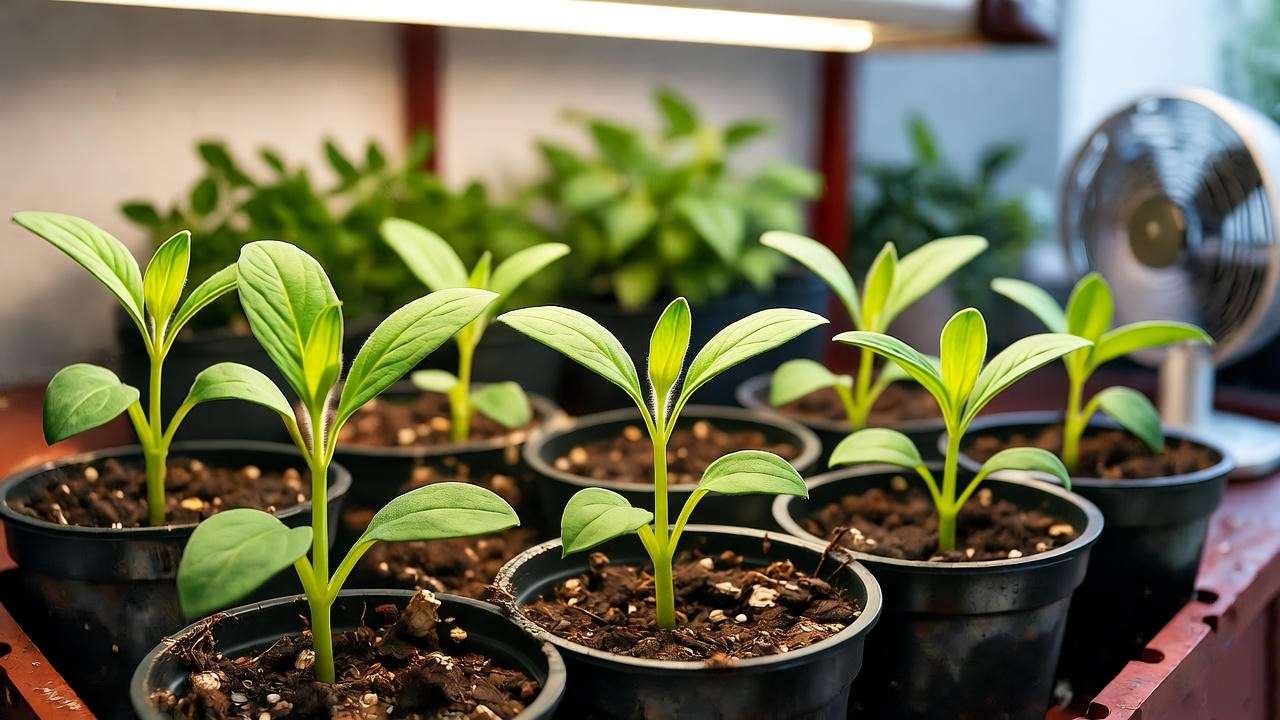
Caring for Lavender Seedlings: From Sprout to Sturdy Plant 🌞
Managing Germination and Early Growth
Lavender seeds typically germinate in 14–30 days, depending on the variety and conditions. Watch for these common issues:
- Damping-off: A fungal disease causing seedlings to collapse. Prevent it with sterile soil and good air circulation (e.g., a small fan).
- Overwatering: Water sparingly once seedlings emerge, allowing the top inch of soil to dry between waterings.
- Insufficient Light: Leggy seedlings indicate low light. Adjust grow lights or move trays to a sunnier window. Thin seedlings to one per cell if multiple sprout, keeping the strongest plant.
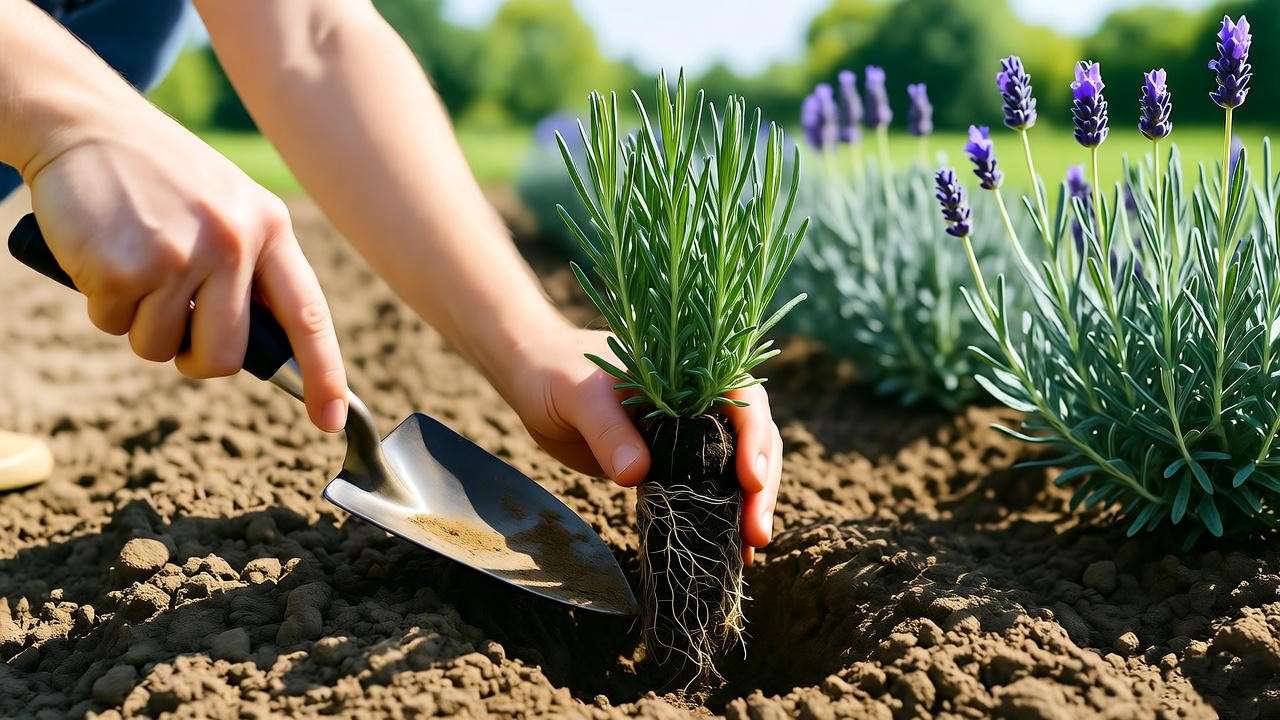
Transplanting Seedlings Outdoors
Transplant seedlings outdoors after they develop 2–3 true leaves and the frost risk is gone. Follow these steps:
- Harden Off: Gradually expose seedlings to outdoor conditions over 7–10 days. Start with 1–2 hours in a shaded spot, increasing daily.
- Choose a Site: Select a sunny location with well-drained soil. Avoid heavy clay or low-lying areas prone to waterlogging.
- Planting: Dig holes 12–18 inches apart, matching the depth of the root ball. Firm soil gently and water thoroughly.
Ongoing Care for Young Lavender Plants
Young lavender plants need minimal but precise care:
- Watering: Water deeply once or twice weekly until established, then reduce to every 1–2 weeks. Overwatering is a common mistake.
- Fertilizing: Apply a low-nitrogen, organic fertilizer (e.g., 5-10-10) once in spring. Avoid over-fertilizing, which promotes leafy growth over blooms.
- Pruning: Pinch back the tips of young plants to encourage bushy growth and prevent legginess.
Expert Tip: Use drip irrigation or water at the base to keep foliage dry, reducing the risk of fungal diseases.
Troubleshooting Common Problems When Growing Lavender from Seeds 🐞
Why Aren’t My Seeds Germinating?
If your lavender seeds aren’t sprouting, several factors could be at play:
- Old or Low-Quality Seeds: Lavender seeds lose viability over time. Always use fresh seeds from a reputable supplier and check the harvest date on the packet.
- Improper Stratification: English lavender varieties often require 3–6 weeks of cold stratification. If skipped, germination rates drop significantly. Re-stratify if needed.
- Incorrect Conditions: Seeds need consistent warmth (65–75°F) and light. Ensure grow lights are close enough (2–4 inches) or move trays to a sunnier spot. To test seed viability, place a few seeds in a damp paper towel inside a sealed bag. If none sprout after 2–3 weeks, invest in new seeds. Patience is key—lavender can take up to 30 days to germinate.
Dealing with Pests and Diseases
Lavender is relatively pest-resistant, but young seedlings are vulnerable:
- Aphids: These tiny insects suck sap from new growth. Spray with a mixture of water and a few drops of dish soap or use neem oil.
- Spider Mites: Look for webbing and stippled leaves. Increase humidity and apply insecticidal soap weekly.
- Whiteflies: These pests cluster under leaves. Introduce beneficial insects like ladybugs or use sticky traps. Fungal diseases like root rot are a bigger threat, often caused by overwatering or poor drainage. Ensure your soil mix is well-draining and avoid watering late in the day. If root rot appears, remove affected plants and improve soil aeration.
Addressing Slow or Stunted Growth
Slow growth can frustrate even experienced gardeners. Common causes include:
- Poor Soil: Lavender needs well-drained, slightly alkaline soil. Amend heavy clay with sand or gravel.
- Insufficient Sunlight: Lavender requires at least 6 hours of direct sun daily. Relocate plants to a brighter spot if growth lags.
- Overcrowding: Thin seedlings to 12–18 inches apart to reduce competition for nutrients and light. Regular soil testing (every 1–2 years) ensures optimal pH and nutrient levels. If growth remains sluggish, try a diluted organic fertilizer to boost development.
Case Study: A gardener in coastal California struggled with damping-off in her lavender seedlings. By switching to a sterile seed-starting mix with perlite and adding a small fan for air circulation, she achieved an 80% survival rate for her ‘Munstead’ lavender.
Harvesting and Using Your Homegrown Lavender 🌼
When and How to Harvest Lavender
Timing your harvest maximizes lavender’s fragrance and versatility:
- When to Harvest: Cut stems when 50% of the buds are open, typically in mid-summer. Early morning is best, as essential oils are most concentrated before the sun peaks.
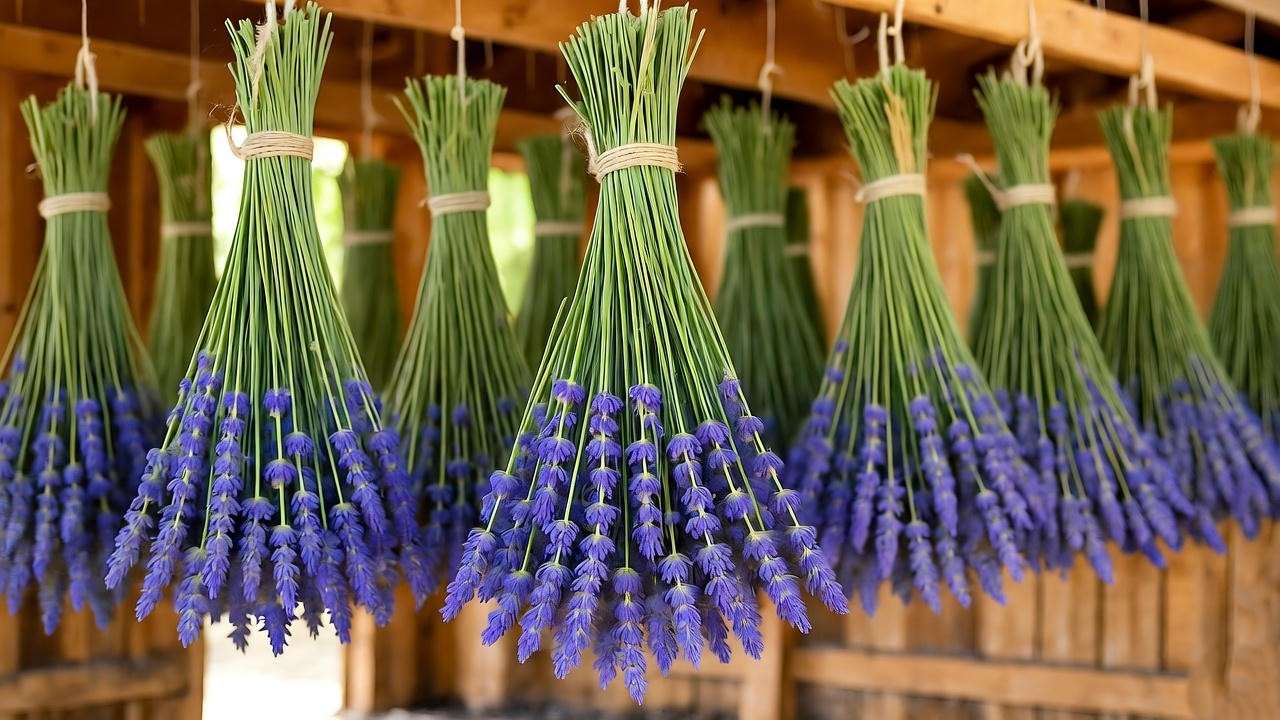
- How to Harvest: Use sharp, clean pruning shears to cut stems just above the leafy growth, leaving a few inches of foliage. Bundle 10–15 stems together with a rubber band for drying.
- Drying Lavender: Hang bundles upside down in a dark, well-ventilated area for 1–2 weeks. Once dry, store in airtight containers to preserve fragrance.
Pro Tip: Avoid harvesting in wet conditions, as moisture can lead to mold during drying.
Creative Uses for Your Lavender
Your homegrown lavender opens a world of possibilities:
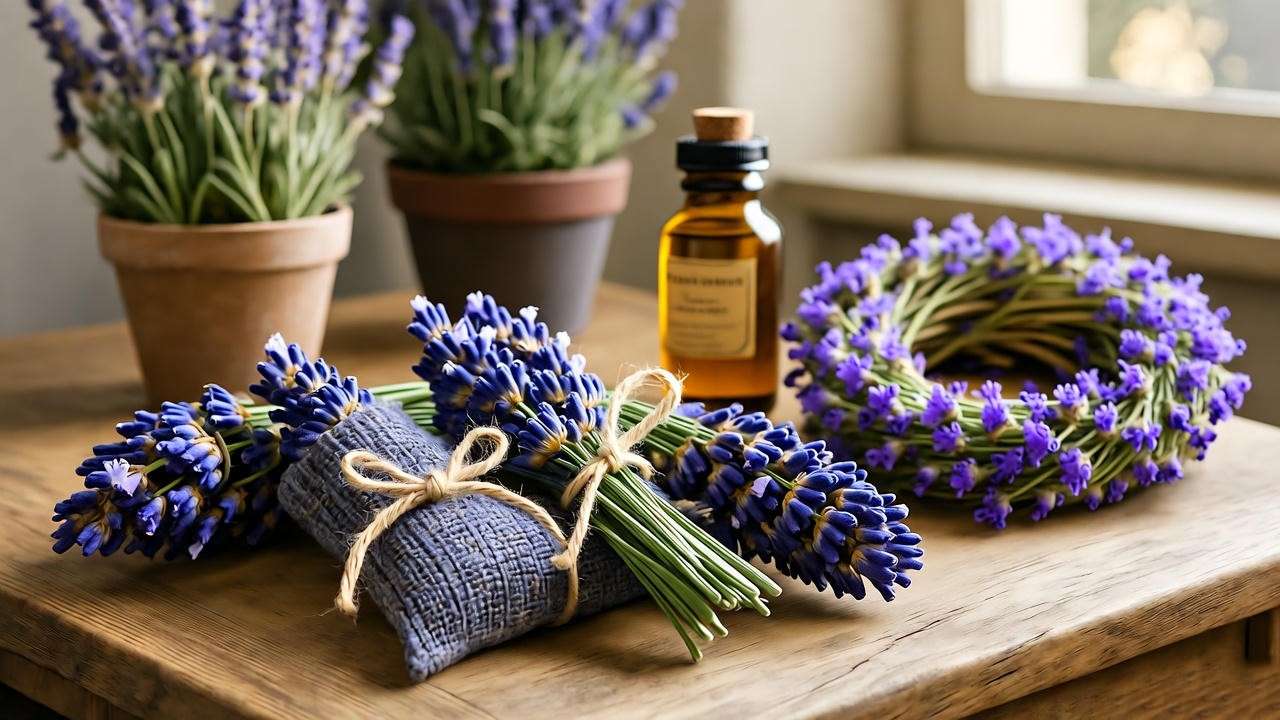
- Aromatherapy: Fill sachets with dried buds for drawers or pillows to promote relaxation. Distill essential oils for diffusers or homemade skincare.
- Culinary: Add dried English lavender buds to recipes like lavender-infused honey, shortbread, or herbal teas. Use sparingly—its flavor is potent.
- Crafts: Create wreaths, candles, or potpourri for gifts or home decor. Lavender stems can also be woven into decorative wands. For inspiration, try making lavender lemonade for a refreshing summer drink: steep 1 tablespoon of dried buds in hot water, strain, and mix with lemon juice and honey.
Fun Idea: Host a lavender-themed garden party! Serve lavender-infused treats, share homemade sachets, and teach guests how to make simple lavender crafts.
FAQs About Planting Lavender Seeds ❓
Here are answers to common questions gardeners ask when starting their lavender journey:
- Q1: How long does it take for lavender seeds to germinate? A: Typically 14–30 days, depending on variety, stratification, and conditions. Patience is essential!
- Q2: Can I plant lavender seeds directly in the ground? A: Yes, after the last frost in well-drained soil, but indoor sowing offers better control and higher success rates.
- Q3: Do lavender plants come back every year? A: Most lavender varieties are perennials in suitable climates (e.g., Zones 5–9 for English lavender). Protect roots in colder zones with mulch.
- Q4: Why are my lavender seedlings leggy? A: Legginess results from insufficient light. Use grow lights or move seedlings to a sunny window, keeping lights 2–4 inches above plants.
- Q5: How do I store lavender seeds for next season? A: Store in a cool, dry place in an airtight container, ideally with a silica gel packet to absorb moisture.
Expert Tips for Long-Term Lavender Success 🌿
To ensure your lavender thrives for years, consider these advanced strategies:
- Companion Planting: Pair lavender with roses, thyme, or oregano to deter pests like aphids and attract pollinators. Avoid planting near moisture-loving plants like ferns.
- Winter Care: In colder climates (Zones 5–6), mulch around the base with straw or gravel to insulate roots. Avoid heavy mulch that traps moisture.
- Rejuvenation Pruning: Each spring, cut back one-third of the plant to maintain shape and encourage new growth. Never cut into woody stems, as this can stunt recovery.
- Soil Testing: Test soil pH every 1–2 years to maintain the ideal range (6.5–7.5). Amend with lime if too acidic or sulfur if too alkaline.
Pro Insight: Rotate lavender plantings every 5–7 years to prevent soil depletion and maintain vigor. If your plants start to decline, propagate cuttings to preserve your favorite varieties.
Conclusion: Grow Your Own Lavender Haven 🌅
Planting lavender seeds is more than a gardening project—it’s a journey to create a fragrant, vibrant oasis that enhances your home and supports local pollinators. This cost-effective, rewarding process lets you cultivate a versatile herb with endless uses, from soothing sachets to culinary delights. Armed with this expert guide, you have the tools to overcome common challenges, nurture healthy plants, and enjoy years of lavender beauty. Start your lavender adventure today, and share your progress in the comments below! For more plant care tips, explore our site and join our community of passionate gardeners.


