
Have you ever watched in awe as a tiny green shoot pushes through the soil for the very first time? That magical moment when your baby plants emerge is pure joy—but it can quickly turn to heartbreak when those delicate seedlings start wilting, stretching, or mysteriously dying overnight. If you’ve ever whispered, “Why do my baby plants keep dying?” you’re not alone. Millions of home gardeners face the same frustrating challenge every season.
As a horticulturist with over 15 years of hands-on experience starting thousands of seedlings in both small apartment setups and large community gardens, I’ve learned exactly what it takes to turn fragile baby plants into strong, thriving plants that fill your garden with beauty and bounty. This complete guide is your fool-proof roadmap. We’ll cover everything from choosing the right baby plants to mastering light, water, soil, and transplanting—so you can finally stop guessing and start growing with confidence.
Whether you’re a complete beginner or a seasoned gardener ready to level up, you’ll discover practical, tested techniques that go far beyond basic tips. No more leggy disasters or damping-off disasters. By the end, you’ll have the knowledge (and the cute success photos!) to nurture your baby plants into garden superstars. 🌿
Ready to give your seedlings the best possible start? Let’s dive in.
What Exactly Are Baby Plants and Why Do They Need Special Care? 🌿
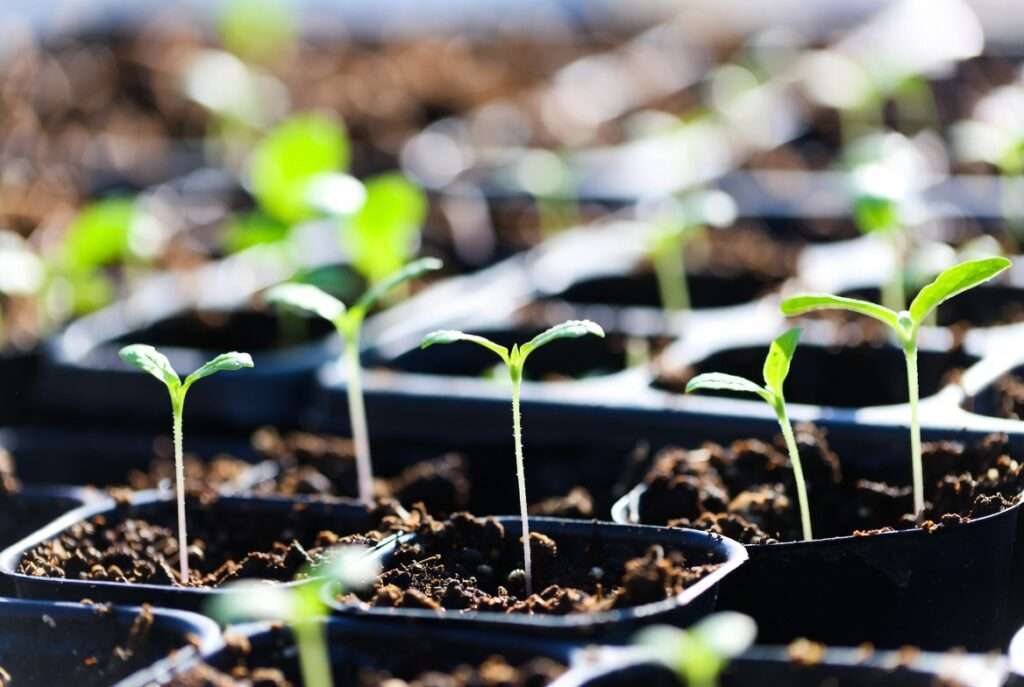
Baby plants—also called seedlings—are the ultra-vulnerable first 4–8 weeks of a plant’s life. During this stage, they rely completely on you for survival. Their roots are tiny, their stems are soft, and they have almost no natural defenses against stress.
H3: The delicate first 4–8 weeks of a plant’s life In these early weeks, baby plants focus all energy on developing true leaves and a strong root system. Any imbalance in light, water, or temperature can stop growth or cause death. University extension programs report that up to 70% of home-started seedlings don’t survive without proper care—mostly due to preventable mistakes.
H3: Difference between seedlings, plugs, and young transplants
- Seedlings: Started from seed in your home or nursery trays.
- Plugs: Pre-grown in small cells, often sold at garden centers.
- Young transplants: Slightly larger, ready for pots or garden beds.
Understanding the stage helps you give the exact care each needs.
H3: Common misconceptions that kill 70% of baby plants Many new gardeners assume baby plants need the same care as mature ones. Wrong! They need gentler watering, brighter light, and warmer soil. Treating them like adult plants is the fastest way to failure.
Here’s a quick comparison table for clarity:
| Aspect | Baby Plants (Seedlings) | Mature Plants |
|---|---|---|
| Light Needs | 14–16 hours bright light | 6–8 hours direct sun |
| Watering | Bottom watering, consistent moisture | Deeper, less frequent watering |
| Temperature | 65–75°F (18–24°C) day/night | Wider range tolerated |
| Soil | Sterile seed-starting mix | Rich garden soil/compost |

Choosing the Right Baby Plants for Your Space and Skill Level 🪴
Success starts with smart selection. Not every baby plant is beginner-friendly!
H3: Best beginner-friendly baby plants (veggies, herbs, flowers, houseplants) Top picks include:
- Vegetables: Tomatoes, basil, lettuce, peppers 🌶️
- Herbs: Cilantro, parsley, mint
- Flowers: Marigolds, zinnias, sunflowers
- Houseplants: Snake plant pups, pothos cuttings, spider plant babies
These are forgiving and grow quickly, giving you fast wins.
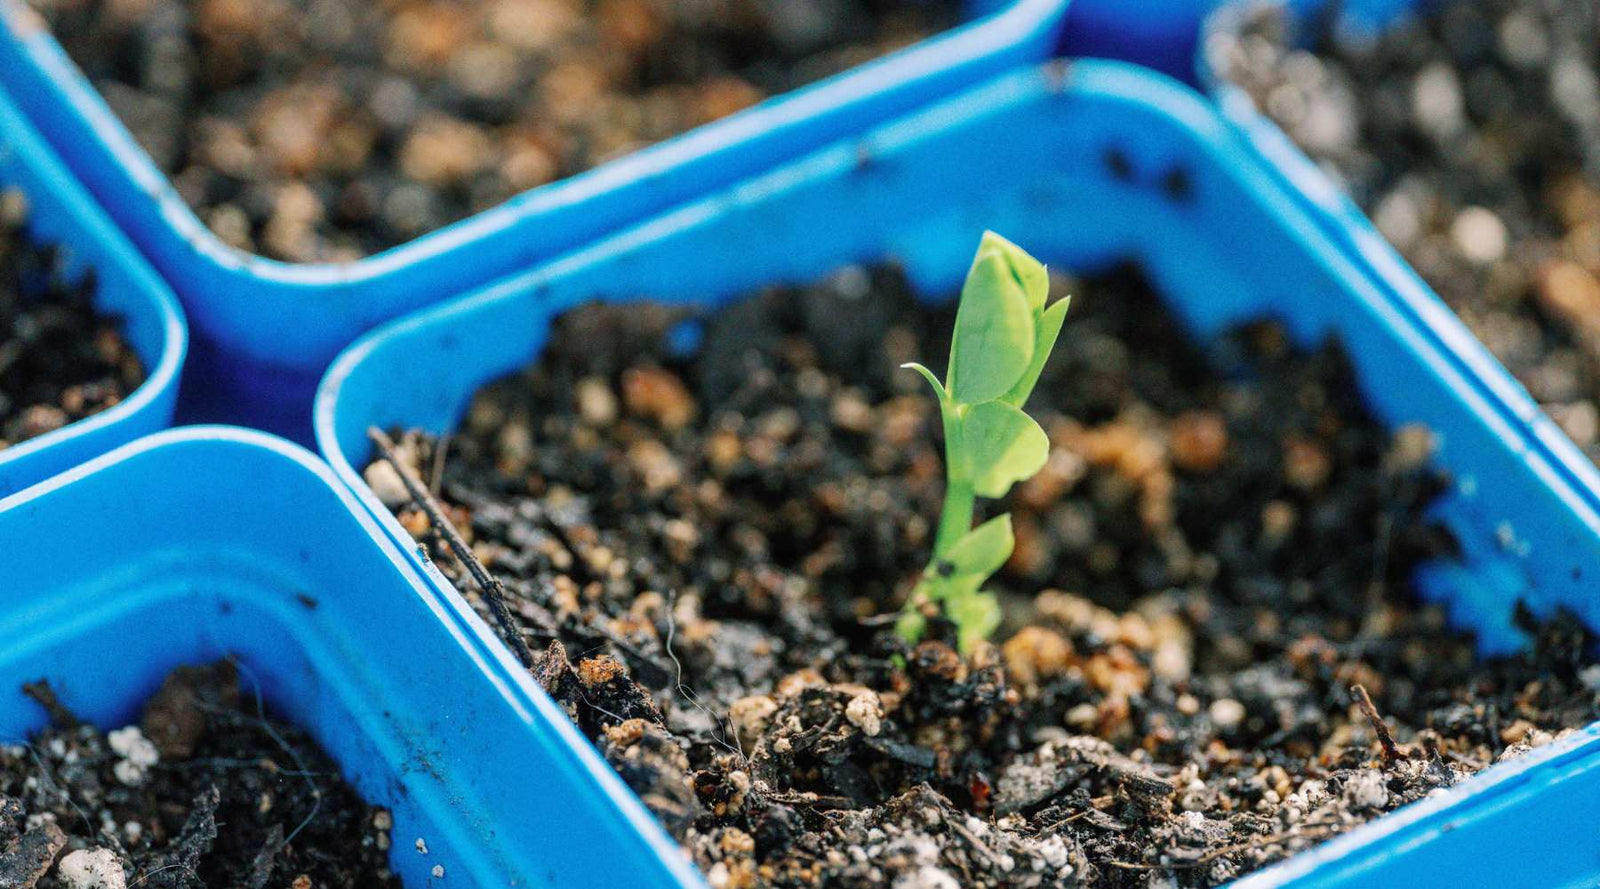
H3: How to select healthy seedlings at the nursery (visual checklist with photos) Look for:
- Stocky stems (not leggy)
- Vibrant green leaves (no yellowing or spots)
- Moist but not soggy soil
- No visible pests or webbing
Avoid any that look stretched toward the light—they’ve already been stressed.
H3: Starting from seed vs buying baby plants — pros, cons, and cost comparison Starting from seed saves money and offers more variety, but requires more time and equipment. Buying baby plants is faster and easier for beginners.
Pro tip box: 🌟 My top 10 fool-proof baby plants for apartments and balconies: basil, cherry tomatoes, marigolds, lettuce, chives, nasturtiums, radishes, spinach, calendula, and zinnias. These thrive in small spaces and reward you with quick harvests or blooms!
Setting Up the Perfect Baby Plant Nursery at Home 🏡
You don’t need a fancy greenhouse—just a smart, simple setup.
H3: Must-have supplies (budget vs premium list) Budget: Recycled trays, potting mix, south-facing window. Premium: Grow lights, heat mats, humidity domes.
H3: DIY seed-starting station ideas under $30 A simple shelf + shop lights + foil reflectors works wonders. Many gardeners repurpose old bookshelves or even kitchen counters.
H3: Indoor vs outdoor starting — when to choose each Start indoors in cold climates for an earlier head start. Move outdoors once temperatures stabilize.

Light: The #1 Secret to Strong, Stocky Baby Plants ☀️
Light is everything for baby plants. Without enough, they become weak and leggy.
H3: Natural sunlight vs grow lights — which actually works better South-facing windows are great, but full-spectrum LED grow lights provide consistent, stronger results—especially in winter or cloudy areas.
H3: Daily light requirements by plant type (easy-reference chart)
| Plant Type | Hours of Light Needed | Distance from Light Source |
|---|---|---|
| Vegetables | 14–16 hours | 2–4 inches |
| Herbs | 12–14 hours | 4–6 inches |
| Flowers | 12–14 hours | 4–6 inches |
H3: Preventing leggy seedlings forever (the south-facing window hack) Keep lights 2–4 inches above the tops and raise them as plants grow. Rotate trays daily for even growth.
Watering Baby Plants Without Drowning or Drying Them Out 💧
Overwatering and underwatering are the top killers of baby plants.
H3: The “finger test” and bottom-watering technique every beginner should master Stick your finger 1 inch into the soil. If dry, it’s time to water from the bottom so roots grow downward.
H3: Watering schedule template (spring, summer, indoor, greenhouse)
- Indoor: Every 2–3 days
- Greenhouse: Check daily Always use room-temperature water.
H3: Signs of overwatering vs underwatering (photo comparison) Yellow, droopy leaves = overwatering. Wilting, crispy edges = underwatering.
Soil and Nutrition That Builds Bulletproof Roots 🪱
The right soil is the foundation of success for your baby plants. Using ordinary garden soil is one of the quickest ways to lose your precious seedlings to disease or poor drainage.
H3: Why regular garden soil kills baby plants Garden soil is often too heavy, may contain pathogens, and drains poorly in small seedling trays. This leads to “damping-off,” a fungal disease that causes seedlings to collapse at the soil line overnight.
H3: Best seed-starting mixes and how to make your own Choose a sterile, light, soilless seed-starting mix that holds moisture without staying soggy. Commercial options labeled “seed starting mix” work well.
For a budget-friendly homemade version, mix:
- 1 part coco coir or peat moss
- 1 part perlite or vermiculite
- 1 part compost (well-aged and sterilized)
This airy blend encourages strong root development while reducing disease risk.
H3: When and how to fertilize — gentle organic options only Baby plants don’t need fertilizer in the first 2–3 weeks while they live off seed nutrients. Once true leaves appear, start with a very diluted organic fertilizer (half or quarter strength).
Recommended gentle choices:
- Compost tea
- Diluted fish emulsion
- Worm castings tea
Apply every 7–10 days when watering from the bottom. Over-fertilizing burns tender roots, so “less is more” is the golden rule for baby plants.
H3: pH sweet spot and simple home testing methods Most baby plants prefer a slightly acidic pH between 6.0 and 7.0. You can test easily with inexpensive soil pH strips or a digital meter. If your mix is too alkaline, a sprinkle of used coffee grounds can help gently lower pH.
Downloadable bonus: Keep this handy checklist nearby — “Soil Mix Recipes for 12 Popular Baby Plants” (tomatoes, basil, marigolds, lettuce, etc.). It has saved countless gardeners from guesswork.
Temperature, Humidity & Air Circulation — The Invisible Care Trio 🌡️
While light and water get most of the attention, temperature, humidity, and gentle airflow are the hidden heroes (or villains) for healthy baby plants.
H3: Ideal temperature ranges (day/night) for different baby plants
- Warm-season crops (tomatoes, peppers, basil): 70–75°F (21–24°C) day / 60–65°F (15–18°C) night
- Cool-season crops (lettuce, spinach, kale): 65–70°F (18–21°C) day / 55–60°F (13–15°C) night
A simple seedling heat mat can make a huge difference in cooler rooms by keeping soil consistently warm for faster germination and root growth.
H3: Creating a mini greenhouse effect without buying fancy equipment Clear plastic domes, repurposed plastic bottles, or even a simple humidity tray with pebbles and water work beautifully. Aim for 60–70% humidity in the first two weeks, then gradually reduce it to toughen up the seedlings.
H3: Gentle airflow to prevent damping-off disease Still air is a breeding ground for fungi. A small oscillating fan on the lowest setting for a few hours a day creates gentle movement that strengthens stems and dries excess moisture from leaves.
Transplanting Baby Plants: From Tiny Pot to Garden Glory 🌳
The day your baby plants outgrow their starter cells is exciting—but it’s also a critical transition that requires care.
H3: When your baby plants are ready (true leaf checklist) Wait until seedlings have at least 2–4 sets of true leaves and strong stems. If roots are circling the bottom of the cell, it’s definitely time.
H3: Hardening off — the 7–10 day step-by-step process This gradual introduction to outdoor conditions prevents transplant shock. Start with 1–2 hours in a shaded spot on day 1, slowly increasing time and sun exposure each day. Bring them inside at night if temperatures drop.
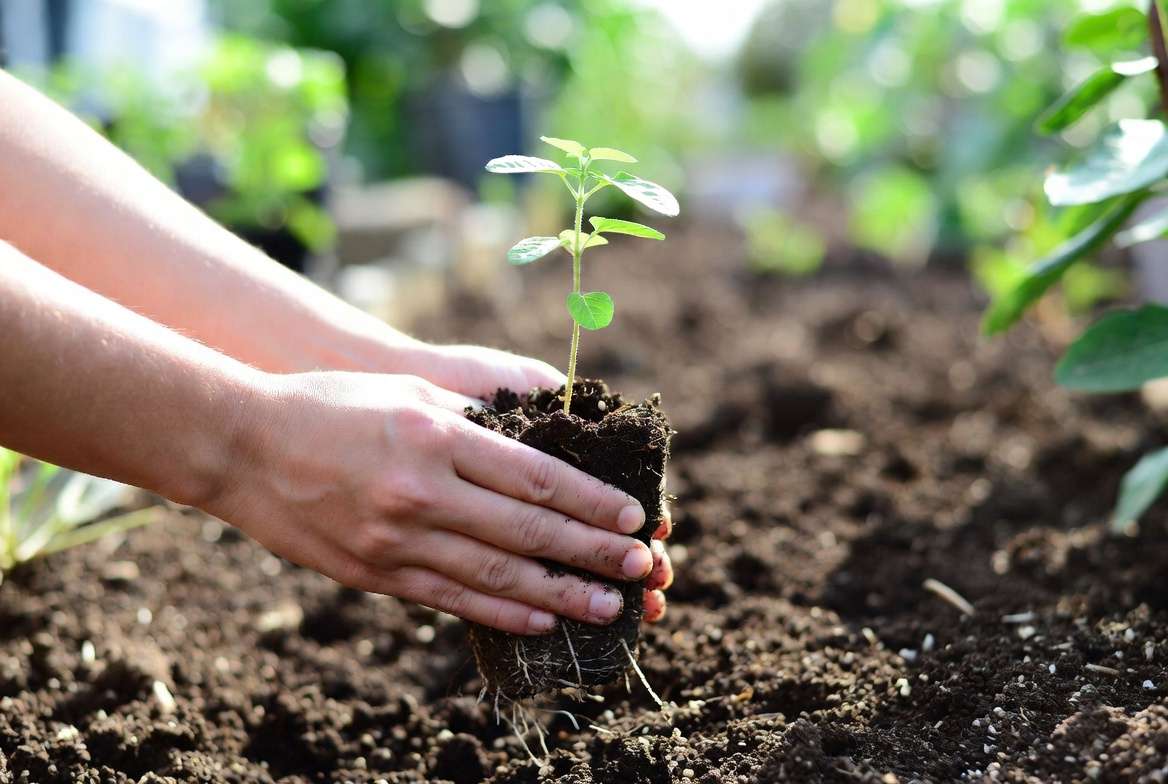
H3: Transplanting into pots, raised beds, or directly in ground
- Water the seedling well before moving.
- Handle by the leaves, never the stem.
- Plant at the same depth (except tomatoes — bury deeper for stronger roots).
- Water gently after transplanting and provide shade for the first few days.
H3: Tree care bonus: How baby tree seedlings become future shade giants Young tree seedlings (like oak, maple, or fruit trees) need extra patience. Use deeper pots for root development and protect them from strong winds and intense sun during the first year. Proper baby plant care here sets the foundation for a healthy, long-lived tree in your landscape.
Common Baby Plant Problems and How to Fix Them Fast ⚠️
Even with perfect care, issues can arise. Here’s your quick-action troubleshooting guide.
H3: Damping-off, leggy growth, yellow leaves, pests
- Damping-off: Seedlings collapse at soil level. Prevention is key — use sterile mix, good airflow, and avoid overwatering.
- Leggy growth: Not enough light. Move closer to light source immediately.
- Yellow leaves: Usually overwatering or nutrient deficiency. Check soil moisture first.
- Pests (aphids, fungus gnats): Use neem oil spray or sticky traps. Isolate affected trays.

H3: Quick-fix troubleshooting flow chart (highly shareable) [Visual suggestion: A simple decision-tree style chart — “Is the stem thin and stretched? → Increase light. Are lower leaves yellow? → Reduce water.”]
H3: Organic remedies that actually work (tested in real gardens)
- Neem oil or insecticidal soap for pests
- Cinnamon sprinkled on soil to prevent fungal issues
- Diluted hydrogen peroxide (1:4 with water) for mild damping-off rescue
Expert case study: Last spring I rescued 200 tomato baby plants that were suffering from damping-off by immediately improving airflow, switching to bottom watering, and applying a light cinnamon dusting. Within a week, the surviving seedlings bounced back stronger than ever.
Advanced Nurturing Tips to Turn Baby Plants into Show-Stoppers ✨
Once your baby plants are stable and growing well, a few expert techniques can take them from “surviving” to “thriving.”
H3: Pruning, pinching, and training for bushier growth When seedlings reach 4–6 inches tall, gently pinch the top growing tip of herbs and many flowers (like basil and zinnias). This encourages branching and results in fuller, more productive plants. For tomatoes, remove suckers early for stronger main stems.
H3: Companion planting secrets for baby plants Plant marigolds near vegetable seedlings to naturally deter pests. Basil and tomatoes love growing together — they improve each other’s flavor and growth. Even in the seedling stage, planning companions helps create a healthy mini-ecosystem.
H3: Seasonal care calendar (spring through winter protection)
- Spring: Focus on starting and hardening off
- Summer: Provide afternoon shade for tender babies and consistent moisture
- Fall: Protect late seedlings from early frost with row covers
- Winter: Grow microgreens and indoor herbs under lights for year-round success
H3: Transitioning houseplant babies to outdoor summer vacations Many indoor baby plants (pothos, spider plants, peace lilies) enjoy a summer outdoors in bright indirect light. Acclimate them slowly and bring them back inside before nights drop below 55°F (13°C).
Eco-Friendly & Sustainable Baby Plant Care Practices ♻️
Growing baby plants responsibly not only helps your garden but also protects the planet.
H3: Plastic-free potting options and seed tape DIY Switch to biodegradable pots made from coconut coir, newspaper, or eggshells. Make your own seed tape by gluing seeds onto strips of toilet paper — it reduces thinning later and minimizes plastic waste.
H3: Making your own compost tea and worm castings Steep finished compost in water for 24–48 hours to create nutrient-rich “tea.” A small worm bin at home provides free, gentle fertilizer that baby plants love.
H3: Saving seeds from your own thriving plants for next season Allow a few of your strongest plants to flower and set seed. Dry and store them properly in cool, dark conditions. This closes the loop and saves money while preserving varieties that perform well in your specific microclimate.
Frequently Asked Questions About Baby Plants Care ❓
Here are answers to the most common questions I receive from readers and workshop participants:
How often should I water baby plants? It depends on conditions, but generally every 2–4 days. Always check soil moisture with the finger test. Bottom watering is safest for young seedlings.
Can baby plants survive in low light? Most cannot. Insufficient light causes leggy, weak growth. Aim for 12–16 hours of bright light daily, using grow lights if natural sunlight is limited.
When can I move my baby plants outside? After hardening off (7–10 days) and when all danger of frost has passed and night temperatures stay above 50°F (10°C) for tender varieties.
Why are my baby plants turning purple? Often a sign of cold stress or phosphorus deficiency. Warm the environment and use a diluted organic fertilizer if true leaves have developed.
How do I prevent damping-off in baby plants? Use sterile seed-starting mix, provide good airflow, avoid overwatering, and keep soil surface drier by watering from the bottom.
Do baby plants need fertilizer right away? No. Wait until true leaves appear, then use very diluted organic fertilizer every 7–10 days.
What’s the best way to harden off seedlings? Gradually increase outdoor exposure over 7–10 days, starting with shade and short periods, then adding more sun and time.
Can I reuse seedling trays and pots? Yes! Clean them thoroughly with a 10% bleach solution or hydrogen peroxide rinse and allow to dry completely before reusing.
Why are my baby plants growing so slowly? Check temperature (too cold slows growth), light (insufficient light slows everything), and nutrients.
How deep should I plant baby plants when transplanting? Usually at the same depth they were growing, except for tomatoes and some brassicas which benefit from deeper planting.
Conclusion: From Tiny Baby Plants to Your Dream Garden 🌼
Caring for baby plants is one of the most rewarding parts of gardening. Those fragile little seedlings you nurture today will become the lush vegetables, vibrant flowers, and majestic young trees that bring joy to your space tomorrow.
By following the complete care steps in this guide — proper light, careful watering, quality soil, the right temperature, and timely transplanting — you now have everything you need to dramatically increase your success rate. Remember: patience, observation, and consistent gentle care are your greatest tools.
Start small, celebrate every new leaf, and don’t be afraid to learn from the occasional setback. Every expert gardener you admire once killed their share of baby plants too!
I’d love to see your progress. Share photos of your healthy seedlings in the comments below, tell me which baby plants you’re growing this season, or ask any remaining questions. Together we can grow greener, happier gardens.
Happy planting — your thriving garden starts with those precious baby plants! 🌱✨


