

Imagine attending a beautiful, meticulously planned wedding or baby shower, only to leave with a plastic trinket or a sugary treat that is forgotten by Monday. We have all been there. But what if you could offer your guests something living, sustainable, and genuinely beautiful instead? Creating DIY succulent party favors or gifts is the absolute perfect way to leave a lasting impression without blowing your entire event budget.
As a plant care specialist who has propagated, potted, and rehabilitated thousands of succulents, I’ve seen firsthand how these resilient little plants can elevate any gathering. The problem? Many generic craft tutorials treat living plants like inanimate objects, leading to sad, wilted favors before the guests even take them home. In this comprehensive, expert-level guide, I will walk you through the exact horticultural steps, budget-saving sourcing tricks, and styling secrets to ensure your creations look boutique-quality and thrive long after the party ends. Let’s dig in! 🧤🌱
Why Succulents Make the Ultimate Party Favors 🌵💚
When planning an event, every detail matters. Succulents have surged in popularity for favors, and for good reason—they hit the sweet spot between elegance, affordability, and longevity.
-
Eco-Friendly & Sustainable 🌍: Unlike single-use plastics or disposable trinkets, a living plant is a zero-waste gift. It gives back to the environment, purifies the air, and encourages a connection with nature.
-
Deeply Symbolic 🕊️: A growing plant beautifully represents new beginnings, enduring love, and lasting memories. This makes them exceptionally fitting for weddings, bridal showers, and baby showers.
-
Incredibly Low Maintenance 💧: You do not need to worry about burdening your guests. Even friends who claim they don’t have a “green thumb” can successfully keep a succulent alive. Their drought-tolerant nature makes them wonderfully forgiving.
-
Insanely Photogenic 📸: Let’s be honest—aesthetics matter. Whether lined up on a rustic wooden display table or acting as personalized place cards, succulents offer incredible texture and vibrant color. They are guaranteed to be a hit on Instagram and in professional event photography.
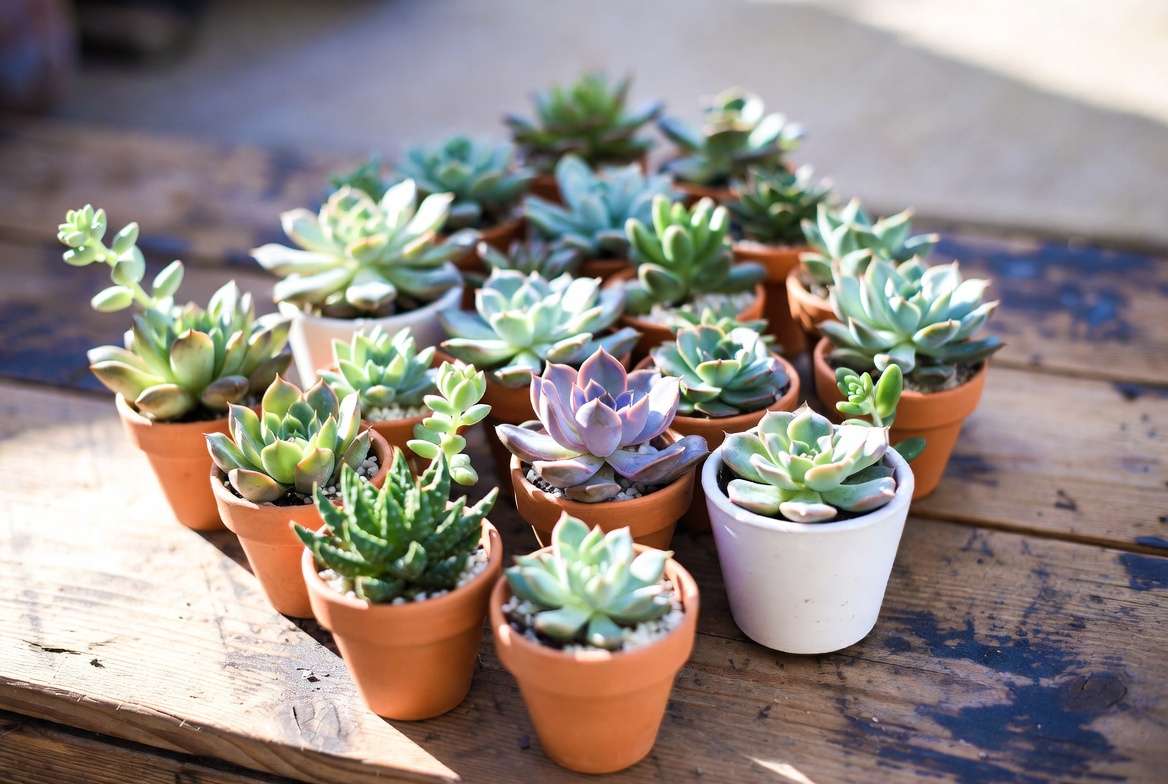
Cost Breakdown: Planning Your Budget-Friendly Favors 💰
The word “stunning” doesn’t have to mean “expensive.” With a little strategic planning, you can easily create high-end favors for a fraction of the cost of buying them pre-made from a boutique florist.
Where to Source Affordable Succulents 🛒
Buying single succulents from big-box hardware stores will quickly drain your budget. To keep costs low, you need to buy in bulk or plan well in advance.
-
Wholesale Nursery Flats: The most cost-effective way to purchase succulents is by ordering “plugs” (tiny, 1-inch to 2-inch rooted plants) in nursery flats of 50 or 100. Look for reputable online wholesale nurseries. When buying in bulk, the cost often drops to $1 to $2 per plant.
-
The Expert Trick: Propagation ✂️: If you have 3 to 6 months before your event, you can drop your plant cost to absolute pennies. Purchase a few large, healthy “mother plants” (like a mature Echeveria or Graptopetalum). Carefully twist off the lower leaves, let the ends callous over for a few days, and lay them on dry soil. In a few weeks, each leaf will sprout a tiny new baby succulent!
Clever, Low-Cost Container Ideas ♻️
The container you choose dictates the entire vibe of the gift. Here is a comparison of budget-friendly vessel options:
Pro Plant Tip: As a plant expert, I always advocate for containers with drainage holes. If you choose glass jars or teacups, you must use specific planting techniques (which I’ll cover in the step-by-step section) to prevent the dreaded root rot!
Materials Checklist: What You’ll Need to Get Started 📝
Before you start assembling, gather your supplies. Having a clean, organized workspace will make the assembly line process fun and efficient, especially if you invite friends over for a DIY prep party! 🎉
1. The Plants 🌱
Stick to hardy, beginner-friendly varieties that handle the stress of repotting well. Avoid overly delicate trailing succulents for favors.
-
Echeveria: Classic rosette shapes in stunning pastels.
-
Haworthia: Spiky, zebra-striped, and highly tolerant of low indoor light.
-
Jade Plant (Crassula ovata): Symbolizes good luck and prosperity.
-
Sempervivum (Hens and Chicks): Frost-hardy and incredibly prolific.
2. The Soil 🪨 (Crucial Expert Warning!)
Do not use standard, moisture-retaining indoor potting soil. Succulents are desert natives. Sitting in wet, dense dirt will quickly lead to root rot—turning your beautiful favors into mushy, foul-smelling disasters.
-
What you need: A high-quality, gritty Cactus and Succulent Mix. For even better results, amend a store-bought cactus mix by mixing in 30% perlite or pumice to ensure maximum drainage and airflow to the roots.
3. The Tools 🛠️
-
Small Spoon or Scoop: For precision soil pouring in tiny pots.
-
Tweezers: Long tweezers are lifesavers for picking dead leaves or placing small rocks.
-
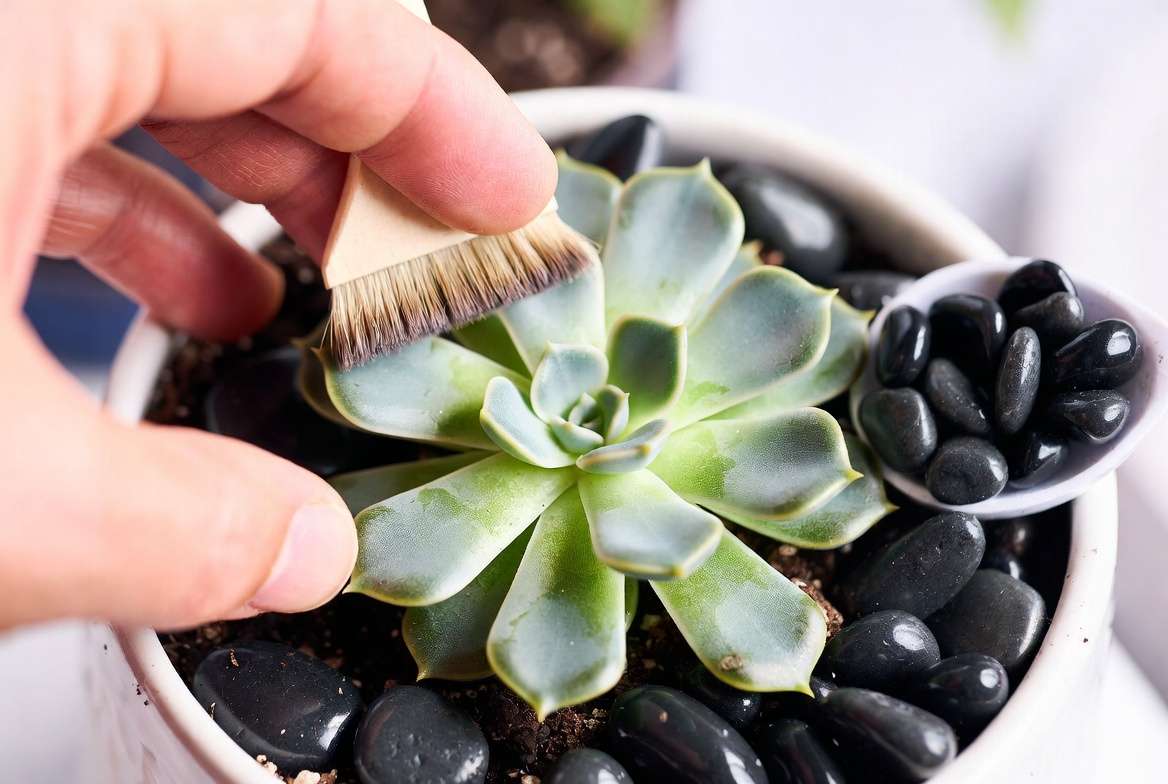
Soft Makeup Brush: The ultimate secret weapon. Use a fluffy, clean makeup brush to gently dust away stray soil from the succulent leaves without damaging their delicate powdery coating (called farina).
4. The Decor 🎀
-
Top Dressing: Small river rocks, decorative gravel, or preserved Spanish moss to cover the bare dirt. This instantly makes a DIY favor look like a $15 boutique gift.
-
Finishing Touches: Jute twine, silk ribbon, and custom-printed name tags or care instructions.
Step-by-Step Guide: Assembling Your DIY Succulent Party Favors or Gifts 🪴🛠️
Now comes the fun part! While assembling 50 to 100 favors might sound daunting, setting up an assembly line will make the process incredibly efficient. Focus on plant health just as much as the aesthetic appeal to ensure your living gifts actually live long after the party.
Step 1: Prepping Your Containers and Drainage 🕳️
As a horticulturist, I cannot stress this enough: drainage holes are non-negotiable for long-term succulent survival.
-
If you have drainage holes: Simply place a tiny square of mesh screen or a single coffee filter at the bottom of the pot. This allows water to flow out while keeping your expensive gritty potting soil inside.
-
If you absolutely must use containers without holes (like glass jars or teacups): You need to create a “false bottom.” Add an inch of small gravel or pumice to the bottom, followed by a thin layer of horticultural charcoal. The charcoal helps absorb impurities and prevents the trapped water from souring. Note: You must explicitly warn your guests on their care tags to water these extremely sparingly!
Step 2: Unpotting and Root Inspection 🔍
When your nursery flats arrive, the plants will be tightly packed in tiny plastic cells or “plugs.”
-
Gently squeeze the sides of the plastic cell and push up from the bottom to pop the succulent out. Never pull the plant by its delicate leaves!
-
Use your fingers to gently massage and loosen the root ball. You want to free the roots from the dense, peaty soil they were shipped in.
-
Expert Check: Briefly inspect the roots and the crevices between the leaves for tiny white, cotton-like masses. These are mealybugs—a common nursery pest. If you spot them, dab them with a Q-tip dipped in rubbing alcohol before potting. You don’t want to gift your guests a pest infestation! 🐛🚫
Step 3: Planting for Long-Term Success 🤲
With your container prepped and your plant unpotted, it’s time to plant.
-
Add a small base layer of your gritty cactus mix into the new container.
-
Hold the succulent in the center of the pot with one hand. Make sure the base of the plant (where the stem meets the roots) sits just below the rim of the pot. Do not bury the lower leaves in the dirt! This is a guaranteed recipe for stem rot.
-
Using your small spoon, carefully scoop soil around the edges of the root ball, gently tapping the pot on the table to help the soil settle into the air pockets.
Step 4: The Finishing Aesthetic Touches ✨
Raw potting soil is messy and can look a bit unfinished. Top dressing is the secret sauce that transforms a basic potted plant into a premium event favor.
-
Spoon a thin layer of decorative river rocks, colored aquarium gravel, or natural moss over the exposed soil. This not only looks gorgeous but keeps the soil neatly in place during transport.
-
Grab your soft, clean makeup brush and gently dust away any dirt flecks that have settled on the plant’s rosettes.
-
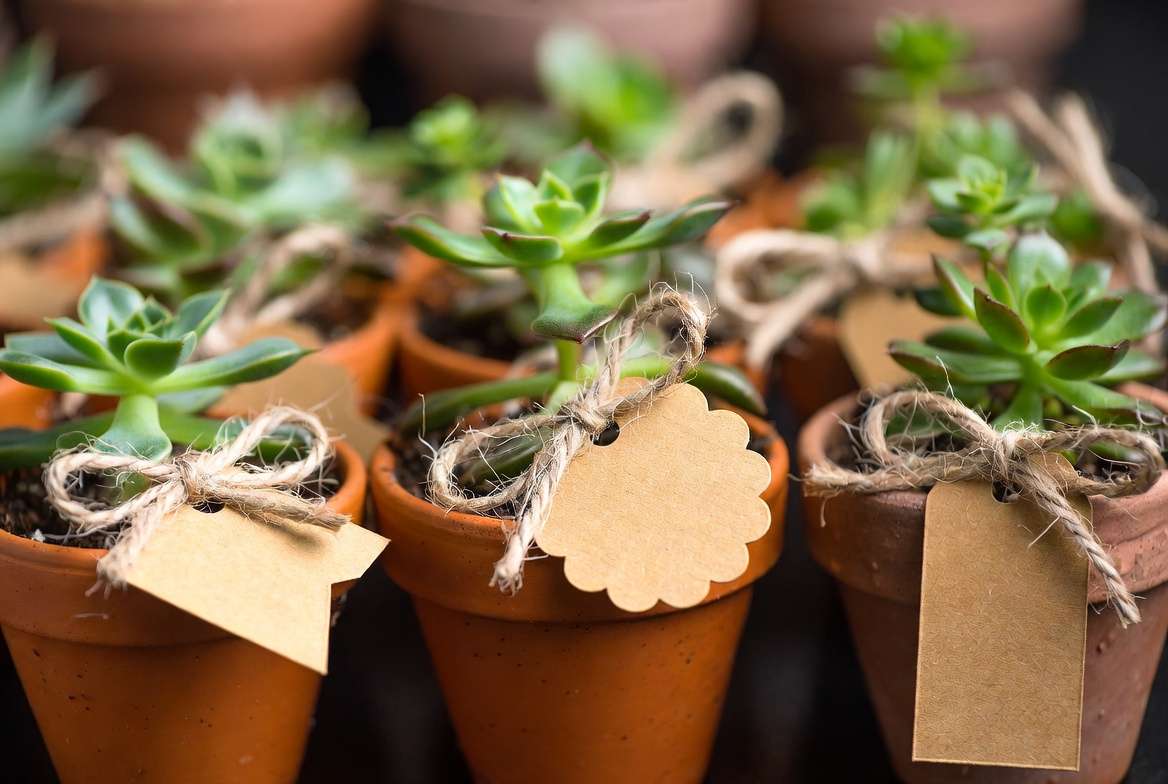
Wrap your twine or ribbon around the rim of the pot, and tie on your customized name tag or “Let Love Grow” label! 🎀
4 Stunning Aesthetic Themes for Any Event 🎉
The versatility of succulents is what makes them such perfect gifts. By simply swapping out the container and the top dressing, you can completely change the vibe to match your event’s specific theme. Here are four highly photogenic styling ideas:
1. Rustic Chic (Perfect for Weddings) 🪵
Rustic weddings and barn venues pair beautifully with earthy textures.
-
The Look: Standard terra cotta pots wrapped in a strip of burlap and tied with jute twine.
-
The Plant: A dusty green or purple Echeveria or plump Sedum varieties.
-
The Details: Use a natural, earthy top dressing like pea gravel or preserved reindeer moss. Attach a small brown kraft paper tag that says, “Let Love Grow” or “Planted with Love.”
2. Minimalist Modern (Corporate Events or Dinner Parties) 🤍
If you want a sleek, upscale, and contemporary look, keep the color palette monochromatic.
-
The Look: Small, geometric white or matte black ceramic pots.
-
The Plant: Architectural succulents like Haworthia fasciata (Zebra Plant) or deep green Crassula (Jade).
-
The Details: Top the soil with polished black river rocks or crisp white marble chips for striking contrast.
3. Whimsical & Bright (Baby Showers & Birthdays) 🍼🌈
Celebrate a new life or a joyful milestone with soft, cheerful colors.
-
The Look: Mini pots painted in pastel hues (blush pink, mint green, or baby blue).
-
The Plant: Look for colorful succulents! The Graptopetalum paraguayense (Ghost Plant) offers lovely pinkish-lavender tones, or use bright, lime-green varieties.
-
The Details: Insert a customized wooden toothpick flag right into the soil that says “Watch Me Grow!” or features the baby’s due date.
4. Vintage Elegance (Bridal Showers & Tea Parties) ☕
This is a phenomenal way to upcycle and create a highly memorable, double-duty gift.
-
The Look: Mismatched, thrifted vintage teacups with intricate floral patterns and gold rims.
-
The Plant: Soft, romantic rosette shapes like the Echeveria ‘Lola’ or trailing String of Pearls spilling elegantly over the side of the cup.
-
The Details: Because teacups lack drainage holes, rely heavily on the pumice/charcoal false bottom method mentioned earlier. Tie a delicate silk or velvet ribbon around the handle.
Expert Plant Care: Keeping Your Favors Alive Before the Big Day ☀️💧
One of the biggest mistakes DIYers make is assembling their favors a month in advance and then tucking them away in a dark closet or garage to “keep them safe” until the event. As a plant expert, I have seen this result in dozens of pale, stretched-out, or rotting plants.
If you are making your DIY succulent party favors or gifts ahead of time, you need to treat them like the living centerpieces they are. Here are the golden rules for keeping them pristine before the big day:
-
The “Wait to Water” Rule 🚫💧: Do not water your succulents immediately after repotting them. The process of unpotting and teasing the roots causes microscopic tears. If you water right away, bacteria can enter those open wounds and cause root rot. Wait at least 5 to 7 days before giving them their first drink.
-
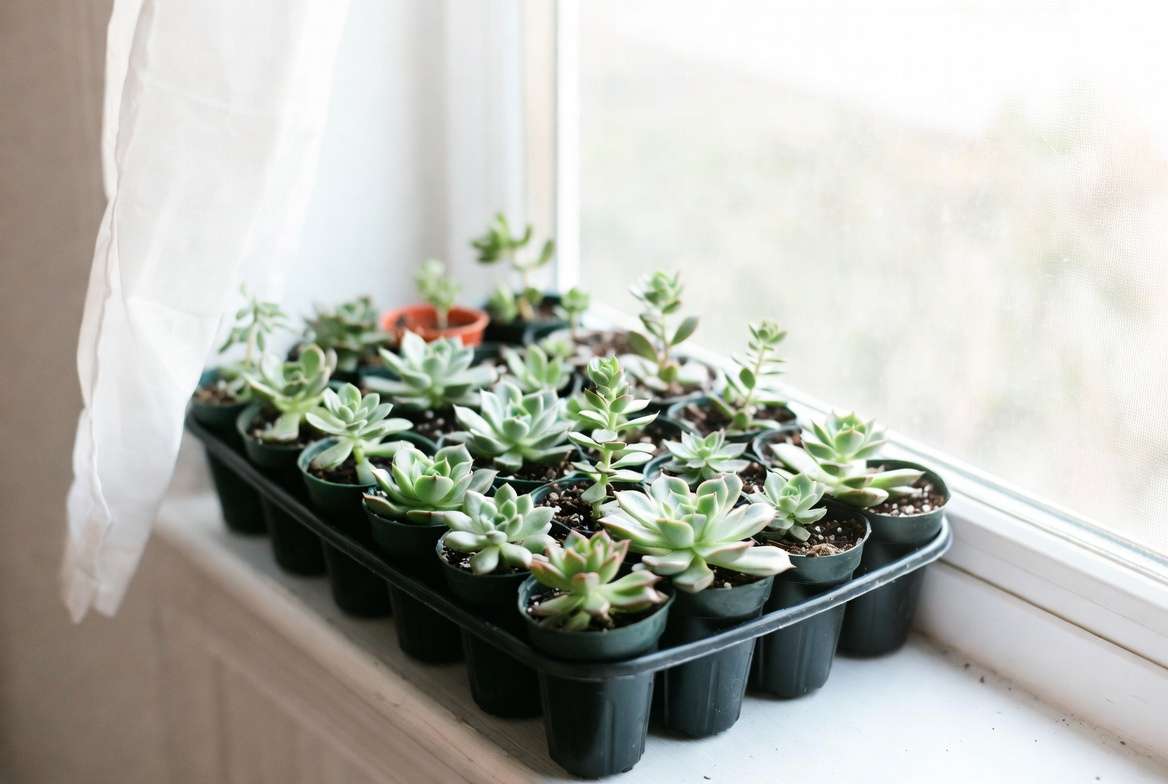
Optimal Lighting ☀️: Succulents crave sunlight. If kept in the dark, they will rapidly “etiolate” (stretch out and become tall, leggy, and pale as they search for light). Keep your trays of favors near a bright, South- or East-facing window where they can receive bright, indirect light. Avoid sudden direct, scorching sun, which can give them sunburns!
-
Temperature & Airflow 🌬️: Keep your favors in a room with a stable temperature (between 60°F and 80°F is ideal). Good airflow is crucial to prevent stagnant moisture and fungal issues, so running a ceiling fan on low in the room is a great pro-tip.
Setting Guests Up for Success: Free Printable Care Tags 🏷️
You have put all this effort into creating a stunning, healthy gift—now you need to empower your guests to keep it alive! Let’s be honest, the number one killer of succulents is overzealous watering by well-meaning plant parents.
Attaching a small, beautifully designed care tag is the ultimate finishing touch that adds immense value to your favor.
What Your Care Tag Should Say: Keep the instructions simple and unintimidating. I recommend including these three bullet points on the back of your name tags:
-
Watering: “Drench me only when my soil is 100% bone dry (usually every 2–3 weeks). Never mist my leaves!”
-
Light: “I love bright, indirect sunlight. Keep me near a sunny window.”
-
Love: “Ignore me a little bit, and I will thrive!”
Frequently Asked Questions (FAQs) 🤔
To ensure you have all the knowledge you need, let’s tackle some of the most common questions surrounding succulent event favors.
How far in advance should I make succulent favors? Aim to assemble your favors 1 to 2 weeks before the event. This gives the plants enough time to settle into their new soil and recover from root shock, but not so much time that you have to worry about long-term indoor care, stretching, or watering schedules.
Can I use succulent cuttings instead of fully rooted plants? Absolutely! This is a fantastic budget hack. You can buy unrooted succulent cuttings for a fraction of the price of rooted plugs. Just remember that cuttings must have a dry, calloused stem before they touch the soil. Simply rest the calloused cuttings on top of your gritty dry soil. They will naturally root over a few weeks. Remind guests not to water them until roots form!
How do I safely transport dozens of mini plants to the venue? Transporting top-heavy mini pots can be nerve-wracking. Save shallow cardboard boxes (like the ones canned goods come in at the grocery store). Line the pots up snugly inside the box, and gently stuff crumpled tissue paper or newspaper between the pots so they cannot tip over during transit. Never leave the boxes in a hot car, as the plants will bake in minutes.
What is the cheapest succulent to buy in bulk? Sempervivum (commonly known as “Hens and Chicks”) are incredibly affordable, fast-multiplying, and frost-hardy. They look beautifully rustic and are generally the most cost-effective option for large-scale events.
Conclusion: Ready to Grow Your Own Gifts? 🌿
Creating DIY succulent party favors or gifts is so much more than just a budget-friendly event hack—it is a deeply rewarding, creative process that leaves your guests with a meaningful, living reminder of your special day. By sourcing your plants smartly, prioritizing drainage, using the right cactus soil, and elevating the aesthetics with beautiful top dressing, you can easily achieve that high-end, boutique look for pennies on the dollar.
Whether you are styling rustic terra cotta pots for a barn wedding or upcycling vintage teacups for an elegant bridal shower, your handmade creations are guaranteed to steal the show. Roll up your sleeves, gather your supplies, and get ready to craft the ultimate sustainable party favor! 🌵✨











