
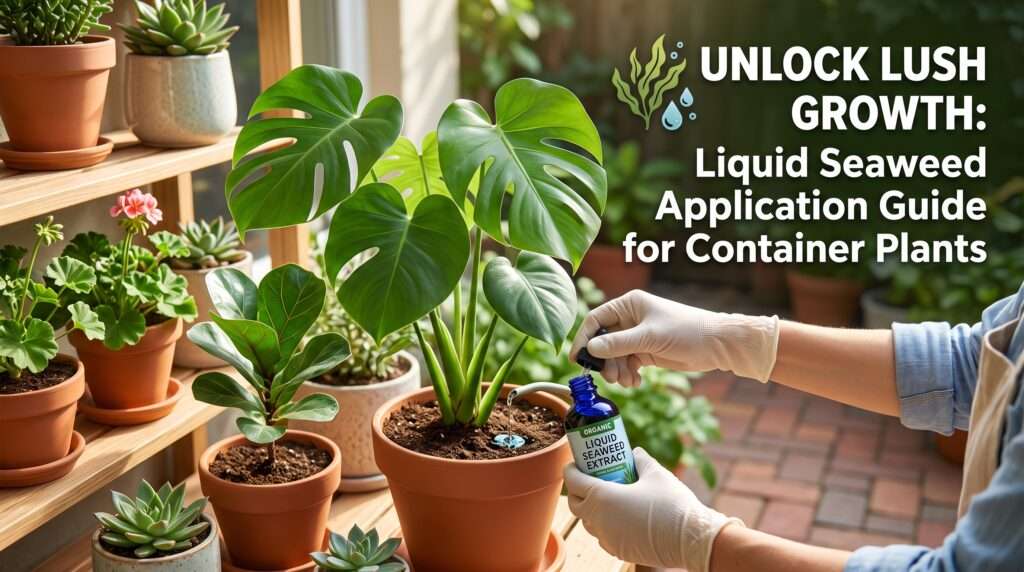
You know the feeling. You bring home a vibrant, thriving plant, pot it up with care, and meticulously water it. Yet, a few months later, the leaves lose their luster, new growth stalls, and the plant just looks tired. If you have experienced this, you are not alone. Container gardening presents a unique set of challenges, primarily because a pot is a closed, highly artificial ecosystem. Every time you water, essential nutrients wash right out of the drainage holes, leaving your sterile potting mix depleted. To truly revive and sustain your indoor jungle or patio garden, you need more than just a standard NPK fertilizer.
Mastering liquid seaweed application for container plants is the ultimate secret to unlocking vigorous, lush growth and building long-term resilience against environmental stress. It acts as a powerful botanical multivitamin, filling the nutritional gaps that standard plant foods leave behind.
In this comprehensive guide, we will dive deep into the science behind marine extracts, explore precise step-by-step application methods, and share expert troubleshooting tips to transform your potted plants from merely surviving to absolutely thriving. 🪴
💡 Expert Insight: Over years of managing demanding potted landscapes and indoor collections, I’ve found that many “mystery” plant ailments—like subtle yellowing or failure to bloom—aren’t caused by a lack of nitrogen, but a lack of trace minerals. Adding liquid kelp to your routine is often the missing puzzle piece for achieving that magazine-cover foliage.
🧪 What Exactly is Liquid Seaweed Extract?
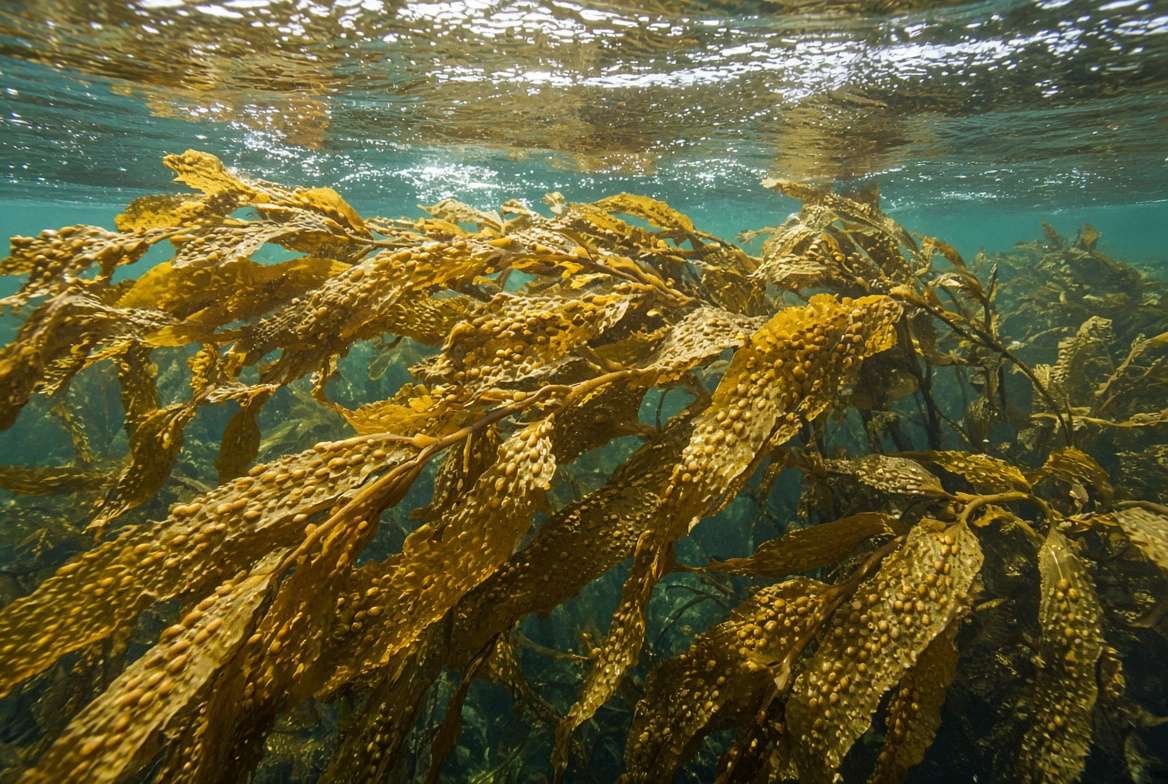
When we talk about liquid seaweed (most commonly derived from Ascophyllum nodosum, a type of cold-water kelp), it is crucial to understand that it is not a traditional fertilizer.
If you look at the label on a bottle of liquid seaweed, you will notice the NPK (Nitrogen, Phosphorus, Potassium) numbers are incredibly low—often something like 0-0-1 or 0.1-0.1-1.5. If it does not contain high levels of these primary macronutrients, how does it trigger such explosive growth?
The magic lies in what traditional synthetic fertilizers lack: a massive profile of over 60 trace minerals, micronutrients, amino acids, and most importantly, naturally occurring plant growth hormones (phytohormones).
Here is the breakdown of the active growth hormones that make kelp extract so potent:
-
Cytokinins: These are the primary drivers of cell division. They encourage rapid, bushy new growth above the soil and significantly delay the aging process (senescence) of plant tissue, keeping leaves greener for much longer.
-
Auxins: These hormones travel downward in the plant to stimulate robust, aggressive root development. A larger, healthier root system means the plant can uptake water and nutrients much more efficiently.
-
Gibberellins: These assist with stem elongation, overcoming dormancy, and triggering faster seed germination.
Sustainability Note: 🌱 Beyond the benefits to your plants, harvesting kelp is highly eco-friendly. Cold-water seaweeds grow at astonishing rates (sometimes up to two feet per day) and require no fresh water, land, or synthetic fertilizers to produce, making marine extracts one of the most renewable organic plant care products available.
✨ Why Container Plants Desperately Need Liquid Seaweed
Plants growing in the ground have the luxury of sending their roots deep into the earth to forage for microscopic minerals. A plant in a container relies 100% on you for its survival. Here is why liquid seaweed is non-negotiable for potted specimens:
1. Replaces Rapidly Leached Nutrients 💧
Standard potting soil is mostly peat moss, coco coir, and perlite—materials designed for drainage and aeration, not long-term nutrition. When you water your containers, water-soluble micronutrients wash out of the bottom. Liquid seaweed acts as a restorative tonic, replenishing essential trace elements like iron, zinc, magnesium, and calcium that your plant desperately needs for photosynthesis.
2. Builds Armor Against Environmental Stress 🛡️
Potted plants face immense stress. They endure baked roots on hot summer patios, cold drafts near winter windows, and the occasional forgotten watering. The complex carbohydrates (like alginic acid and mannitol) found in seaweed extract strengthen plant cell walls. This essentially gives your container plants an “anti-freeze” and “sunblock” effect, drastically improving their tolerance to temperature extremes and drought.
3. Cures Transplant Shock 🪴➡️🪴
Repotting is a traumatic surgical procedure for a plant. Microscopic root hairs are torn, causing the plant to wilt and panic. The high auxin content in liquid seaweed signals the plant to immediately repair its root system. A thorough kelp soak right after repotting is the single best way to eliminate transplant shock.
4. Feeds Beneficial Soil Microbes 🦠
Sterile potting mix is often biologically dead. Seaweed extract is packed with natural carbohydrates that serve as a gourmet feast for beneficial soil bacteria and mycorrhizal fungi. When you boost the microbial life in your pots, those microbes work to break down organic matter and make locked-up nutrients bioavailable to your plant’s roots.
💧 The Complete Guide: Liquid Seaweed Application for Container Plants
The beauty of liquid seaweed is its versatility. How you apply it depends entirely on what your plant currently needs. Here are the three primary methods every container gardener should master.
1. The Soil Drench Method (Root Feeding) 🚰
This is your bread-and-butter application method. A soil drench delivers the phytonutrients directly to the root zone, making it the best choice for overall health, long-term root development, and routine seasonal feeding.
-
Best For: Heavy feeders (like potted tomatoes, citrus trees, and Monstera), newly repotted plants, and general maintenance.
-
The Step-by-Step Process:
-
Pre-Water: Never apply fertilizer or supplements to bone-dry soil, as this can shock or burn delicate root hairs. Lightly water your container plant with plain water first until the top inch of soil is moist.
-
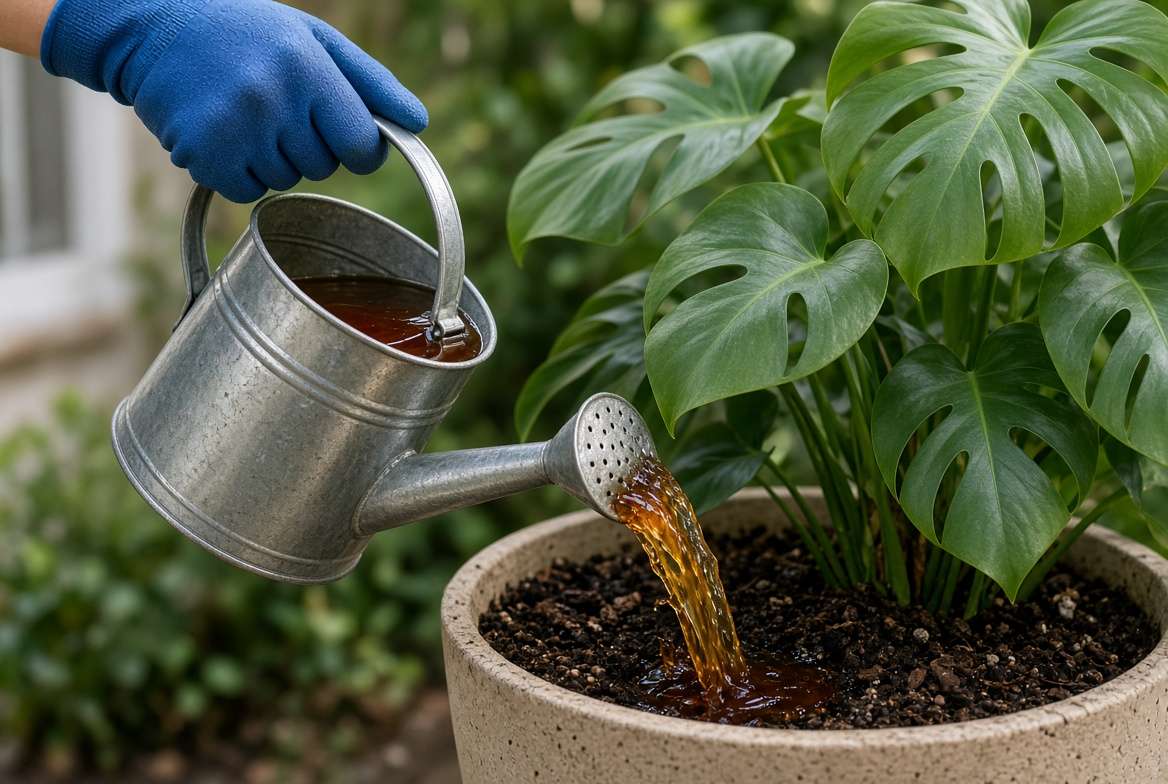
Mix Your Solution: Fill your watering can with room-temperature water. Add the recommended dose of liquid seaweed (see the Mixing Ratios section below for exact measurements) and stir gently.
-
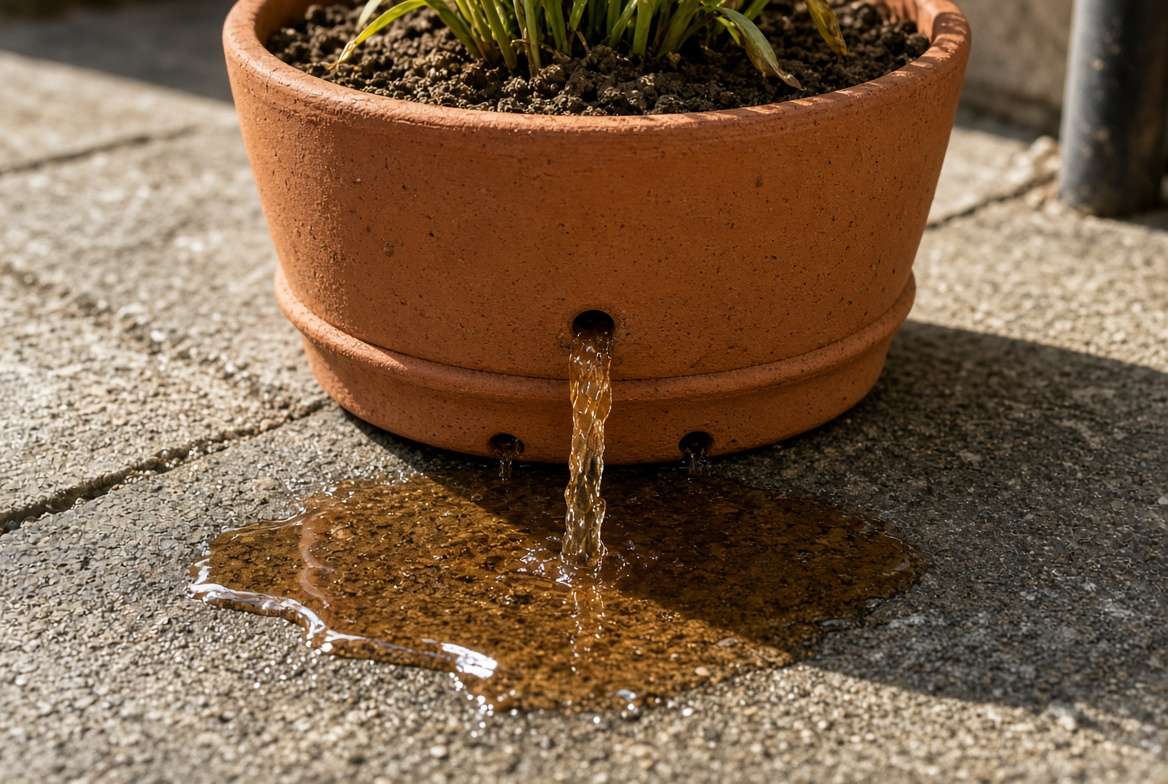
Drench: Slowly pour the solution evenly over the surface of the potting mix. Continue pouring until you see the dark, amber-colored liquid running freely out of the drainage holes at the bottom of the pot.
-
Drain: Allow the pot to sit and drain completely for 15-20 minutes before returning it to its decorative cachepot or saucer to prevent root rot.
-
2. The Foliar Spray Method (Leaf Feeding) 🍃
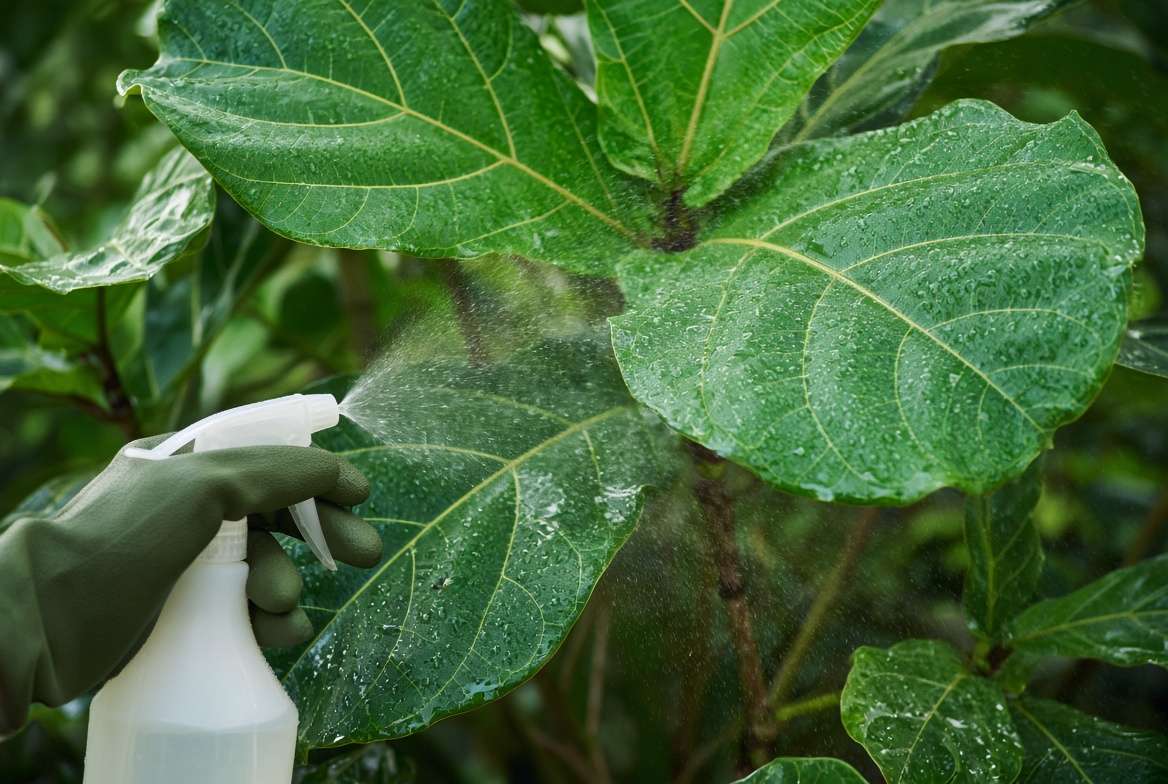
While root feeding is fantastic for long-term health, plants can actually absorb nutrients up to 20 times faster through their foliage than through their roots. This is achieved via tiny pores on the leaves called stomata. Foliar spraying liquid seaweed is essentially an IV drip for a struggling container plant.
-
Best For: Rapid correction of nutrient deficiencies (like yellowing leaves), giving a quick boost before blooming, and increasing natural resistance to sap-sucking pests like spider mites and aphids.
-
The Step-by-Step Process:
-
Dilute Heavily: Foliar sprays must be much weaker than soil drenches. Mix your liquid kelp at half or even a quarter of the recommended root-drench strength in a clean spray bottle.
-
Target the Undersides: The highest concentration of stomata is located on the undersides of the leaves. Ensure you are misting underneath, not just coating the shiny tops.
-
Crucial Timing: ☀️ Never foliar spray your plants during the heat of the midday sun. The water droplets act as tiny magnifying glasses, which will burn the foliage. Always mist in the early morning or late evening when the stomata are fully open and receptive.
-
3. Seed Soaking & Propagation 🌱
If you are starting container vegetables from seed or propagating prized houseplant cuttings, liquid seaweed is a game-changer. The gibberellins in the extract signal seeds to break dormancy faster, while the auxins tell cuttings to push out roots rather than rotting.
-
Best For: Starting seeds in trays, propagating cuttings in water, perlite, or sphagnum moss.
-
The Step-by-Step Process:
-
Seed Soaking: Mix a very weak solution (about 1/2 teaspoon per quart of water). Soak large seeds (like beans, peas, or nasturtiums) for 12 to 24 hours before planting. This drastically increases germination rates and seedling vigor.
-
Propagating: Add a few drops of liquid seaweed to your propagation water vessels. It provides the perfect gentle stimulus for roots to form quickly without burning the raw, exposed nodes of the cutting.
-
🗓️ Timing and Frequency: A Potted Plant Schedule
To maximize the benefits of liquid seaweed application for container plants, you must align your feedings with the plant’s natural life cycle. More is not always better.
-
Spring & Summer (Active Growth): During the warm, sunny months, your plants are actively photosynthesizing and growing. This is the time to apply liquid seaweed regularly. A soil drench every 2 to 4 weeks is optimal for most indoor houseplants and patio containers. Fast-growing fruiting plants (like potted peppers) can handle a weak foliar spray every 10 days.
-
Fall & Winter (Dormancy): ❄️ As days shorten and temperatures drop, most plants enter a period of rest. Continuing to push new growth during winter leads to weak, leggy, and vulnerable foliage. Reduce your seaweed applications to once every 6 to 8 weeks, or pause them entirely for indoor houseplants until you see new buds forming in the spring.
-
The “Emergency” Application: Keep a bottle on hand for immediate use when a plant experiences trauma. Did your cat knock over your prize Philodendron? Did you accidentally let your peace lily wilt flat? A gentle kelp root drench will immediately help the plant cope with the stress and begin cellular repair.
⚖️ Mixing Ratios: Getting the Dilution Right
Because liquid seaweed is highly concentrated, precise dilution is critical. While it is very gentle compared to synthetic chemical fertilizers, applying it neat (undiluted) or too strong can alter the soil pH or cause a buildup of natural salts.
The Golden Rule: Gardeners swear by the phrase “Weakly, weekly.” Applying a highly diluted mixture more frequently is far superior to dumping a strong, concentrated mixture on your plants once a season. It mimics the slow, steady drip of nutrients found in nature.
-
Standard Soil Drench Ratio: Generally, you will mix 1 to 2 tablespoons (0.5 to 1 oz) per gallon of water.
-
Foliar Spray Ratio: Mix 1 to 2 teaspoons per gallon of water.
🚨 Warning: Always check the specific manufacturer’s label. Processing methods vary widely between brands (some are cold-pressed, others use chemical extraction), meaning the concentration levels differ. When in doubt, start with half the recommended dose.
🛑 Common Mistakes to Avoid (Troubleshooting)
Even with an organic, gentle supplement, things can go awry in a confined pot. Avoid these common pitfalls to ensure your container garden thrives:
-
Using Chlorinated Tap Water: Municipal tap water is treated with chlorine and chloramine to kill bacteria. Unfortunately, these chemicals can also degrade the fragile organic compounds and beneficial biology promoted by seaweed extract. Fix: Let your tap water sit out in an open jug for 24 hours to allow the chlorine to off-gas before mixing in your kelp, or use rainwater. 🌧️
-
Over-Application and Salt Buildup: While seaweed is low in NPK, marine extracts do contain natural salts. If you apply it too heavily without occasionally flushing the pot with pure water, these salts can build up and burn the roots. Fix: Once every few months, water your container deeply with plain water until it pours out the bottom, flushing away excess salts.
-
Ignoring Primary Macronutrients: Remember, liquid seaweed is a supplement, not a complete meal. It does not contain enough Nitrogen, Phosphorus, or Potassium to sustain a heavy-feeding plant long-term. Fix: Use it in conjunction with a balanced organic fertilizer.
-
Improper Storage: Liquid seaweed is a living, organic product. If left sitting in a hot garage or direct sunlight, it will degrade, ferment, and produce a truly foul odor. 🤢 Fix: Store the bottle in a cool, dark place (like a basement or a temperature-controlled cabinet) to preserve its shelf life.
🤝 Pairing Liquid Seaweed with Other Fertilizers
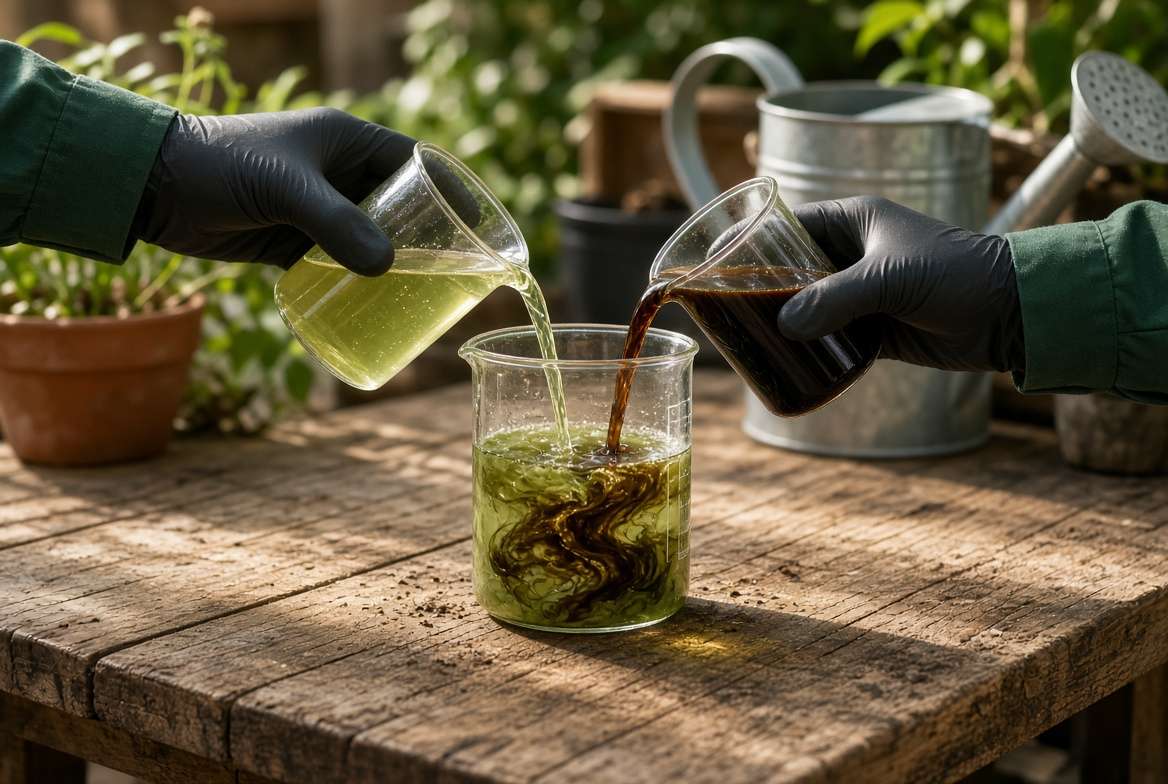
One of the greatest advantages of marine extracts is how beautifully they play with other amendments. Liquid seaweed acts as a chelating agent—meaning it binds to other nutrients in the soil and makes them easier for the plant’s roots to absorb.
-
The Ultimate Organic Duo (Fish & Kelp): Mixing liquid seaweed with fish emulsion creates a powerhouse fertilizer. The fish provides the heavy NPK (especially nitrogen for green growth), while the kelp provides the trace minerals and stress-relieving hormones. Many brands sell this pre-mixed, but you can easily blend them at home. 🐟🌿
-
Synthetic Fertilizers: If you use chemical slow-release granules, you can absolutely still use liquid seaweed. In fact, the organic matter in the kelp helps buffer the harsh salts of synthetic fertilizers, protecting the root zone.
-
Cal-Mag Supplements: For heavy-feeding container vegetables like tomatoes or eggplants, calcium and magnesium deficiencies are common (leading to issues like blossom end rot). Liquid seaweed enhances the uptake of these secondary macronutrients, making your Cal-Mag supplements work twice as hard. 🍅
❓ Frequently Asked Questions
Can I use liquid seaweed on indoor houseplants? Absolutely. It is fantastic for indoor plants like Pothos, Calatheas, and Ficus trees. Just be aware that some brands have a slight oceanic smell when first mixed, though it typically dissipates within a few hours of watering.
Does liquid seaweed expire? Yes. While it has a relatively long shelf life (usually 2 to 4 years if kept cool and dark), the active growth hormones slowly degrade over time. If your bottle smells like rotting eggs rather than a salty beach, it is time to replace it.
Will seaweed fertilizer burn my plants? It is incredibly rare for seaweed to burn plants because it is so low in primary macronutrients. However, applying it at overly high concentrations can cause salt stress. Always dilute!
Is liquid seaweed good for succulents and cacti in pots? Yes, but they require much less. Succulents are slow growers adapted to nutrient-poor environments. Apply a quarter-strength soil drench only once or twice at the very beginning of their active growing season (Spring). 🌵
How long does it take to see results? If you are using a foliar spray to correct a minor deficiency, you can see greener leaves in as little as 3 to 5 days. For soil drenches, expect to see an explosion of new, robust growth within 1 to 2 weeks.
🎯 Conclusion & Next Steps
Mastering liquid seaweed application for container plants is one of the easiest and most effective ways to level up your gardening game. By replacing leached trace minerals, fortifying cell walls against environmental stress, and stimulating aggressive root growth, marine extracts provide the holistic care that standard NPK fertilizers simply cannot match.
Whether you are trying to rescue a sad, drooping Monstera or aiming for a bumper crop of patio tomatoes, this organic elixir is the key to unlocking true vitality in your potted ecosystem.
Ready to see the magic for yourself? Try doing a gentle soil drench on your most stubborn or slow-growing container plant this week. Monitor it for the next 14 days, and watch how it responds! We’d love to hear about your plant’s transformation—share your before-and-after results in the comments below.











