
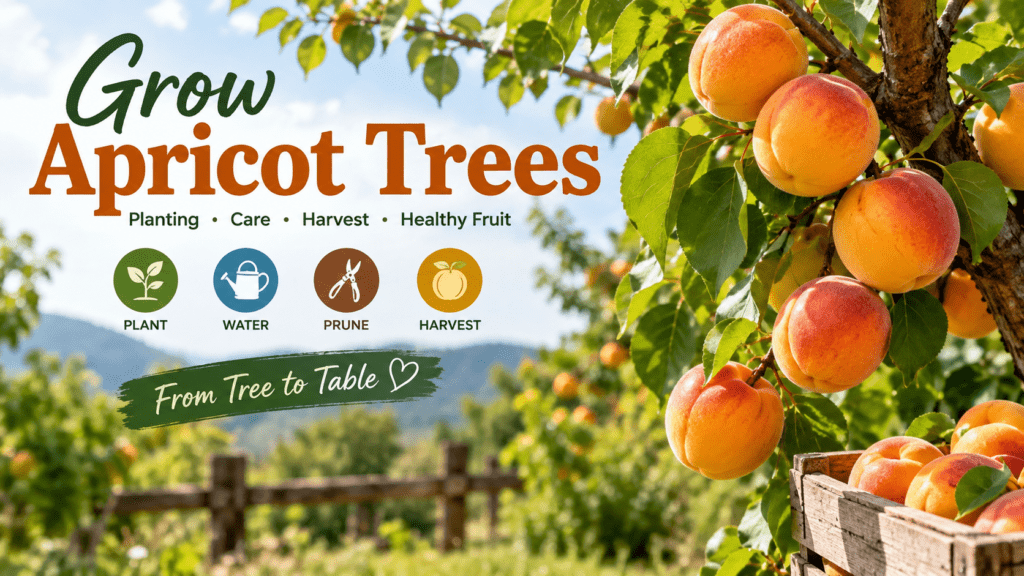
Imagine walking out to your backyard on a warm summer morning, gently cupping a sun-warmed fruit, and plucking a perfectly ripe, honey-sweet apricot straight from the branch. Unlike the mealy, bland fruit shipped thousands of miles to grocery store shelves, homegrown apricots are an absolute revelation—bursting with floral aromas, complex sugars, and a delicate balance of acidity.
Yet, for many home gardeners, the journey from planting a sapling to enjoying a bountiful harvest feels like an uphill battle. You might have experienced the heartbreaking sight of a tree dropping all its green fruit in late spring, delicate blossoms blackened by an unexpected late frost, or mysterious fungal spots ruining your hard work. Growing apricot trees successfully requires more than just digging a hole and hoping for the best; it demands a blend of horticultural science, strategic timing, and proactive care.
Drawing from professional orchard management principles, this comprehensive guide cuts through the guesswork. Whether you are planting your very first tree or trying to rescue a shy-bearing veteran, you will learn the exact 7-pillar framework needed to transform your landscape into a thriving, high-yielding fruit oasis. Let’s dive deep into the art and science of cultivating exceptional stone fruit.
🌤️ II. Phase 1: Choosing the Right Variety and Understanding Climate Needs
Success with fruit trees begins long before your shovel touches the dirt. It starts with matching your local ecosystem to the biological requirements of the tree.
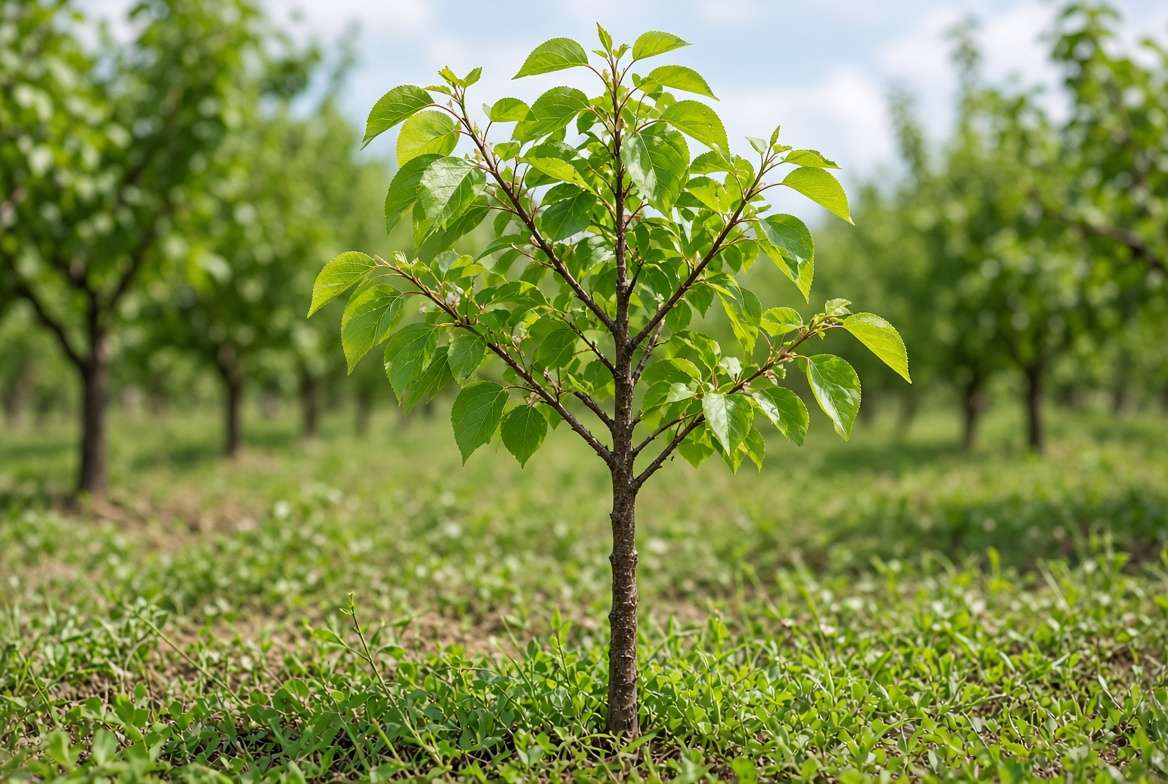
Selecting the Best Apricot Varieties for Your Region
Not all stone fruit cultivars are created equal. When browsing catalogs, your first filter must be regional adaptability, driven heavily by winter chill hours—the cumulative hours between 32°F and 45°F that a plant requires to break dormancy and set fruit properly.
-
Low-Chill vs. High-Chill Varieties: If you live in a milder climate with mild winters (USDA Zones 8-10), look for low-chill varieties like Desert Gold or Katy, which require fewer than 400 hours. Conversely, growers in colder zones (USDA Zones 4-6) must seek out high-chill, cold-hardy options like Moongold or Sungold that can withstand bitter sub-zero winter temperatures without losing bud viability.
-
Self-Pollinators vs. Cross-Pollinators: Many modern cultivars, such as Blenheim or Moorpark, are self-fertile, meaning a single tree can produce fruit on its own. However, even self-fertile varieties yield significantly larger, more reliable crops when cross-pollinated by a second compatible apricot variety blooming at the same time.
Expert Insight: Always check with your local agricultural extension office before ordering. They maintain updated lists of cultivars proven to resist local disease pressures and microclimate anomalies.
🌱 III. Phase 2: Planting for Success—Location, Soil, and Timing
Apricot trees are notoriously particular about where they live. Planting them in the wrong spot is the number one cause of long-term tree decline.
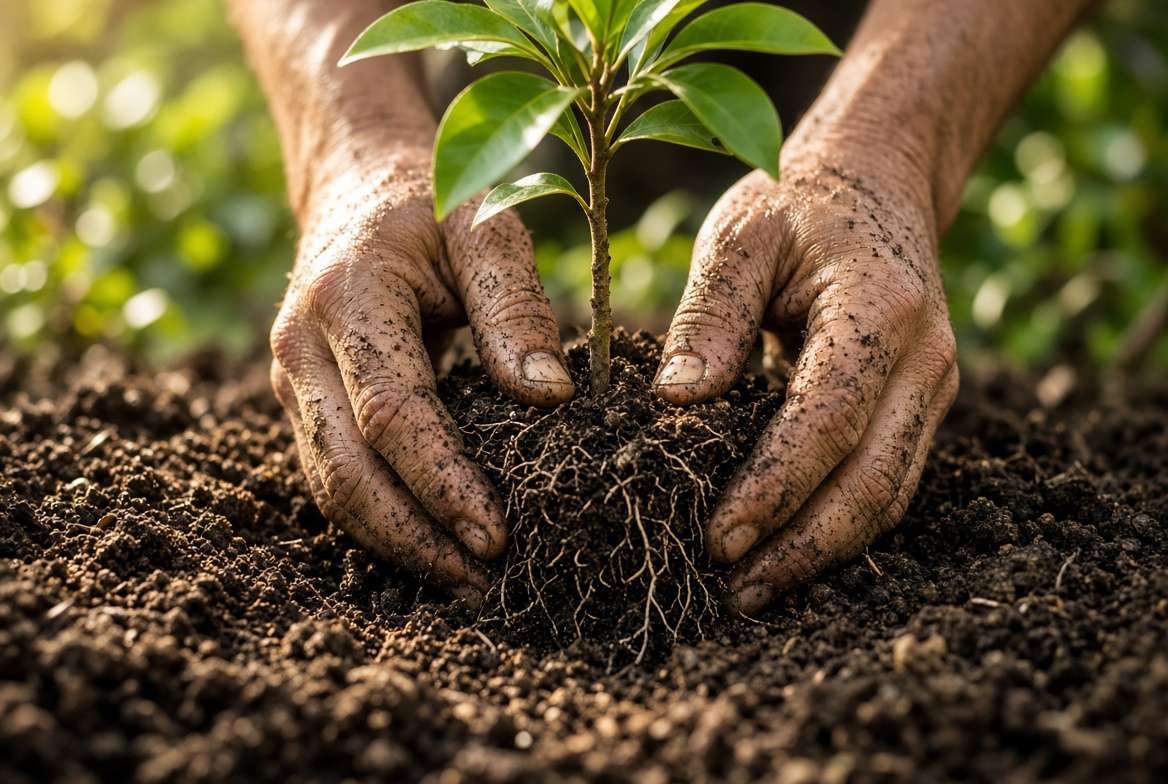
The Foundation: Ideal Site Selection and Soil Preparation
-
Sun Exposure Requirements: Apricots are absolute sun-worshipers. Select a location that receives a minimum of 6 to 8 hours of direct, unfiltered sunlight daily. Avoid planting them in low-lying frost pockets where cold air settles on spring nights, as early-blooming buds are exceptionally vulnerable to frost damage.
-
Soil pH and Drainage: These trees demand exceptional drainage. Heavy clay soils that retain standing water will quickly cause root rot (Phytophthora). Aim for a loose, loamy soil with a neutral pH between 6.0 and 7.0. If your native soil is heavy clay, amend the entire planting bed—not just the individual hole—or build raised mounds to elevate the root zone.
Step-by-Step Planting Walkthrough
-
Timing: Plant bare-root trees in late winter or early spring while the tree is fully dormant. Container-grown trees can be planted from spring through early autumn.
-
Hole Sizing: Dig a hole twice as wide as the root ball, but no deeper. The goal is to keep the root flare (where the trunk transitions into the root system) level with or slightly above the surrounding soil grade. If planted too deep, the bark can suffocate and rot.
-
Backfilling and Settling: Backfill with native soil (avoid heavy amendments in the hole, as this can create a “bathtub effect” holding water). Tamp down gently to eliminate air pockets, but do not compact aggressively.
-
Mulching and Initial Watering: Water deeply immediately after planting to settle the soil. Apply a 3-inch layer of organic wood mulch in a wide ring around the tree, keeping the mulch a few inches away from direct contact with the trunk to prevent pest and fungal entry.
💧 IV. Phase 3: Watering and Fertilization Masterclass
Managing moisture and nutrition is the fine-tuning mechanism that separates a surviving tree from a thriving one.
Striking the Balance: How and When to Water Apricot Trees
Young saplings require consistent moisture to establish their root systems, needing about an inch of water per week either through rainfall or deep irrigation. Mature trees, once established, develop deep taproots and become moderately drought-tolerant, but they still require careful hydration to size up fruit.
-
Deep Root Watering vs. Frequent Shallow Watering: Never give your trees shallow, daily sprinkles. This encourages weak surface roots. Instead, use a soaker hose or drip irrigation system to deliver a deep soaking every 7 to 10 days during dry summer spells, allowing the top few inches of soil to dry out between waterings.
-
Seasonal Adjustments: Increase watering frequency dramatically in early spring when leaves and fruit are rapidly expanding. Ease off slightly as fruit approaches harvest to concentrate sugar levels, but never let the tree dry out completely during extreme summer heatwaves.
Feeding Your Trees: Essential Nutrients and Organic Amendments
-
Interpreting Soil Tests: Conduct an annual soil test before applying any fertilizers. Apricots require a balanced diet, but an excess of nitrogen will cause a massive explosion of vegetative shoot growth at the expense of flowers and fruit, while also making the tree more susceptible to bacterial canker.
-
Organic Amendments: Apply a layer of well-rotted compost or aged manure under the canopy in early spring before bud break. This slow-releasing nutrient source improves soil microbiology, structure, and organic matter content simultaneously.
✂️ V. Phase 4: Pruning and Training for Maximum Sunlight and Yield
Pruning is often intimidating to beginners, but it is an essential maintenance practice that ensures light penetration, airflow, and structural strength.
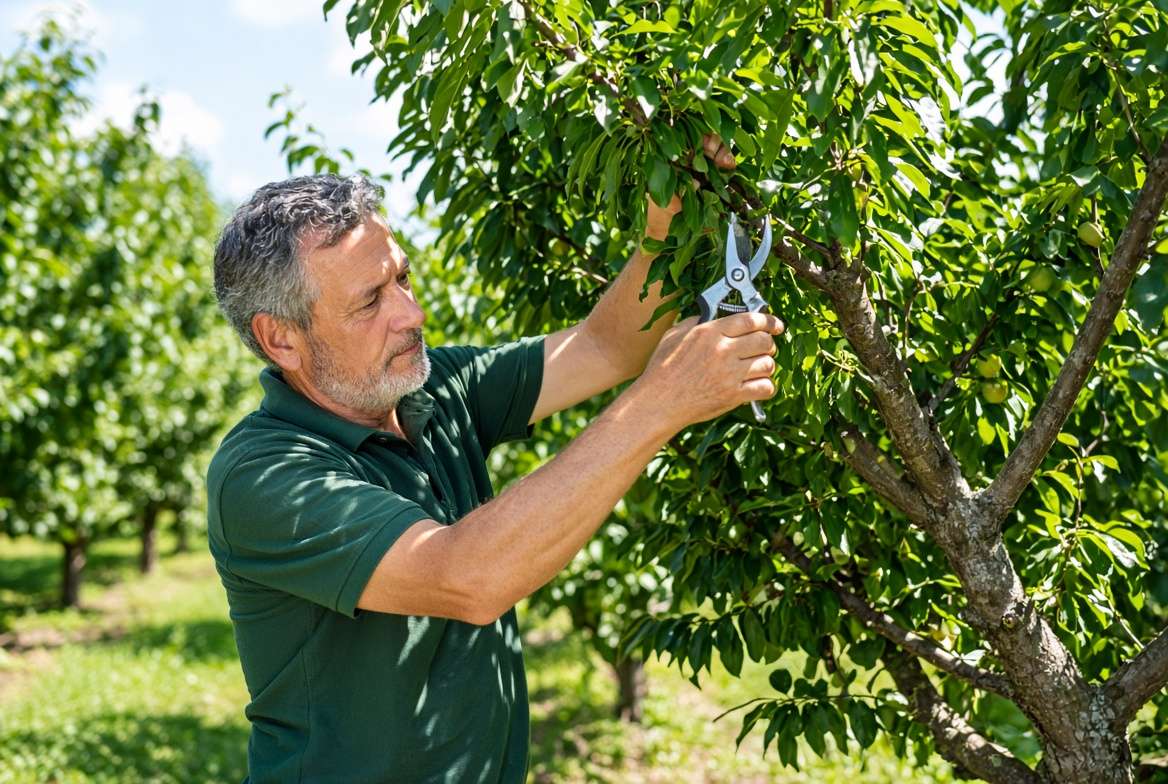
The Art of Apricot Pruning: When and How to Cut
Unlike stone fruits prone to certain cankers that are pruned in winter, the best time to prune mature apricot trees is in the dry heat of mid-summer (after the harvest is complete). Summer pruning significantly reduces the risk of fungal spores (such as Eutypa dieback) entering fresh pruning wounds, and the tree’s vigorous growth slows down, helping wounds heal faster.
-
Training Young Trees (The Open Center/V-System): For the first three years, train your young tree to an open-center system. Remove the central leader and select 3 to 4 strong scaffold branches radiating outward like a bowl. This allows maximum sunlight to reach every single leaf and piece of developing fruit.
-
Maintenance Pruning: Annually remove the “Three Ds”: Dead, Damaged, and Diseased wood. Additionally, prune away any branches that cross, rub against each other, or grow inward toward the center of the canopy.
🛡️ VI. Phase 5: Protecting Against Pests, Diseases, and Late Frosts
Even with pristine care, environmental stressors and opportunistic pathogens can threaten your orchard investment. Proactive defense is your best strategy.
Common Apricot Pests and Natural Control Methods
-
Aphids and Peach Tree Borers: Aphids cluster on tender new shoots, curling leaves and excreting sticky honeydew. Introduce beneficial insects like ladybugs or spray with organic horticultural neem oil. Peach tree borers target stressed bark near the soil line; protect trunks by wrapping them loosely in breathable tree guards during peak moth flight seasons.
Managing Fungal Pathogens (Brown Rot and Leaf Curl)
-
Brown Rot: This devastating fungus turns ripening fruit into fuzzy, brown mummies. Prevent it by removing all fallen fruit and mummified remains from the ground every autumn. Apply preventative copper-based fungicides during the dormant season (late winter) just as buds begin to swell.
Beating the Frost: Saving Early Blossoms
Because apricots bloom very early in the spring, a sudden overnight freeze can wipe out an entire year’s crop in a matter of hours.
-
Frost Protection Tactics: Keep a close eye on spring weather forecasts. When a hard freeze is predicted, drape heavy frost cloth over the canopy, ensuring it reaches all the way to the ground to trap radiant heat. For larger setups, running overhead sprinklers during the freeze or placing low-profile orchard heaters can save the delicate pistils from freezing.
🧺 VII. Phase 6: Thinning for Size and Managing the Harvest
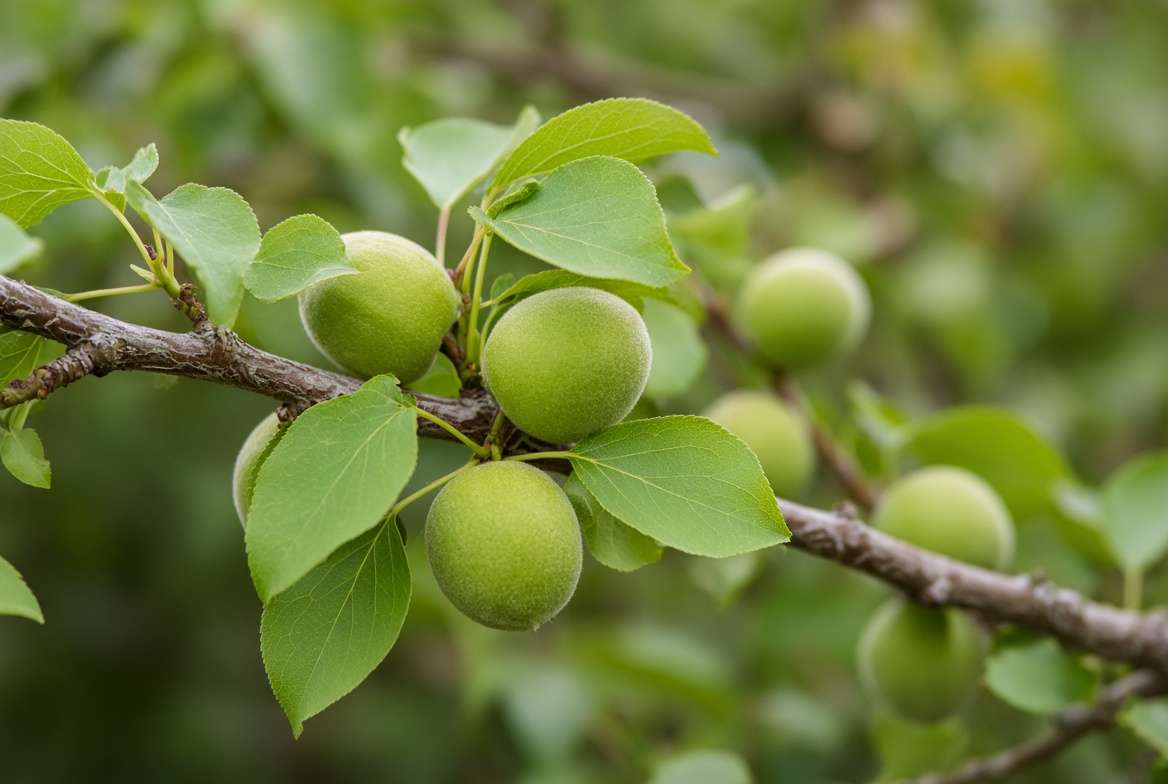
If your tree sets an overwhelming number of tiny green fruits in the spring, you are heading toward a harvest of small, mealy, branch-breaking fruit unless you intervene.
The Secret to Large Fruit: The Art of Fruit Thinning
-
When and How to Thin: Perform fruit thinning during the natural “June Drop” window, or as soon as fruits reach dime-size. Using sharp pruning shears or your fingers, thin the clusters so that individual fruits are spaced roughly 4 to 6 inches apart along the branch.
-
The Yield Trade-off: While it feels counterintuitive to pull healthy green fruit off your tree, thinning reduces branch fatigue, prevents biennial bearing (where a tree bears heavily one year and nothing the next), and directs the tree’s energy into producing large, exceptionally sweet, high-market-value fruit.
Harvesting at Peak Ripeness: Taste Over Color
Apricots do not continue to develop true sugars once picked from the tree, though they do soften slightly on the counter.
-
Sugar vs. Color: Wait until the background color shifts from deep green to a rich golden-orange, and the fruit yields slightly to gentle palm pressure near the stem. Taste test the first fruit before clearing the branch; if it tastes starchy or overly tart, give remaining fruit another 48 to 72 hours of sun exposure.
❓ VIII. Frequently Asked Questions
Why are my apricot tree leaves curling and turning yellow?
Leaf curl and yellowing are typically symptoms of environmental stress, nutrient deficiencies (such as iron chlorosis in alkaline soils), or sucking pests like aphids. Check the undersides of the leaves for insects and evaluate your soil drainage and watering schedule.
How many years until my new apricot tree bears fruit?
Most standard and semi-dwarf apricot trees begin bearing a light crop within 2 to 4 years after planting. Full commercial maturity and maximum yields are typically reached around years 5 through 7.
Can I grow a productive apricot tree in a large container on a patio?
Yes! Modern dwarf apricot varieties (such as Pixie-Cot or container-specific rootstocks) thrive in large 15-to-25-gallon containers, provided they receive full sun, diligent daily watering during summer, and regular balanced liquid feeding.
Why did my tree drop all its green fruit prematurely?
Fruit drop is usually the tree’s natural self-regulation mechanism when it sets more fruit than its root system can support. However, sudden drops can also be triggered by severe late frost damage, drastic underwatering, or sudden nutrient imbalances.
🌳 IX. Conclusion: Your Bountiful Future Orchard
Cultivating apricot trees is an immensely rewarding horticultural journey that blends patience, observation, and timely intervention. By selecting the right regional cultivar, providing an idyllic, sun-drenched, well-draining site, and mastering the rhythms of seasonal watering, summer pruning, and fruit thinning, you unlock the secret to continuous, heavy harvests of exquisite fruit.
Remember that a thriving orchard isn’t built overnight—it is nurtured season by season.











