
Imagine walking into your greenhouse one morning only to find clusters of aphids sucking the life out of your prized tomato plants, whiteflies swirling like tiny snowflakes, or spider mites leaving telltale webbing across your cucumber leaves. 😩 You reach for the spray bottle… again. The cycle feels endless, the costs keep climbing, and the environmental guilt is real.
What if there was a better way? A natural, living solution that works around the clock while you sleep?
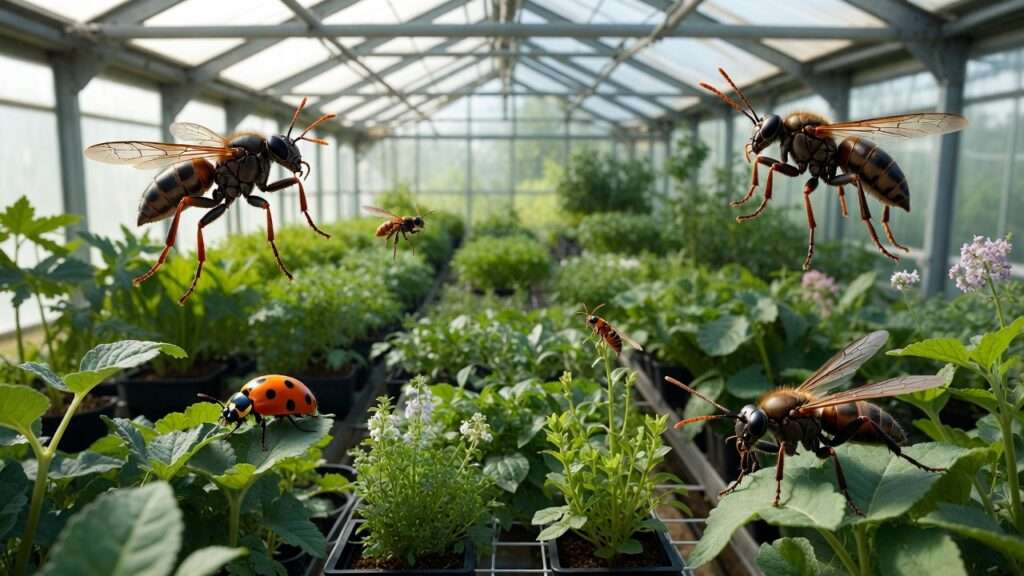
Managing beneficial insects in greenhouses is that powerful alternative — one of the most effective, sustainable, and increasingly popular methods within modern Integrated Pest Management (IPM). By strategically introducing and nurturing predatory mites, parasitic wasps, lady beetles, lacewings, and other natural enemies, growers worldwide are dramatically reducing pesticide applications (often by 50–90%), protecting pollinators, improving crop quality, and meeting strict organic and export standards. 🌱💚
In this comprehensive guide, I’ll share proven, expert-level strategies drawn from years of working with commercial greenhouse operations, university trials, and hands-on grower consultations. Whether you’re a large-scale vegetable producer, a nursery operator, a cannabis cultivator, or a passionate hobby grower, you’ll find actionable steps to successfully establish and maintain biological control agents in your controlled environment.
Let’s turn your pest problems into a thriving, balanced ecosystem — starting right now. ✨
Why Use Beneficial Insects? The Benefits of Biological Control in Greenhouses
Switching to biological control isn’t just a trendy eco-choice — it delivers measurable advantages across multiple dimensions:
Environmental & Sustainability Advantages 🌍 Beneficial insects target specific pests without broad-spectrum damage to non-target species. This preserves natural predators already present in and around your greenhouse, supports biodiversity, and protects pollinators like bumblebees and native solitary bees that are essential for many fruiting crops.
Economic Benefits 💰 While the upfront cost of quality beneficial insects can seem high, long-term savings are substantial. Reduced pesticide purchases, fewer applications (less labor), lower scouting time due to stable pest suppression, and decreased crop losses from resistance outbreaks add up quickly. Many commercial growers report payback within a single season.
Health & Safety 🩺 Fewer chemical residues mean safer working conditions for employees, lower risk to consumers, and easier compliance with Maximum Residue Limits (MRLs) for export markets. This is especially critical in edible crops like herbs, leafy greens, berries, and tomatoes.
Regulatory & Market Compliance Organic certification, supermarket protocols (e.g., GlobalGAP, Tesco Nurture), and increasingly strict pesticide regulations in the EU, Canada, and parts of the US make biological control almost mandatory for staying competitive.
Fits Perfectly into Modern IPM Biological control is the cornerstone of true IPM — combining cultural, mechanical, physical, and selective chemical tactics. When done right, beneficial insects become the “workhorse” of your pest management program.
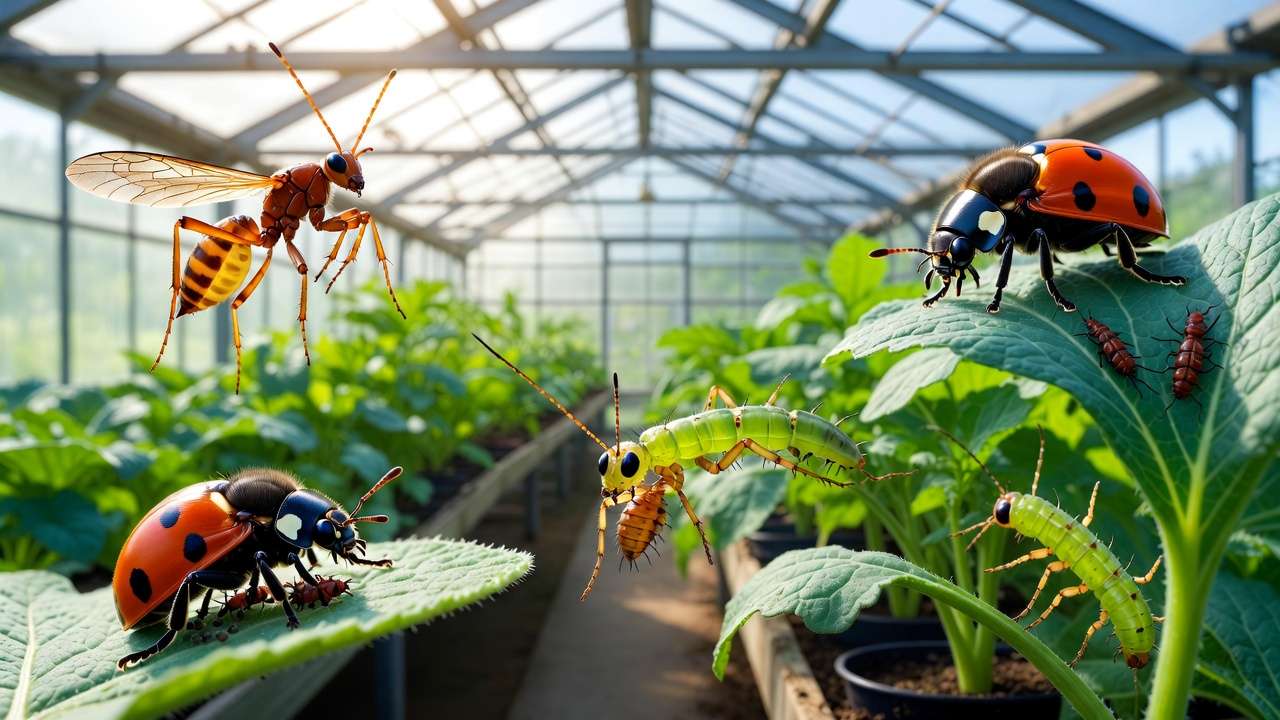
Understanding Common Greenhouse Pests and Their Natural Enemies
Effective biological control starts with accurate pest identification and matching the right natural enemy to the target pest and life stage.
Here are the most problematic greenhouse pests and their top-performing beneficial controls:
Aphids 🐜
- Best options:
- Ladybugs (Hippodamia convergens, Adalia bipunctata) – adults & larvae devour aphids
- Green lacewings (Chrysoperla carnea, C. rufilabris) – larvae are voracious aphid predators
- Aphidoletes aphidimyza (predatory midge) – maggots feed inside aphid colonies
- Parasitic wasps (Aphidius colemani, A. ervi, Aphelinus abdominalis) – mummify aphids
Whiteflies (Bemisia tabaci, Trialeurodes vaporariorum) 🪰
- Best options:
- Encarsia formosa (parasitic wasp) – classic for greenhouse whitefly
- Eretmocerus eremicus / E. mundus – excellent on Bemisia
- Amblyseius swirskii (predatory mite) – feeds on eggs & young nymphs
Two-Spotted Spider Mites (Tetranychus urticae) 🕷️
- Best options:
- Phytoseiulus persimilis – specialist predator, extremely fast-acting
- Neoseiulus californicus – more tolerant of low humidity & pesticides
- Amblyseius andersoni / A. fallacis – generalist mites for preventive use
Western Flower Thrips (Frankliniella occidentalis) ⚡
- Best options:
- Amblyseius cucumeris / A. swirskii – feed on 1st & 2nd instar larvae
- Orius insidiosus (minute pirate bug) – adult & nymph feed on all stages
- Entomopathogenic nematodes (Steinernema feltiae) – soil application for pupae
Fungus Gnats & Shore Flies 🦟
- Best options:
- Hypoaspis miles (Stratiolaelaps scimitus) – predatory soil mite
- Steinernema feltiae – infects larvae in growing media
Mealybugs & Soft Scale 🐛
- Best options:
- Cryptolaemus montrouzieri (mealybug destroyer beetle)
- Anagyrus pseudococci & Leptomastix dactylopii (parasitic wasps)
Quick-Reference Table Suggestion (insert visual table here in final article): Pest | Primary Beneficial | Life Stage Targeted | Release Rate Example | Temp Preference
This matching process is critical — using the wrong predator is one of the most common reasons biological control fails.
Selecting the Right Beneficial Insects for Your Greenhouse
Choosing the correct species isn’t guesswork. Consider these key factors:
- Crop type — e.g., peppers & cucumbers support higher humidity-loving species
- Current pest pressure — curative (high numbers) vs. preventive (low or anticipated)
- Greenhouse microclimate — temperature, relative humidity, ventilation
- Release method compatibility — sachets for preventive mite releases, bottles for wasps, broadcast for lacewings
- Multi-pest situations — look for generalist predators or compatible mixes
Preventive vs. Curative Releases
- Preventive (inoculative): Release low numbers early to establish populations before pests explode
- Curative (inundative): Flood the greenhouse with high numbers to quickly crash an outbreak
Sourcing Quality Beneficials Only purchase from reputable suppliers who provide:
- Fresh, viable insects (ask for quality control certificates)
- Species & life stage clearly labeled
- Shipping in insulated packaging with cool packs
- Clear instructions for storage & release
Reputable suppliers often include viability testing results and have entomologists on staff.
Timing and Release Strategies: When and How to Introduce Beneficials ⏰
Timing is everything in biological control. Release too early and your beneficials may starve before pests arrive; release too late and the pest population may already be out of control. Here’s how experts get it right every time:
Preventive Releases – The Gold Standard for Long-Term Success Start releasing beneficial insects before you see damage. This “inoculative” approach lets small populations establish and reproduce naturally, creating a self-sustaining defense force.
- When to start: At transplanting, potting up, or when moving young plants into the greenhouse.
- Typical schedule:
- Predatory mites (e.g., Amblyseius cucumeris, swirskii): Release every 2–4 weeks from week 1–2 of crop cycle
- Parasitic wasps (e.g., Encarsia formosa, Aphidius colemani): Start at low rates (0.5–2 per m²) every 10–14 days
- Orius insidiosus: Introduce early on pollen-providing crops (peppers, eggplants)

Curative Releases – Turning the Tide on Outbreaks When scouting shows pests exceeding economic thresholds, go inundative: flood the space with high numbers to crash the population quickly.
- Threshold examples:
- Aphids: 5–10 per plant (young crops) or 20–50 per plant (mature)
- Spider mites: 1–5 mites per leaf
- Whiteflies: 5–10 adults per yellow sticky card per week
Optimal Release Conditions Most beneficial insects are sensitive to extremes. Ideal ranges include:
- Temperature: 20–27°C (68–80°F) for most species
- Phytoseiulus persimilis loves 24–28°C
- Amblyseius swirskii thrives at 22–30°C with >60% RH
- Relative Humidity: 60–85% for predatory mites; lacewings and Orius prefer 50–80%
- Light: 12–16 hours of good light encourages activity
Pro Release Techniques
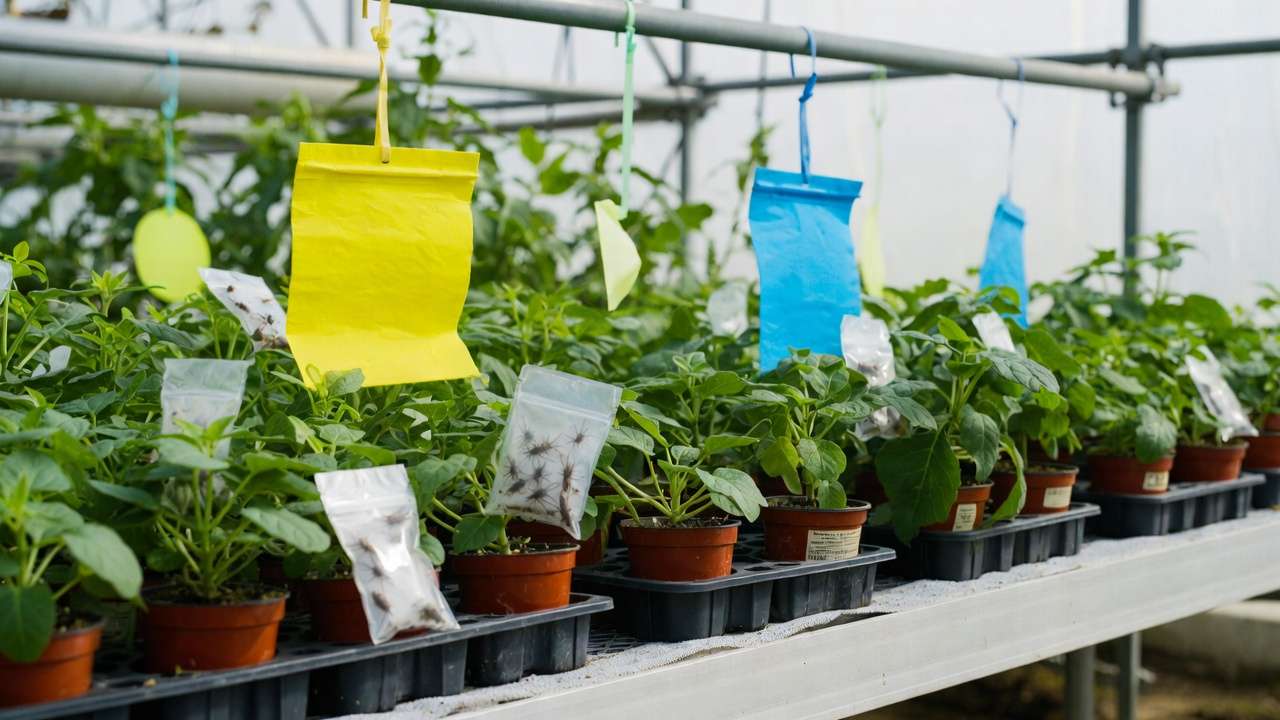
- Sachet/bag releases (preventive mites): Hang directly in canopy — slow, steady emergence
- Bottle/shaker releases (wasps, ladybugs): Gently tap or sprinkle on foliage
- Broadcast (lacewing eggs/larvae): Mix with carrier (bran/vermiculite) and scatter
- Drip-line application (some mites): Mix into irrigation system for even distribution
- Pollen/nectar boost: Spray plants with sugar-water or commercial pollen supplements right after release to help adults survive until prey arrives
Release Rates – Practical Guidelines (adjust based on supplier recommendations and pest levels)
- Amblyseius cucumeris/swirskii: 5–25 per m² preventive; 50–100 curative
- Phytoseiulus persimilis: 2–10 per m² (curative only)
- Encarsia formosa: 1–3 per m² weekly
- Orius insidiosus: 0.5–2 per m²
- Green lacewings: 1–5 eggs/larvae per plant
Always release in the early morning or late afternoon when temperatures are moderate and plants are dry.
Creating the Perfect Environment for Beneficial Insects to Thrive 🏡🌡️
Beneficial insects are living organisms — treat them like delicate employees and they’ll reward you with excellent work. Here’s how to set them up for success:
Climate Control is Non-Negotiable
- Maintain stable temperatures within species tolerances (avoid swings >5°C daily)
- Use shade cloth, misting, or fogging systems to keep humidity in the sweet spot
- Install horizontal airflow fans (HAF) to prevent hot/cold pockets and improve dispersal
Provide Food & Habitat Even When Pests Are Low
- Banker plants: Grow small pots of infested plants (e.g., marigolds with aphids) in corners to maintain predator populations
- Pollen & nectar sources: Interplant sweet alyssum, alyssum, calendula, or corn borage — these feed adult parasitic wasps and predatory bugs
- Refuge strips: Leave unsprayed border rows or “insect hotels” (bundles of hollow stems) for shelter
Sanitation & Exclusion Practices
- Screen all vents and doors (50–80 mesh) to prevent pest entry while allowing beneficials to stay
- Quarantine and inspect new plant material for 1–2 weeks
- Remove and destroy heavily infested leaves promptly (but leave some low-level pests for predators to feed on)
- Keep floors and benches clean — fungus gnats breed in debris
Avoid Chemical Sabotage Even “soft” pesticides can kill beneficials. Always check compatibility tables from suppliers (e.g., Koppert, BioBest, Bugs for Bugs). Safe options often include:
- Insecticidal soaps & horticultural oils (when applied carefully)
- Beauveria bassiana or Isaria fumosorosea (fungal biopesticides)
- Spinosad (very selective timing required)

Wait at least 3–7 days (or longer) after a pesticide application before releasing beneficials.
Integrating Beneficial Insects into Your IPM Program
Biological control shines brightest when it’s not used in isolation. A well-designed Integrated Pest Management (IPM) program layers multiple tactics so beneficial insects become the dominant force while other methods support (never undermine) them.
The IPM Pyramid – Where Beneficials Fit
- Base layer (cultural & physical controls): Sanitation, resistant varieties, screening, reflective mulches, yellow/blue sticky traps, proper spacing & pruning
- Middle layer (biological control): Your living predators and parasitoids do the heavy lifting here
- Top layer (selective chemical controls): Used only as a last resort and timed to minimize impact
Compatible Pesticides – The Safe Shortlist Always consult the latest compatibility charts from major suppliers (Koppert Side Effects Manual, BioWorks compatibility guide, or Bugs for Bugs charts), but these are generally low-risk when used correctly:
- Insecticidal soap & horticultural/mineral oils (direct contact only, avoid drenching beneficials)
- Beauveria bassiana, Metarhizium anisopliae, or Isaria fumosorosea fungal biopesticides
- Azadirachtin (neem extracts) – low residual, apply early morning
- Pyrethrins + piperonyl butoxide (short-lived, spot-treat only)
- Spinosad (Conserve, Entrust) – very selective, but avoid on Orius, predatory mites, and parasitic wasps for 48–72 hours post-application
Key Rule: Wait the full re-entry or residual period listed on the compatibility chart before releasing or re-releasing beneficials. Many growers keep a “no-spray window” of 7–14 days around releases.
Layering Multiple Beneficial Species Modern greenhouses often face mixed pest complexes. Smart combinations include:
- Amblyseius swirskii + Orius insidiosus → excellent thrips + whitefly control
- Phytoseiulus persimilis + Neoseiulus californicus → broad spider mite suppression (fast knockdown + persistence)
- Aphidius colemani + Aphidoletes aphidimyza + Chrysoperla larvae → aphid “strike team”
- Encarsia formosa + Eretmocerus eremicus → whitefly species coverage
Release these in sequence or as pre-mixed products when suppliers offer compatible blends.
Common Mistakes That Doom Biological Control (And How to Avoid Them) ❌
Even experienced growers lose entire seasons to preventable errors. Here are the top culprits — and exactly how to sidestep them:
- Releasing too late → Pests already at damaging levels → predators overwhelmed Fix: Scout twice weekly with magnifying lenses, beat trays, and sticky cards. Act at first signs or use preventive releases.
- Poor-quality or dead shipments → Beneficials arrive stressed, cold-damaged, or expired Fix: Inspect upon arrival (look for movement!), store correctly (usually 8–15°C, dark), release within 24–48 hours.
- Incompatible pesticide drift or residues → Instant wipeout of new releases Fix: Maintain strict spray records, use only approved soft materials, and follow waiting periods religiously.
- Wrong environmental conditions → Beneficials inactive, die, or fail to reproduce Fix: Invest in reliable sensors and automated climate control. Aim for stable 22–28°C and 60–80% RH zones.
- Over-reliance on one species → Pest develops resistance or escapes predation Fix: Rotate or combine predators/parasitoids with different modes of action.
- No food source during low pest periods → Starvation of established populations Fix: Use banker plants, pollen-providing flowers, or supplemental feeding (e.g., Ephestia kuehniella eggs for Orius).
- Ignoring scouting after release → You don’t know if it’s working until it’s too late Fix: Set up a formal monitoring schedule and keep detailed records (pest counts, beneficial sightings, mummies, webbing reduction).
Real-World Success Stories and Case Studies 🌟
Commercial Vegetable Greenhouse – Netherlands (Koppert Biological Systems trials) A 10-hectare cucumber operation switched to full preventive Amblyseius swirskii + Orius insidiosus + Encarsia formosa program. Result: pesticide applications dropped 85%, thrips damage near zero, and fruit quality improved (higher Brix levels due to less stress). Payback in <1 year.
North American Berry Greenhouse – California, USA A strawberry grower introduced Neoseiulus californicus preventively + banker plants with spider mites. Spider mite outbreaks became rare events. They reduced miticide sprays from 12/year to 1–2/year, saving $18,000/ha annually while qualifying for premium organic pricing.
Small-Scale Hobby & School Greenhouses Urban farming projects and high-school agricultural programs in Canada and the UK have achieved near-zero chemical use by starting with simple preventive mite sachets and lacewing releases. One Toronto community greenhouse reported zero aphid outbreaks for three consecutive seasons after adding sweet alyssum borders and banker plants.
These stories prove the same principles work at any scale — consistency, patience, and observation are the keys.

Step-by-Step Implementation Checklist
Follow this practical, numbered checklist to launch (or improve) your biological control program with confidence. Print it out, keep it in your greenhouse notebook, and check off each step as you go.
- Assess Your Current Situation 🔍 Scout thoroughly for 1–2 weeks using yellow/blue sticky cards, magnifying lenses, beat trays, and leaf sampling. Record pest species, numbers, and hotspots.
- Clean & Prepare the Greenhouse 🧹 Remove plant debris, old growing media, weeds from floors/benches. Screen vents/doors if not already done. Quarantine and inspect incoming plants.
- Choose Your Beneficial Insects 🐜🪰 Match pests to predators/parasitoids using the table earlier. Decide preventive vs. curative approach. Order from a reputable supplier (request viability guarantees).
- Order & Receive Beneficials Properly 📦 Schedule delivery for mild weather days. Inspect packages immediately upon arrival. Store as directed (usually cool, dark, 8–15°C).
- Optimize Greenhouse Environment 🌡️💧 Set climate controls to target ranges (22–28°C, 60–85% RH). Install fans for airflow. Plant or place pollen/nectar sources and banker plants.
- Plan Release Timing & Rates ⏰ Schedule first releases at transplant or early crop stage (preventive) or at economic threshold (curative). Calculate area and order appropriate quantities.
- Release Beneficials Correctly 🚀 Release during cooler parts of day. Use recommended methods (sachets, bottles, broadcast). Provide immediate food boost if needed (sugar water, pollen).
- Monitor & Record Weekly 📊 Scout at least twice per week. Note pest trends, beneficial sightings (adults, larvae, mummies, predation signs), environmental data. Adjust releases if needed.
- Evaluate & Scale Up 📈 After 4–6 weeks, assess reduction in pest pressure and pesticide use. If successful, expand to more crops or areas. If not, troubleshoot (see next section).
- Maintain Year-Round 🔄 Keep banker plants going, rotate compatible species, and plan orders 2–4 weeks ahead for continuous supply.
Troubleshooting Guide: What to Do When Things Go Wrong
Even the best programs hit bumps. Here’s how experts quickly diagnose and fix common issues:
Beneficials Not Establishing / Disappearing
- Possible causes: Poor quality shipment, wrong temp/humidity, pesticide residue, starvation
- Solutions: Re-order from different supplier, double-check climate logs, wait 7–14 days post-any chemical, add banker plants or supplemental food
Pest Resurgence After Initial Success
- Possible causes: Over-reliance on one species, resistance developing, new pest introduction, environmental swing
- Solutions: Layer additional beneficial species, re-scout for new invaders, stabilize climate, screen more aggressively
Beneficials Dying or Inactive
- Possible causes: Extreme heat (>32°C), low humidity (<50% for mites), lack of prey
- Solutions: Mist plants/floors, use shade cloth, introduce small “sacrificial” pest populations via banker plants
Unexpected Plant Damage
- Possible causes: Some predatory bugs (e.g., Orius) occasionally feed on pollen/flowers if prey is scarce
- Solutions: Provide alternative food sources, reduce release rates temporarily
High Cost with Slow Results
- Possible causes: Starting curative instead of preventive, low release rates
- Solutions: Shift to preventive strategy next cycle, increase frequency slightly during establishment phase
Frequently Asked Questions (FAQs) ❓
How long do beneficial insects last once released in the greenhouse? Most predatory mites live 2–6 weeks and reproduce if conditions are good. Parasitic wasps live 1–4 weeks. Orius and ladybugs can persist months with food. Continuous releases every 2–4 weeks maintain populations.
Can beneficial insects be used in certified organic production? Yes — almost all commercially available species (Koppert, BioBest, Bioline, etc.) are approved for organic systems under USDA NOP, EU organic regs, and similar standards.
How much do beneficial insects cost compared to chemical pesticides? Initial costs are higher ($0.02–$0.20 per m² per release), but most growers see 40–80% reduction in total pest management expenses within 1–2 seasons due to fewer sprays and less crop loss.
Are there any risks to people, pets, or plants from using beneficial insects? Very low. Most are tiny, non-stinging, and stay on plants. No species used commercially are harmful to humans or pets. Some predatory bugs may nibble pollen/flowers if starving, but this is rare with proper management.
Can I mix different beneficial species in the same release? Yes — many suppliers sell pre-mixed compatible blends (e.g., mite cocktails). Always check compatibility charts first.
What if I miss a release schedule? Don’t panic — scout immediately and release a higher “catch-up” rate if pests are rising. Better late than never, but prevention is far easier.
Do beneficial insects work in hot, humid tropical greenhouses? Yes — choose heat/humidity-tolerant species like Amblyseius swirskii, Neoseiulus californicus, or Eretmocerus mundus. Maintain ventilation to avoid mold/fungal issues.
How do I know if the beneficials are actually working? Look for: declining pest numbers on sticky cards/leaves, presence of predator life stages, parasitized “mummies” (aphids/whiteflies), predation signs (empty aphid skins, chewed thrips).
Conclusion
Managing beneficial insects in greenhouses transforms pest control from a constant battle into a beautifully balanced, living system. When you give nature’s predators the right start — proper selection, perfect timing, supportive environment, and consistent monitoring — they reward you with healthier plants, lower costs, fewer chemicals, and often superior crop quality.
Start small if you’re new: pick one crop section, one key pest, and one reliable beneficial species. Track results meticulously. Within a season or two, you’ll likely wonder how you ever managed without your tiny allies. 🐞🌱
The future of greenhouse growing is biological, sustainable, and thriving — and it begins with the decisions you make today.
Ready to get started? Grab your scouting magnifying glass, check your climate settings, and place that first order. Your plants (and the planet) will thank you. 💚


