
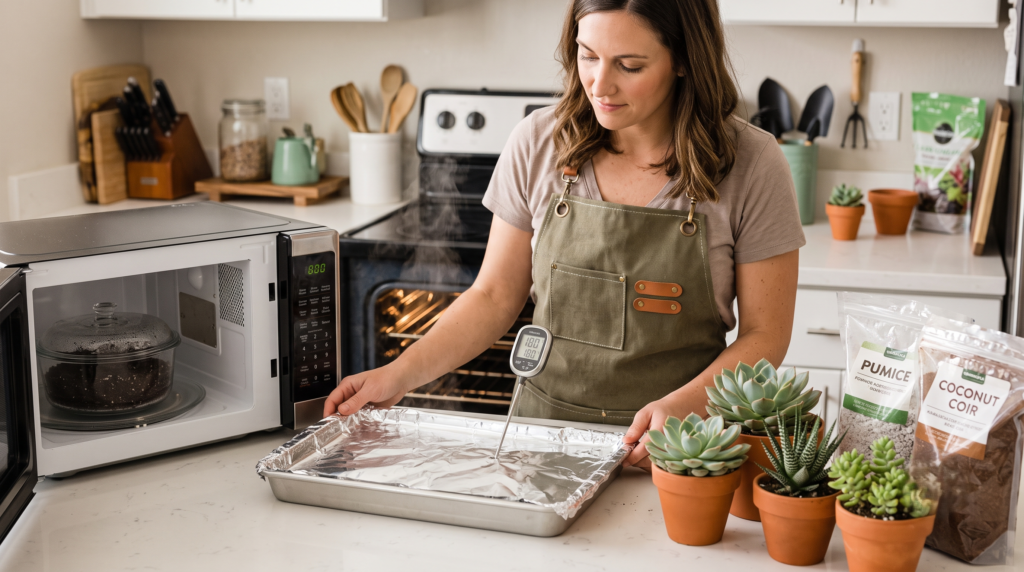
Have you ever watched a prized, perfectly plump Echeveria suddenly turn into a translucent, mushy mess despite your meticulous watering schedule? It’s a heartbreak every plant parent knows too well. 💔 The culprit is rarely your watering technique; more often, it’s microscopic pathogens and pests hiding right beneath the surface of your potting mix. To truly protect your collection and stop root rot in its tracks, you need to master sterilizing soil for succulent disease control.
With years of hands-on experience rescuing rotted succulents, propagating delicate leaves, and studying soil health, I can confidently tell you that a clean, sterile potting medium is your first and strongest line of defense. In this comprehensive guide, we will break down exactly why store-bought soil can be a hidden hazard, the actual science behind soil pasteurization, and the proven, step-by-step methods you can use at home to ensure your plants thrive in a disease-free environment. 🪴✨
(📺 Content Creator Note: Insert your eye-catching YouTube video or thumbnail here demonstrating the visual difference between healthy, white succulent roots and dark, rotted roots to hook visual learners!)
Understanding the Threat: Why Succulent Soil Needs Sterilizing 🦠🪴
When we bring succulents into our homes, we are taking plants that naturally evolved in harsh, arid, and highly inorganic environments and placing them into cozy, climate-controlled rooms. In the wild, the lack of organic matter and moisture means soil-borne pathogens are naturally scarce. Indoors, it’s a completely different story.
The Hidden Dangers in Store-Bought Soil 🛍️
It is a common misconception that commercial potting soils—even those specifically labeled for cacti and succulents—are sterile straight out of the bag. In reality, these bags often sit outside on pallets at garden centers for months, absorbing moisture and baking in the sun. This creates a perfect incubator for fungal spores, bacteria, and pests. When you open a fresh bag, you might unknowingly be introducing microscopic threats directly to your plant’s delicate root system.
Common Succulent Pathogens & Pests Explained 🐛
If you don’t take proactive steps in sterilizing your potting mix, your succulents are vulnerable to several aggressive enemies:
-
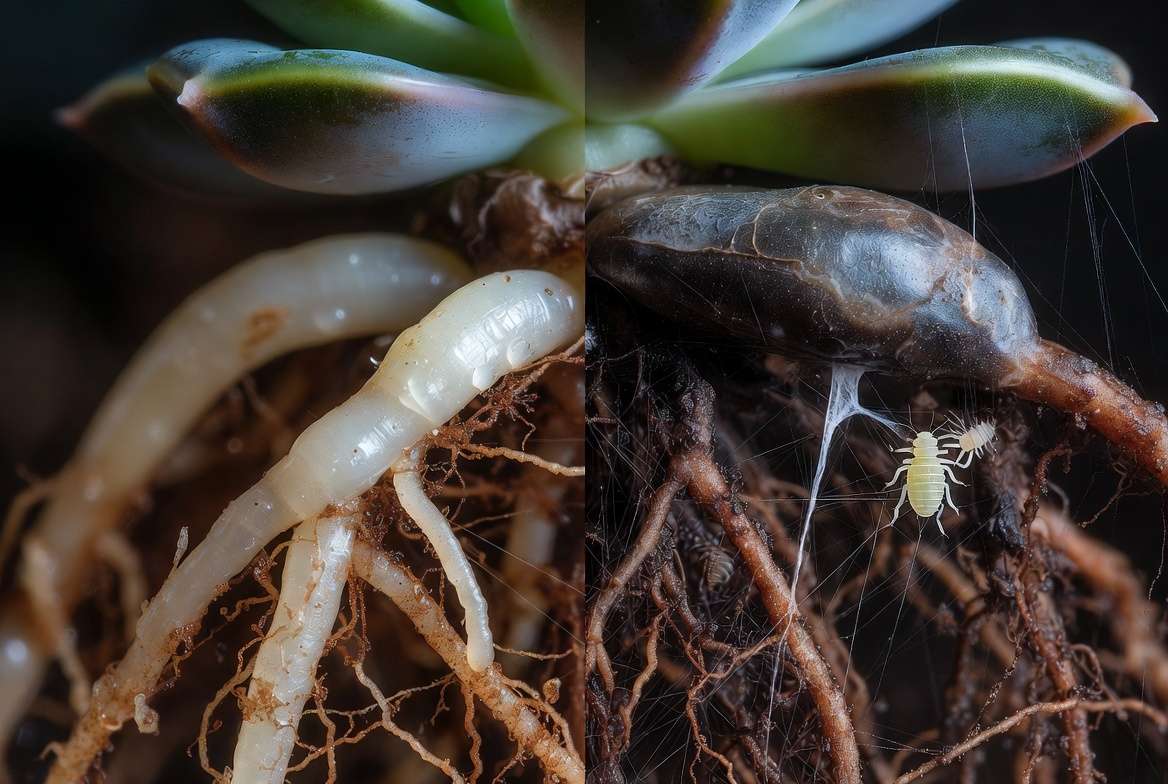
Rhizoctonia and Pythium: These are the notorious water mold and fungal pathogens responsible for root rot and stem rot. They thrive in damp, unsterilized organic matter and can decimate a succulent from the bottom up in a matter of days.
-
Fungus Gnats: While the flying adults are just annoying, their larvae live in the soil and actively feed on tender root hairs. This feeding damage creates open wounds on the roots, which act as an open door for fungal infections.
-
Root Mealybugs: Unlike regular mealybugs that hide in leaf crevices, these pests coat the roots in a waxy, white residue, stunting growth and spreading viral and bacterial diseases.
Soil Sterilization vs. Pasteurization: Striking the Right Balance ⚖️🌡️
Before we dive into the methods, we need to clarify a crucial horticultural distinction. While the houseplant community widely uses the phrase “sterilizing soil for succulent disease control,” what we are actually aiming for in most home environments is pasteurization.
Here is the scientific breakdown:
-
Sterilization (212°F / 100°C and above): True sterilization kills absolutely everything in the soil—the good, the bad, and the ugly. Boiling soil at these high temperatures can actually cause the organic matter to break down rapidly, releasing toxic levels of soluble salts and manganese, which can burn plant roots.
-
Pasteurization (140°F to 180°F / 60°C to 82°C): This is the sweet spot. Heating your soil within this temperature range for 30 minutes effectively kills harmful weed seeds, aggressive fungi (like Pythium), nematode pests, and fungus gnat eggs. However, it preserves the structural integrity of the soil and even allows some beneficial, heat-resistant microbes to survive.
For the sake of simplicity, we will continue to use the common term “sterilizing,” but remember: your goal is a thoroughly heated, pasteurized mix, not a scorched-earth scenario! 🔥
4 Proven Methods for Sterilizing Soil for Succulent Disease Control 🔥
Whether you are mixing a tiny batch for a single rescued Haworthia or preparing enough soil for a massive spring repotting session, there is a sterilization method that fits your needs.
(📌 Content Creator Note: This is the perfect spot to embed a custom, vertical Pinterest Pin summarizing these 4 methods so your readers can save it for later!)
Method 1: The Oven Baking Technique (Best for Indoor Growers) ♨️
The oven method is arguably the most reliable way to achieve even, consistent temperatures for a medium-sized batch of succulent soil.
What You Need:
-
An oven-safe roasting pan or deep baking dish
-
Aluminum foil
-
An oven-safe meat or candy thermometer
-
Your succulent soil base (peat, coir, or composted matter)
Step-by-Step Instructions:
-
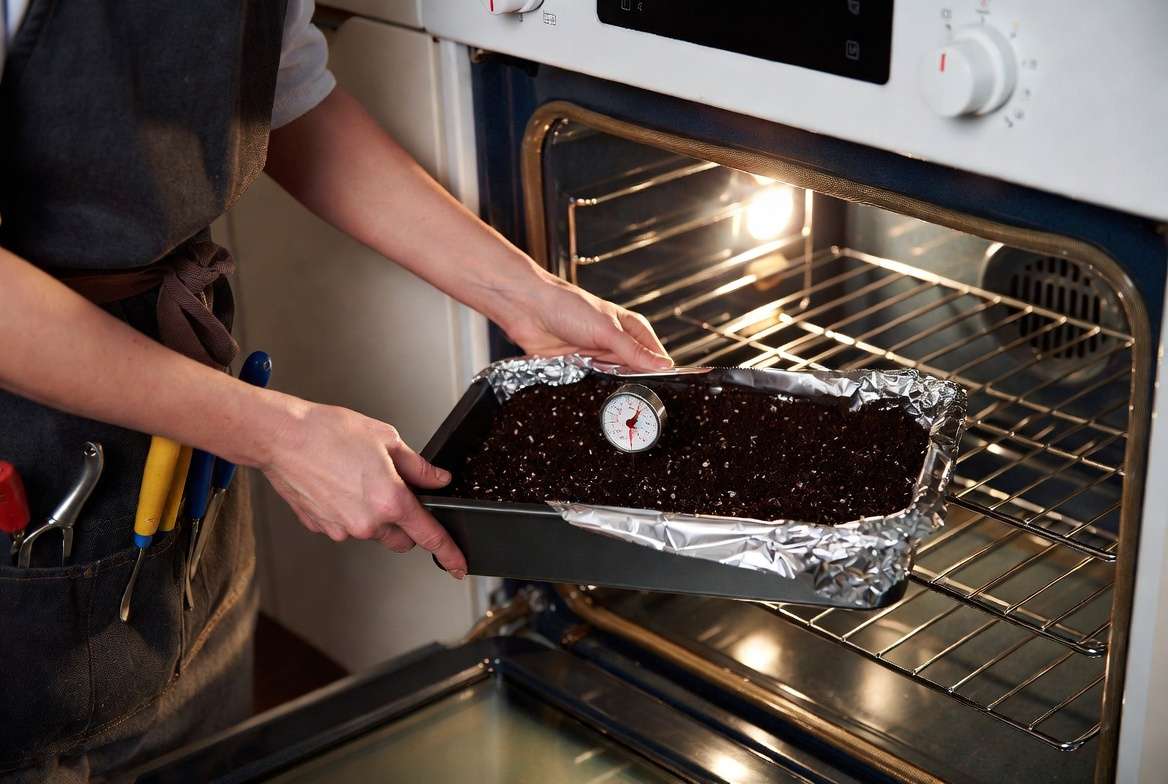
Moisten the Soil: Place your soil into the baking dish and lightly mist it with water. The soil should be damp but not soggy. This moisture turns into steam, which conducts heat evenly and effectively kills pathogens.
-
Cover Securely: Wrap the baking pan tightly with aluminum foil. This traps the steam inside and prevents your kitchen from smelling completely like baked dirt (though you should still expect a distinctly “earthy” aroma!).
-
Insert the Thermometer: Poke the thermometer through the center of the foil, ensuring the tip rests in the very middle of the soil mass without touching the bottom of the pan.
-
Bake: Preheat your oven to 200°F (93°C). Place the pan inside and monitor the thermometer.
-
The 30-Minute Rule: Once the internal temperature of the soil reaches between 180°F and 200°F, start a timer for exactly 30 minutes. Do not let it exceed 200°F, as this can release toxins.
-
Cool Down: Carefully remove the pan and let it cool completely with the foil still on to prevent new airborne pathogens from landing on the clean soil.
Method 2: The Microwave Method (Best for Small Batches) ⏱️
When you only need enough potting medium to repot a single offset or a small succulent arrangement, firing up the oven might feel like overkill. The microwave method is fast, efficient, and perfect for quick indoor gardening tasks.
What You Need:
-
A microwave-safe container (glass or heavy-duty plastic)
-
A lid with ventilation holes (or microwave-safe plastic wrap poked with holes)
-
Water
Step-by-Step Instructions:
-
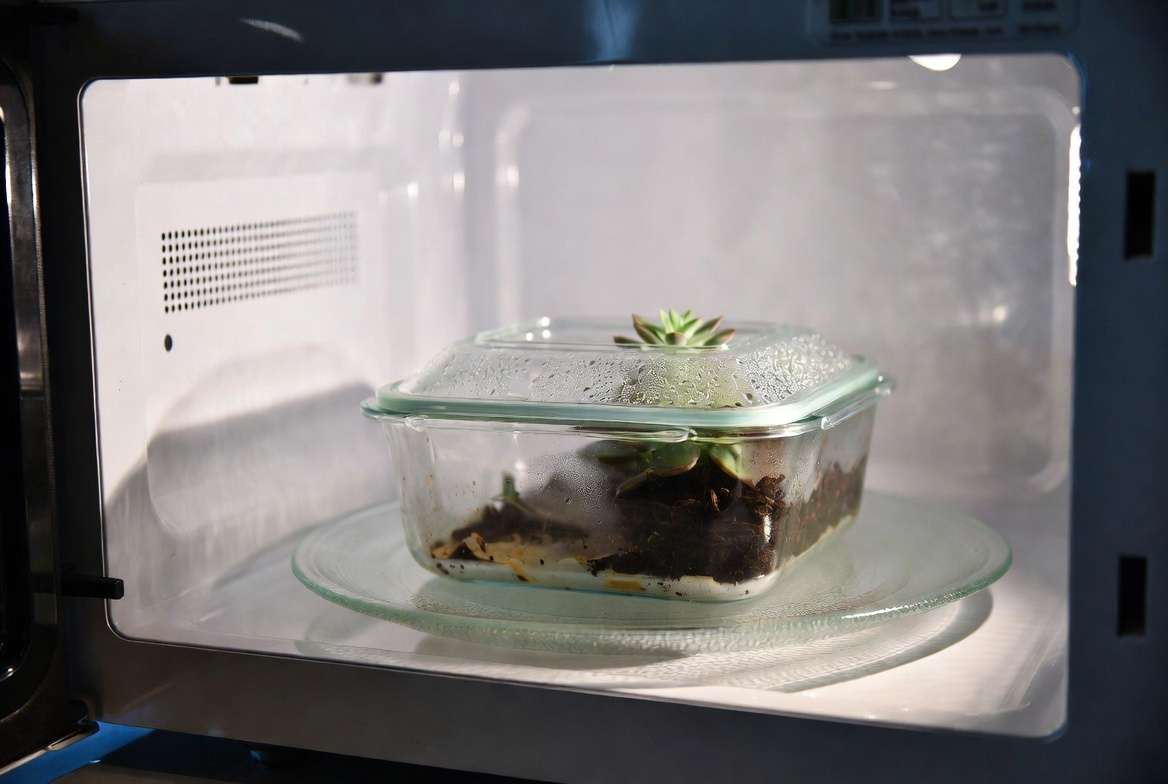
Prep the Mix: Place your potting soil into the container. Just like the oven method, the soil must be moist. The microwave works by vibrating water molecules to create heat; if the soil is bone dry, it won’t sterilize properly and could even pose a fire hazard.
-
Ventilate: Cover the container, but ensure there are adequate holes for excess steam to escape. A completely sealed container can burst under pressure.
-
Zap It: Microwave the soil on full power. A good rule of thumb is about 90 seconds to 2 minutes per pound of soil.
-
Check and Cool: Carefully remove the container (it will be incredibly hot!) and keep the lid on while it cools down to room temperature.
Method 3: Solarization (The Eco-Friendly Outdoor Approach) ☀️
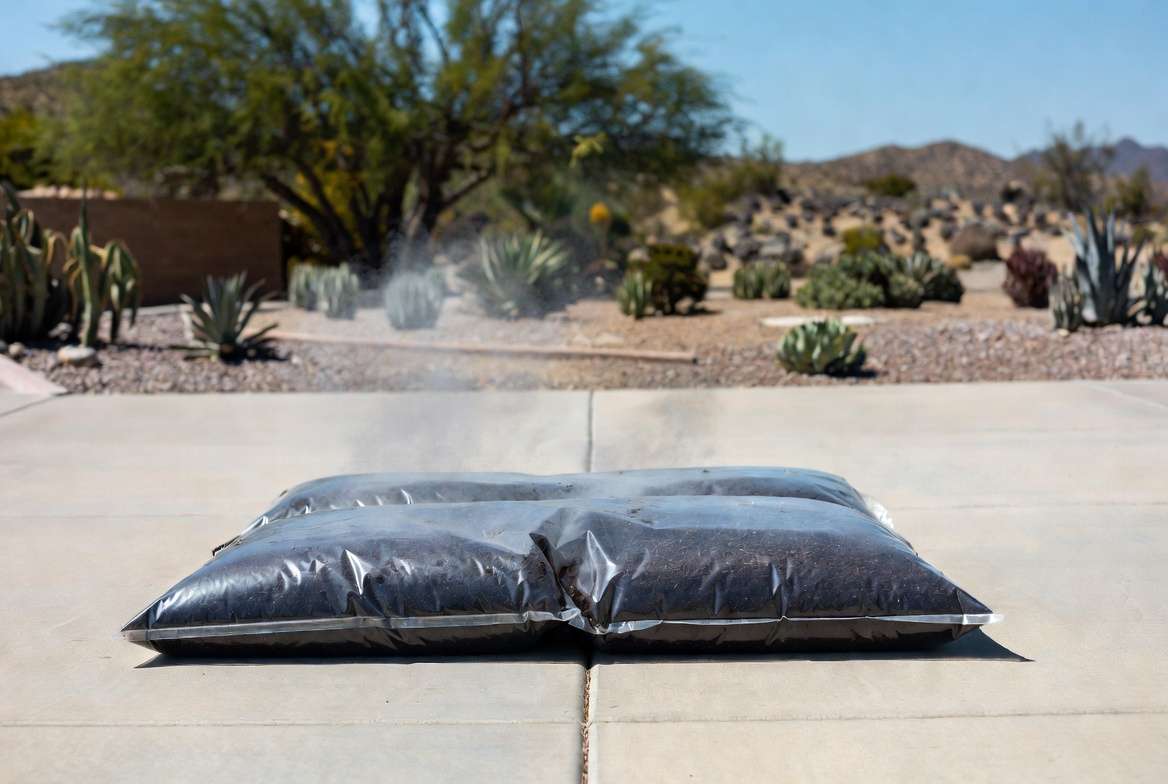
If you have a massive wheelbarrow full of old garden soil or used potting mix that you want to recycle, indoor methods simply aren’t practical. Soil solarization uses the radiant heat of the summer sun to bake away fungal spores and pest larvae naturally.
What You Need:
-
Heavy-duty, clear plastic bags (clear plastic traps more heat than black plastic!)
-
A sunny spot in your yard or driveway
Step-by-Step Instructions:
-
Bag and Moisten: Fill your clear plastic bags with the soil mix. Add enough water so the soil is thoroughly damp, and tie the bags tightly closed.
-
Place in Direct Sun: Lay the bags flat in an area that receives intense, direct sunlight for the majority of the day. A concrete driveway or brick patio works wonderfully because the hardscape absorbs and reflects heat back into the bags.
-
Wait it Out: Let the bags bake for 4 to 6 weeks. The internal temperature will soar, effectively pasteurizing the soil over time.
-
Dry and Use: Once finished, open the bags and let the soil dry out significantly before using it for succulents, as they despise wet feet!
Method 4: Boiling Water / Steam Method 💧
This is an old-school method that involves either pouring boiling water directly over a colander of soil or setting up a large double-boiler to steam the dirt.
While it does kill pathogens, I generally recommend this as a last resort for succulent growers. Why? Because succulents need incredibly well-draining, airy soil. Soaking your potting mix with boiling water turns it into heavy, compact mud. It can take days, or even weeks, for the soil to dry out enough to safely plant a drought-tolerant succulent in it without instantly triggering root rot.
Rebuilding the Soil Web: What to Do After Sterilizing 🌱✨
Here is a critical step that most basic plant care guides skip: sterilized soil is a blank canvas.
When you eliminate all the bad microbes, you also eliminate the good ones. If a stray pathogen (like a rogue fungus gnat carrying spores) lands on your newly sterilized soil, it faces zero competition and can take over rapidly. To ensure long-term succulent health, we need to rebuild a healthy, protective micro-biome.
Reintroducing Beneficial Microbes 🦠💚
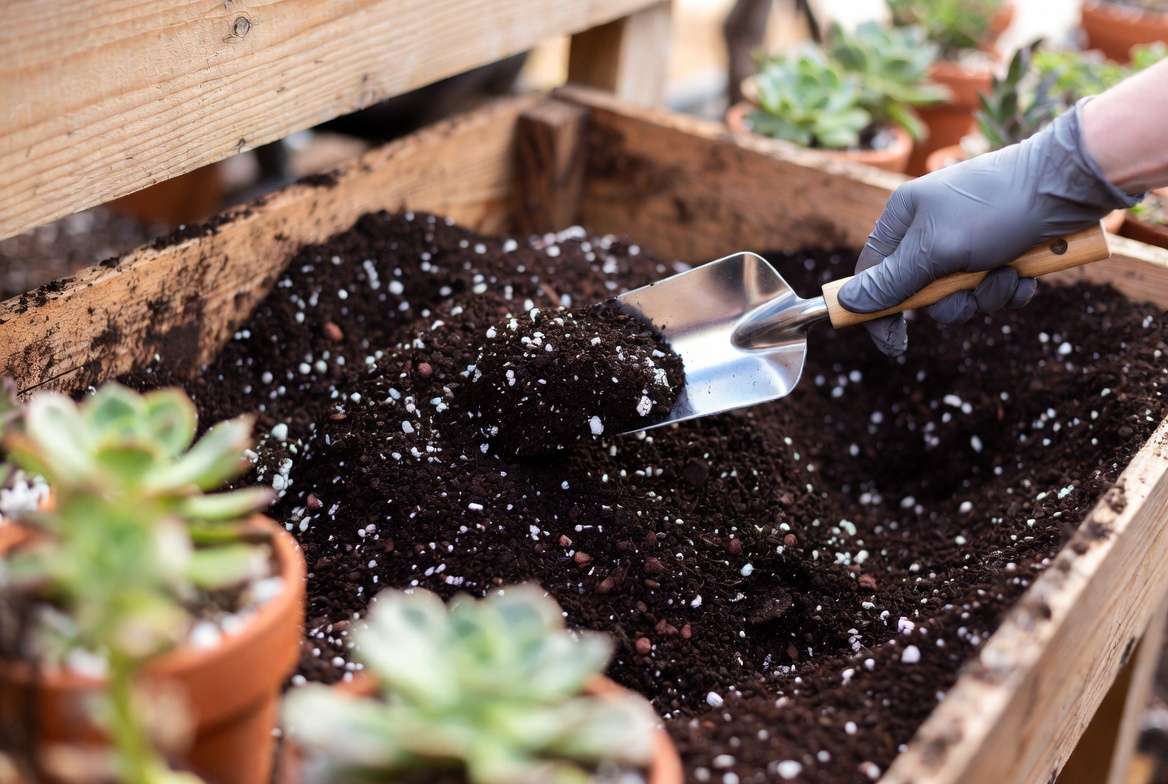
After your pasteurized soil has completely cooled, consider mixing in a mycorrhizal inoculant or a high-quality, organic worm casting tea. Mycorrhizal fungi form a symbiotic relationship with succulent roots, acting as an extension of the root system to help the plant absorb water and nutrients while outcompeting harmful pathogens.
Perfecting Your Succulent Soil Mix 🪨
Remember, sterilizing soil for succulent disease control only solves half the problem. If your soil doesn’t drain quickly, rot will inevitably return.
Most commercial potting soils are far too rich in organic matter (like peat moss or coconut coir), which holds moisture like a sponge. Take your newly sanitized organic soil base and cut it aggressively with inorganic grit.
The Golden Ratio: Mix 1 part sterilized organic soil with 2 parts inorganic grit (such as coarse sand, pumice, perlite, or crushed granite). This ensures rapid drainage and high oxygen flow to the root zone—the ultimate defense against rot.
Preventing Future Disease: Long-Term Care for Succulents 🛡️🌵
A pristine potting medium gives your plants the best possible start, but your ongoing care routine dictates their long-term survival. Combine your clean soil with these expert practices:
-
The “Soak and Dry” Method: Never water succulents on a strict calendar schedule. Wait until the soil is 100% bone dry all the way to the bottom of the pot, then drench it thoroughly until water pours out the drainage hole.
-
Pot Selection Matters: Swap plastic and glazed ceramic pots for terracotta or unglazed clay. Clay is porous, allowing moisture to evaporate through the walls of the pot, significantly reducing the risk of waterlogged roots.
-
Strict Quarantine Procedures: Never introduce a newly purchased plant directly into your collection. Isolate new arrivals for at least two weeks. Check their nursery soil for signs of pests or rot, and when in doubt, un-pot them, discard the old soil, and repot them in your freshly sterilized, custom succulent mix!
Frequently Asked Questions (FAQs) 🙋♀️❓
Can I reuse potting soil if my plant died of root rot?
Yes, but you must sterilize it first. If a plant succumbs to root rot, the soil is heavily contaminated with fungal pathogens like Pythium. Using the oven or microwave method to bring the soil to 180°F (82°C) for 30 minutes will render it safe to use again.
Will sterilizing soil get rid of fungus gnats?
Absolutely. The heat from pasteurization destroys fungus gnats at all life stages, including the flying adults, the root-eating larvae, and the microscopic eggs hidden in the dirt.
Does sterilizing soil remove its nutrients?
Heating soil does not destroy its mineral content (like nitrogen, phosphorus, and potassium). However, it does reduce the population of beneficial bacteria that help break down organic matter. This is why reintroducing mycorrhizae or lightly fertilizing during the growing season is recommended.
Can I use chemical fungicides instead of heat?
While chemical soil drenches and systemic fungicides can treat active infections, they often leave toxic residues and can lose effectiveness over time as pathogens build resistance. Heat sterilization is a 100% natural, highly effective way to start with a completely clean slate without harsh chemicals.
Conclusion: Give Your Succulents the Clean Slate They Deserve 🌟🪴
Learning how to properly sterilize your soil is a total game-changer for any indoor gardener. It removes the guesswork, eliminates hidden threats, and provides your prized plants with the safe, healthy foundation they need to flourish. By combining a sterile, pathogen-free organic base with plenty of coarse grit and a smart watering routine, root rot will become a thing of the past.
Ready to try it yourself? Which sterilization method are you going to use for your next repotting session? The quick microwave method, or the large-batch solarization approach?











