Imagine stepping out onto your patio, balcony, or small backyard on a sweltering late-summer afternoon, reaching into a lush tangle of green vines, and pulling down a perfectly ripe, sun-warmed melon. For many urban gardeners and those with limited yard space, the dream of growing homegrown watermelon seems impossible. Traditional watermelon vines are notorious space hogs, often sprawling over 20 square feet per plant, rapidly overtaking other crops and escaping garden boundaries.
But you don’t need a sprawling farm to enjoy this quintessential summer treat. Enter the icebox watermelon—the ultimate solution for small-space gardeners craving big, sugary harvests.
Bred to be compact, highly prolific, and perfectly sized to fit neatly into your refrigerator, icebox varieties allow you to cultivate incredibly sweet, dense fruit in a fraction of the space required by standard melons. Whether you are planting in raised beds, large patio containers, or utilizing vertical trellises, this guide will walk you through the expert-backed care secrets needed to maximize your limited space. By mastering soil health, strategic watering, and proactive plant care, you can unlock the secret to developing the sweetest, most thriving melons right in your own backyard. Let’s dig in!
2. What Exactly is an Icebox Watermelon? 🍈
To truly master the cultivation of this fruit, it helps to understand its origins and unique growth habits. The term “icebox” was coined in the early to mid-20th century. Before modern, massive electric refrigerators became the standard, families used literal iceboxes—compact, insulated wooden cabinets cooled by giant blocks of ice. Agricultural breeders realized there was a high demand for a smaller watermelon that could comfortably fit inside these cramped cooling spaces without having to be sliced open and spoiled.
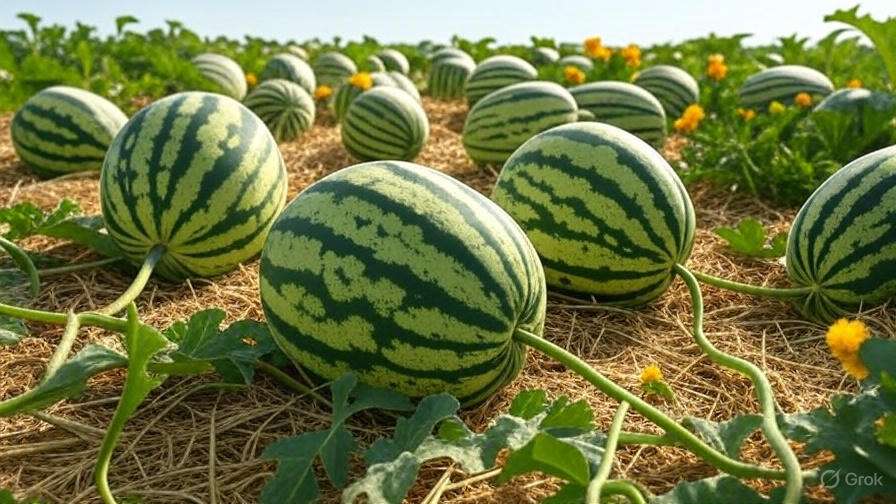
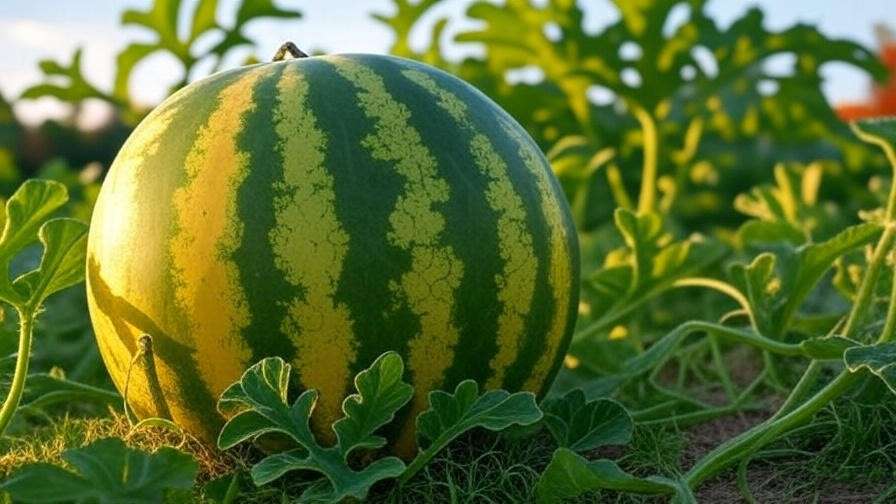
The result was a category of watermelons that generally weigh between 5 and 15 pounds. Unlike standard picnic varieties (like the massive 30-pound Crimson Sweets) that require sprawling acreage, icebox watermelon vines are significantly shorter and bushier, typically capping out at 3 to 5 feet in length.

Top Varieties to Choose From
Selecting the right seed is your first step toward a successful harvest. Depending on your local microclimate and your region’s first and last frost dates, you’ll want to choose a variety tailored to your specific environment:
-
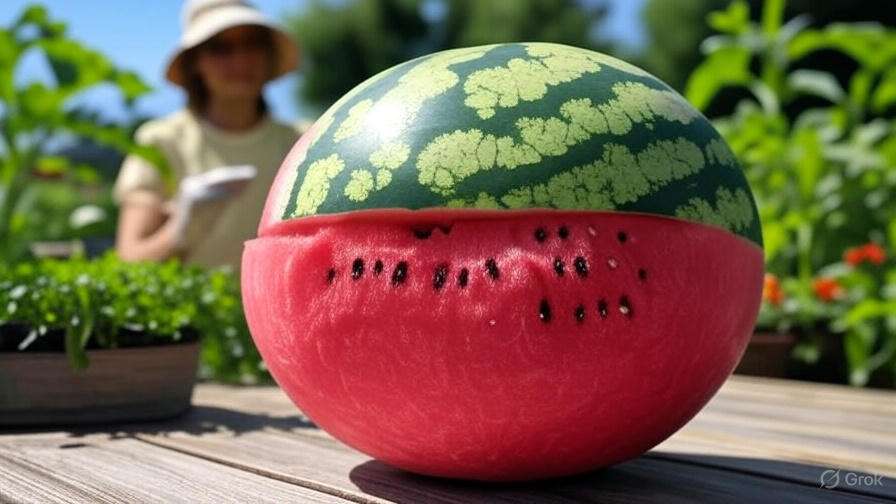
Sugar Baby: The absolute classic standard of the icebox category. Introduced in the 1950s, it produces 8 to 10-pound fruits with a tough, very dark green (almost black) rind. It is famous for its crisp, incredibly sweet, bright red flesh and reliable yields.
-
Bush Sugar Baby: If space is exceptionally tight, this is your holy grail. It boasts the same sweet flavor profile as the original Sugar Baby but grows on highly condensed, bushy vines that rarely exceed 3 feet, making it the perfect candidate for container gardening.
-
Blacktail Mountain: An absolute champion for growers in cooler climates or regions with very short growing seasons. Bred in Idaho, this variety thrives in cooler nighttime temperatures and matures incredibly fast, producing exceptionally sweet, 8 to 12-pound fruits.
-
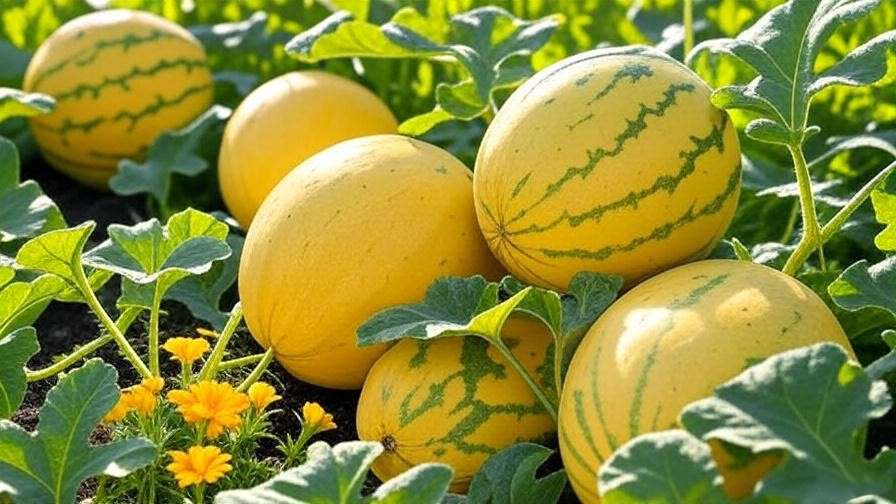
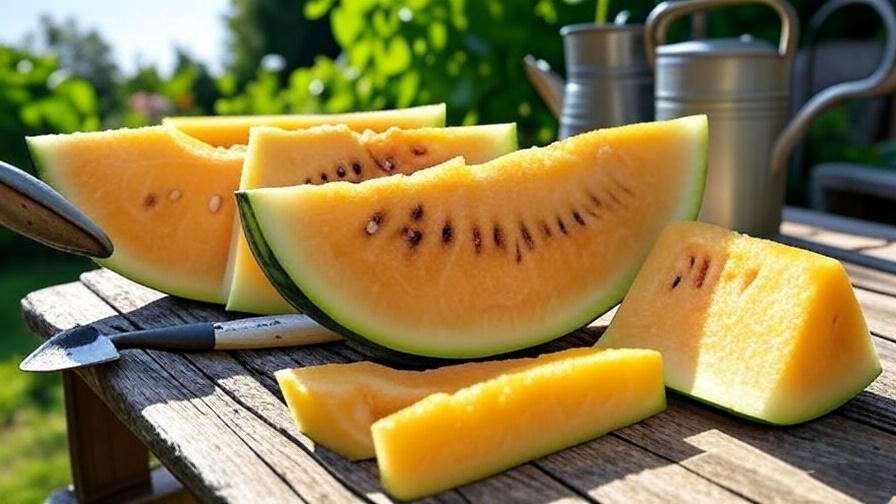
Yellow Doll: For a visually striking harvest, this extra-early producer yields 5 to 7-pound melons with vibrant, honey-yellow flesh. It’s sweet, novel, and a fantastic conversation starter for garden tours.
Expert Insight 💡: When planning your garden calendar, always count backward from your region’s projected first fall frost date. Icebox varieties generally require 70 to 85 days to reach maturity. Selecting early-maturing varieties like Blacktail Mountain or Yellow Doll ensures you get a harvest even if your summer is fleeting.
3. Foundation for Success: Soil Health & Preparation 🪴
The secret to a sweeter, more robust harvest doesn’t begin with the seed; it begins in the dirt. Watermelons of all sizes are notoriously heavy feeders, requiring a rich, dynamic environment to fuel their rapid growth and high sugar production. Taking a diagnostic approach to your soil health before planting is the single most important step you can take.

The Ideal Soil Matrix
Icebox watermelons despise “wet feet” (waterlogged roots). They require a loose, well-draining, sandy loam soil with a slightly acidic pH ranging between 6.0 and 6.8. Heavy clay soils will suffocate the roots and drastically increase the risk of fungal diseases. If your native soil is heavy, you must amend it heavily with coarse sand and organic matter to improve aeration and drainage.
Supercharging Your Soil Microbiome
To get those coveted, sugar-dense fruits, you need a thriving soil microbiome. The symbiotic relationship between your plant’s roots and the living organisms in the soil is what maximizes nutrient uptake.
-
Organic Matter: Work in a generous 2 to 3-inch layer of well-aged compost or composted manure into your planting area a few weeks before planting.
-
Worm Castings: Adding a handful of worm castings directly into the planting hole provides a gentle, bio-available boost of nitrogen and beneficial microbes.
-
Pro Tip ✨: Introduce mycorrhizal fungi inoculant to the root zone during transplanting. These beneficial fungi attach to the root system, effectively acting as microscopic extensions that scavenge deep into the soil for phosphorus and water—two elements directly responsible for blossom development and ultimate fruit sweetness.
Container vs. Raised Bed Specs
You don’t need a traditional garden plot to achieve massive success, provided you set up your alternative spaces correctly.
-
Containers: If utilizing pots on a patio, you must go large. Assign a minimum of a 10 to 15-gallon container per plant. The container must have multiple large drainage holes. Fill it with a premium, lightweight organic potting mix cut with 20% perlite for maximum drainage.
-
Raised Beds: Raised beds naturally warm up faster in the spring and drain beautifully. Space your plants about 2 to 3 feet apart. To optimize drainage further, build small “mounds” or hills of soil about 6 inches high and plant your seeds or transplants directly into the top of the mound.
4. Planting & Early Care: Getting Your Vines Off to a Strong Start ☀️
With your soil expertly prepped, it’s time to get your plants established. Watermelons are incredibly sensitive to cold and root disturbance, meaning precision during the planting phase is crucial.
Seed Starting vs. Direct Sowing
If you live in a region with a long, hot summer, direct sowing seeds into the garden is often preferred. Watermelon roots are fragile, and they resent being transplanted. Sow seeds 1 inch deep only after all danger of frost has passed and the soil has reliably warmed.
If you have a short growing season, you will need to start seeds indoors 3 to 4 weeks before your last frost date. Use biodegradable peat or paper pots. Because you plant the entire pot directly into the soil later, you completely eliminate the risk of transplant shock by avoiding disturbing the delicate root ball.
Temperature & Sunlight Requirements
Heat is the primary driver of rapid vegetative growth. Soil temperatures must be at least 70°F (21°C) for healthy germination and transplanting. Expert trick: Lay down black landscape plastic over your planting beds two weeks before planting to absorb solar radiation and artificially pre-warm the soil.
Furthermore, sunlight is the engine that produces sugar. Your icebox watermelon vines must receive a minimum of 8 to 10 hours of full, unobstructed, direct sunlight every single day. Shady conditions will result in leggy, weak vines and bland, watery fruit.
5. Maximizing Small Spaces: Vertical Gardening & Trellising 🪜
When ground space is measured in inches rather than acres, growing upward is your best strategy. Training your icebox watermelon vines to climb not only saves massive amounts of real estate, but it also dramatically improves the health of your plants. Getting the foliage and fruit off the damp soil minimizes exposure to soil-borne pathogens and increases airflow, significantly reducing the risk of fungal infections.

Building a Sturdy Trellis Structure
Watermelon vines, even the compact icebox varieties, become incredibly heavy once loaded with foliage and fruit. Flimsy tomato cages will simply collapse under the weight. You need industrial strength:
-
Cattle Panels: Arching heavy-duty galvanized cattle panels between two raised beds creates a stunning, walk-through melon tunnel that effortlessly supports heavy vines.
-
A-Frame Trellises: Constructed from sturdy wood and strung with thick wire or heavy-duty nylon trellis netting, an A-frame provides a slanted surface that vines love to scramble up.
Training the Vines & Making “Melon Hammocks” 🧶
Watermelon vines possess tendrils that naturally want to grab and climb, but they will initially need a little guidance. Gently weave the main growing tips through the holes in your trellis grid. If a stem resists, tie it loosely with soft plant ties or torn strips of old cotton t-shirts to avoid snapping the brittle vines.
The Crucial Step: While the vines can climb, the stems connecting the heavy fruit to the main vine cannot support the weight of a hanging 10-pound melon in mid-air. Left unsupported, the fruit will prematurely snap off and crash to the ground.
Enter the melon hammock. You must fashion slings to cradle the developing fruit and tie those slings directly to your sturdy trellis structure, taking the weight completely off the vine. You can upcycle materials from around the house for this:
-
Stretchy pantyhose (perfect as they expand with the growing fruit)
-
Mesh onion bags or reusable produce bags
-
Squares of breathable cotton fabric or old bedsheets
6. The “Sweeter Fruit” Strategy: Watering & Feeding Secrets 💧
The biggest disappointment a gardener can face is slicing into a beautiful, homegrown melon only to discover it tastes watery and bland. The secret to intensely sweet, crisp fruit lies entirely in how you manage soil moisture and nutrients throughout the life cycle.
The Watering Curve
Your watering strategy must shift as the plant matures.
-
The Vegetative Stage: From planting until the fruits reach the size of a tennis ball, the vines require consistent, deep watering. Aim for 1 to 2 inches of water per week. The soil should remain evenly moist but never soggy.
-
The Fruit Maturation Stage (The Secret): This is where most novices make a critical error. About 1 to 2 weeks before you expect to harvest, you must intentionally withhold water. Tapering off the water supply forces the plant to concentrate its natural sugars into the fruit rather than diluting them with excess water uptake.

Strategic Fertilization
Feeding your plants the wrong nutrients at the wrong time will give you a lush jungle of green leaves with absolutely zero fruit.
-
Early Growth: Apply a balanced, slow-release organic fertilizer (like a 5-5-5) early on, or use a nitrogen-rich fish emulsion to help build strong foundational vines and leaves.
-
Flowering & Fruiting: Once the yellow blossoms appear, completely back off the nitrogen. Switch to a fertilizer heavily weighted in Phosphorus and Potassium (like bone meal, kelp meal, or a specialized bloom booster). This triggers the plant to focus its energy on fruit set and cell development, leading to denser, sweeter melons.
7. Proactive Plant Diagnostics: Pests & Diseases 🐛
Even the most carefully tended garden will occasionally face challenges. Establishing a proactive defense system keeps your vines thriving all summer long.
Common Pests
-
Aphids: These tiny, sap-sucking insects cluster under the leaves, causing them to curl and yellow. They can be blasted off with a strong jet of water or treated with organic neem oil spray.
-
Cucumber Beetles: These yellow-and-black striped or spotted beetles are public enemy number one. Not only do they chew through leaves and blossoms, but they also transmit bacterial wilt—a disease that will collapse your entire vine overnight. Protect young plants with floating row covers until they flower (remove them so pollinators can access the blossoms), and hand-pick beetles early in the morning when they are sluggish.
Fungal & Bacterial Diseases
Proper spacing and utilizing a trellis are your best defenses against mildew, but you still need to know what to look for:
| Disease | Visual Symptoms | Actionable Remedy |
| Powdery Mildew | Looks like a dusting of white flour or baby powder across the top surfaces of the leaves. | Prune severely affected leaves. Spray with a baking soda/water solution or a copper-based organic fungicide. |
| Downy Mildew | Angular, pale yellow or brown lesions on the leaves, often constrained by the leaf veins. | Improve airflow immediately. Ensure you are watering at the base of the plant, keeping the foliage entirely dry. Apply organic bio-fungicides. |
8. The Harvest: How to Tell When an Icebox Watermelon is Ripe 🔪
Unlike tomatoes or bananas, watermelons do not continue to ripen or develop sugar after they are cut from the vine. If you harvest too early, you are stuck with a pale, flavorless melon. Harvesting requires patience and observation.
Do not rely on days-to-maturity labels alone; use the 3-Step Ripe Test:
-
The Tendril Test 🍂: Locate the curly, pig-tail-like tendril on the main vine exactly where the fruit’s stem attaches. When the melon is growing, this tendril is green and fleshy. When the melon is ripe, that specific tendril will turn completely brown, dry, and brittle.
-
The Field Spot 🟡: Look at the underside of the melon where it has been resting on the ground (or resting in its hammock). This spot will be white or pale green while developing. When the melon reaches peak ripeness, this spot will turn a distinct, creamy, buttery yellow.
-
The Thump Test 🎶: Give the melon a firm flick or tap with your knuckles. An unripe melon will produce a high-pitched, tight “ping.” A ripe melon, heavy with dense, sugary water, will produce a deep, resonant, hollow “thud.”

9. Frequently Asked Questions (FAQs) 🙋♀️
How long does it take to grow an icebox watermelon?
From the day the seed sprouts, most icebox varieties require between 70 and 85 days to produce mature, ready-to-eat fruit, depending on the heat of your summer.
Can I grow an icebox watermelon on a balcony?
Absolutely! As long as the balcony receives at least 8 hours of direct, blazing sunlight. You will need a large 15-gallon container, high-quality potting mix, and a sturdy vertical trellis to train the vine upward.
How many watermelons will one icebox vine produce?
A healthy, well-fed icebox vine will typically produce 2 to 4 high-quality melons. Once the vine has set its fruit, you can actually pinch off any new blossoms to force the plant to funnel all its energy into sizing up those existing 3 or 4 melons.
Why did my watermelon suddenly split open?
Splitting is usually caused by a rapid, drastic fluctuation in soil moisture. If the soil is bone-dry for weeks and then heavily flooded by a sudden rainstorm, the inside of the melon absorbs water and expands faster than the rind can stretch, causing it to burst. Consistent watering is key to preventing this.
10. Conclusion & Next Steps in the Garden 🌻
Growing an icebox watermelon in a restricted space is one of the most rewarding projects a home gardener can undertake. By choosing the right compact variety, aggressively managing your soil health, utilizing vertical space, and mastering the late-stage watering taper, you can easily bypass the limitations of a small yard. The reward—a crisp, intensely sweet, sun-warmed melon grown by your own hands—is well worth the effort.
Now that you have the blueprint for thriving, space-saving melons, it’s time to prep those containers and build those hammocks. If you want to ensure your soil is perfectly primed for these heavy feeders before you plant, check out our comprehensive guide on creating nutrient-dense organic compost right in your backyard. Happy growing!