
Imagine stepping into your backyard on a warm summer morning, the sun kissing your face as you reach out and pluck handfuls of plump, sweet, antioxidant-packed blueberries straight from your own bushes — no more $5 pints from the store that go mushy in two days! 🌟 If you’ve ever tried growing blueberries only to watch them struggle or produce tiny, sour fruit, you’re not alone. The secret most gardeners miss? Ordinary garden soil is usually too alkaline for these acid-loving superstars. That’s exactly why planting blueberries in peat moss is the game-changing solution that creates the perfect acidic, moisture-rich home they crave.
As a certified horticulturist with over 18 years of hands-on experience specializing in ericaceous plants and home fruit gardens, I’ve helped thousands of backyard growers — from beginners in urban patios to families building edible landscapes — transform failed attempts into thriving blueberry patches that deliver bumper harvests for 20+ years. This comprehensive, step-by-step guide is packed with practical advice, science-backed tips, and pro secrets you won’t find in short blog posts. Whether you’re working with heavy clay soil, sandy ground, or limited space in containers, you’ll learn exactly how to succeed with planting blueberries in peat moss. Let’s dig in and get your bushes producing sweet success! 🍇
Why Blueberries Thrive in Peat Moss – The Science Explained 🧪🫐
Blueberries (Vaccinium species) are picky about their soil, and that’s where peat moss shines as the perfect partner. These delicious berries belong to the Ericaceae family and demand acidic conditions to absorb nutrients properly — specifically a soil pH between 4.5 and 5.5. Most backyard soils sit at 6.0–7.5, which locks up iron and other essentials, causing yellow leaves (chlorosis) and weak growth.
Peat moss is naturally acidic (pH 3.5–4.5), incredibly lightweight, and holds 10–20 times its weight in water while still providing excellent aeration. This combo prevents the two biggest blueberry killers: drought stress and root rot. University extension services, including those from Michigan State and Oregon State, consistently recommend peat moss amendments for home blueberry plantings because it mimics the native bog-like conditions where wild blueberries flourish.
Key benefits of planting blueberries in peat moss:
- Optimal acidity that unlocks iron and manganese uptake 🌿
- Superior moisture retention without waterlogging
- Improved drainage and aeration for healthy root systems
- Weed suppression when topped with mulch
- Long-lasting soil structure — one good mix can last 5–10 years
Important sustainability note: While peat moss is highly effective, it’s a non-renewable resource harvested from ancient bogs. For eco-conscious gardeners, I often blend it 50/50 with sustainable alternatives like coconut coir, pine bark fines, or composted pine needles. These still deliver the acidity blueberries love while being more environmentally friendly. 🪴
Here’s a quick visual of a high-quality peat-based acid mix ready for your project:

Choosing the Best Blueberry Varieties for Peat Moss Success 🍇
Not all blueberries are created equal — especially when you’re planting blueberries in peat moss. Success starts with varieties that match your climate, space, and taste preferences. Here’s a clear breakdown:
Highbush Blueberries (most common for home gardens)
- Grow 4–8 feet tall, perfect for larger yards
- Excellent flavor and high yields
- Top picks: ‘Bluecrop’, ‘Duke’, ‘Jersey’, ‘Elliott’
Lowbush Blueberries (wild-type, great ground cover)
- Stay low (1–2 feet), spread nicely
- Super cold-hardy and sweet
- Ideal for northern zones
Half-High & Rabbiteye
- Half-high: Compact for smaller spaces or windy areas
- Rabbiteye: Heat-tolerant for southern gardens (zones 7–9)
Quick Comparison Table (for easy reference):
| Variety Type | Height | Chill Hours Needed | Best Zones | Peat Moss Fit |
|---|---|---|---|---|
| Highbush | 4–8 ft | 800–1,200 | 4–7 | Excellent |
| Lowbush | 1–2 ft | 1,000+ | 3–6 | Outstanding |
| Rabbiteye | 6–10 ft | 300–600 | 7–9 | Very Good |
| Half-High | 3–4 ft | 800–1,000 | 3–7 | Perfect for containers |
Pro tip: For small patios or balconies, choose dwarf highbush varieties like ‘Top Hat’ or ‘Northblue’ — they thrive beautifully in large pots filled with a pure peat moss blend. 🪴
If you’re in a warmer climate, rabbiteye types love the extra drainage peat moss provides. Cold-climate gardeners? Highbush or lowbush will reward you with massive clusters of berries year after year.
Site Selection & Soil Preparation – Lay the Perfect Foundation 📍
Location is everything! Blueberries need full sun (at least 6–8 hours daily) and protection from strong winds. Space plants 4–6 feet apart for air circulation and easy harvesting.
Step 1: Test your soil pH Before planting blueberries in peat moss, always test! Grab an inexpensive soil pH meter or send a sample to your local extension office. If your native soil is above 5.5, you’ll need to amend heavily.

Step 2: Mix the perfect peat moss blend For in-ground planting:
- 50% peat moss
- 30% pine bark fines or composted pine needles
- 20% perlite or coarse sand for drainage
For raised beds or containers:
- 60–70% peat moss
- 20% pine bark
- 10–20% perlite
This recipe creates the fluffy, acidic “blueberry heaven” your plants will love. Aim for a finished pH of 4.8–5.2.
Raised beds vs. containers vs. in-ground
- Raised beds → Best for heavy clay soils (build 12–18 inches high)
- Containers → Ideal for patios; use 20–25 gallon pots with drainage holes
- In-ground → Only if your native soil is already somewhat acidic
Step-by-Step Planting Blueberries in Peat Moss (The Complete Process) 🪴
Now comes the fun part — actually getting your hands dirty with planting blueberries in peat moss. Follow these detailed steps carefully, and your bushes will establish strong roots quickly. I’ve refined this process over nearly two decades of trial and error with home gardeners.
1. Best Time to Plant Plant in early spring (as soon as soil can be worked) or fall (at least 6 weeks before first hard frost). In USDA zones 3–7, spring is ideal; in warmer zones 8–9, fall planting reduces heat stress. Avoid planting in the heat of summer. 🌸
2. Gathering Supplies & Choosing Healthy Nursery Plants
- Healthy 1–3 year old plants in 1–3 gallon pots (look for strong stems and no signs of disease)
- Pre-moistened peat moss (or your custom acid mix)
- Pine bark fines, perlite, and pine needle mulch
- Soil pH tester, shovel, watering can, and organic acidifying fertilizer (like Espoma Holly-tone)
Choose disease-resistant varieties suited to your zone for long-term success.
3. Digging & Preparing the Planting Hole Dig a hole 2–3 times wider than the root ball (typically 18–24 inches wide and 12–18 inches deep). For heavy clay soil, go even wider — up to 3 feet in diameter — to encourage outward root growth.
Remove all native soil if your pH is above 5.5. For in-ground planting:
- Fill the bottom with 4–6 inches of moistened peat moss.
- Mix excavated soil with 50% peat moss (or follow the 40–50% peat + pine bark recipe from earlier). Many successful gardeners plant directly into nearly 100% pre-soaked peat moss for the first few years, especially in challenging soils.
4. Proper Planting Depth & Root Orientation Trick Gently remove the plant from its pot and loosen any circling roots. Place it so the top of the root ball sits level with the surrounding soil — blueberries have shallow roots and hate being planted too deep.
Spread roots outward slightly and backfill with your peat moss blend, firming gently to eliminate air pockets. Water thoroughly as you go to settle the mix.
5. Backfilling, Watering In & Mulching for Moisture Lock Water deeply until the area is saturated (peat moss must be fully moistened before use — dry peat repels water!). Apply 3–4 inches of acidic mulch like pine needles, pine bark nuggets, or shredded oak leaves on top. This locks in moisture, suppresses weeds, and slowly adds more acidity. 🪵
6. Immediate After-Planting Care (First 2 Weeks Checklist)
- Water daily for the first week if no rain (keep soil consistently moist but not soggy).
- Provide light shade cloth if planting in hot sun.
- Do not fertilize for the first 4–6 weeks.
- Remove all flower buds the first year to direct energy to root and bush development.
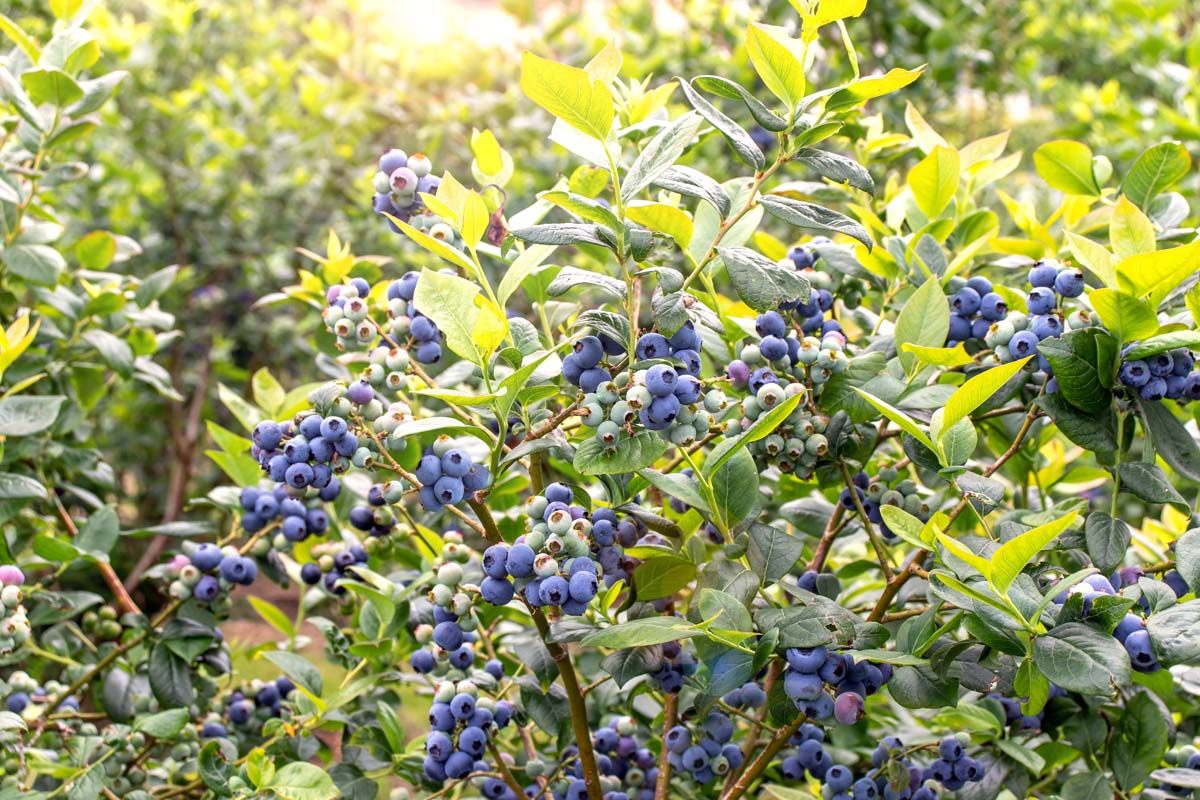
Here’s a clear visual of properly planted blueberry bushes in a peat-amended bed:
Watering, Mulching & Ongoing Care for Happy Bushes 💧
Blueberries have shallow roots, so consistent moisture is critical — especially in the first two years. Aim for 1–2 inches of water per week, adjusting for rainfall. Drip irrigation or soaker hoses work best to keep leaves dry and prevent fungal issues.
Mulching Tips: Reapply mulch annually to maintain 3–4 inches depth. Pine needles are my favorite because they naturally acidify as they break down and look neat around the bushes.
Fertilizing Blueprint Use acid-loving plant fertilizers (azalea/camellia or holly-tone).
- Year 1: Light applications (¼ cup per plant) in late spring and early summer.
- Year 2+: Increase gradually, applying in early spring as buds swell, then again 4–6 weeks later. Avoid fertilizing after midsummer to prevent tender growth before winter.
Always water thoroughly after feeding and test pH yearly — it can drift upward over time.
Pruning, Pest & Disease Management – Keep Your Patch Thriving ✂️
Pruning is the secret to big, sweet berries. Do it in late winter while plants are dormant.
Year-by-Year Pruning Guide:
- Year 1: Remove all flower buds and cut back tallest canes by 1/3 to encourage bushiness.
- Years 2–3: Remove weak, damaged, or low-lying canes. Keep 4–6 strong upright canes.
- Mature bushes (Year 4+): Annually remove 20–25% of oldest canes (those over 4–5 years old) at ground level. Thin crowded areas for better air flow and light penetration. Aim for an open vase shape.
Common Pests & Organic Controls:
- Birds: Use netting once berries start coloring.
- Japanese beetles or aphids: Hand-pick or use neem oil/insecticidal soap.
- Spotted wing drosophila: Harvest frequently and use traps.
Diseases: Peat moss helps by improving drainage and acidity, reducing root rot risk. Watch for mummy berry or powdery mildew — good air circulation and mulch hygiene prevent most issues.
Companion Planting Tip: Plant thyme, marigolds, or garlic nearby for natural pest deterrence. 🌼
Troubleshooting Common Problems When Planting Blueberries in Peat Moss 🔧
Even with perfect peat moss preparation, issues can arise. Here’s a quick-reference guide:
- Yellow leaves (chlorosis): Usually high pH locking up iron. Test soil and apply elemental sulfur or chelated iron. Peat moss should prevent this if mixed properly.
- Wilting or drooping: Underwatering or poor drainage — check if peat dried out completely.
- No fruit or small berries: Too young (wait until year 3+), not enough sun, or over-fertilizing with nitrogen.
- pH drift upward: Top-dress with fresh peat or pine needles and re-test annually.
- Winter damage: Mulch heavily in fall and choose hardy varieties for your zone.
If leaves turn yellow with green veins, act fast — it’s classic iron deficiency from insufficient acidity.
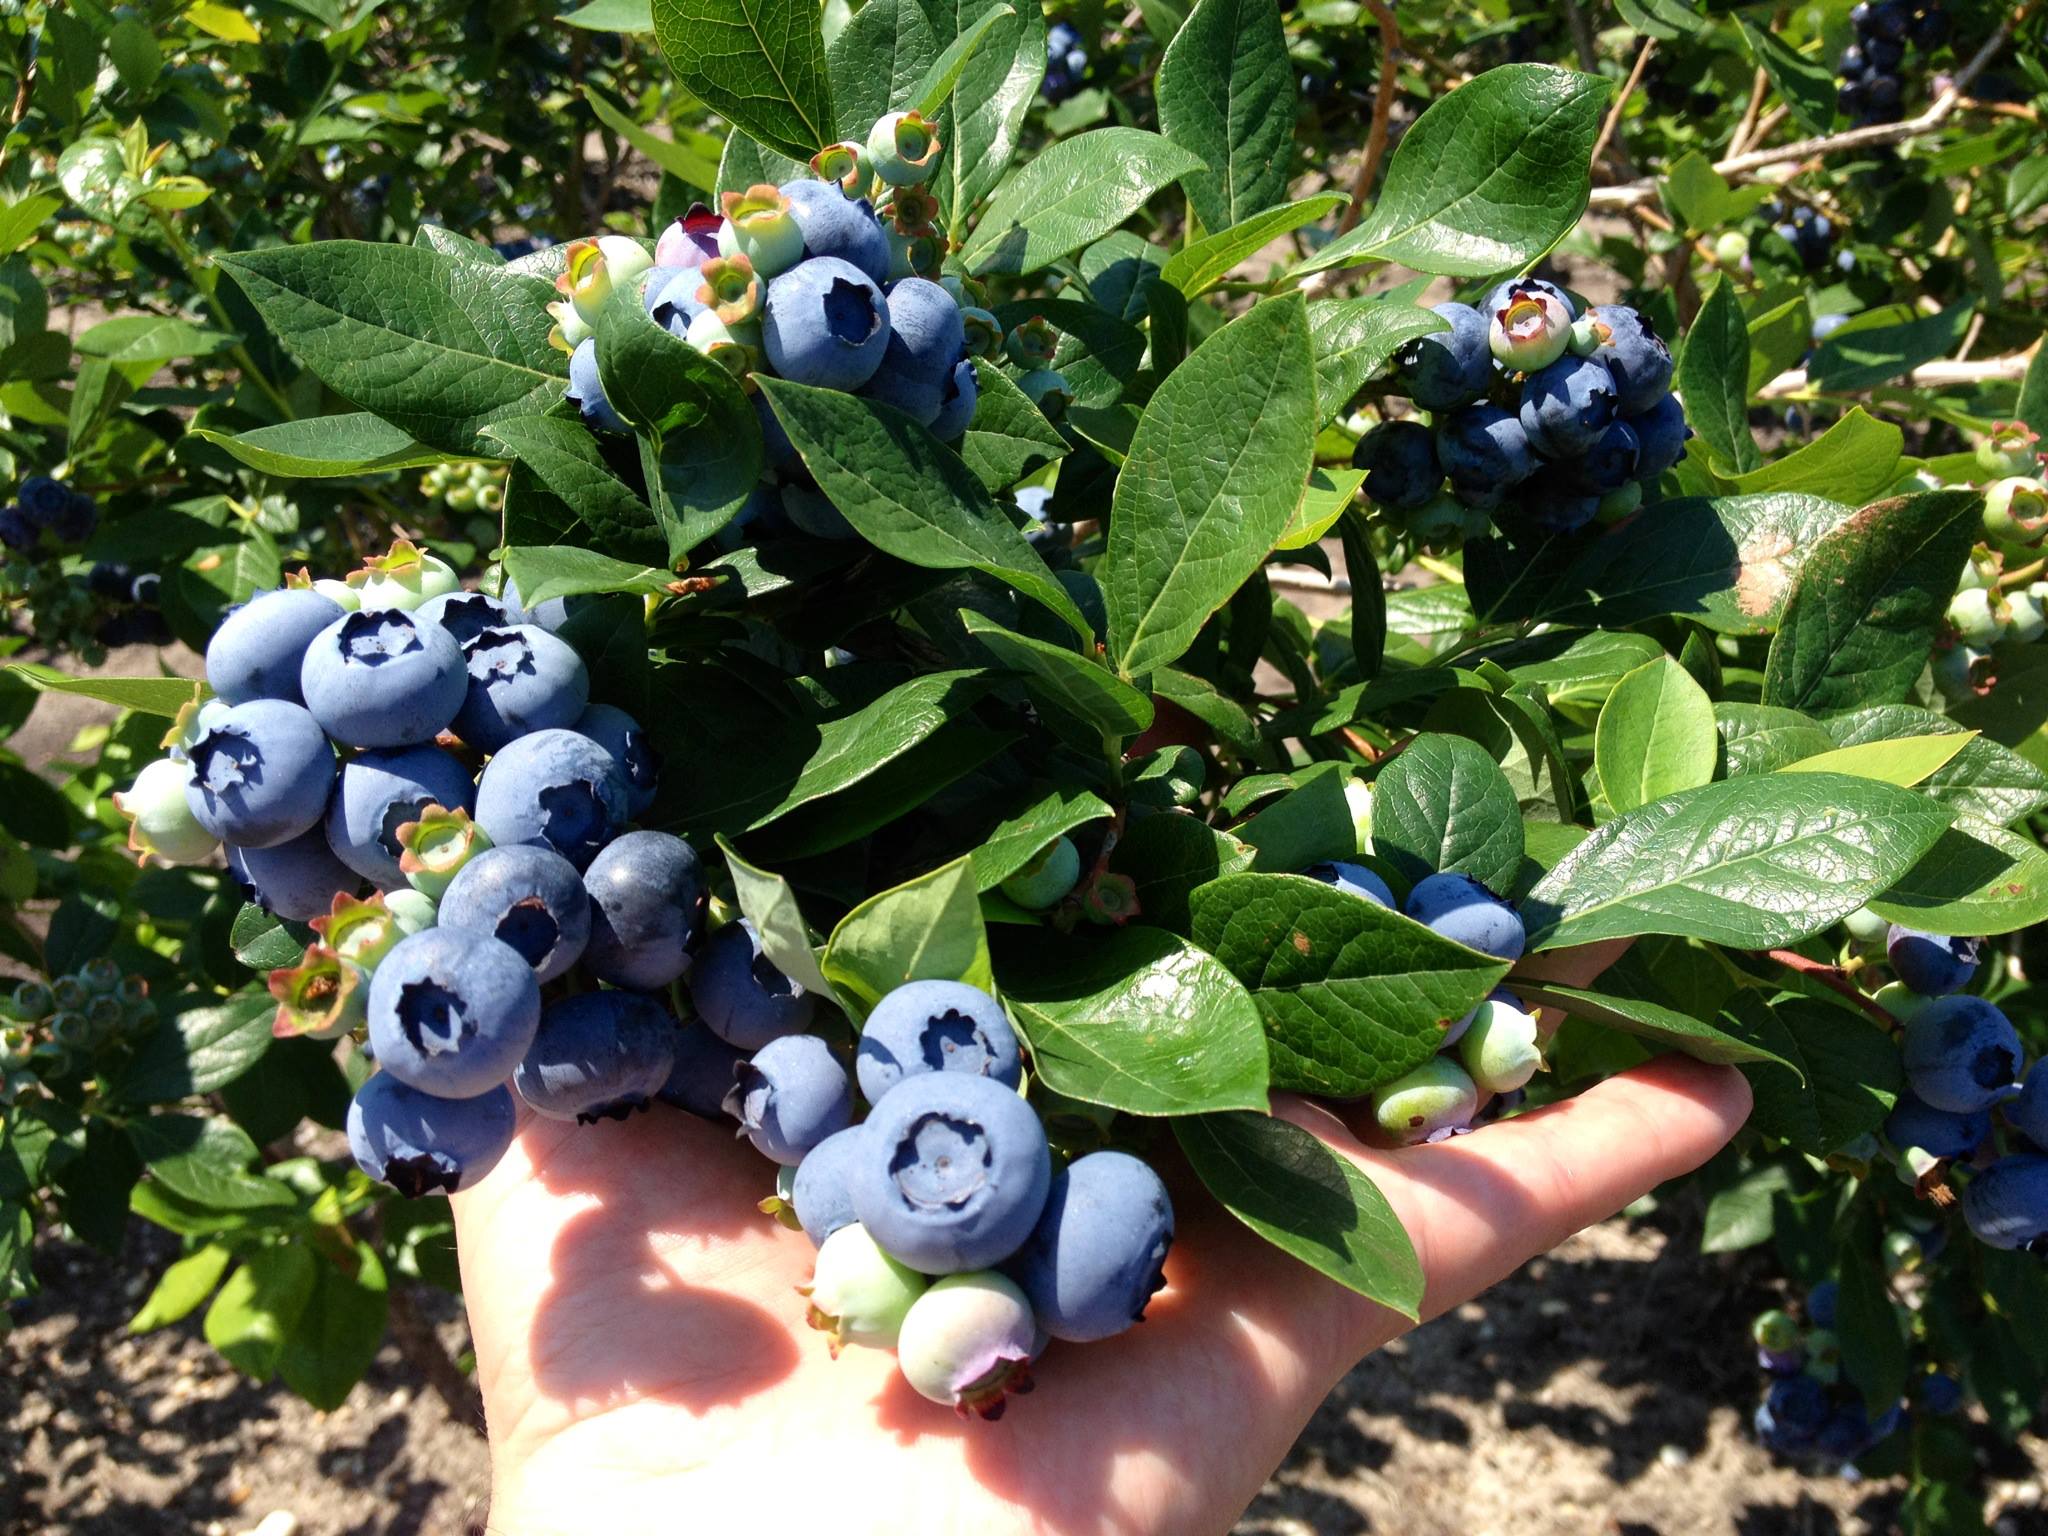
Harvesting, Preserving & Enjoying Your Homegrown Blueberries 🫐
Berries are ready when they turn deep blue-purple and taste sweet (usually mid-summer, depending on variety). Pick every few days — gently twist and they should release easily.
Pro picking tip: Harvest in the morning when berries are cool and firm.
Preserve your bounty by freezing on trays then bagging, making jam, or dehydrating. Fresh berries last 5–7 days in the fridge. Try simple recipes like blueberry pancakes, smoothies, or antioxidant-rich salads for maximum health benefits!
Long-Term Maintenance & Expanding Your Blueberry Garden 🌳
Create a yearly calendar:
- Spring: Prune, fertilize, mulch refresh.
- Summer: Water, harvest, monitor pests.
- Fall: Plant new bushes, add winter mulch.
- Winter: Prune dormant canes.
Propagate by layering low branches or taking softwood cuttings in summer. Once established, expand into a productive blueberry hedge or mix with other acid-lovers like rhododendrons for a beautiful edible landscape.
Expert Tips & Pro Secrets for Bountiful Harvests (Skyscraper-Level Value) ⭐
Here are 10+ advanced tips from my years of experience:
- Inoculate with mycorrhizal fungi at planting for better nutrient uptake.
- Use pine bark fines instead of regular mulch for faster acidity.
- Water with rainwater or acidified water (add a splash of vinegar occasionally) if your tap water is alkaline.
- For containers, use 60–70% peat moss mix and repot every 3–4 years.
- Net early — birds learn fast!
- Rotate fertilizer brands to avoid nutrient imbalances.
- Monitor chill hours — mismatched varieties won’t fruit well.
- Add coffee grounds sparingly as a mild acidifier and nitrogen boost.
- In hot climates, provide afternoon shade cloth.
- Test soil pH every spring — prevention beats correction.
Real gardeners I’ve worked with report doubling yields after switching to proper peat moss preparation and consistent pruning.
Frequently Asked Questions (FAQ) ❓
Can I use peat moss for blueberries in pots? Yes! Containers often perform better with 60–100% peat-based mixes for precise pH control.
How much peat moss do I need per plant? About 1–2 cubic feet per bush for in-ground holes; a full bale for several plants in raised beds.
Is peat moss safe for the environment? It’s effective but non-renewable. Blend with coconut coir or pine bark for a more sustainable option while still meeting acidity needs.
Why are my blueberries dying after planting in peat moss? Common causes: peat not pre-moistened (it repels water), planted too deep, or inconsistent watering. Ensure good drainage.
Conclusion
Planting blueberries in peat moss is one of the most reliable ways to enjoy homegrown berries for decades. With the right acidic soil mix, proper planting technique, and consistent care, your bushes will reward you with sweet, juicy harvests year after year. Your first handful of fresh blueberries is closer than you think!
Start today — grab your peat moss, test your soil, and plant with confidence. Share your blueberry success stories or questions in the comments below. Happy gardening! 🫐🌿


