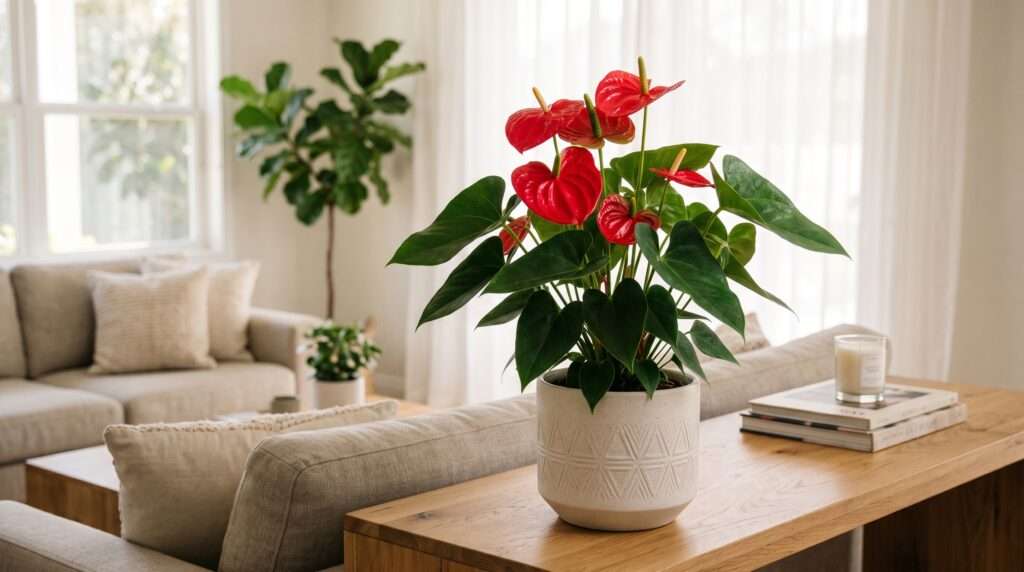
Have you ever brought home a stunning, glossy-red Anthurium, only to watch its vibrant blooms fade and its emerald leaves turn a crispy, heartbreaking brown a few months later? You are certainly not alone. While these iconic “flamingo flowers” might look like high-maintenance botanical divas, the truth is that most indoor anthurium plants fail simply because we treat them like standard houseplants instead of the resilient tropical epiphytes they truly are.
As a passionate horticulturist and indoor plant specialist, I have diagnosed hundreds of struggling aroids. The secret to keeping your Anthurium thriving doesn’t require a perfect, climate-controlled jungle. It requires a fundamental shift in how you view their root systems and daily environment. In this comprehensive, expert-level care guide, you will learn the exact, repeatable routines required to keep your collection flourishing. From mixing the perfect chunky, oxygen-rich soil to troubleshooting mysterious yellow leaves, here is how to unlock year-round vibrant growth and endless blooms. ✨
🌿 Getting to Know Your Anthurium Plant (And Why It’s Struggling)
Before diving into watering schedules and fertilizer ratios, it is crucial to understand exactly what sits in your decorative pot. The Anthurium genus, part of the diverse Araceae (aroid) family, boasts over 1,000 unique species. While we often admire the waxy, heart-shaped “flowers” in shades of red, pink, or white, these colorful structures are not actually petals. They are modified leaves known as spathes. The true flowers are microscopic and densely packed along the protruding, finger-like spike called the spadix.
The Epiphytic Secret 🌳 The biggest misconception in Anthurium care stems from a misunderstanding of their natural habitat. In the lush, humid rainforests of the Caribbean, Central America, and South America, most Anthurium species do not grow in the dirt. They are epiphytes or hemiepiphytes. This means they naturally germinate high up in the forest canopy, anchoring their thick, fleshy roots to the bark of tree trunks or resting in the crotches of branches where decaying leaf litter gathers.
When we take a plant that evolved to have its roots constantly bathed in fresh air, frequent rain showers, and loose organic debris, and we suffocate those roots in dense, compacted indoor potting soil, the plant inevitably declines. Recreating a slice of their airy, tropical canopy environment is the foundational key to unlocking their indoor potential.
🌟 The 4 Pillars of Expert Anthurium Care
The most successful foliage and blooming Anthuriums do not demand perfection—they demand consistency. By mastering these four environmental pillars, you can establish a baseline of health that encourages continuous spathe production and robust foliage.
☀️ Lighting: The Secret to Endless Blooms
Light is the driving force behind your plant’s energy production. Without adequate photosynthesis, your Anthurium simply will not have the metabolic energy required to push out new blooms.
-
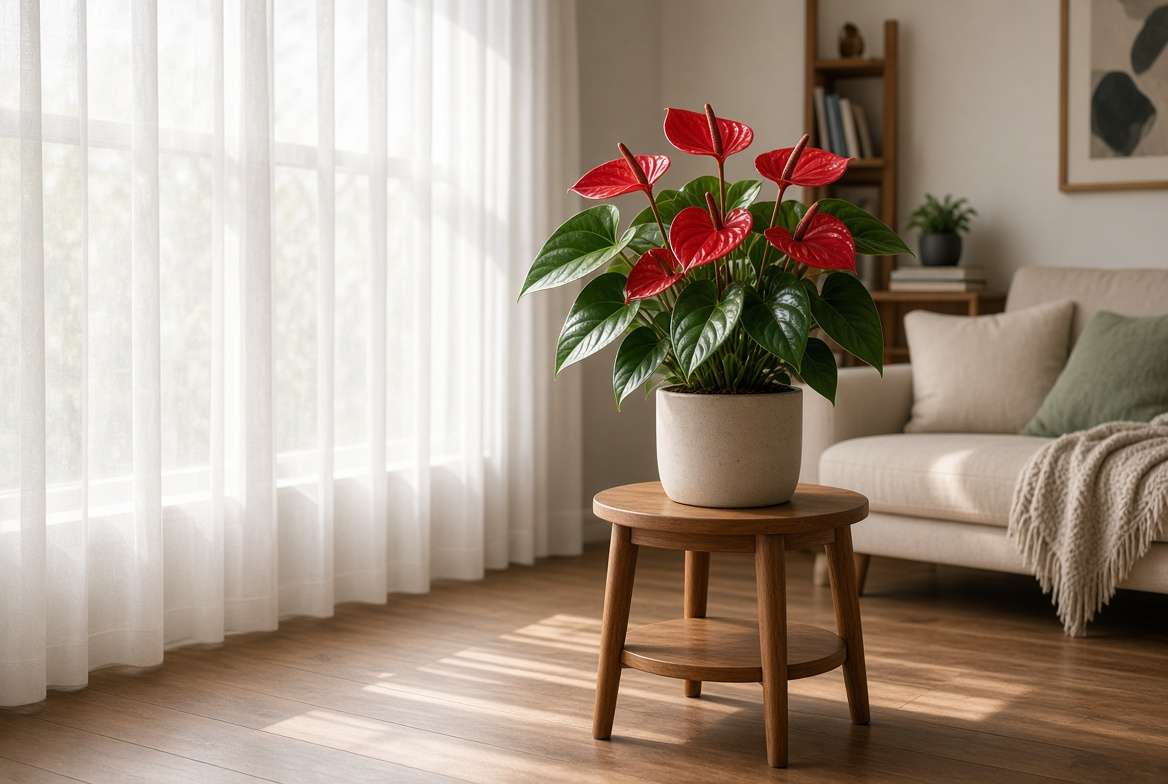
The Sweet Spot for Light: Anthuriums thrive in bright, indirect sunlight. The ideal placement in a Northern Hemisphere home is directly in front of an east-facing window, where the plant can soak up gentle, cool morning sun but is shielded from the harsh afternoon rays. If you only have south or west-facing windows, pull the plant back by about 3 to 5 feet, or filter the intense light using a sheer white curtain.
-
The Dangers of Direct Sun: Exposing the delicate, waxy leaves to direct midday sun will quickly break down the chlorophyll, resulting in bleached spots, scorched brown edges, and severe cellular damage.
-
Signs of Low Light: Conversely, if your plant is placed in a dim corner, it will survive but refuse to thrive. Symptoms of insufficient light include leggy, elongated stems (etiolation), smaller new leaves, and a complete halt in flower production.
-
Expert Insight: Houseplants naturally grow toward their light source. If you notice your Anthurium leaning heavily to one side, it is suffering from uneven light distribution. Give the pot a quarter-turn every time you water to ensure symmetrical, upright growth. 🔄
💧 Watering Mastery: Escaping the Root Rot Trap
Improper watering—specifically overwatering—is the number one killer of indoor Anthuriums. Because their roots are designed to grasp tree bark and dry out swiftly in the tropical breeze, they are highly susceptible to fungal rot when forced to sit in stagnant water.
-
The “Soak and Dry” Protocol: Never water your Anthurium on a strict calendar schedule (e.g., “every Sunday”). Instead, let the plant dictate its needs. Wait until the top 1 to 2 inches (roughly one-third of the pot’s volume) of the soil feels completely dry to the touch before watering. When it is time to water, do so thoroughly. Pour water evenly over the soil surface until it flows freely from the drainage holes at the bottom.
-
The Importance of Water Quality: Anthuriums are surprisingly sensitive to the chemicals found in municipal tap water. Chlorine, chloramine, fluoride, and heavy dissolved minerals (hard water) can accumulate in the soil over time, causing chemical burns that manifest as crispy, brown leaf tips. Whenever possible, irrigate your collection with rainwater, reverse osmosis (RO) water, or distilled water.
-
Expert Tip: Always judge the success of your watering routine by examining the plant’s newest leaf. A healthy, fully formed new leaf indicates a happy root system, while a deformed or prematurely yellowing new leaf is a blaring alarm for moisture stress. 🚨
🌴 Temperature & Humidity: Recreating the Tropics
Anthuriums are distinctly tropical; they despise cold drafts and dry, stale air. Maintaining a stable microclimate will prevent transplant shock and keep the foliage looking pristine and glossy.
-
The Thermal Sweet Spot: Aim to maintain ambient room temperatures between 65°F and 86°F (18°C–30°C). These plants will suffer severe metabolic slowdowns if temperatures dip below 60°F (15°C). Keep them strictly away from air conditioning vents, drafty winter windows, and direct blasts from heating radiators, as extreme temperature fluctuations cause rapid cellular stress.
-
Humidity Hacks: The thick, leathery leaves of an Anthurium are designed to absorb moisture directly from the air. They perform best when ambient humidity levels sit between 60% and 80%. In the average dry, climate-controlled home (which often hovers around 30-40% humidity), you must artificially boost the moisture.
-
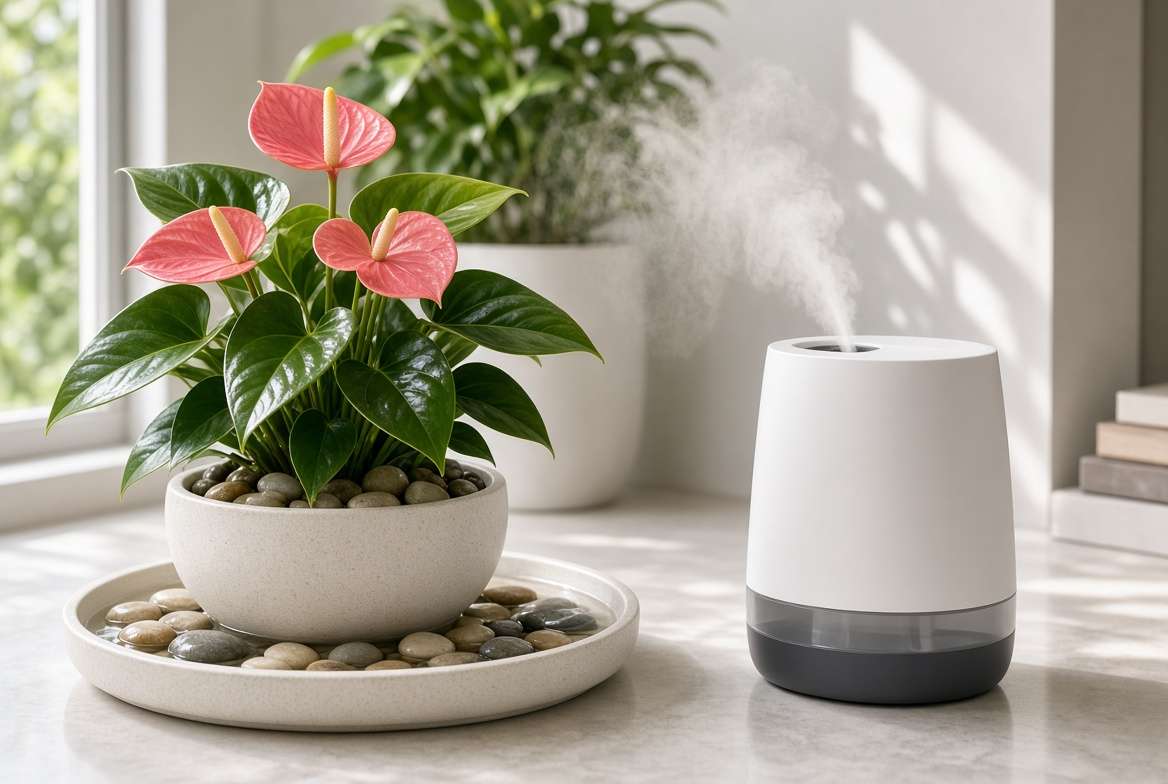
Actionable Advice: To raise local humidity without turning your entire house into a sauna, group several houseplants close together to create a shared microclimate through collective transpiration. Alternatively, place the plant’s pot on a pebble tray filled with water (ensuring the bottom of the pot never actually touches the water line), or invest in a small evaporative humidifier. 🧖♀️
🪴 The Perfect Soil Mix: Let Those Roots Breathe
If you take away just one piece of advice from this guide, let it be this: ditch the standard, multi-purpose houseplant soil. Standard peat-heavy soils are too dense, retain far too much moisture, and will inevitably suffocate an epiphytic root system.
-
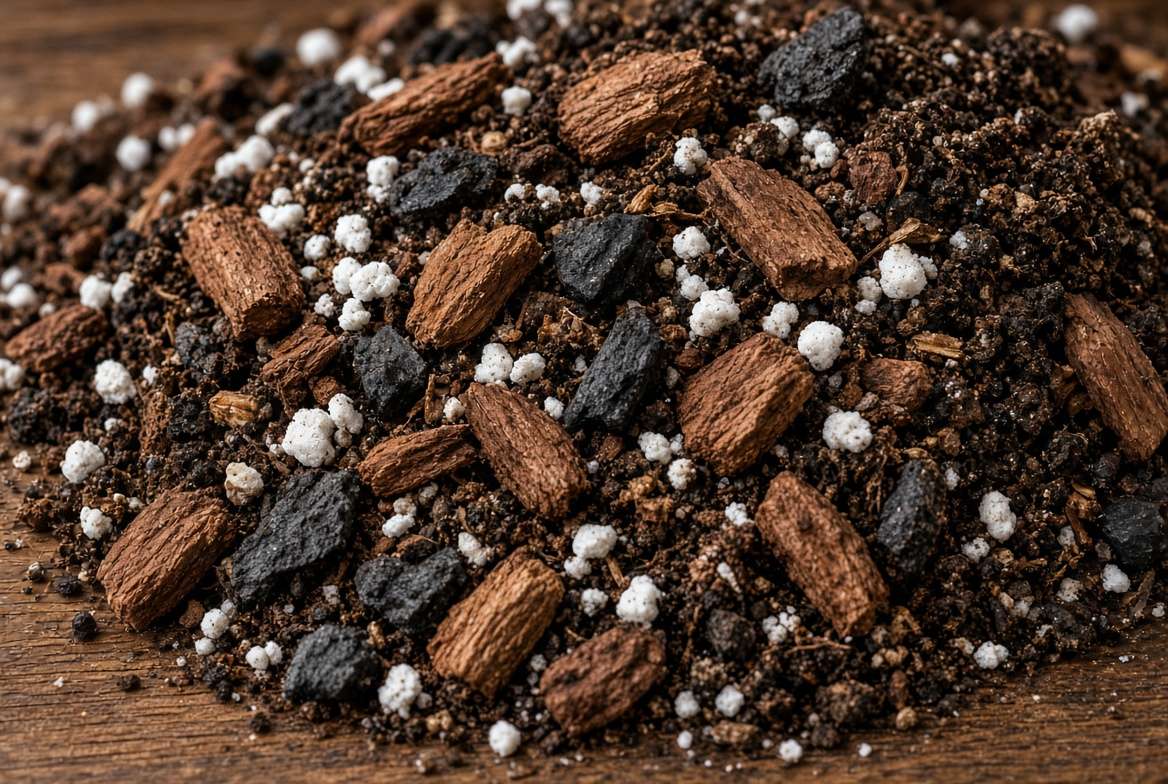
The Expert Aroid Recipe: To mimic the airy, debris-filled nooks of a rainforest tree canopy, you must provide a chunky, well-aerated, and fast-draining medium. The perfect DIY blend consists of:
-
30% High-Quality Potting Soil or Coco Coir: To retain just enough baseline moisture and provide a structure for fine feeder roots.
-
40% Orchid Bark: This provides massive air pockets, ensuring oxygen can freely circulate around the thick primary roots.
-
20% Horticultural Perlite or Pumice: To guarantee rapid drainage and prevent soil compaction over time.
-
10% Horticultural Charcoal: To help absorb impurities, neutralize soil toxins, and keep the root zone “sweet” and healthy.
-
-
Mixing this substrate ensures that when you water your plant, the liquid rushes through the pot quickly, hydrating the roots without leaving them drowning in muck.
✂️ Feeding, Pruning, and Repotting Routine
Once you have mastered the environmental basics, establishing a consistent maintenance routine is what separates a surviving plant from a truly spectacular, show-stopping specimen.
🧪 How and When to Fertilize Properly
Anthuriums are not particularly heavy feeders compared to fast-growing vining aroids, but they do require a steady supply of micronutrients to produce their vibrant spathes.
-
The Feeding Schedule: Fertilize your Anthurium exclusively during its active growing seasons—typically early spring through late summer. When the days shorten in autumn and winter, the plant’s metabolism slows down, and adding fertilizer during this dormancy can burn the resting roots.
-
The Ideal Formula: Look for a high-quality, water-soluble orchid fertilizer or a liquid houseplant feed with a slightly higher phosphorus content (the middle number in the N-P-K ratio), as phosphorus directly supports flower development.
-
The “Weakly, Weekly” Approach: The most common fertilization mistake is applying a highly concentrated dose. Because epiphytic roots are sensitive to salt buildup, you should dilute your liquid fertilizer to a quarter or half of the manufacturer’s recommended strength. Apply this weak solution once a month, or every other watering, for safe, steady nourishment. 💧
🍂 Pruning for Growth
Proper pruning is not just about aesthetics; it is a vital practice for disease prevention and energy management.
-
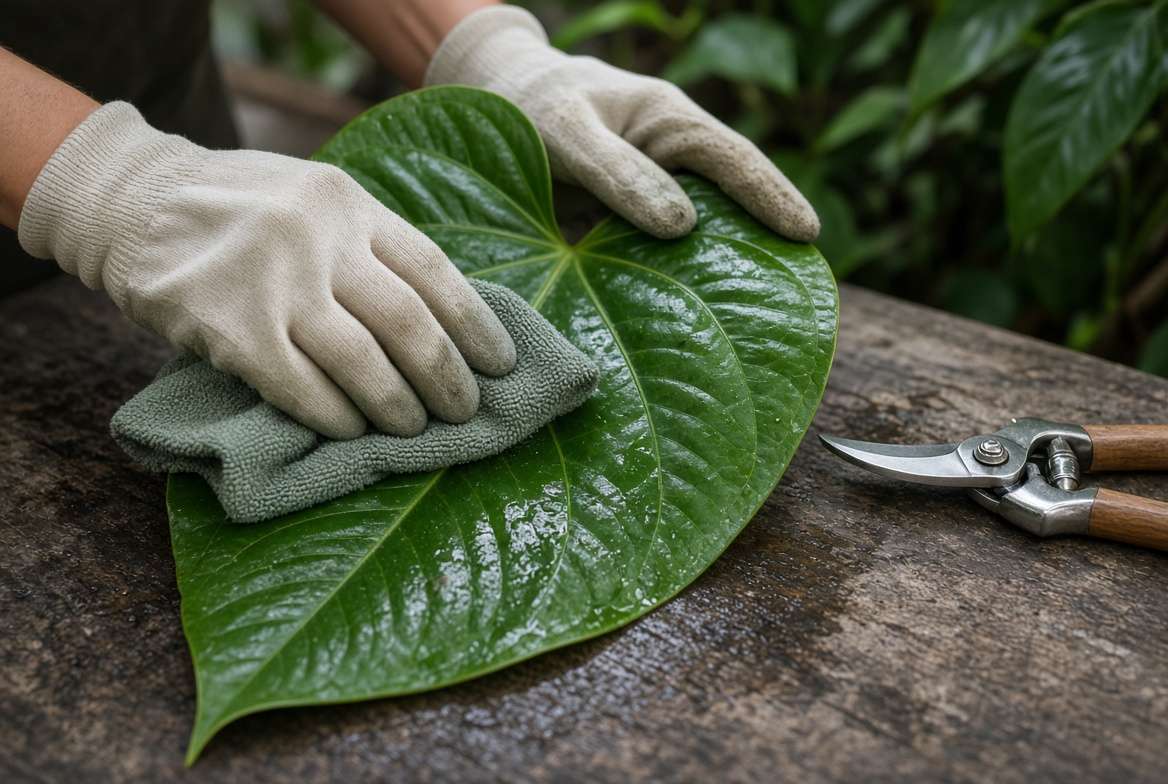
Cleaning the Canvas: Indoor plants accumulate dust rapidly, which clogs their stomata (the pores used for gas exchange) and blocks sunlight, hindering photosynthesis. Every few weeks, gently wipe down the broad leaves with a damp, soft microfiber cloth. Avoid using commercial “leaf shine” products, as these oily sprays can suffocate the foliage. ✨
-
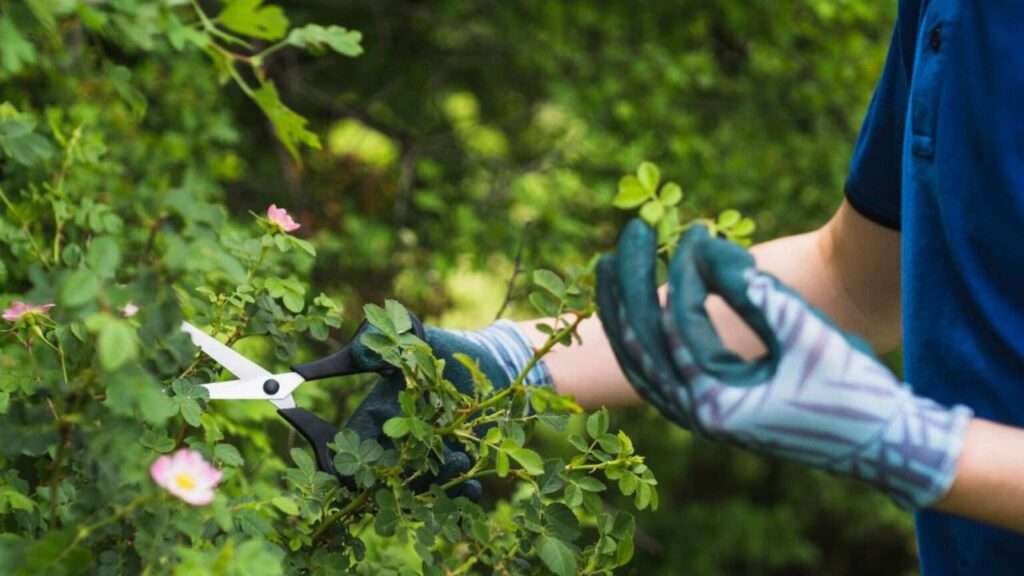
Strategic Trimming: When an Anthurium bloom finally fades and droops, trace the stalk down to the base of the plant and snip it off with sterilized pruning shears. This immediately redirects the plant’s metabolic energy away from maintaining a dying flower and into pushing out fresh, healthy foliage.
-
Managing Yellow Leaves: If a leaf begins to naturally yellow from old age, resist the urge to cut it off immediately. The plant is actually reabsorbing mobile nutrients from that dying leaf to fuel new growth. Wait until the leaf is fully yellow or crispy brown before gently pulling or snipping it away.
🌱 Repotting Your Anthurium
Unlike many houseplants that demand annual repotting, Anthuriums actually prefer to be slightly rootbound. A snug pot encourages the plant to focus its energy on blooming rather than endlessly expanding its root system.
-
When to Repot: You only need to repot every 2 to 3 years, or when you see thick roots tightly circling the surface of the soil or pushing out of the bottom drainage holes. The best time to repot is early spring, just as the plant enters its active growth phase.
-
The Safe Repotting Technique: Always water your Anthurium thoroughly 12 hours before repotting. Well-hydrated roots are much more pliable and less prone to snapping during the transition, preventing severe transplant shock. When selecting a new home, only go up one pot size (about 1 to 2 inches larger in diameter). Placing a small root mass into a massive pot leads to excess wet soil, which is a guaranteed recipe for root rot. 🪴
🚑 Troubleshooting Common Anthurium Problems (Diagnostic Guide)
Even the most meticulous plant parents occasionally run into issues. Use this quick-reference diagnostic guide to identify and fix the most common Anthurium ailments before they become fatal.
-
📉 Problem 1: Yellowing Leaves (Chlorosis)
-
The Cause: The most frequent culprit is overwatering and poor drainage, leading to suffocated roots. It can also indicate cold drafts or a sudden drop in temperature.
-
The Cure: Immediately assess your soil moisture. If the soil is soaking wet, hold off on watering until the top two inches are bone dry. If the soil is dense and mucky, you must repot into the chunky, aerated aroid mix discussed earlier.
-
-
🤎 Problem 2: Crispy Brown Leaf Tips & Edges
-
The Cause: This is a classic sign of severe moisture stress. It is usually caused by bone-dry indoor air (lack of humidity) or a buildup of toxic fertilizer salts in the potting medium.
-
The Cure: First, flush the pot by running pure, distilled water through the soil for several minutes to wash away excess salts. Next, elevate the ambient humidity around the plant using a pebble tray or a humidifier.
-
-
🥀 Problem 3: “Why Won’t My Anthurium Bloom?”
-
The Cause: If your plant is pushing out plenty of green leaves but no flowers, the issue is almost always a lack of sufficient lighting or a phosphorus deficiency.
-
The Cure: Gradually transition the plant to a brighter location with abundant indirect light. Begin feeding with a diluted, high-phosphorus (bloom-boosting) fertilizer during the spring and summer.
-
-
🦠 Problem 4: Black, Mushy, or Foul-Smelling Roots
-
The Cause: Advanced root rot caused by stagnant water and fungal pathogens.
-
The Cure: This is an emergency. Unpot the plant immediately, wash the soil away from the roots, and use sterilized shears to cut away any black, mushy sections until only firm, white/tan roots remain. Treat the remaining healthy roots with a diluted hydrogen peroxide solution (1 part 3% peroxide to 3 parts water) and repot in entirely fresh, chunky soil.
-
🏺 Advanced Care: Propagation and Hydroponics
Once your Anthurium is thriving, you might want to multiply your collection or experiment with modern, soil-free growing techniques.
-
Stem Cuttings & Division: The easiest way to propagate an Anthurium is through division. When repotting a mature, bushy plant, you can gently tease the root ball apart to separate the multiple “pups” or offshoots from the mother plant. Alternatively, you can take a stem cutting. Ensure your cutting includes at least one node and a few healthy aerial roots. Plop the cutting into damp sphagnum moss or perlite until a robust secondary root system develops. ✂️
-
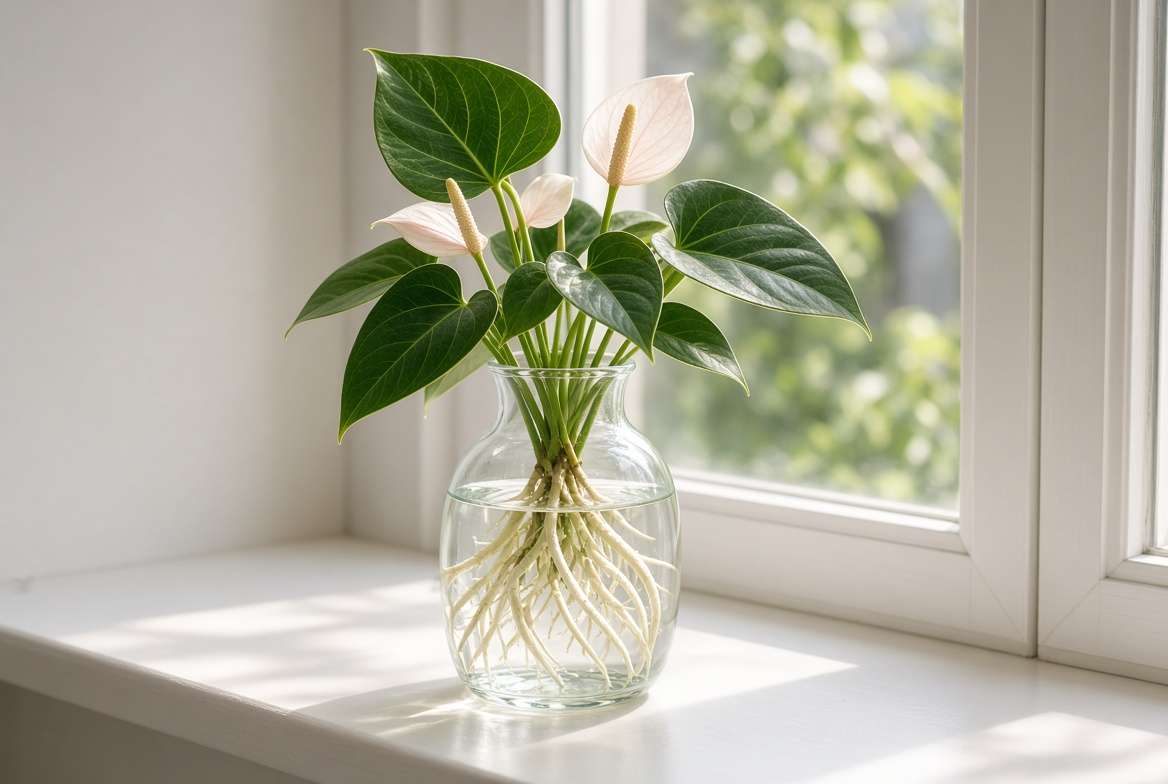
Hydroponic Cultivation: Did you know you can grow anthurium plants entirely in water? Because they are epiphytes, their roots adapt beautifully to aquatic environments, provided they get enough oxygen. To transition a soil-grown plant to water, carefully wash away 100% of the soil. Place the roots in a glass vase filled with distilled water (ensure the base of the stem stays above the water line to prevent stem rot). Change the water completely every two weeks, adding a single drop of liquid fertilizer to keep the plant nourished. 💧
⚠️ Crucial Safety Warning: Anthurium Toxicity
While they are breathtaking to look at, it is imperative to handle Anthuriums with care, especially in active households.
-
The Danger: Every part of the Anthurium plant—from the stems to the spathes—contains insoluble calcium oxalate crystals. If ingested by curious cats, dogs, or small children, these microscopic, needle-like crystals embed themselves in the soft tissues of the mouth and throat. This causes intense, painful burning, excessive drooling, swelling, and severe difficulty swallowing. 🚫🐾
-
Safety Best Practices: Always place your Anthuriums high up on shelves or plant stands, completely out of reach of pets and toddlers. Furthermore, the sap can cause contact dermatitis (skin irritation) in sensitive individuals. Always wear gardening gloves when pruning, repotting, or taking cuttings to protect your skin and eyes. 🧤
💬 Frequently Asked Questions (FAQs)
Q: How long do Anthurium flowers actually last? A: Unlike the fleeting blooms of many garden plants, Anthurium spathes are incredibly long-lasting. A single “flower” can remain vibrant for 2 to 6 weeks, and under optimal conditions (perfect lighting and humidity), the tough, waxy spathes can persist for up to 3 months before slowly fading! 🗓️
Q: What are those hard, white nubs growing on the stems above the soil? A: Do not panic—those are aerial roots! Because Anthuriums are climbing epiphytes in the wild, they naturally produce these roots along their stems to search for moisture and anchor themselves to tree trunks. You can leave them alone, mist them occasionally, or gently guide them down into the potting soil. 🌿
Q: Can an indoor Anthurium cause headaches or allergies? A: Anthuriums are generally excellent indoor air purifiers. However, the spadix does produce pollen. If you are highly sensitive or prone to severe hay fever, sitting very close to a blooming plant could theoretically trigger mild sniffles, but they are not known to cause headaches or severe respiratory issues in the average home environment. 🤧
🏁 Conclusion: Consistency is Your Green Thumb
Cultivating a thriving, constantly blooming Anthurium does not require a magical “green thumb” or a degree in botany. It simply requires you to respect the plant’s tropical, epiphytic origins.
By ditching dense potting soil for a chunky orchid bark mix, providing a steady supply of bright, indirect sunlight, and watering only when the top layer of the substrate is truly dry, you will prevent 95% of the common issues that plague indoor gardeners. Remember, the best plant care routine isn’t the most complicated one—it is the most consistent one.
Now it’s your turn! 👇 Have you finally managed to get your stubborn Anthurium to push out a new bloom? Or are you currently battling a case of crispy leaf edges? Drop a picture of your setup in the comments below, or share this ultimate guide with a friend whose houseplants could use a little expert love!